Course Original English went online vuemastery.com, we have prepared for you a translation into Russian. After completing the first lesson, you will learn what a Vue instance is and how to get started developing your own Vue applications.

Prerequisites
Those who choose to take this course are expected to have knowledge of basic web technologies: HTML, CSS, and JavaScript.
In this course, we will be developing a page that is a product card.
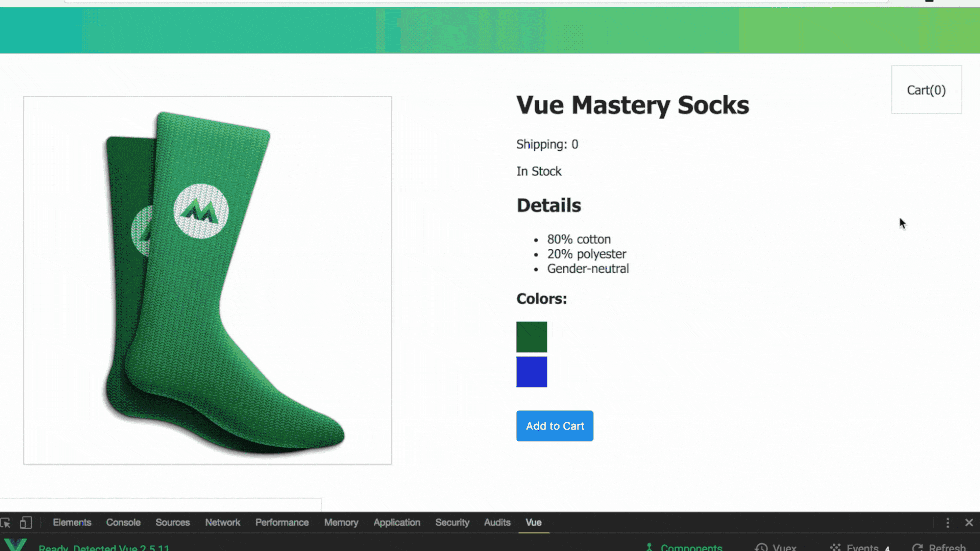
The page we will be developing
The purpose of the lesson
In this tutorial, we'll take a look at how to use Vue to display data on a web page.
Initial code
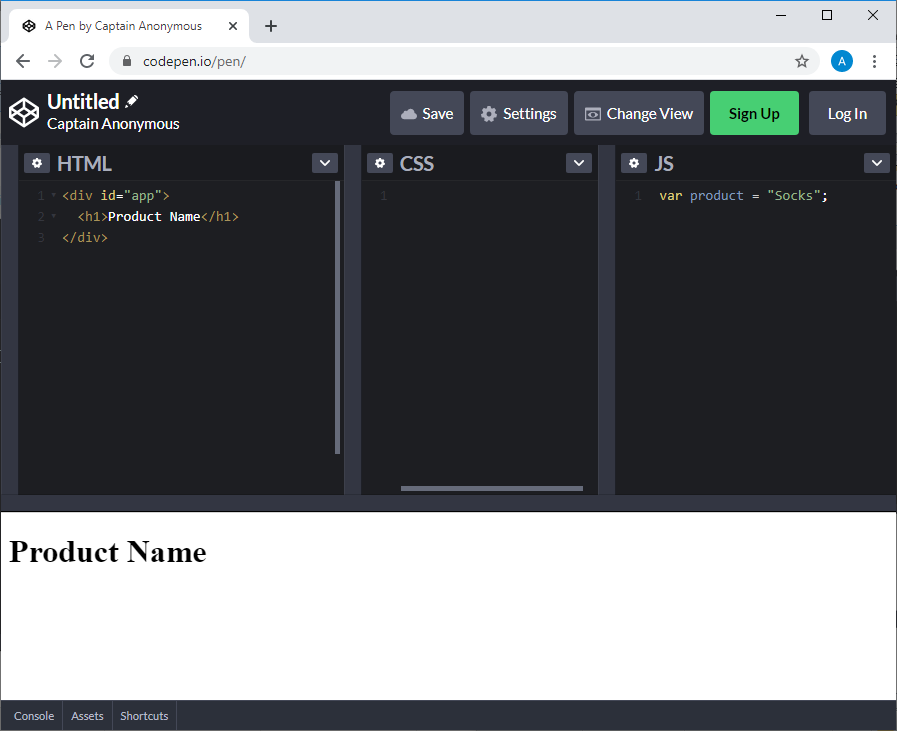
We'll start off with a very simple HTML and JavaScript code in two files.
File
index.html:
<!DOCTYPE html>
<html>
<head>
    <meta name="viewport" content="width=device-width, initial-scale=1">
<title>Product App</title>
</head>
<body>

    <div id="app">
        <h1>Product Name</h1>
    </div>

    <script src="main.js"></script>
</body>
</html>
Main.js file:
var product = "Socks";
This course uses the codepen.io platform as the environment in which to do your homework . The corresponding templates are designed as CodePen projects. Those taking this course are encouraged to independently run all the code they come across here.
The CodePen interface has three areas for code. These are, respectively, HTML, CSS and JS fields. The code entered in the CSS and JS fields is automatically connected to the web page described in the HTML field. That is - in order to recreate the above example in the CodePen environment, you need to enter the HTML code contained in the
<body>file tag index.htmlwithout the last connecting line main.jsinto the area, and the code into the JS area main.js.
Getting Started with CodePen It is not necessary to
use CodePen to run the sample code. You can easily use some other online service, or you can get by with a local development environment by recreating the files described here.
A task
We need a mechanism that allows us to take a value that is in JavaScript code, for example, what is currently written to a variable
product, and put it in the code of a web page, in a tag h1.
The Vue.js framework will help us solve this problem. Here is the official Russian-language guide to it.
The first step in our work with Vue is to connect the framework to the page. To do this, let's make changes to the file
index.htmlby adding the main.jsfollowing to it, right above the file connection code :
<script src="https://unpkg.com/vue"></script>
Next, in
main.js, we enter the following code, removing the variable declaration from it product:
var app = new Vue({
    el: '#app',
    data: {
        product: "Socks"
    }
})
Now we need to bind the DOM to the data of the Vue instance. This is done using a special HTML construct, using the Mustache syntax, which uses double curly braces:
<div id="app">
    <h1>{{ product }}</h1>
</div>
The JavaScript expression in curly braces will be replaced with the value of the
productobject property data.
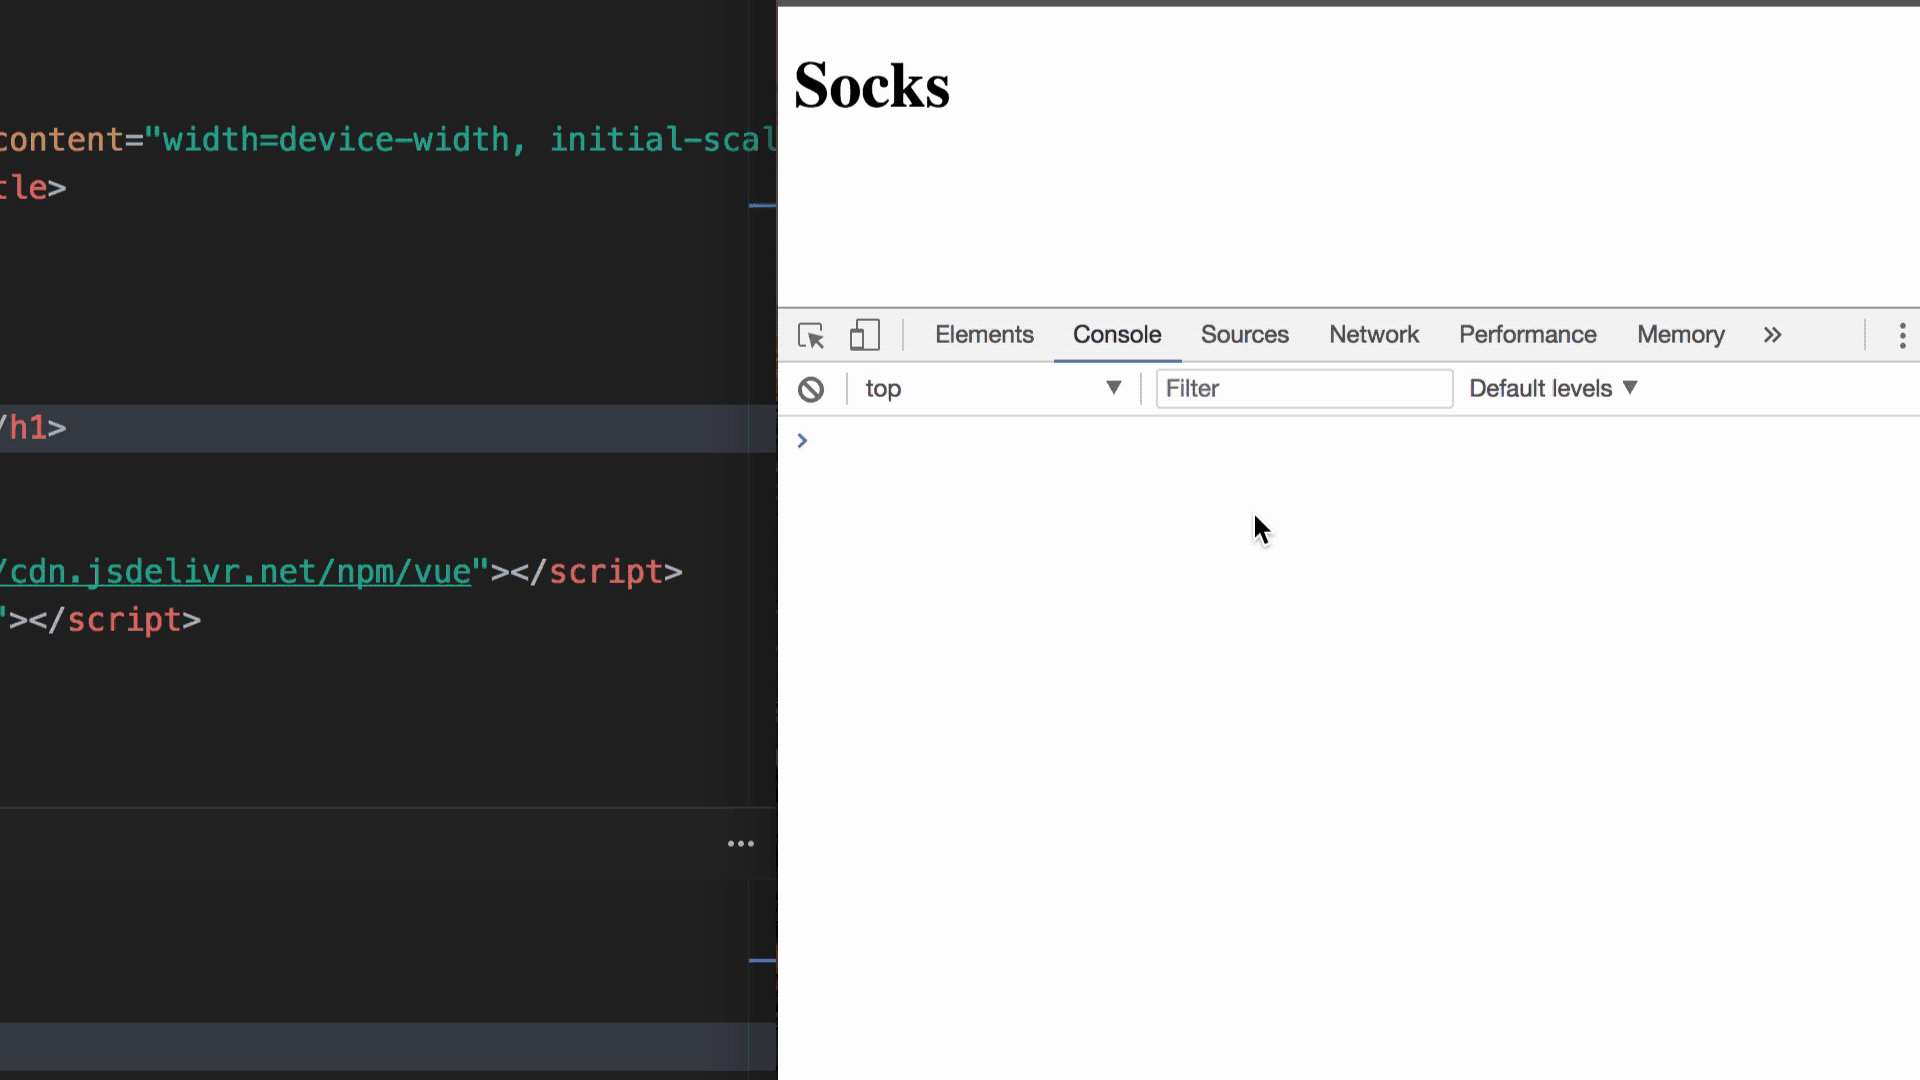
This is how the project will look in CodePen if everything works as it should.

Data transferred from JavaScript to HTML page
As you can see, we were able to transfer data from JavaScript code to HTML page. Now let's take a look at what we just did.
Vue Instance
Here's a diagram of the code used to create a Vue instance:
var app = new Vue({options})
The Vue Instance is the root entity of the application. It is created by passing
Vuean object with options to the constructor . This object contains various properties and methods that give the Vue instance the ability to store data and perform some action.
Connecting Vue instance to web page element
Notice the following property of the option object used to create the Vue instance:
el: '#app'
We use this property to connect the Vue instance to our page element. This allows us to create a link between the Vue instance and the corresponding part of the DOM. In other words, we activate Vue on the element
<div>with the ID appby writing '#app'to the property of the eloption object that was used to create the Vue instance.
Placing data in a Vue instance
The Vue instance has some storage space. This data is described using an
dataobject property with options:
data: {
    product: "Socks"
}
The data stored in a Vue instance can be accessed from the web page element to which the Vue instance is connected.
Using JavaScript Expressions in HTML Code
If we want the property value to
productbe displayed where the first-level heading text is displayed, the name of this property can be placed in double curly braces in the corresponding tag:
<h1>{{ product }}</h1>
In fact, we are talking about the fact that in double curly braces is a JavaScript expression, the results of which the framework substitutes in the tag
<h1>as text.
An important term: expression
Expressions allow you to use values stored in a Vue instance, as well as JavaScript constructs, the use of which allows you to create some new values.
When Vue sees an expression
{{ product }}, it understands that we are referencing the data associated with the Vue instance using a key product. The framework replaces the key name with its corresponding value. In this case, it is - Socks.
Examples of expressions
As mentioned, you can use various JavaScript constructs in double curly braces. Here are some examples:
{{ product + '?' }}
{{ firstName + ' ' + lastName }}
{{ message.split('').reverse().join('') }}
Getting to know reactivity
The reason why Vue outputs a
<h1>property value in the tag immediately after the page loads productis because Vue is a reactive framework. In other words, Vue instance data is associated with all places in the web page that have links to that data. As a result, Vue can not only display the data in some place on the page, but also update the corresponding HTML code in the event that the data to which it refers is changed.
To prove this, let's open the browser developer tools console and change the value written to the
productobject property app. When we do this, for example, by typing in the console app.product = 'Coat', the text displayed on the page will also change.
Changing the value of the product property changes the text displayed on the web page
See how easy it is to do this?
Workshop
Add a key
descriptioncontaining text to the data already in the Vue instance A pair of warm, fuzzy socks. Then print the value of that key in the element <p>that should be below the element <h1>.
→ Here is a template that you can use to solve this problem.
→ Here is the solution to the problem.
Summary
Let's talk about what we learned today:
- We learned how to start developing a Vue application by creating a Vue instance and how to display data on a web page.
- The Vue instance is the root of every Vue application.
- The Vue instance connects to the DOM element selected when it is created.
- Data stored in a Vue instance can be output to a page using Mustache syntax, which uses double curly braces
{{ }}containing JavaScript expressions. - Vue is a reactive framework.
→ Part 1: Instantiating Vue
→ Part 2: Attribute Binding in Vue
