Over the past decade, almost all of us have become accustomed to frequently updating the devices we own. We either put old devices on the shelf, or sell them, or even throw them away in the trash heap. And many do not even think that in fact the devices are working normally and can continue to perform their functions.
Manufacturers, on the other hand, try to make it as inconvenient as possible to use old devices: they stop releasing updates for them, the utilities are removed from the sites, and the official service refuses in the overwhelming majority of cases when requesting support for the old device.
Just a similar device was lying around in my friend's closet, and he gave it to me for experiments. This device is the Garmin GPSmap 76S tourism GPS navigator, once one of the best devices in its class. And I got the idea to start using it, for example, to record tracks from my bike rides. Read about what obstacles stood in my way and how I dealt with them under the cut.
When you are in a city with an available internet connection on your smartphone and the ability to easily charge it from an outlet or a power bank, there is no need to carry a relatively bulky device for navigation. But as soon as you find yourself in an area where there is no cellular signal, and the nearest outlet is several tens of kilometers of rough terrain, an autonomous GPS navigator, powered by standard batteries or AA batteries, will be more than a useful device.
In the process of getting to know the navigator, it became clear to me that there are 3 key problems with using it in 2021:
- Filling software works fine with WinXP / Win7;
- The data cable has an RS-232 interface;
- It is necessary to take the actual maps somewhere.
I began to solve problems as they came and first reset the navigator to factory settings. The garmin.expert forum has the following instruction, which worked perfectly:
“Press and hold QUIT + DOWN + MENU. Continuing to hold, press and release POWER, release DOWN, hold MENU and QUIT for another 5 seconds. When the navigator turns on, release everything. "
Initialization
Now that we have a navigator with clean memory and factory settings, we need to initialize it and calibrate the compass. First, we carry out initialization: we leave the navigator under the open sky, allowing us to receive a signal from satellites. During the initialization process, a so-called "cold start" is performed.

What is a cold start
Initially, the GPS navigator does not know anything about the orbits of the GPS navigation satellites, it only knows the frequency at which it can receive a signal. As soon as the signal from one of the satellites is received, the navigator saves in its memory the so-called "almanac", that is, information about the parameters of the orbits of all satellites in the constellation. These parameters are broadcast by each of the satellites. In the future, this "almanac" is used for a "warm start".
What is a "warm start"
We have an "almanac" with approximate parameters of satellite orbits for several months, so the GPS navigator will begin to initialize based on this data. In the course of the process, the so-called "ephemerides" will be received - correction data that allow calculating the exact location of each satellite at each moment in time. "Ephemeris" have their own expiration date, about 30 minutes, so if the navigator was turned off for a longer amount of time, it will try to accept them every time and only then will it be able to use this data.
What is hot start
"Hot start" is the initialization of the GPS navigator, when both the "almanac" and "ephemeris" are relevant and the device can immediately determine its location from them. If the navigator knows how to use the Internet connection to update this data, then in most cases it is the "hot start" that is used. This allows you to get started extremely quickly. Autonomous navigators use a "hot start" only if less than 30 minutes have passed since the reception of the actual "ephemeris".
If you with an autonomous GPS navigator have gone far from the point where the navigator was last used, for example, a couple of thousand kilometers, then there will only be a "cold start". Now let's move on to initializing the compass. Press the PAGE button, select "Calibrate compass" and slowly rotate twice to the right, around its axis.

When the compass is calibrated, we are ready to solve the problem of filling the actual raster maps into the device. Let's get started.
Preparing software
I have already mentioned in my articles more than once that I use OpenSUSE Tumbleweed as my main OS. I didn't want to figure out exactly how the ancient software on Wine would or would not work, so I decided to create a separate virtual machine on Oracle VirtualBox with the required OS, in my case it was Windows 7. Since there is no COM port on my laptop, I used a USB2COM adapter based on Prolific 2303. We forward the USB adapter inside the virtual machine:


A little later we will return to working with this software, but for now let's think about where we can get the current maps from. The simplest and most obvious is to use maps from the free OpenStreetMap map service . They are easy enough to download and convert.
Working with OSM maps
To download the desired piece of the map, just go to the project website and select the desired scale for export. Alas, there are limitations: scaling must be equal to or greater than 11. For most tasks, this is quite enough.

Select the desired piece and click the Export button , and then Export . The output is a file named map.osm . Then "dances with a tambourine" begin. Garmin devices have their own format, and a converter is required, fortunately, it exists and is called mkgmap .
Download the converter from the official website and unpack the archive. The converter is written in Java, so you have to install the current JRE first , you also need Visual C ++ for Visual Studio 2015... Now we drop our map map.osm into the directory with the converter, open the console and write a simple command:
java -jar mkgmap.jar map.osm
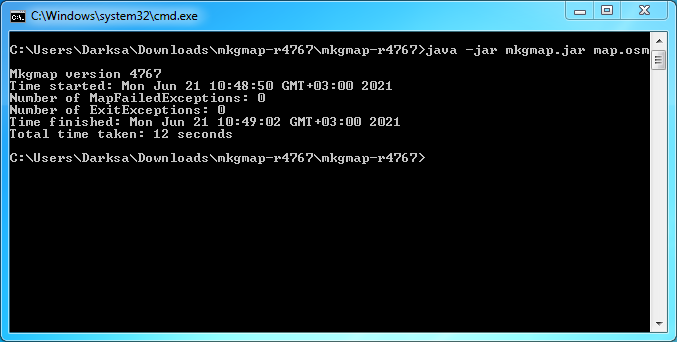
After the conversion process is complete, we will receive a set of files, among which there will be a file with a map, like 63240001.img . This is a ready-made file that can be uploaded to the navigator. For uploading, we will use a very useful software called IMG2GPS . Finding it on Google will not be a problem, I personally took it from here .
Open the application, click Load Folder and select the directory with the converted maps. We put a tick on our map and click Upload to GPS . The map will be uploaded to the navigator.

We check on the device and make sure that everything works as expected:

Thus, we received a section of the map with fresh and relevant data. Nevertheless, if we need to expand the map, for example, add our own custom POIs, then we will also have to use MapSource. This softina is "tricky" and is designed for the fact that you will buy and install the cards with the registration file attached to the set. But this method will obviously not work for us. Enthusiasts have long written their own software that allows you to install arbitrary maps in MapSource.
One of such utilities will be MapSetToolKit v.1.77 Beta by cypherman , which is also easy to find on the net, for example, on popular torrent trackers. Unfortunately, this utility itself is nothing more than a graphical interface to the cgpsmapper utility .... So first we look for and download this software, and only then we launch MapSetToolKit. Very often on trackers this utility is put, so to speak, "in the appendage".
To install the map, open the utility, set the directory where cgpsmapper is located, and then specify the following:
- Select IMG - open the directory with the map, select it and use the Add button → drag it to the right.
- Mapset Directory is also a directory with a map.
- Mapset Name - set the desired name for the map to be displayed.
- Family ID is just any three-digit number.
- Install in Mapsource - check the box.

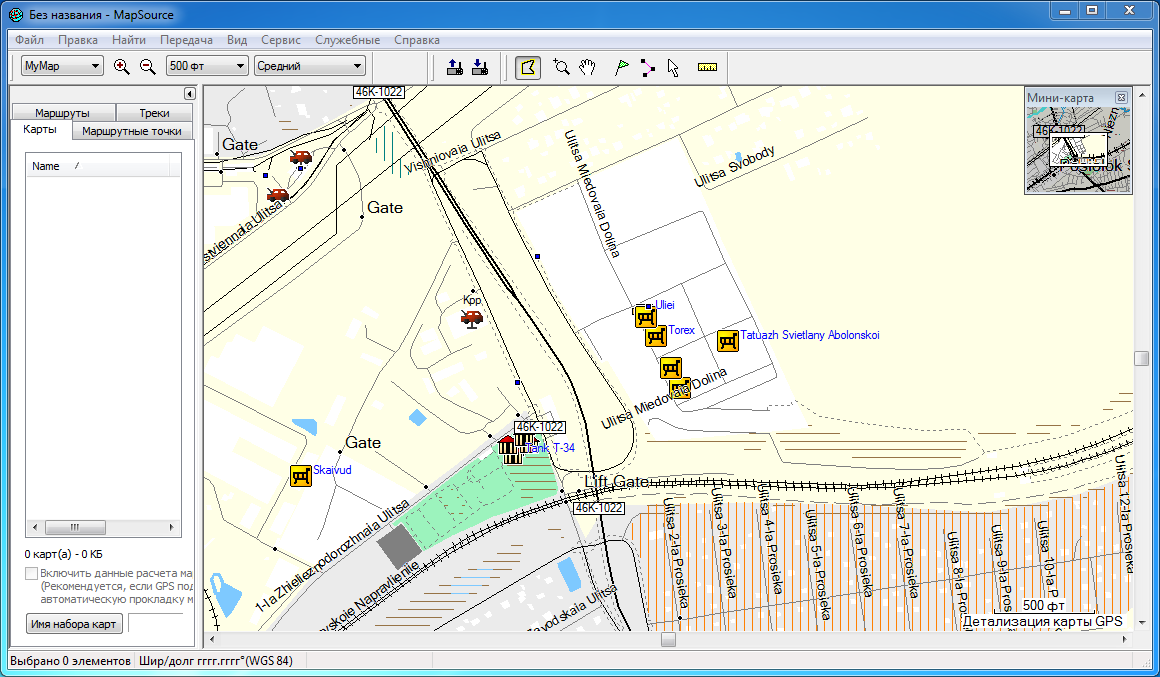
Now press START and when finished open MapSource. Our card has been successfully installed and now we can work with it.
Instead of a conclusion
So, we managed to use the device with modern cards. In fact, this means that if you have a similar navigator, then you can easily use it now. The same Garmin GPSmap 276c, discontinued, is still actively used by fans of off-road driving and is considered almost a reference device.
Manufacturers benefit from only one approach - to sell constantly emerging new models and artificially stop using old ones. For navigators, use is accelerated by discontinuing support and updating maps.
For users like me, something else is important: when purchasing a good and high-quality device, I want to use it as long as possible, and in most cases I will not buy a new one. The only pity is that now such devices are rare and are initially designed to make it as difficult as possible to use after the expiration of the product's "life cycle", determined by the manufacturer.
