
Greetings! I want to share with you my next development, which allows you to make reliable, sturdy furniture and, at the same time, without the need to have a tool, to dust in the house / apartment and assemble it literally in one day. This article is for the Habr audience who loves DIY and enjoys the process of creating things with their own hands. Caution, the article contains a lot of images and photographs.
▍ It all started with ...
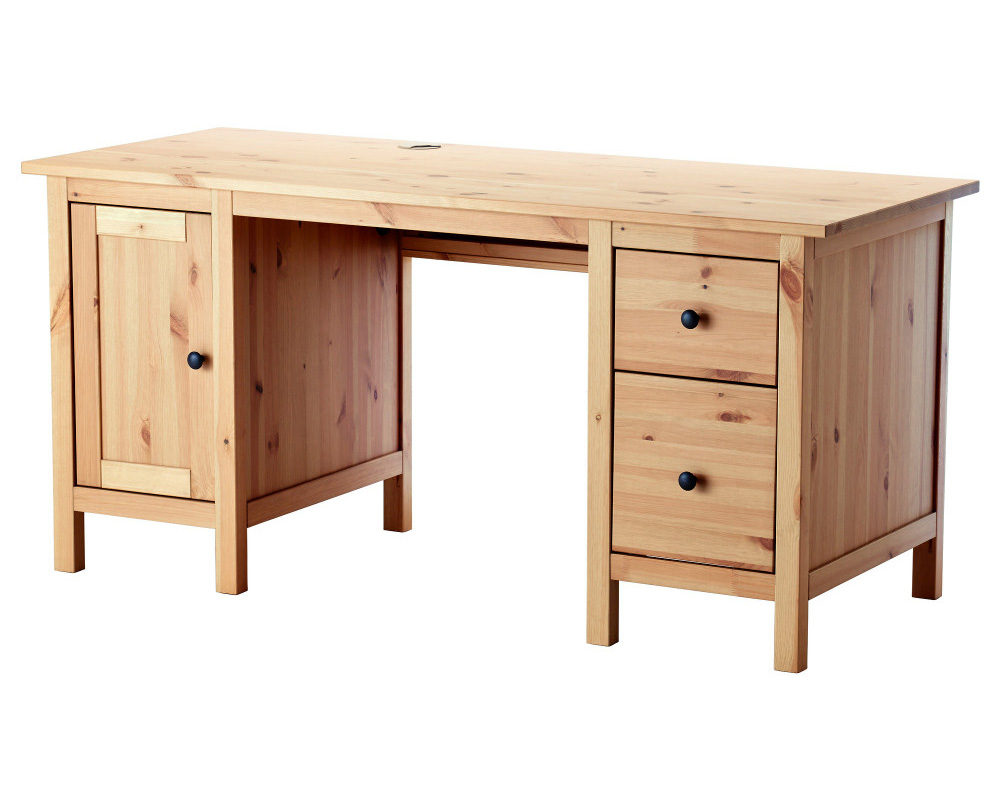
My wife asked me to make a small open rack in the kitchen so that everything was close and at the same time everything had its place. I thought that I don’t want to make a “just box” of a rectangular shape - it’s not pretty and will look like a box ... Next to the place of the proposed installation there is a Hemnes buffet from IKEA. I looked at it and I liked the style of its side walls - a bar in the corners, and a panel in the middle.
Yes, this is not a rack, but in this photo you can better see what I am writing about:
Well, I think it is necessary to do it using this technology, but almost immediately I realized that this assembly is possible only if the legs are milled and the panel is glued into the groove. I have a router and a place where it can be done, but I hate working with it, but I love working with SolidWorks and developing something for printing on a 3D printer. Therefore, it was decided to develop parts that can be used to assemble a similar structure, but without milling, drilling, sawing and other dirty work. Our goal is to minimize the need for wood processing on the territory of the house.
Sawing is, in my opinion, the best service provided by hardware stores and why don't we use it? Therefore, the entire task of wood processing needs to be reduced to sawing, and we will do this right in the store. As a result, we bring home ready-made parts that will just need to be assembled.
▍Development
I sat down at Solid, made a couple of parts and realized that “it's all wrong,” they need to be unified. Therefore, I put Solid aside for a while and went to online stores to see what typical sizes furniture boards have.
❒ As a result, what we will have to work with:
- The thickness we are interested in is 18 mm
- Available widths - 200/250/300/400/500/600 mm
- Length from 600 to 3000 mm
- The bar on the legs is taken the same as that of Hemnes - 40x40 mm
The task and input data are clear, there is no need to delay, you need to do it.
For a typical size, X-mm per panel and X + 50 mm per shelf are taken. This was done for a reason. Let's say we use a 200 mm panel, respectively, the total width of the side wall will be 280 mm. It will not work to make a shelf of 300 mm, since it will be wider than the wall itself and will stick out. Secondly, it is more beautiful when the shelf is slightly recessed inside, and not flush with the side wall - this creates the effect of volume and removes the "box" effect. Accordingly, among the standard sizes on sale, we have boards with a size of 250 mm. Here we will use it to develop the general design of parts.
If we want a rack with a depth of 380 mm, then we take a panel of 300 mm for the panel and 400 mm for the shelves, BUT! in this case, when buying, we just need to saw the board lengthwise, cutting off 50 mm, and then across to a length equal to the length of the shelf.
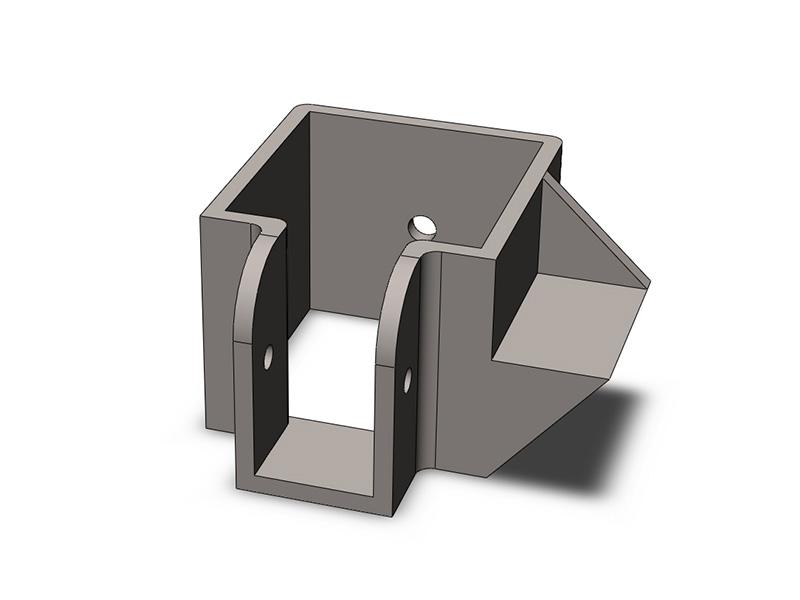
Some time to work and in the end I got a set of 6 unique parts that allow you to assemble a structure of any length. Some details are different for the start / finish and intermediate walls. Shelf layout, parts locations and their names are shown in the diagram below:
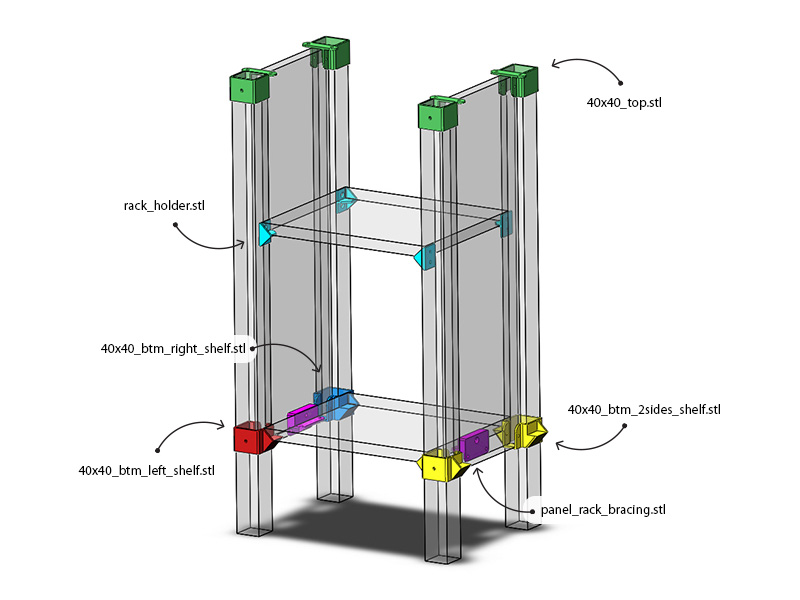
Part panel_rack_bracing is attached to each shelf and is needed to stiffen the structure, as well as to tie the bottom. Without it, the legs will not part, but the structure will not be strong.
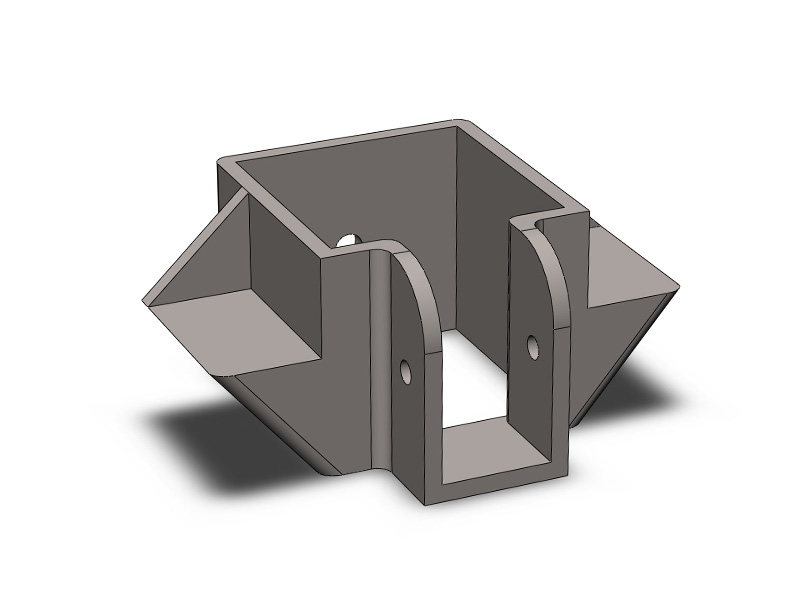
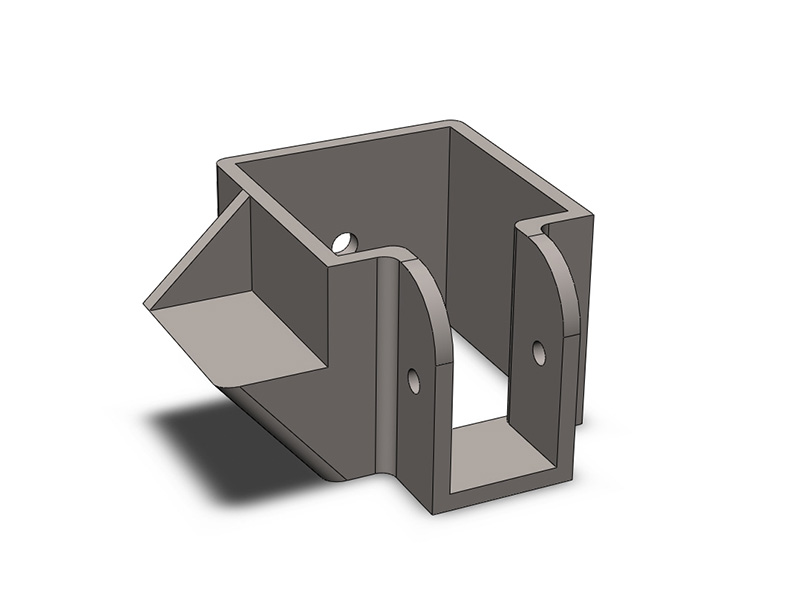
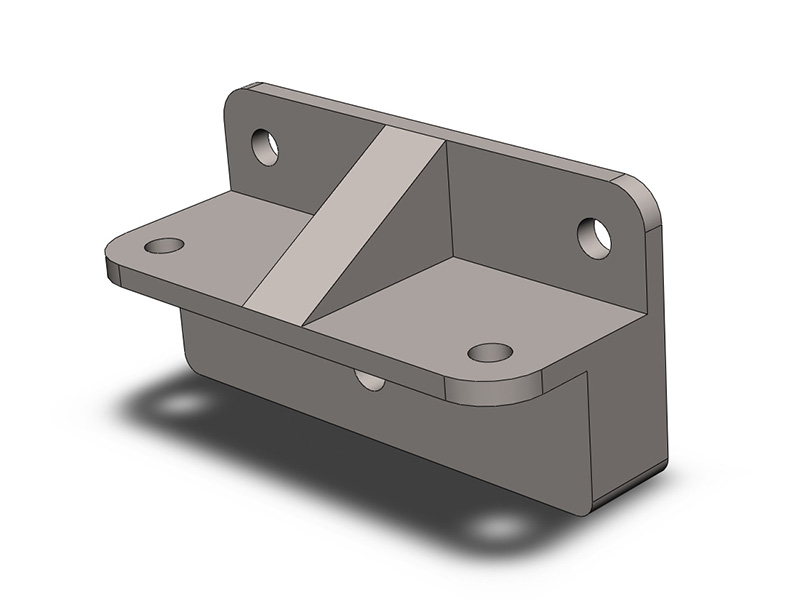
Details in large form under the spoiler. I will not sign each one, they can be easily found in the diagram above.
Large photo of details

▍How it works
Now I will describe the assembly technology using a small structure as an example.
Let's say we want to get a shelf-table with a depth of 300 mm, a height of 1000 mm and a length of 1200 mm. The rack should have 6 shelves.
❒ We buy in a hardware store (Leroy / Maxidom / OBI / ...):
- bar for legs - 40x40x2000 mm in a quantity of 4 pieces
- panel on the table top - 123001200 mm (standard size)
- panel on a panel - 18x200x800 mm in a quantity of 3 pieces
- board on the shelves - 18x250x2000 mm
We collect all this, go to sawing and ask to saw each bar into legs of 980 mm, and a shield for shelves by 6 pieces of 330 mm.

In the same place we take self-tapping screws with a press washer ("bugs") measuring 4.2x13 and self-tapping screws with a countersunk head 4.0x30. The second will need to be equal to the number of lower shelves multiplied by 2. But the first will need much more. It is better to count from the total number of plastic parts multiplied by 2.5.
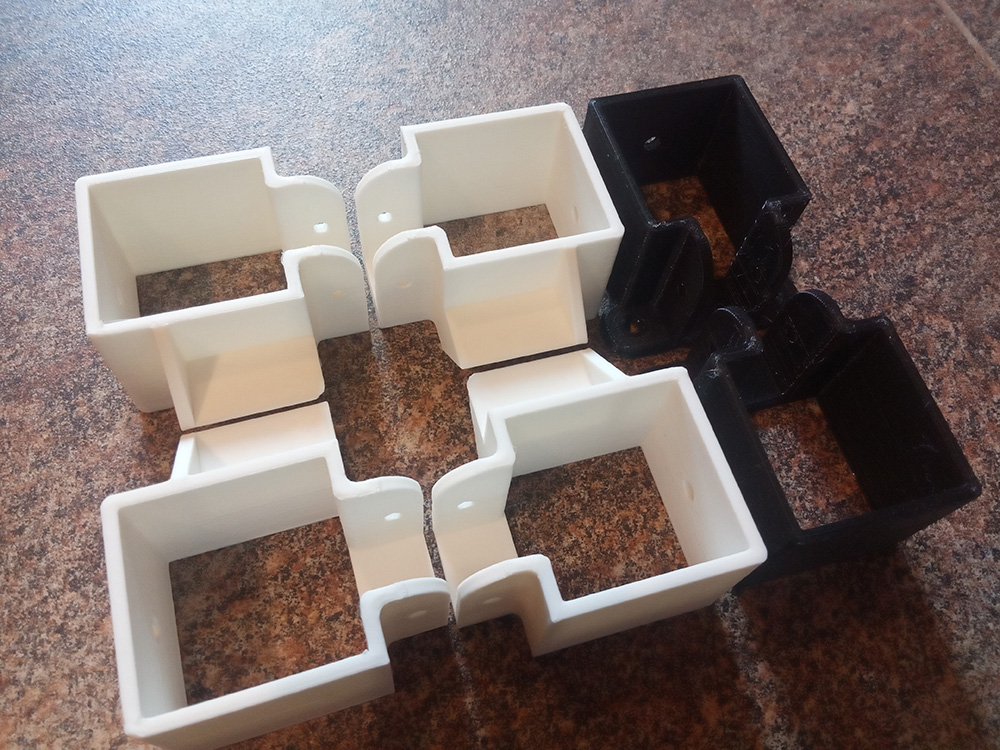
❒ We print on a 3D printer:
- 40x40_top - 8 pieces
- 40x40_btm_right_shelf - 2 pcs.
- 40x40_btm_left_shelf - 2 pcs.
- 40x40_btm_2sides_shelf - 4 pcs.
- panel_rack_bracing - 6 pcs.
- rack_holder - 12 pcs.

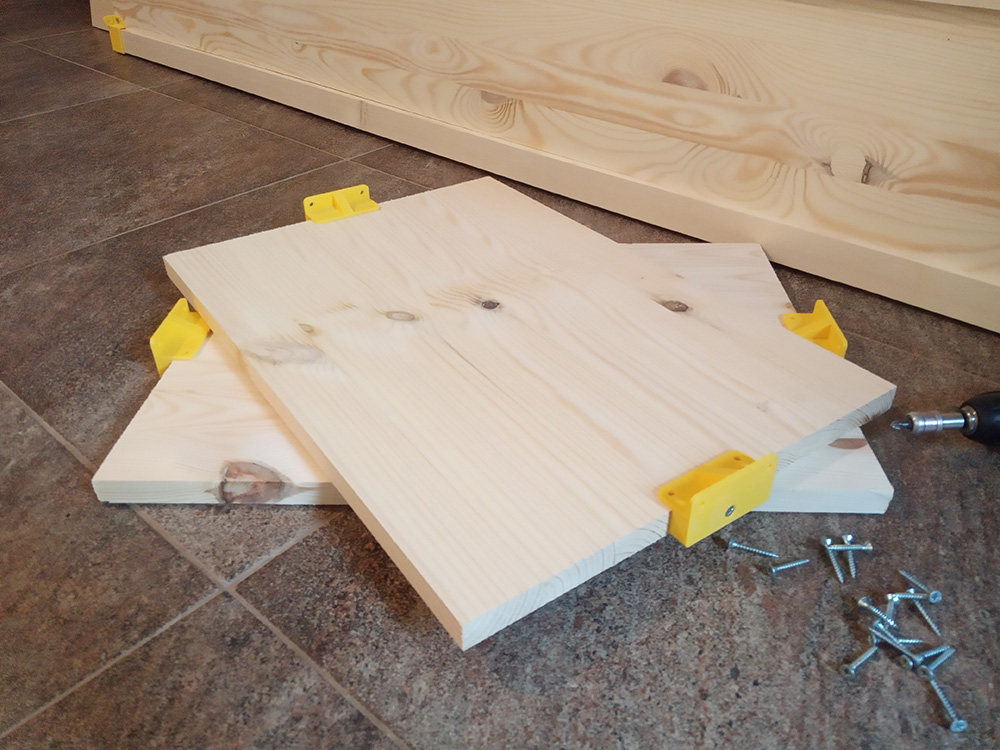
We put on the top element on the bars, fasten it to the bar. Then the lower one (in accordance with the diagram), and in the middle a panel. We press and twist everything tightly. It turns out the following design of the wall:
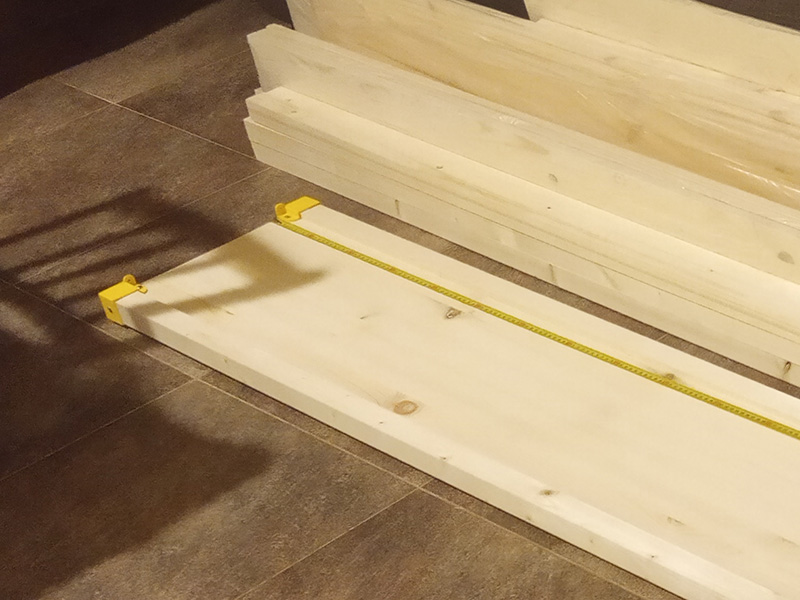

Next, to the middle of the lower shelves, fasten the holder panel_rack_bracing It is
better to mark the tabletop on the floor and screw the legs to it through special holes, and then the lower shelves. Everything, the product is assembled! The assembly process really takes very little time - it took me no more than 30 minutes to assemble this rack. Of the required tool, only a screwdriver or screwdriver.
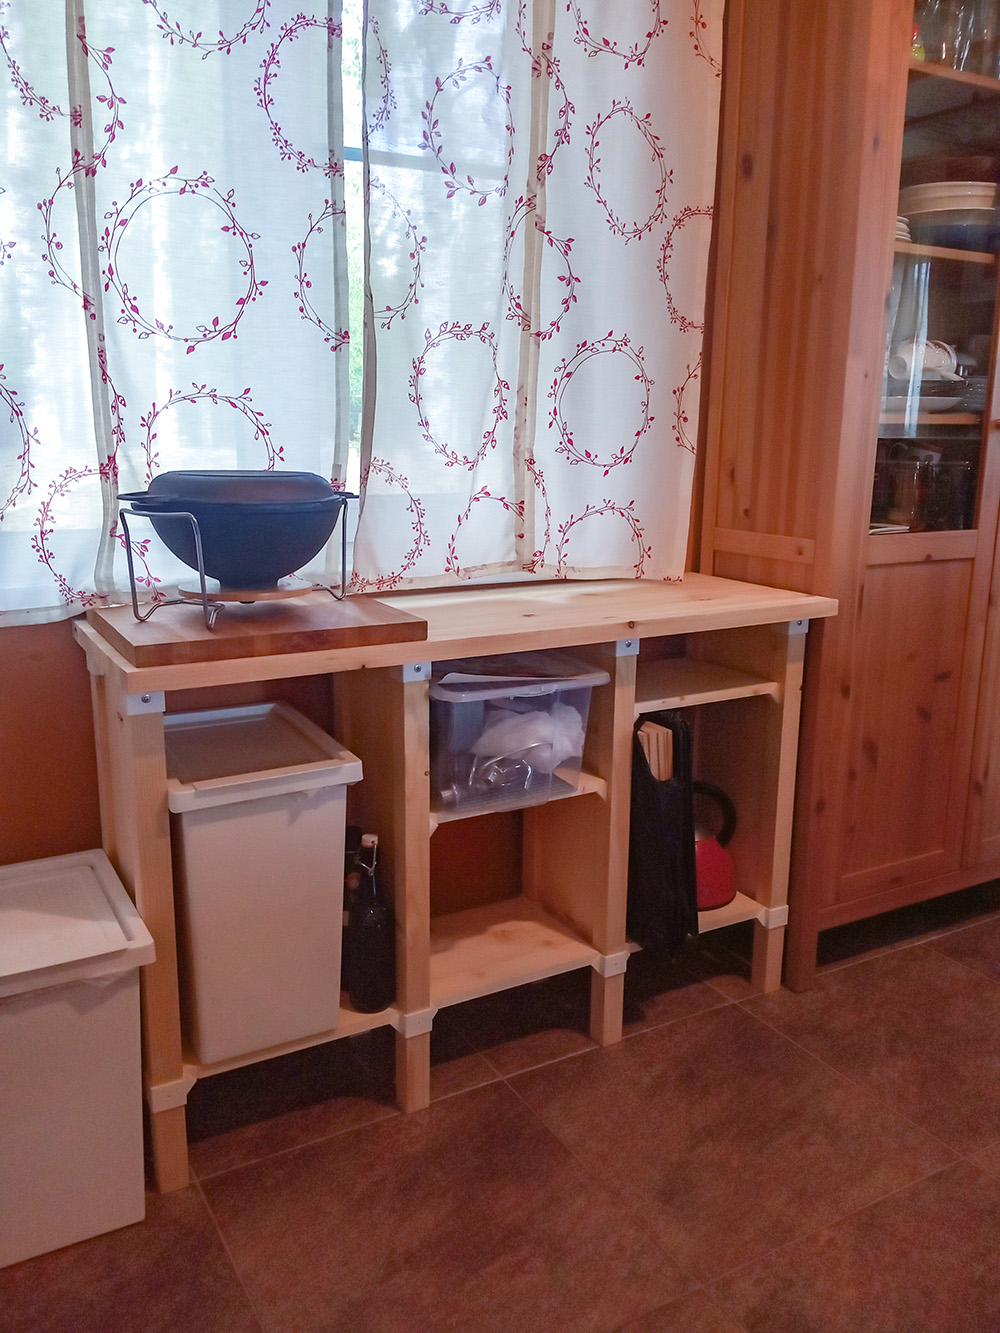
Here's what we got and how it looks in the interior.
▍Additional features
We considered the first plus of this design above - we do not need to saw / drill / mill anything. With certain shelf lengths, there is not even a need for sawing in the store.
The second plus is that this system allows you to assemble racks of any length. Previously, we assembled a rack with a length of 1.2 m, however, we can easily assemble the same rack but with a length of 2, 3 and even 5 meters or more (provided that the table top is connected to glazing beads). In this case, the rigidity of the structure will be similar.
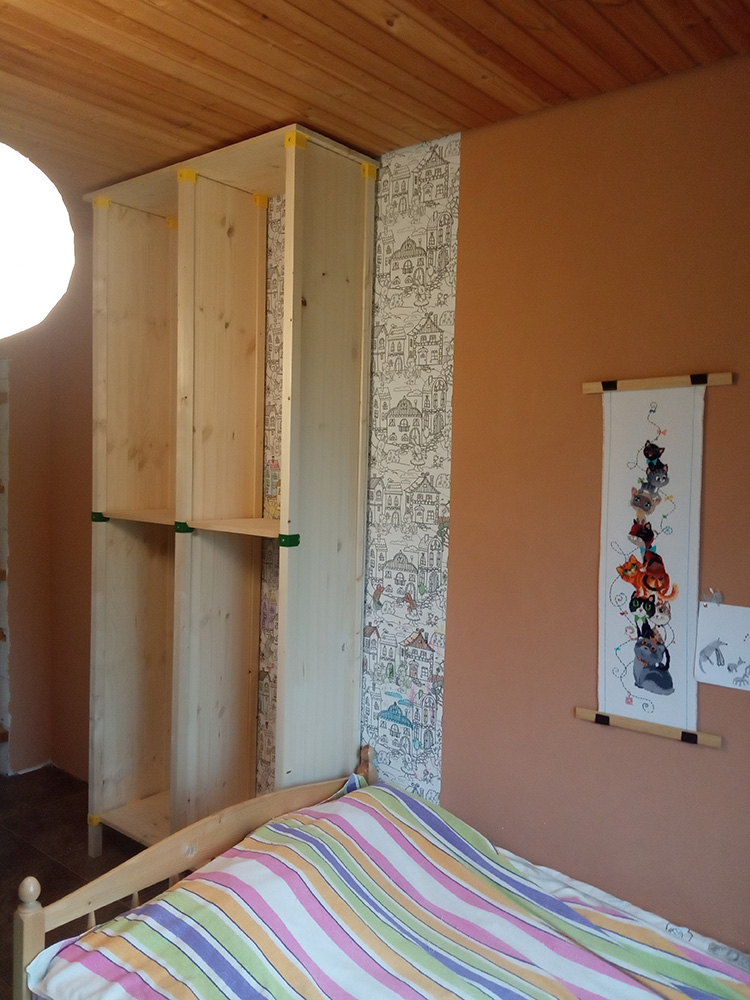
And finally, the third plus is the assembly of the rack in height and the ability to make combined assemblies when one section is lower than the other. Now I am assembling the structure for my daughter's bedroom, where one section will be 380 mm deep (panel 300 mm, shelves - 350 mm), and the second - 280 mm. At the same time, a deep section with a height of 2.7 m (must be fixed to a wall or ceiling), and a low one - 1.6 m.
A large section in the process of assembly:
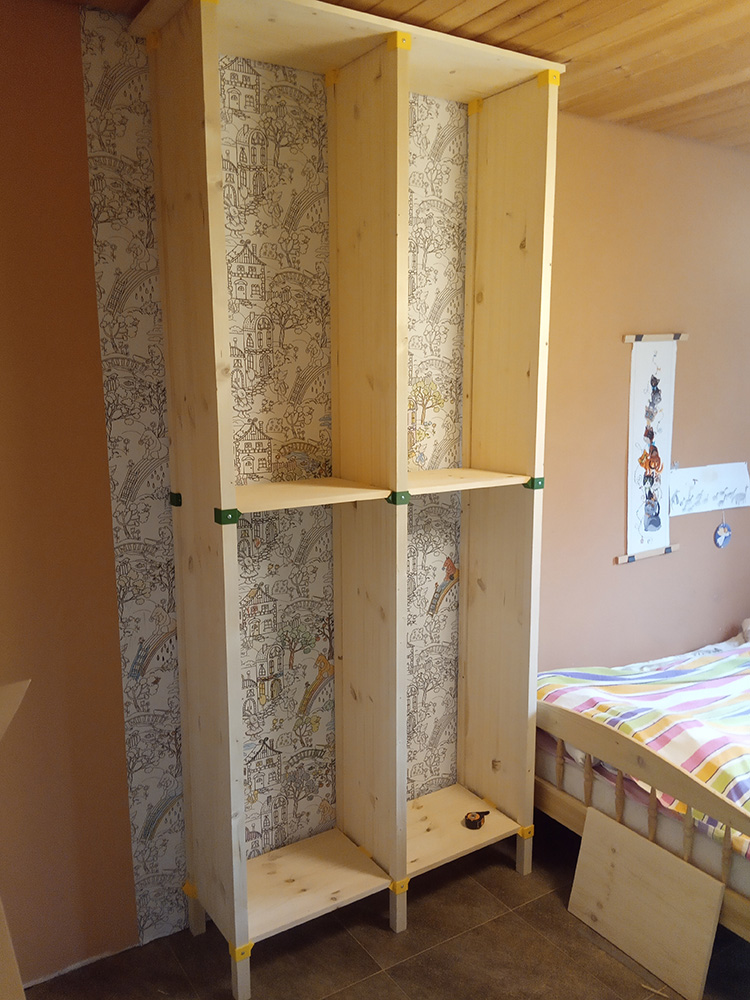

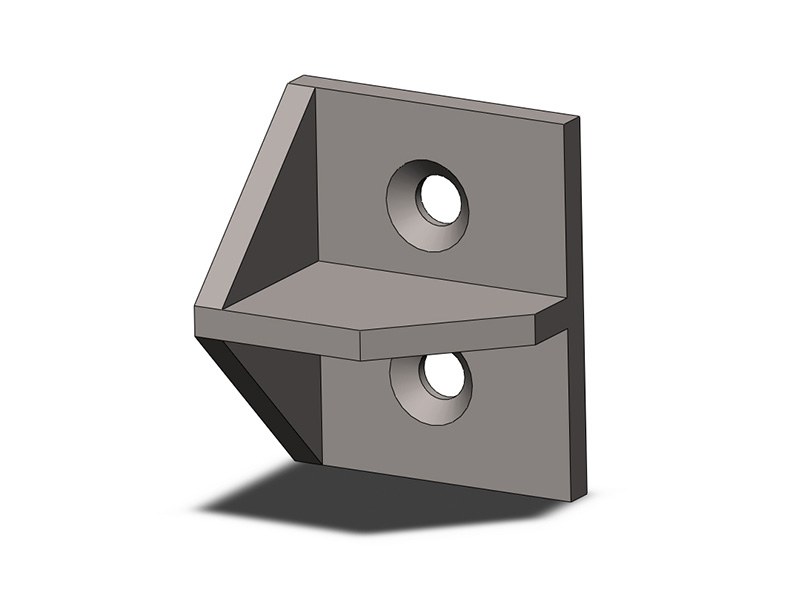
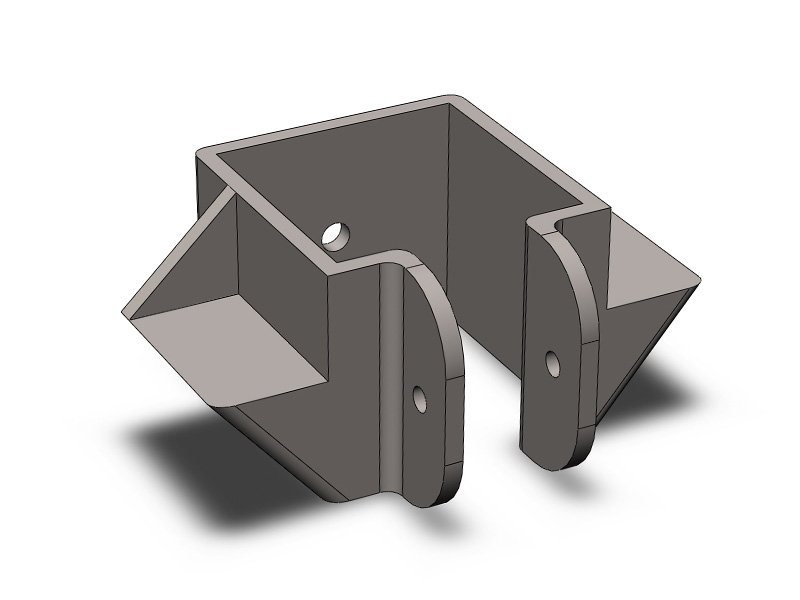
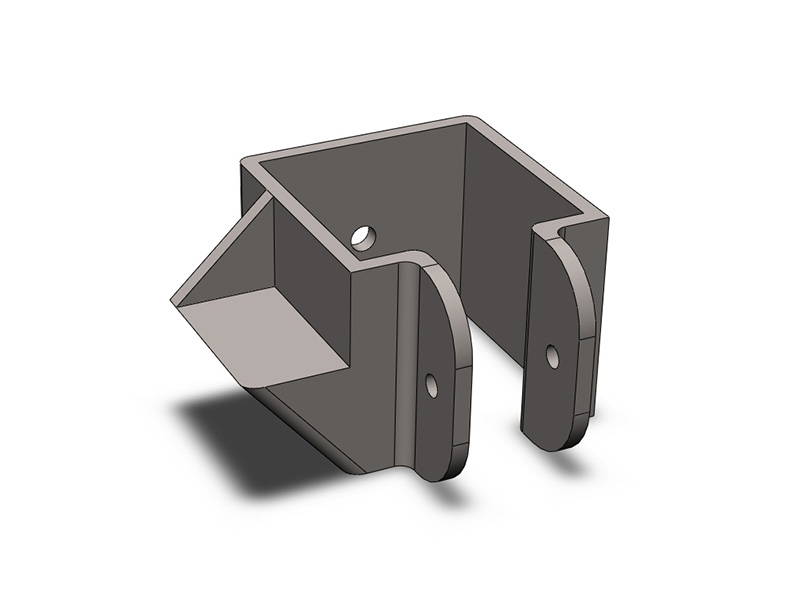
An attentive reader has probably already noticed that a new one has appeared here, 7/8/9 details. These details hold the panel in the middle of its length, center it relative to the leg and pull it towards it. They are slightly different from the lower starting ones in the absence of a supporting shelf.
They look like this:

Actually, I think this article can end and share the models with you.
A complete set of files for printing are posted on Thingiverse.
I would be glad if my development is useful to someone in everyday life. Ask all questions, wishes and suggestions in the comments, I will answer everything.
* This development is provided to everyone exclusively for non-commercial use, in other cases you can contact me as the author.