Flutter is endowed with great possibilities for easy customization of the user interface.
Today we will try to cover the most important things that can be useful to you in terms of creating an application design.
The article does not claim to be complete. It contains only the most important things.
Begin!
Our plan
Part 1 - introduction to development, first appendix, concept of state;
Part 2 - pubspec.yaml file and using flutter on the command line;
Part 3 - BottomNavigationBar and Navigator;
Part 4 - MVC. We will use this particular pattern as one of the simplest;
Part 5 - http package. Creation of the Repository class, first requests, listing of posts;
Part 6 - working with forms, text boxes and creating a post.
Part 7 - working with pictures, displaying pictures in the form of a grid, receiving pictures from the network, adding your own to the application;
Part 8 (current article) - creating your own theme, adding custom fonts and animations;
Part 9 - a little about testing;
Adding custom fonts
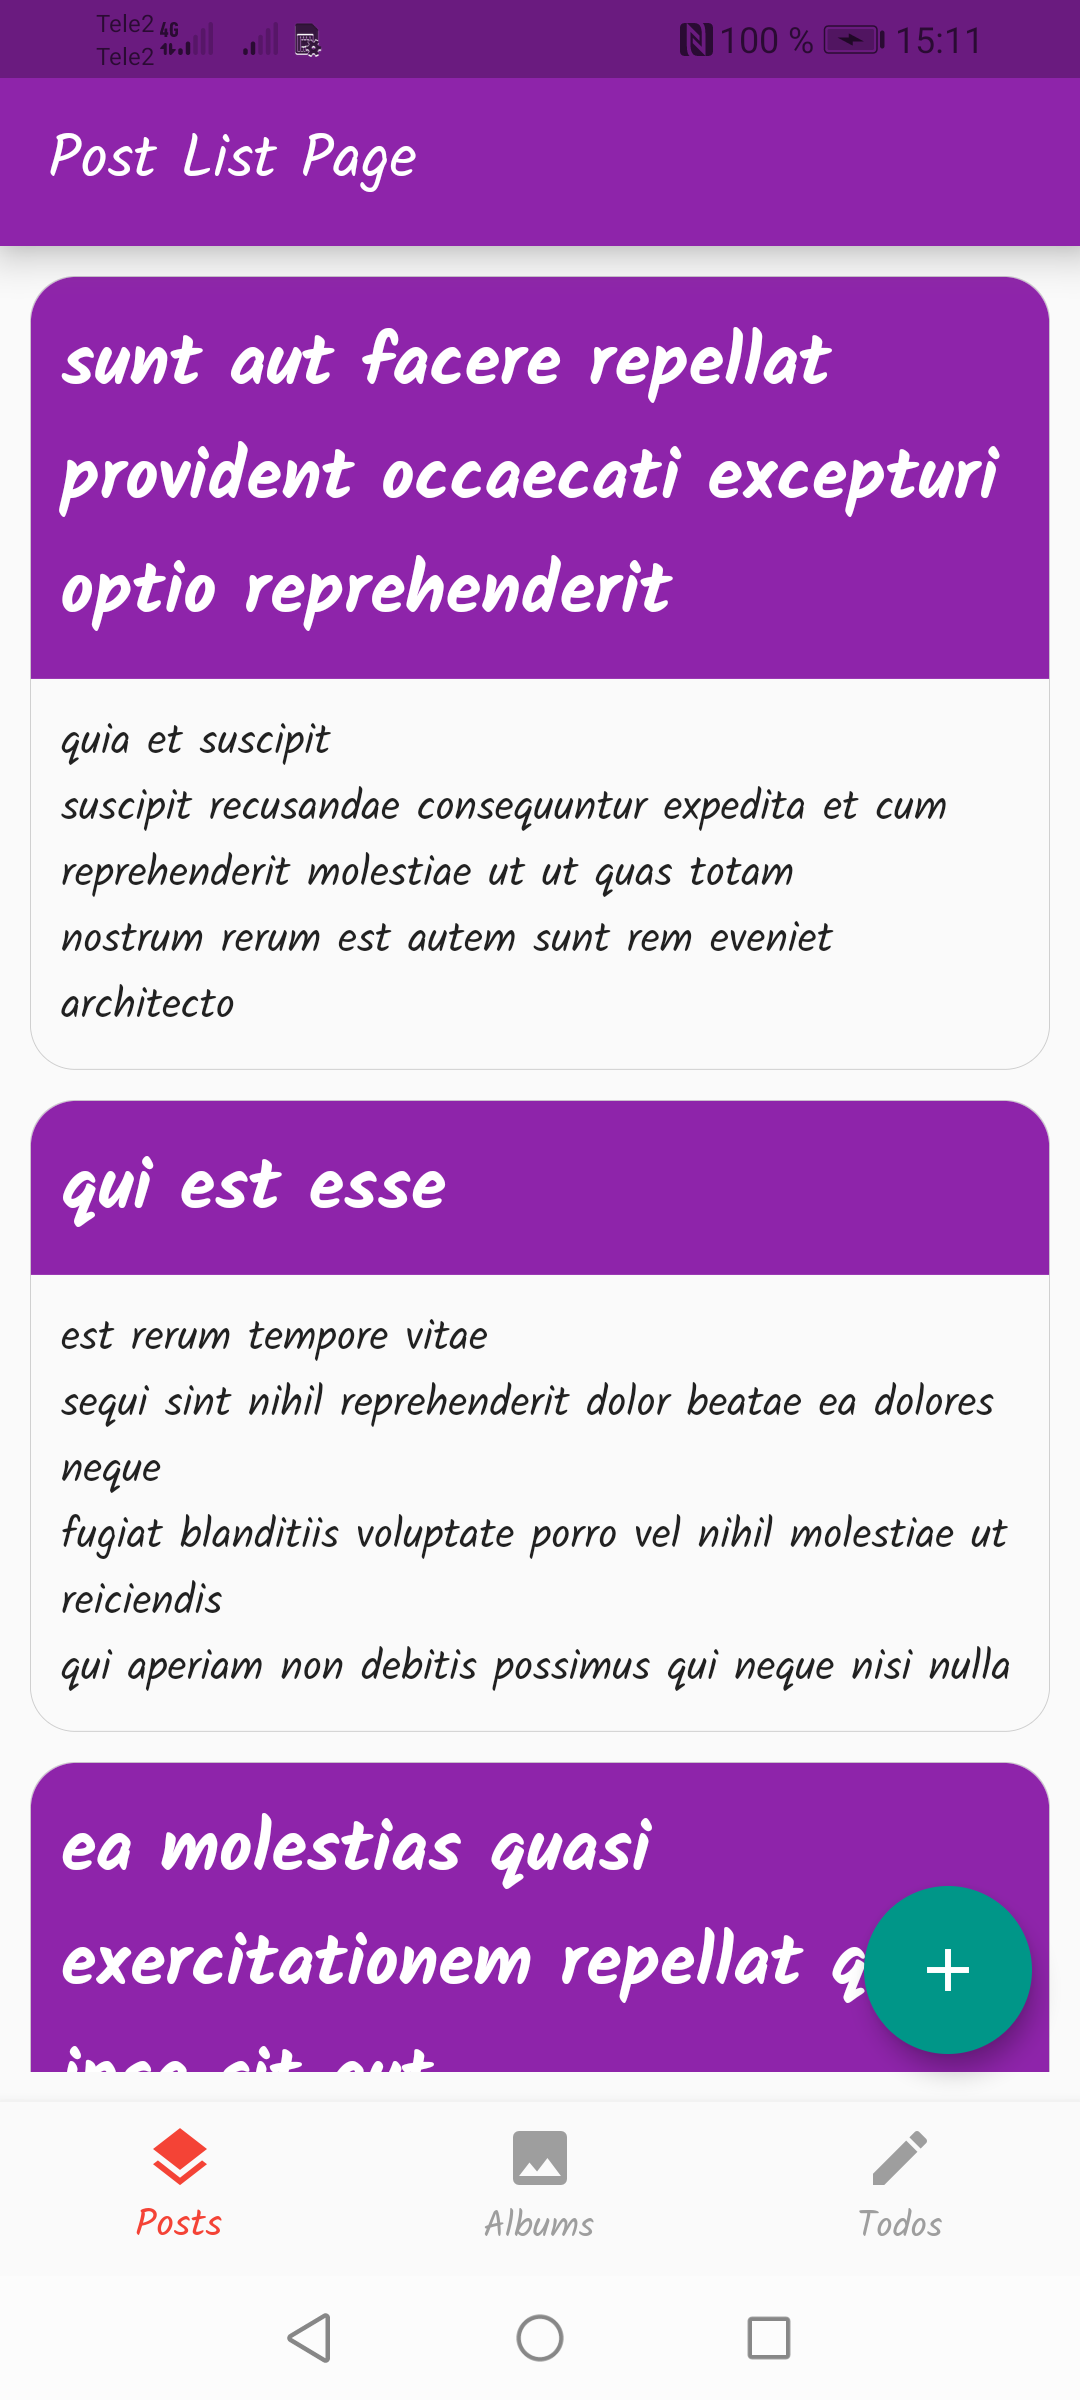
Let's try to change the font of our Flutter application.
Go to the Google Fonts website and download the Kalam font .
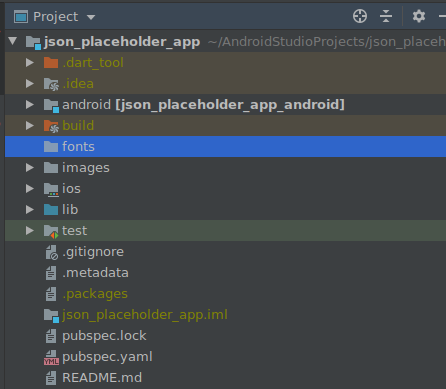
Next, let's create a folder fonts
at the root of our project:

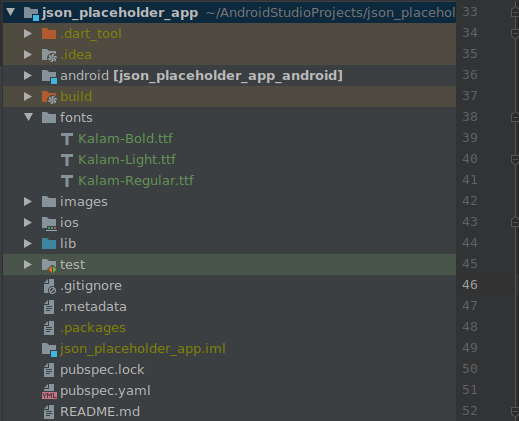
And put our fonts there:

Now let's write the font Kalam
in the pubspec.yaml
file:
# assets flutter: # , MaterialApp # Material Design uses-material-design: true # fonts: # - family: Kalam fonts: # # - asset: fonts/Kalam-Regular.ttf style: normal - asset: fonts/Kalam-Bold.ttf weight: 700 style: normal - asset: fonts/Kalam-Light.ttf style: normal weight: 300 # images # / , # images assets: - images/
Do not forget to execute the pub get
command.
Now we can start customizing the theme.
Application theme customization
If you have experience in native Android development, then you can probably understand me.
One of the most important problems in native development is the support of more than 2 themes in the application.
Perhaps 3 or more topics - this is not as common a case as I think.
But still, out of the box in Android, this is not so easy to do. You will have to expand from standard components and do various things (Observer pattern, working with Drawable in code).
Fortunately, Flutter doesn't have such problems.
. resources,
theme.dart
:
import 'package:flutter/material.dart';
//
final usualTheme = ThemeData(
// primaryColor
primaryColor: Colors.purple[600],
primaryColorLight: Colors.purple[300],
primaryColorDark: Colors.purple[800],
// accentColor
accentColor: Colors.teal,
// Theme AppBar
appBarTheme: AppBarTheme(
shadowColor: Colors.grey.withOpacity(0.8),
elevation: 10,
),
// Theme Text
textTheme: TextTheme(
headline5: TextStyle(fontWeight: FontWeight.bold)
),
//
fontFamily: "Kalam"
);
primaryColor
accentColor
Material Design.
main.dart
:
class MyApp extends StatelessWidget {
// build
@override
Widget build(BuildContext context) {
// MaterialApp - ,
//
// Material Design .
return MaterialApp(
//
// ,
title: 'Json Placeholder App',
//
debugShowCheckedModeBanner: false,
//
theme: usualTheme,
//
home: HomePage(),
);
}
}
.

!
, .
:)
, Flutter UI .
:
!