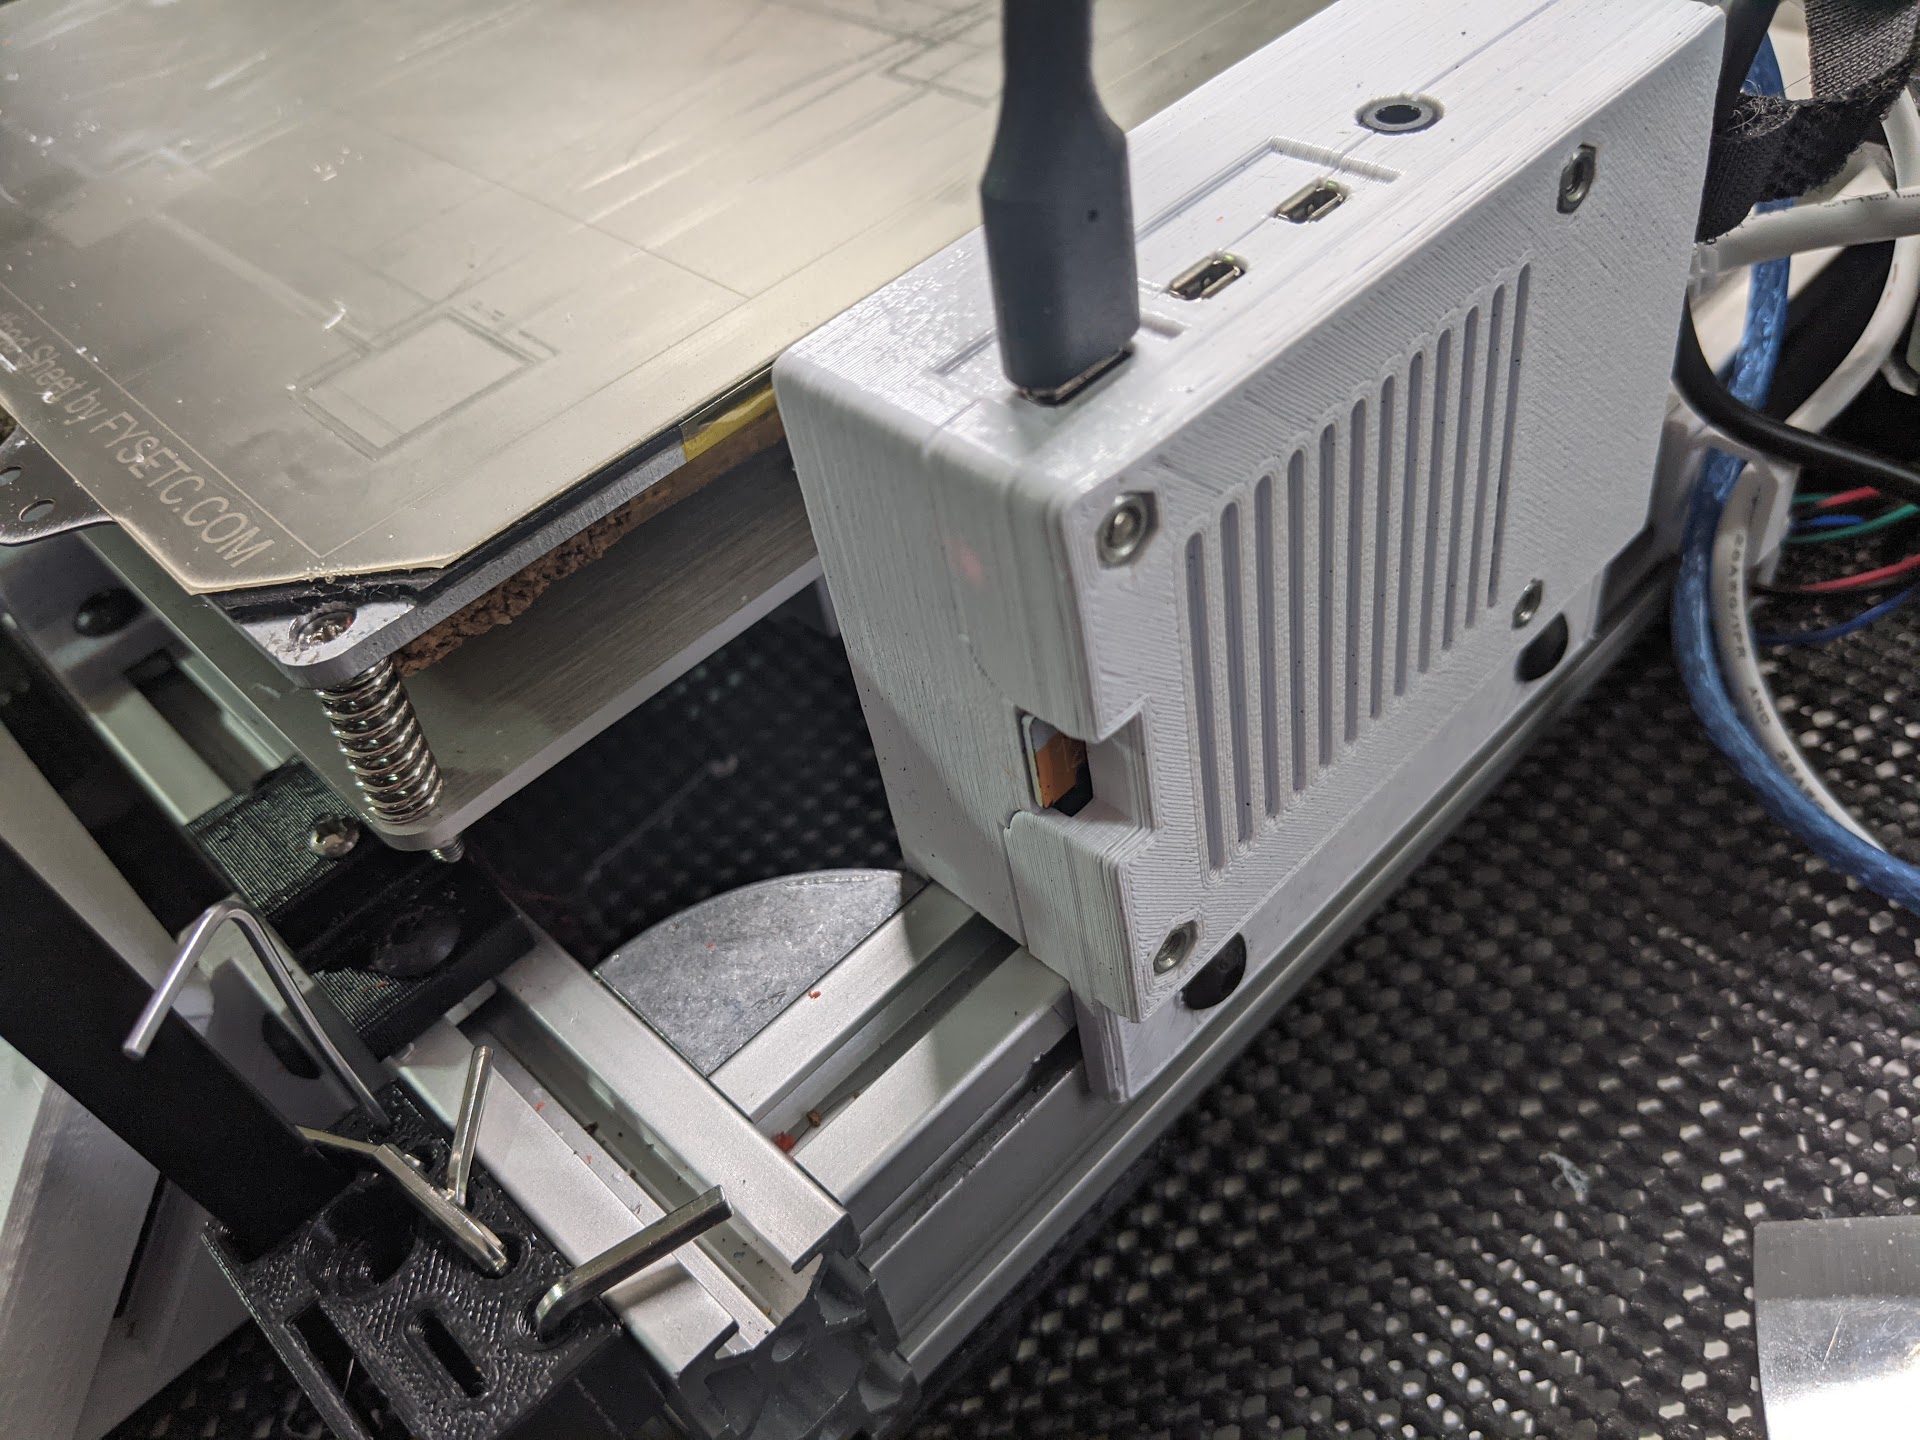
Until recently, the T-slot profile was not the most popular, but after it was used in the design of many models of 3D printers, it appeared everywhere and everywhere. Now it is used to assemble the same 3D printers, laser cutters, CNC machines.
In addition, the profile is suitable for the manufacture of workbenches, lighting fixtures, even frames for photographs, if, of course, such an idea arises. Let's explore the capabilities of the profile a little and see what, in addition to purely building needs, it can be used. The first part deals with the profile and connection features.
Why is the profile convenient?

In general, if you have straight arms, then you can build the necessary structures from anything, including wood, rebar or ordinary aluminum. The good thing about the profile is that it is relatively inexpensive and can be easily modified. All the master needs is a device for cutting a profile and a drill for drilling holes in it. It may also be useful to use a device for cutting internal threads - sometimes it is necessary. With all of this, you can assemble anything from small structures to large-scale systems.
But one profile is not enough - you also need specific parts such as fasteners, nuts, bolts, ties and other accessories. A big plus is the presence of a 3D printer on the farm - many of the necessary elements can be printed independently.
Types of profiles and their features
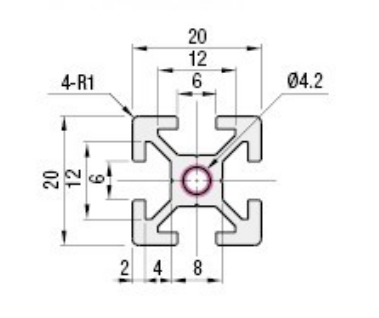
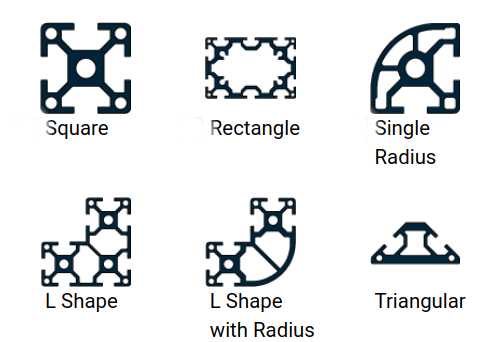
Speaking of "profile" we mean simultaneously several types of aluminum products with different geometries. The most common profile is in the form of a square or rectangle. The most common type is a profile with a square cross-section, a longitudinal hole in the center and T-shaped slots for "connecting" a variety of objects.

By the way, there are profiles made according to the metric system, and there are - according to the imperial system. The profile (in this case, square) is called by its dimension. For example, a square profile with a side length of 20mm will be called a 20X20 profile. Officially, such a profile is called "aluminum machine profile 20X20".

Of course, there are other profile shapes, some of which are quite exotic. There are profiles with a semicircular body, there are - with a triangular one. Each form has its own purpose, it all depends on the purpose of the master and the project. An example of such a project is below. Its authors, a married couple, collected a chic table from a profile and chipboard.
Fastening to the profile
Most often, accessories such as legs or brackets are attached to the profile using bolts and nuts that are inserted into the grooves. For fastening, the master must have access to the open end of the profile groove. If you need to insert an additional accessory between two other nuts or the groove is blocked by a bracket, the matter becomes a little more complicated - you will have to disassemble the structure. True, such issues are also solved with the help of a T-nut, this is a popular fastener that provides a reliable connection in any profile in systems made of any materials. More on this below.

The easiest way is to immediately screw the bolt into the bracket, screw on the nut, then insert the structure into the profile groove, install it in place and then tighten the nut. The length of the bolt should be taken into account here - it should be such that it passes through the bracket and nut without touching the profile on the other side. For example, if the bracket is 10mm thick and the nut is 6mm thick, then the bolt length should ideally be 15mm. If the bolt is too short, then it will not be possible to secure the part securely, moreover, the nut may simply slip off at the most unexpected moment.

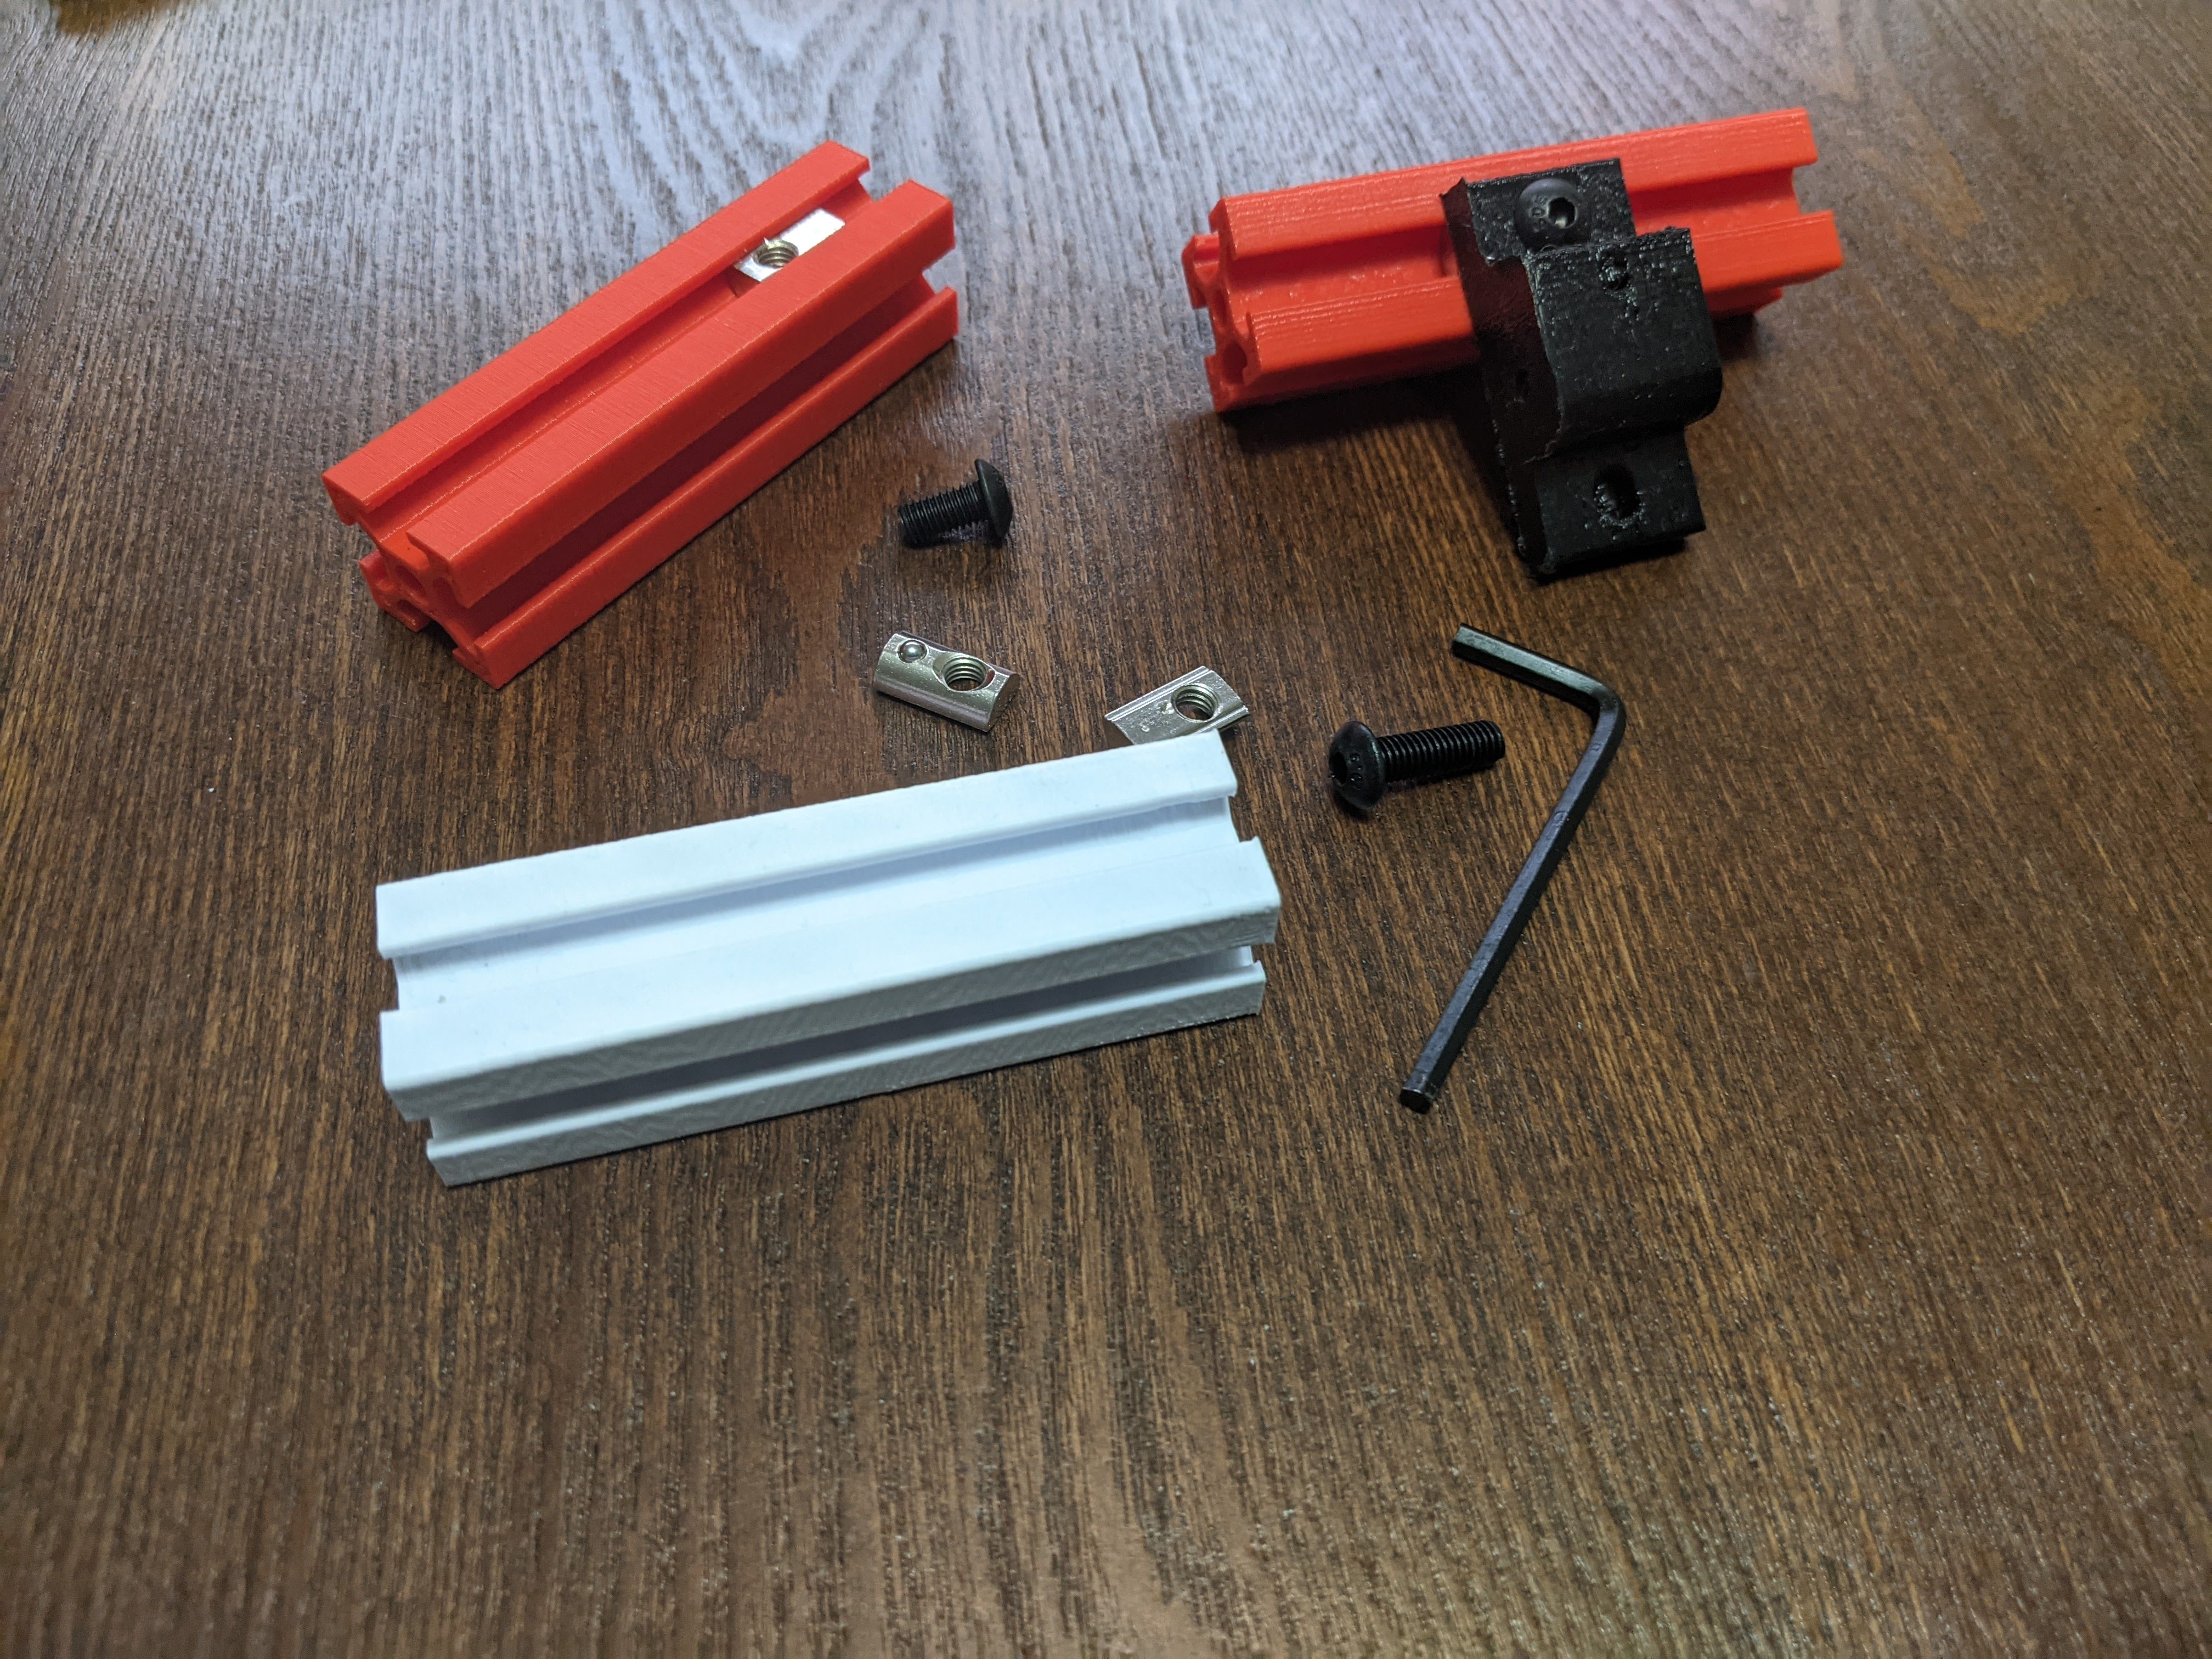
As far as T-nuts are concerned, they have a big advantage over any other. If both ends of the profile are already occupied or for some other reason it is impossible to insert the fastener into the groove from the open end, the T-nut comes to the rescue. It fits into the groove without problems, and then, when the bolt is tightened, it turns 90 degrees and gets stuck in the groove. There are specialized nuts with springs or set screws. There are also T-head bolts.
Connecting profiles to each other
If necessary, the ends of the profiles can be securely fastened to each other using special connectors. Most of the connection options are shown here in this video:
The fixings for the profiles are made of aluminum or steel. If possible, they can be printed on a 3D printer, taking into account, of course, the goals and characteristics of each mount.
In the simplest case, you just need to connect the profile using a linear connector - a strip of metal that is inserted into a slot (slot).
The ends of the profiles can also be fixed without the use of fasteners. In this case, a bolt is used, for which it is required to drill holes in the profiles to be fixed, insert the bolt and tighten it.
Accessories
There are a huge number of them, they are sold in the same place as the profiles. There are pads, legs, rollers, springs, handles and hinges, as well as other elements. Any 3D printing site has files of both these and any other elements for fasteners. These can be coil holders, tool holders, lamps, etc.
The main thing to remember when using such an element is that you need a nut to secure it, so print or purchase a sufficient number of them.
Where can I get a profile?
The profile can be bought in many building and / or specialized stores. If it is possible to cut a profile, then it is better to buy a set of new profiles, then cutting them according to the drawing / diagram. In some shops / workshops, you can cut the profile as needed - of course, for money.
A little about 3D printing mounts
Brackets and mounts can be printed on a printer, as discussed above. If you have enough plastic, you can print the profile itself. The T-nuts mentioned above can also be printed.

But you have to be careful here. No matter how good and high quality your printer is, plastic parts will never be as strong as metal ones.
Another caveat - profiles from different manufacturers may differ slightly, so the mounts for them will be different. Mounts from manufacturer X may not fit profiles from manufacturer Y.
In the next article, we will tell and show what can be done from a profile, taking into account the information provided here.
