More recently, I came across one of the options for a debug board with SoC Zynq XC7Z020. After searching the Internet for materials, a la how-to, and trying to throw in my minimal project, I discovered that there are a number of pitfalls. This is what I would like to talk about in the article. Who cares - welcome to cat.
Important! Before starting the story, I would like to make a reservation in advance that the main goal that I am pursuing when writing this article is to show amateurs where to start when studying debug boards based on Zynq. I am not a professional developer for FPGA and SoC Zynq and I can make any mistakes in the use of terminology, use not the most optimal ways of solving problems, etc. But any constructive and well-reasoned criticism is only welcome. Well, let's go ...
What kind of debugging is this? Show-tell ...
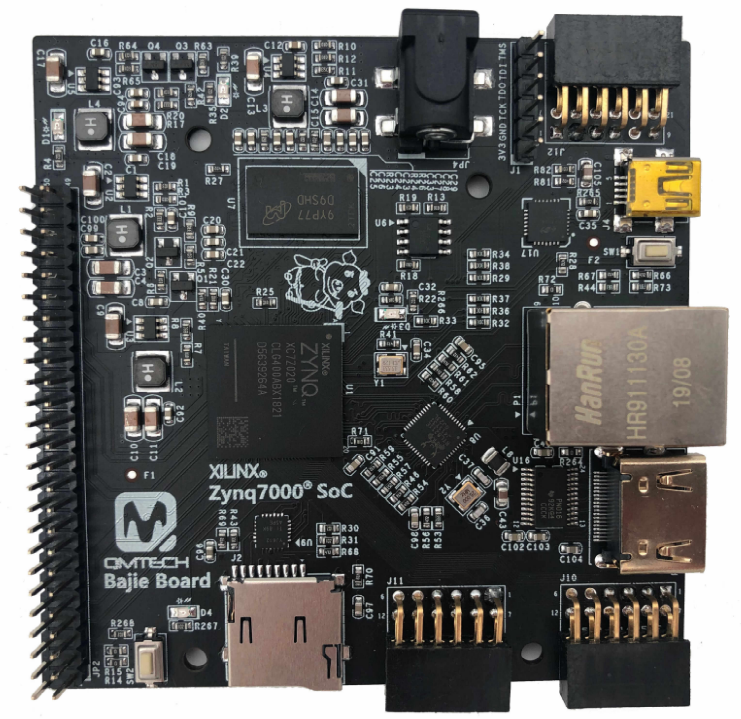
For a very long time I wanted to play with SoC Zynq, but my hands could not reach. But once again googling - I saw that debugging with Zynq on board, from the QMTech company, is being sold for a completely sane price tag, it is called Bajie Board. Debug is available in several flavors with different Zynq SoC flavors. I chose the XC7Z020 version for myself and immediately ordered it, after a couple of weeks I already had it in my hands.
, . , 5/2, mini-USB microSD Flash- SanDisk 16 Linux. , , USB-, Putty mini- Embedded Linux. Linux Zynq, , , ...
, -:
SoC: XC7Z020-1CLG400C
(datasheet:https://www.xilinx.com/support/documentation/data_sheets/ds190-Zynq-7000-Overview.pdf);
33,333 ;
DDR3 512 Micron, MT41K256M16TW-107:P;
micro SD;
FPGA TPS563201 ( 4.5V 17V, 3A);
50- Digilent PMOD , , 2,54 . ( , );
(PS);
RGMII Ethernet- Realtek RTL8211E-VL, PS;
, (PL) (PS);
HDMI- TI TPD12S016;
JTAG-;
.
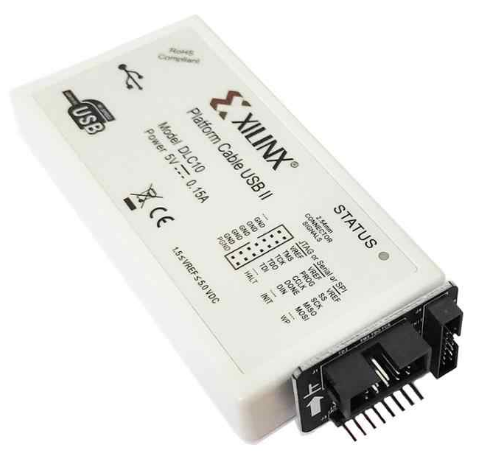
, , - JTAG-. .
, Xilinx Vivado Xilinx SDK. , , Vivado . Xilinx SDK ( Vitis) .
YouTube Vivado 2019.1 ( - , Xilinx SDK) - , 2020.2.
Xilinx Zynq - Xilinx, . , , Vivado - 2020.2, 2020.3 .. Versal SoC, Zynq.
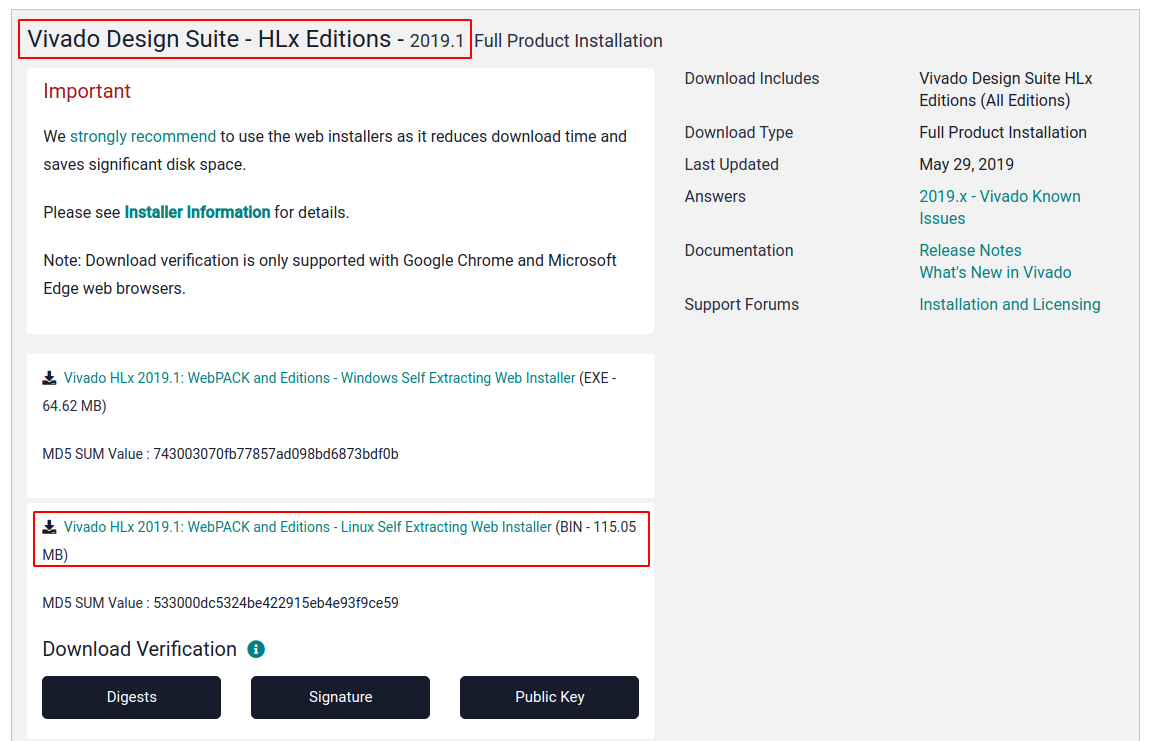
, .. Linux - Vivado Archive - 2019.1 Vivado HLx 2019.1: WebPACK and Editions - Linux Self Extracting Web Installer Vivado Design Suite - HLx Editions - 2019.1. Windows - Windows Self Extracting Web Installer.
, :
chmod +x ~/Downloads/Xilinx_Vivado_SDK_Web_2019.1_0524_1430_Lin64.bin
~/Downloads/Xilinx_Vivado_SDK_Web_2019.1_0524_1430_Lin64.bin
.
, ;
;
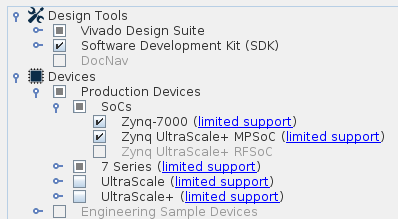
Vivado HL WebPACK;
, SoC Zynq .
16 -, .
Vivado JTAG-. Linux :
cd Xilinx2019.1/Vivado/2019.1/data/xicom/cable_drivers/lin64/install_script/install_drivers/
sudo ./install_drivers
6 JTAG- . :
cd ~/Xilinx2019.1/Vivado/2019.1/bin
./xsdb
xsdb% connect -host localhost
xsdb% jtag targets
  1  Platform Cable USB 13724327082b01
     2  arm_dap (idcode 4ba00477 irlen 4)
     3  xc7z020 (idcode 23727093 irlen 6 fpga)
.
Hello, world “ ”
LED- .
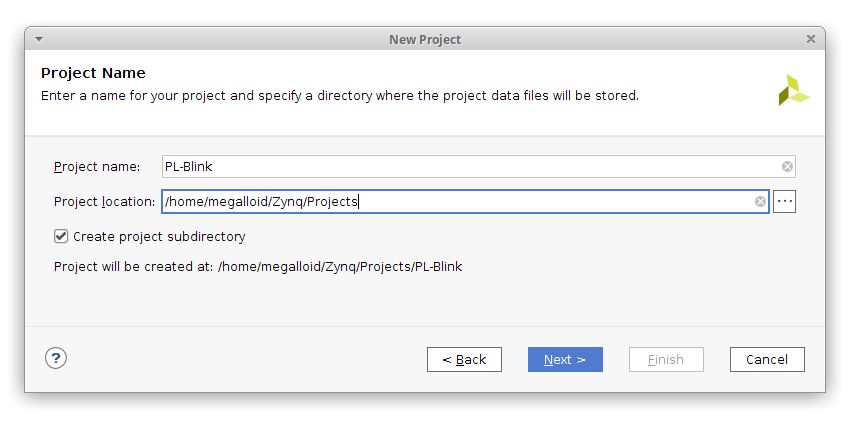
Vivado . File - Project - New…
, Next > PL-Blink.
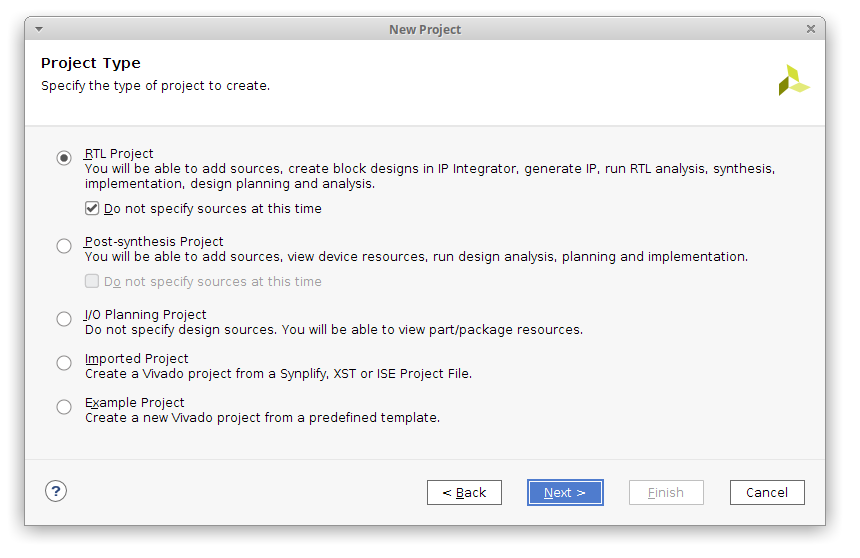
RTL Project Do not specify sources at this time.
xc7z020clg400-1.
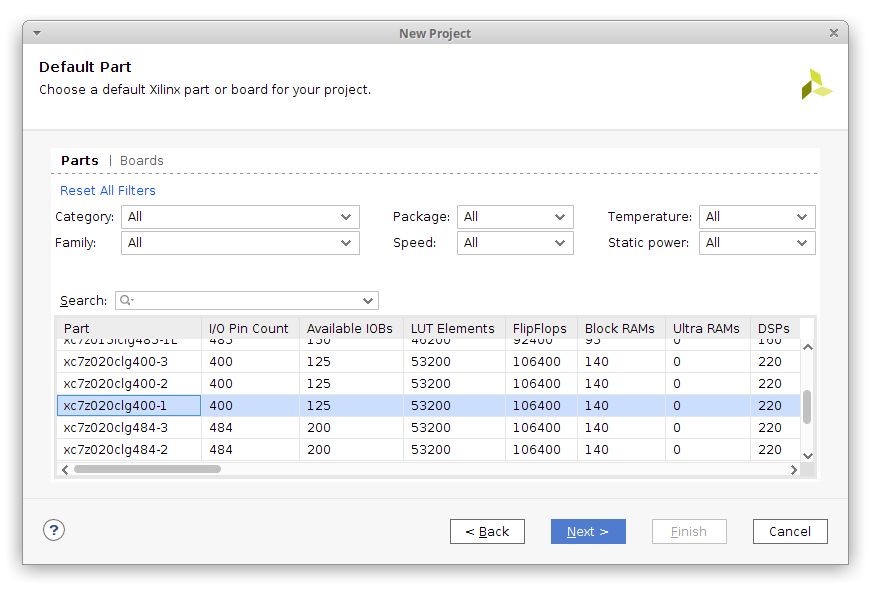
Finish.
Vivado !
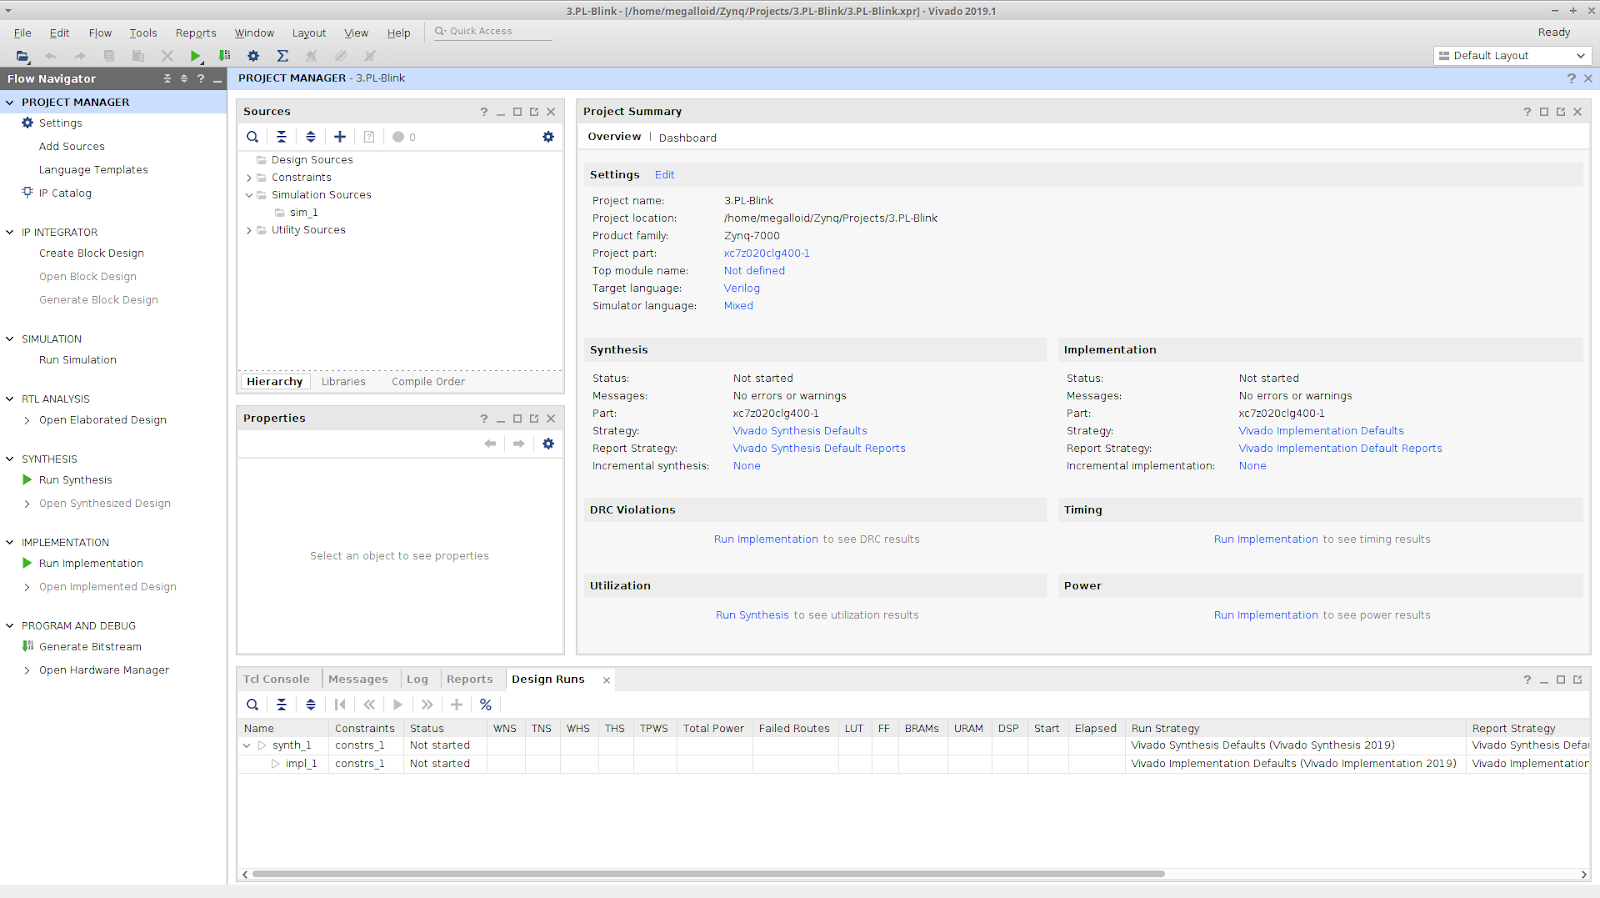
, , , =)
Sources Add Sources.
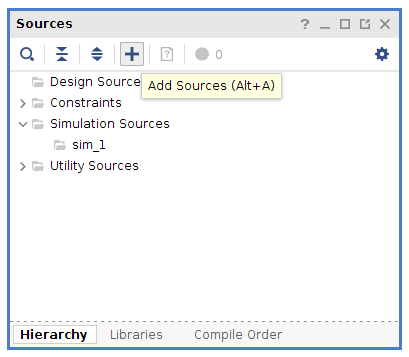
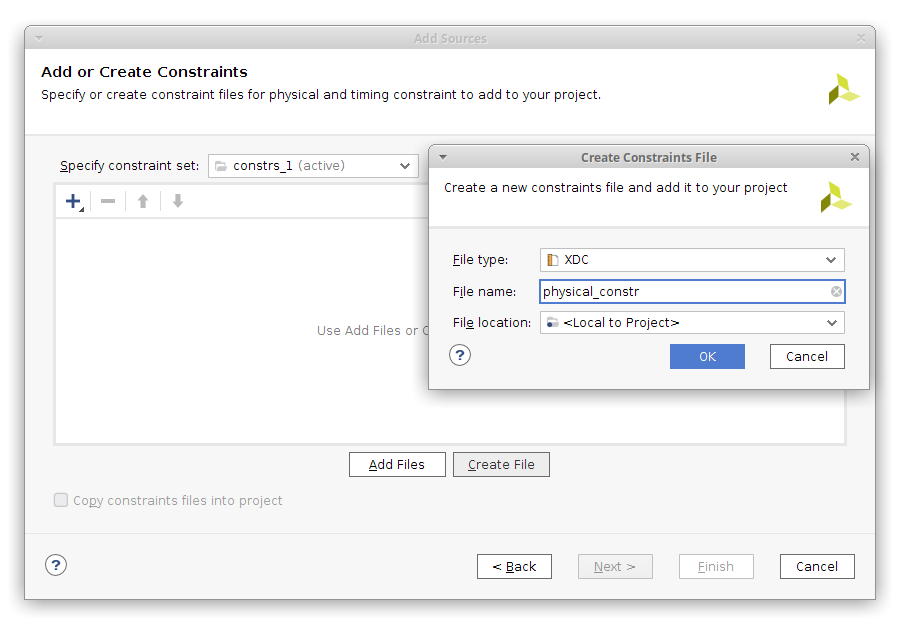
Add or create constraints.
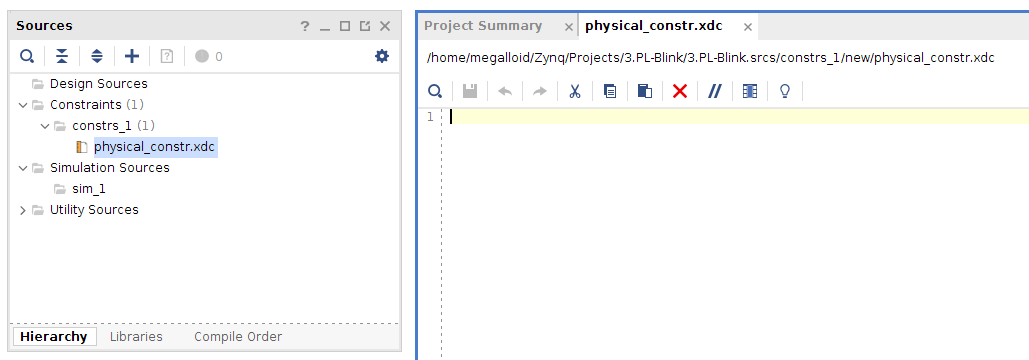
Create file physical_constr. .
Finish Soures :
, , . , , Ethernet- RTL8211E-VL PLL, 125 H16 (IO_L13P_T2_MRCC_35). ? =)
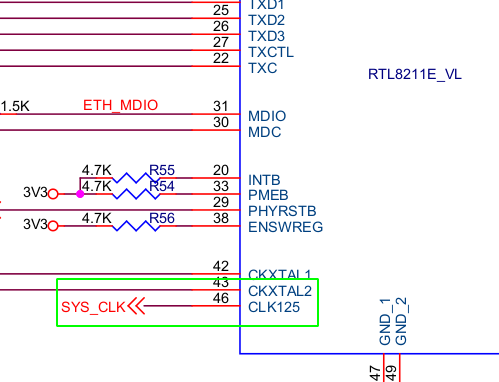
, .
, , H17 (IO_L13N_T2_MRCC_35) , .

. constraints- :
# User LED and Clock
set_property IOSTANDARD LVCMOS33 [get_ports led_h17_d4]
set_property IOSTANDARD LVCMOS33 [get_ports sys_clk]

set_property PACKAGE_PIN H17 [get_ports led_h17_d4]
set_property PACKAGE_PIN H16 [get_ports sys_clk]
, , , , .
, get_ports ( ). , Verilog-.
, Physical Constraints 8.
Design Source. Sources Add Sources.

Add or create design sources. Create File, , Verilog. Finish.
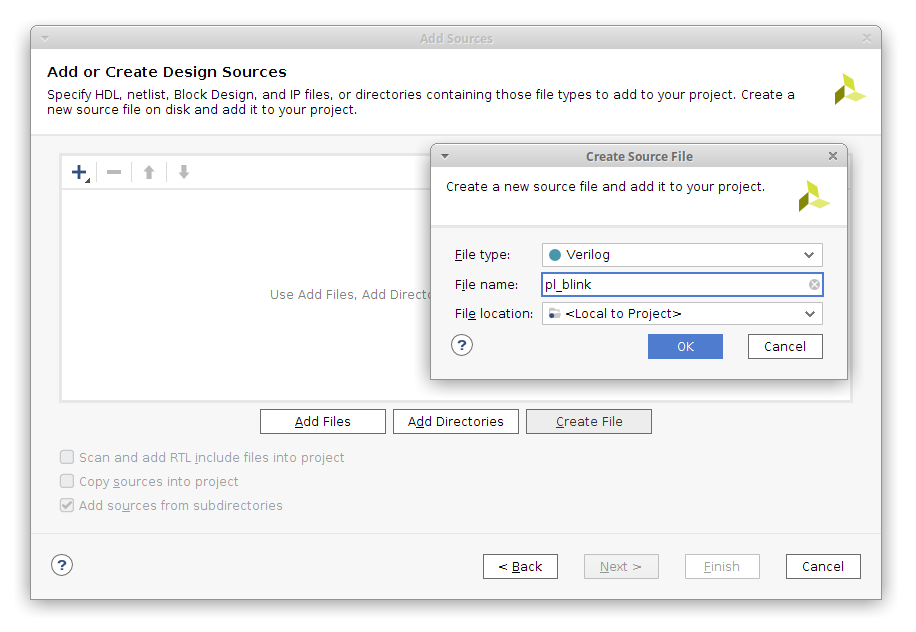
Yes.

:
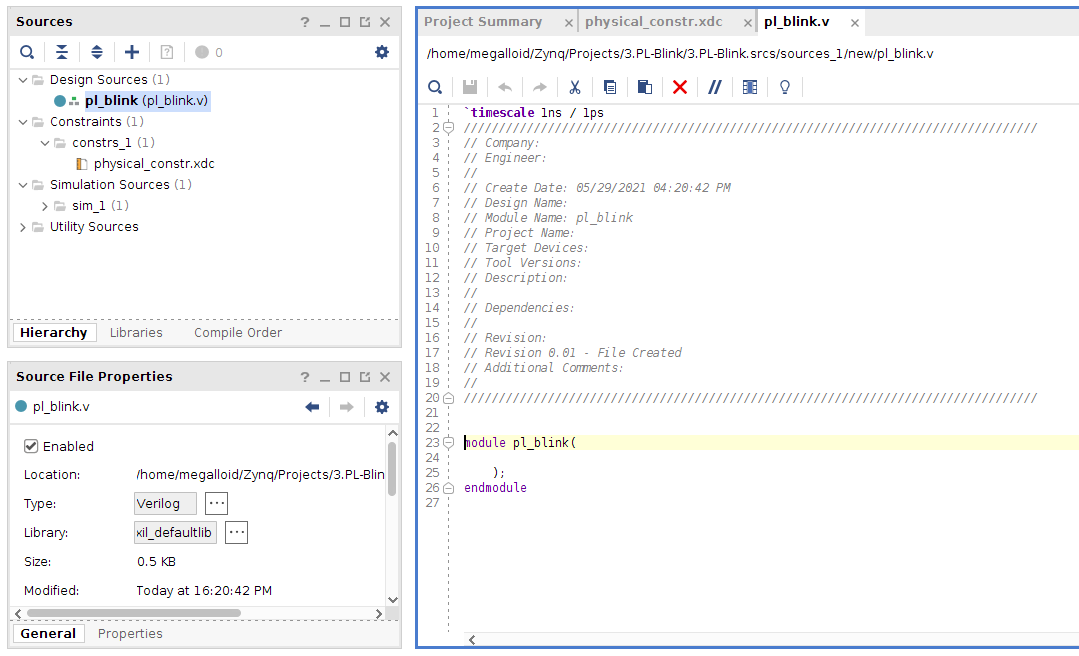
Verilog- :
//  ,         Verilog.
//  ,      .

`timescale 1ns / 1ps

//   - (   ++)
module pl_blink(input sys_clk, output led_h17_d4);

//
reg r_led;

//      ,
reg [31:0] counter;

//
initial begin
    counter <= 32'b0;	//
    r_led <= 1'b0;		//
end

//    ,
always@(posedge sys_clk)
begin
    counter <= counter + 1'b1;	//

    if(counter > 12000000)		//
    begin
        r_led <= !r_led;		//
        counter <= 32'b0;		//
    end

end

assign led_h17_d4 = r_led;          //     ()

endmodule
Ctrl + S . , . - , Zynq .
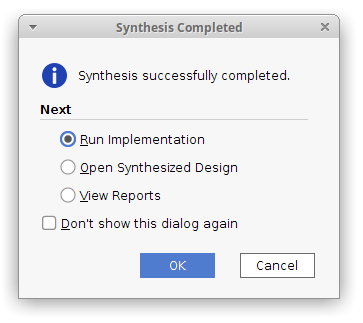
Run Synthesis . , :
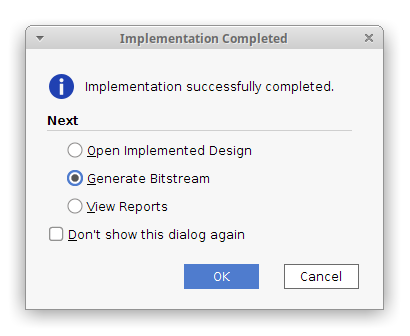
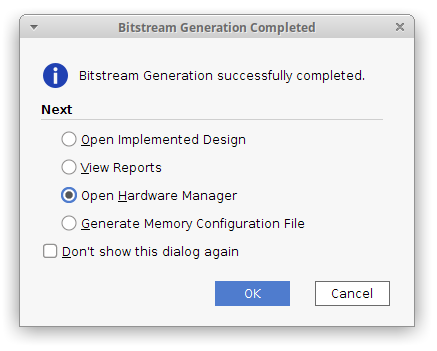
Run implementation . Generate Bitstream :
, , Open Hardware Manager :
Hardware Manager Auto connect, :
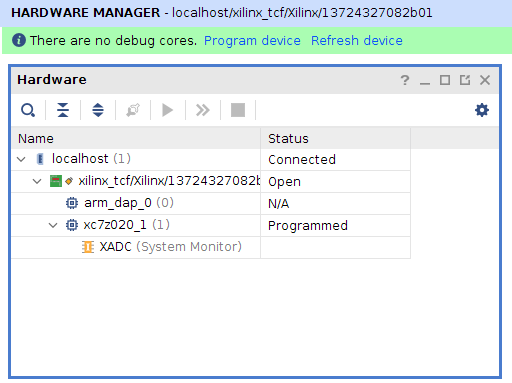
In the menu on the left or by right-clicking on xc7z020_1 in the Hardware menu, click the Program Device item .
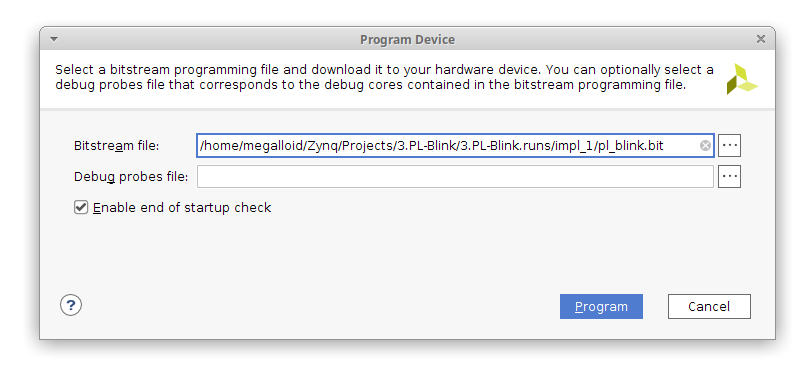
In the next window, make sure that the path to the bitstream file is correct and click the Program button.
The program is uploaded to our board ...
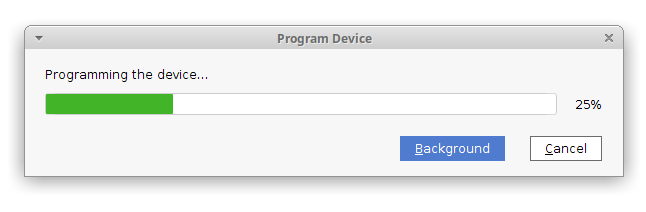
And after a moment, the D2 LED on the board lights up, which informs us that “FPGA DONE” and at the other end of the board we see a cheerfully blinking LED. =)
In general, the task can be considered completed. I think that as I master the Verilog language and solve any new problems using this board, I will be able to please you again.