When ordering a lot of evaluation boards from China, I could not even imagine that there would be defects, flaws and fakes everywhere. All this was terribly confusing to study and sometimes it was hard to understand either my curve code or the controller. Around the same time, I found microcontrollers and other loose products cheaper than in China, while locally in Russia. I immediately fired up to make myself a board and forget about the Chinese clumsy blue pill.
Marriage or a strange idea of engineers
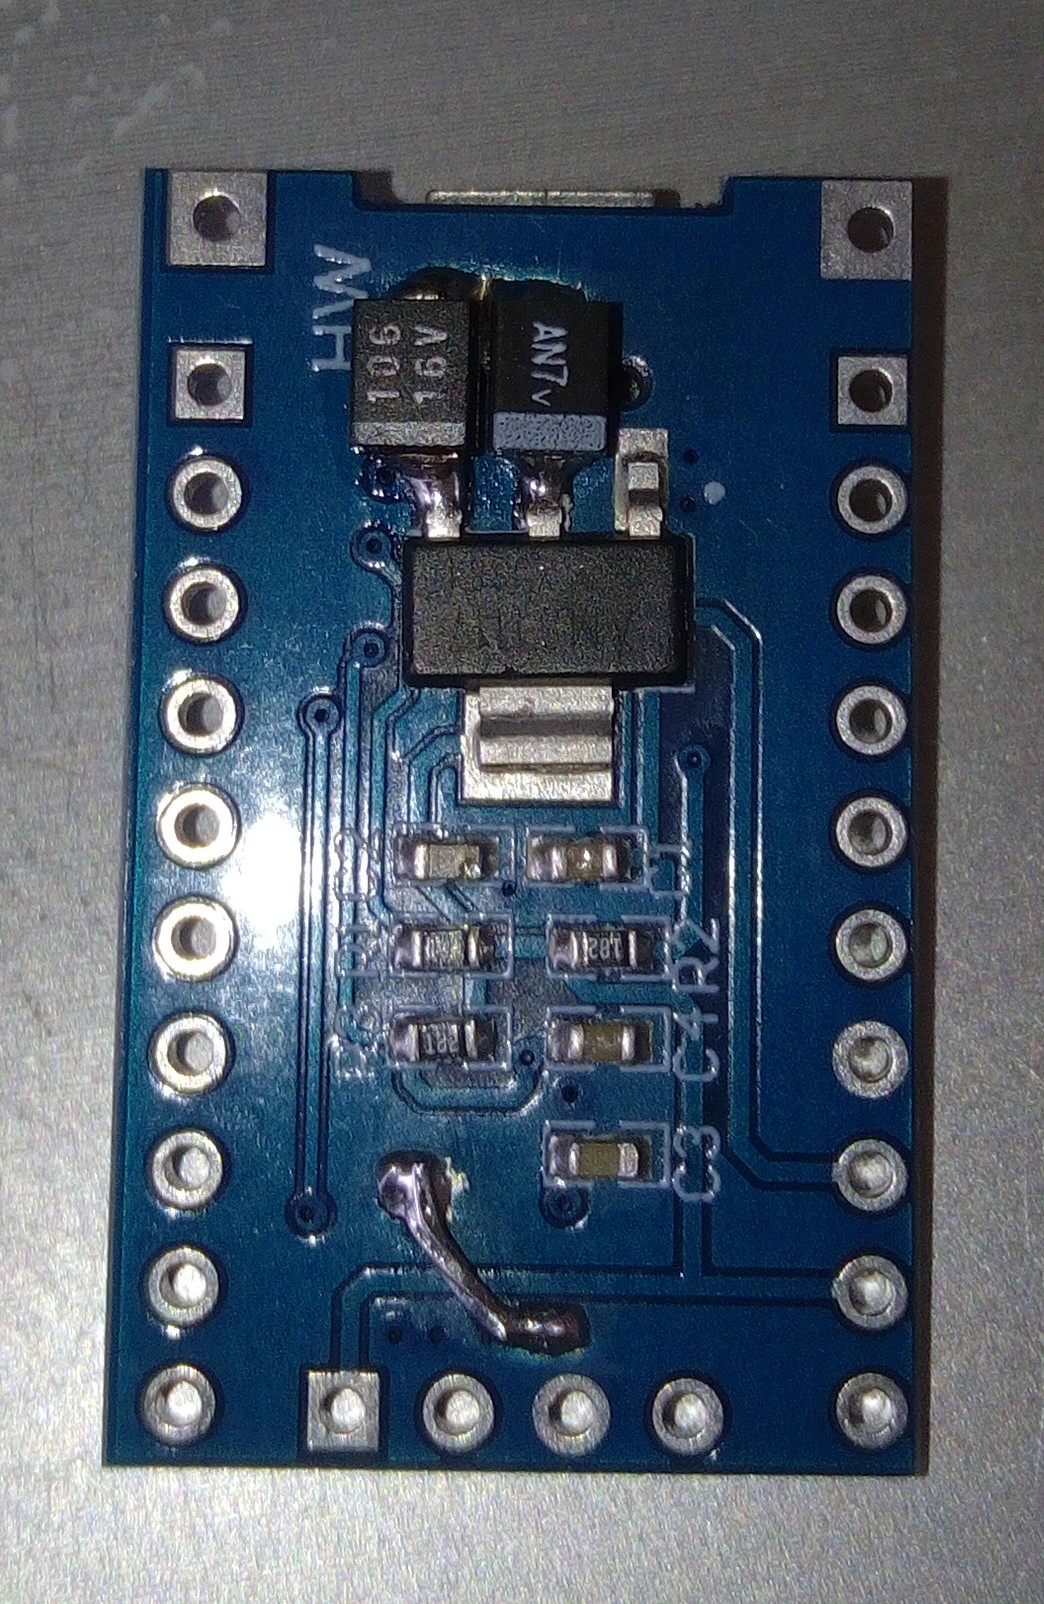
The ground on the legs for the firmware hung in the air, after revision everything was okay.
I was just moving, and because of this, I had a lot of free time, which I used when drawing boards in EDA. It was decided to start with STM8S003F3U6 because I really liked this series of microcontrollers.
The first sketches looked something like this:

At this point, I still did not know that for a normal micro firmware, a pull-up resistor is needed on the reset leg.
It's good that I checked everything on the breadboard before ordering. As a result, I completely redid the board layout, got rid of the one-sided layout, placed an order and waited.
When the boards arrived, the quality pleased me, but there was also a jamb on my part, the text is so small that in some places it is not readable.
Detailed photo of the printed circuit board

, , . 3 .
, , . 3 :
")
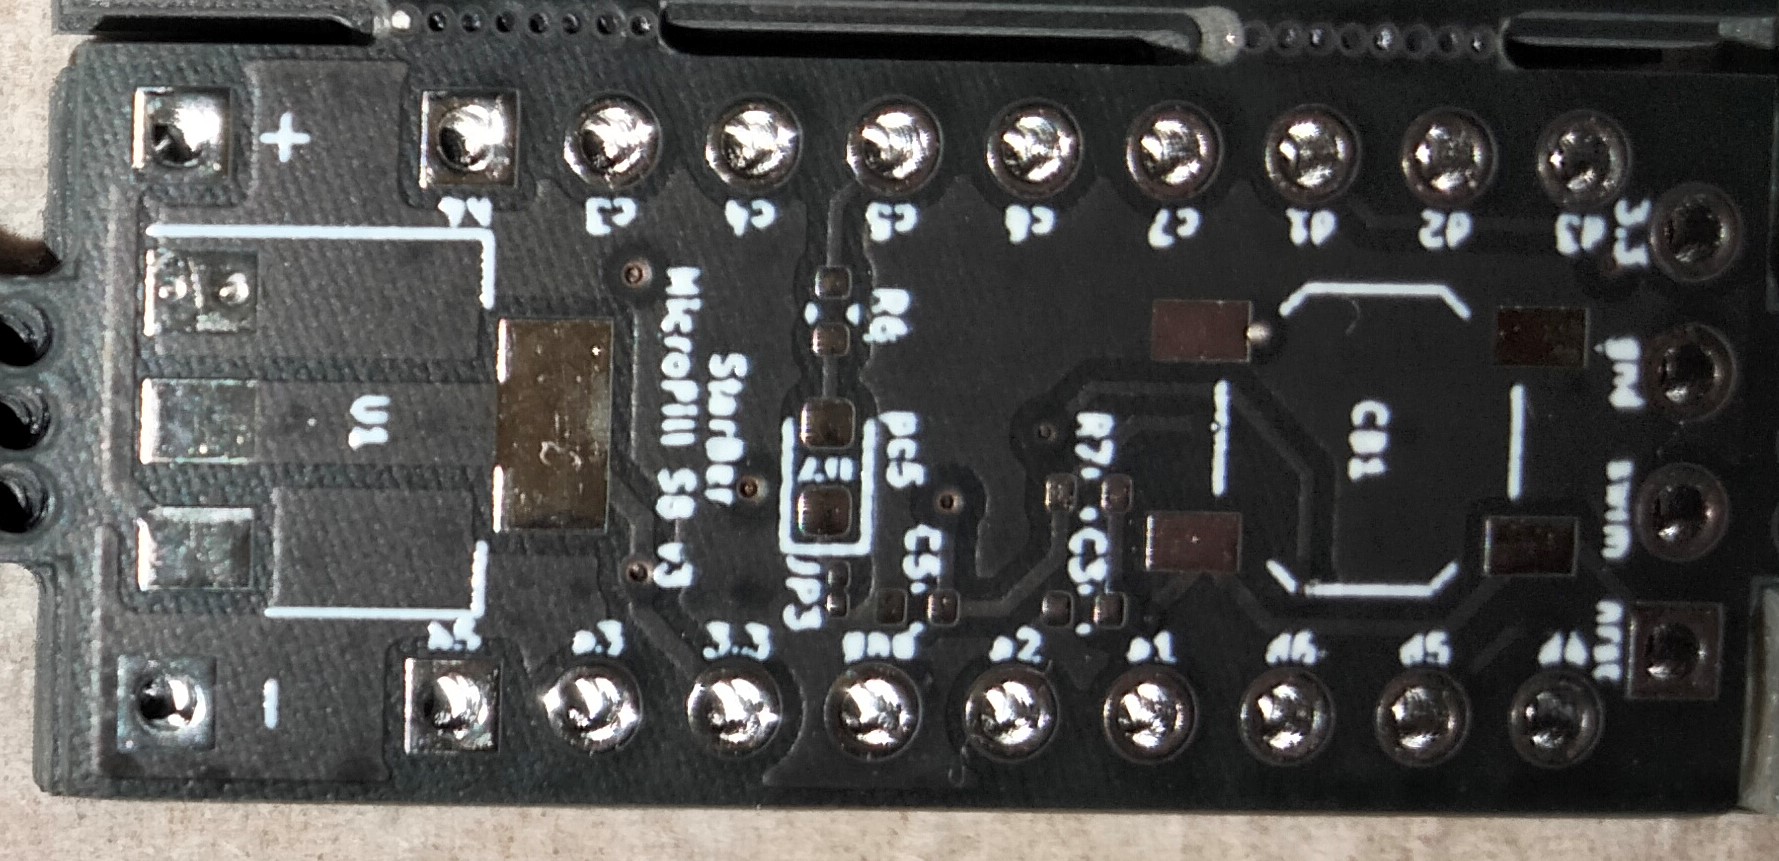
6 . 3 : , 4 GPIO, 1 GPIO() . .
USB , , usb >5 . 16, 14.
5, 3.3, 3.3, - .
, .
, ( ). , , .
, . ( ).
, :

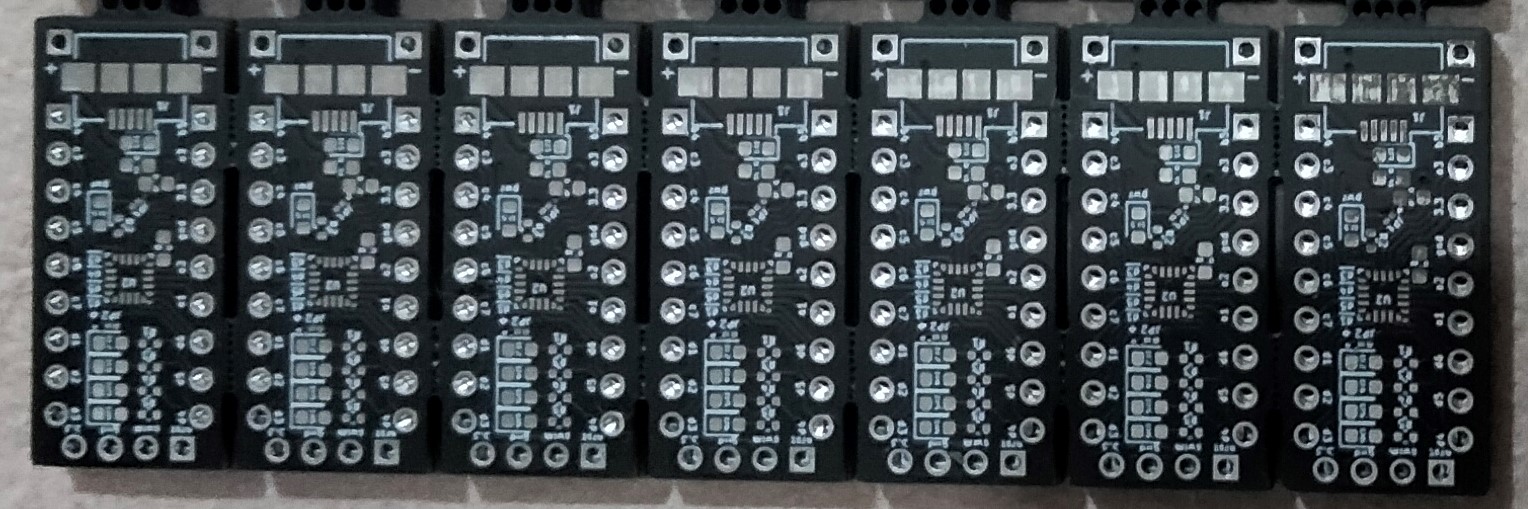
, , 2 . , . , , . 70% .
, usb , .

, , .
, stm32f0 f1 , stm32f4(7) ethernet.
, !

, . !