
Login screen
The login screen for both applications is completely identical. There are two ways to sign in to mobile apps. The first is to enter the account name, password, and server address to log in, the second is to log in using a special QR code that can be generated in the Zimbra OSE web client.
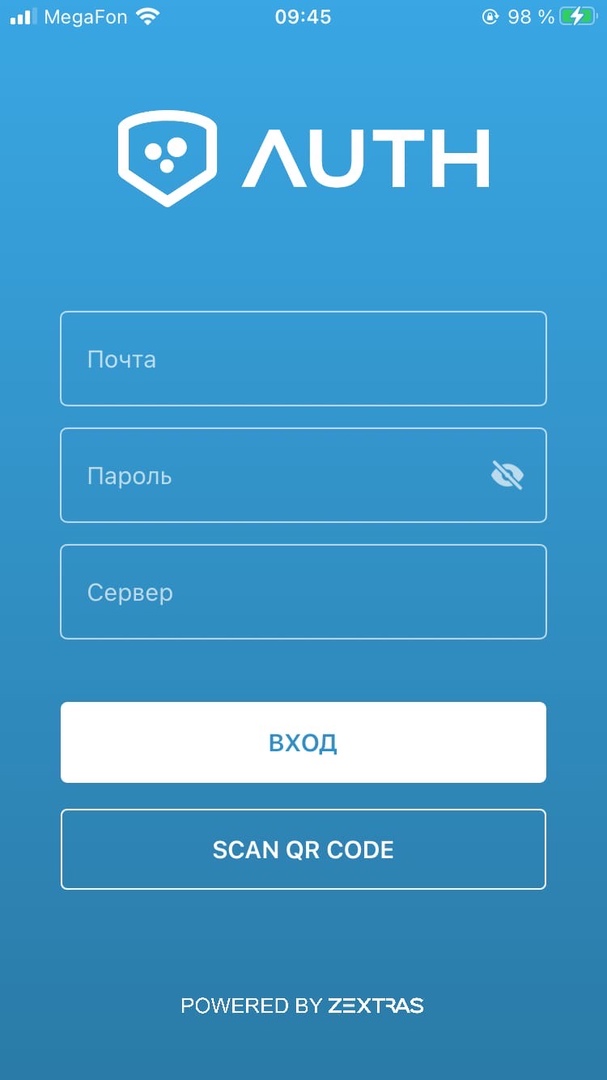
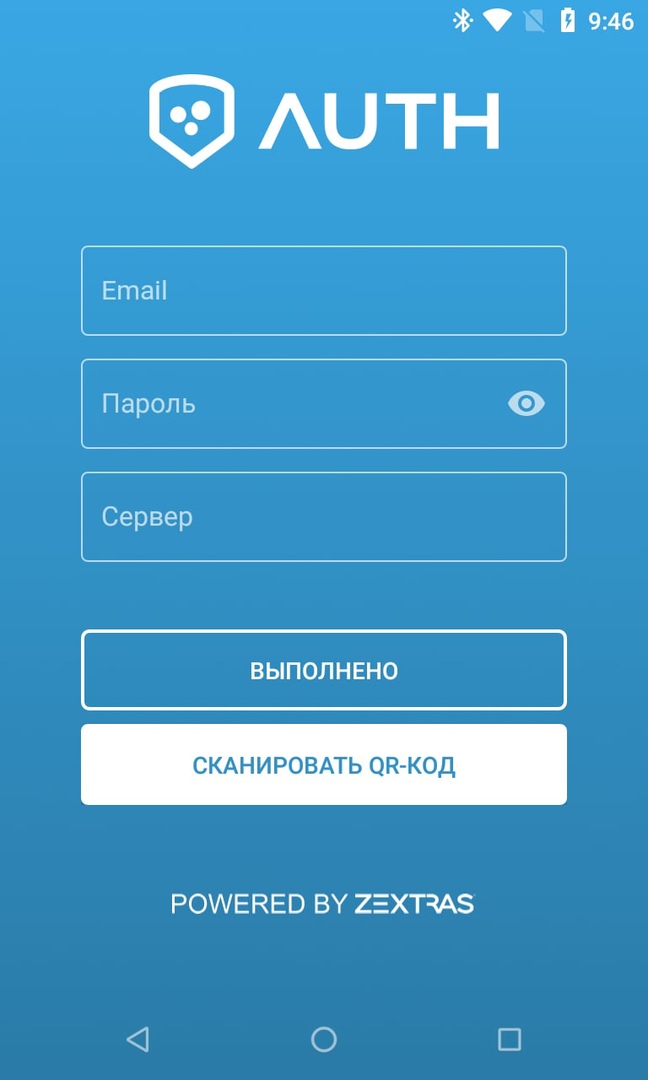
Logging in using a QR code is more secure, as it allows you not to save the username and password on the device. Thanks to this, if the device is lost or even deliberately stolen, attackers will not be able to extract authentication data from it and compromise the user account.
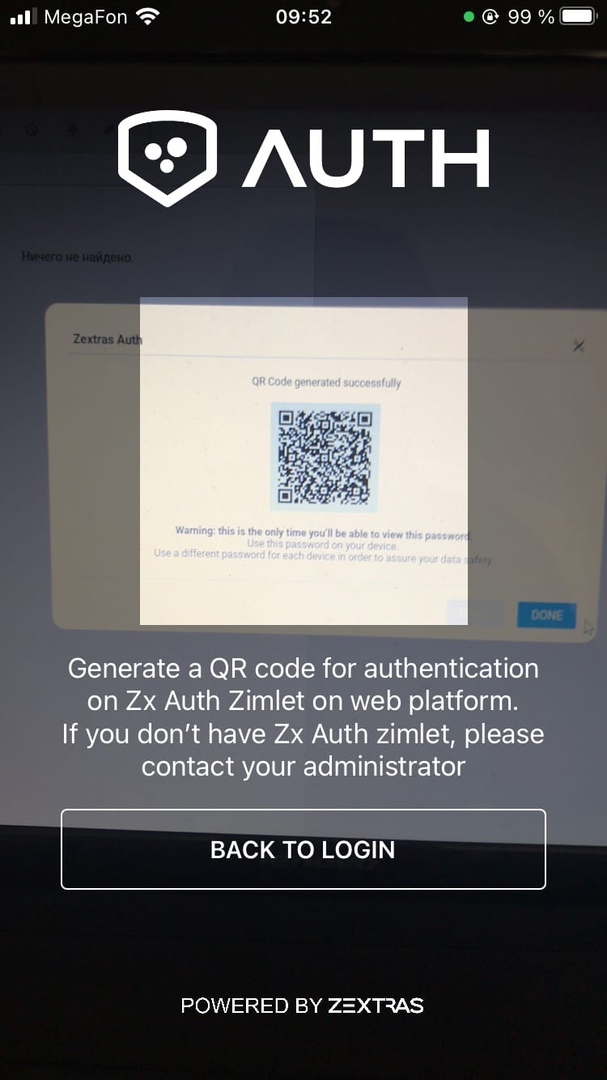
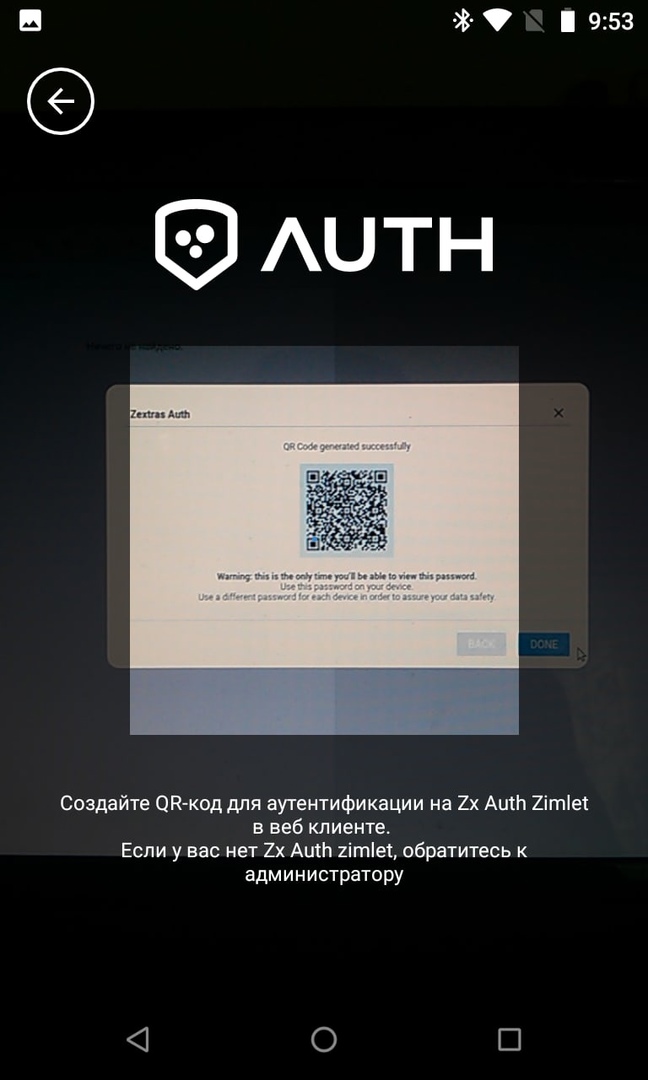
To generate a QR code to enter the mobile application, you need to update Zextras Suite to version 3.1.8 or higher and deploy the Zextras Auth extension. This is done on the command line using the following commands:
sudo su - zimbra zxsuite auth doDeployAuthZimlet zmprov fc zimlet
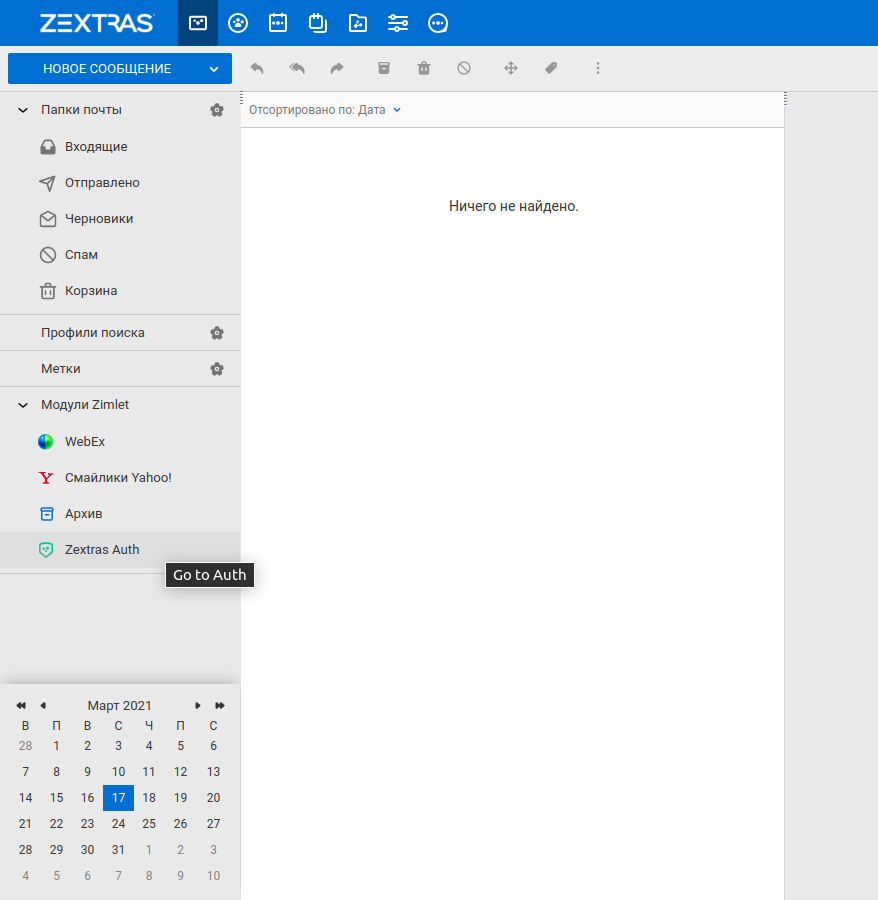
Please note that the zimbraPublicServiceHostname, zimbraPublicServicePort and zimbraPublicServiceProtocol parameters must be configured in Zimbra for Zextras Auth to function correctly and generate QR codes. In our case, these settings will look like this:
zmprov mcf zimbraPublicServiceHostname example.ru zmprov mcf zimbraPublicServiceProtocol https zmprov mcf zimbraPublicServicePort 443

After that, Zextras Auth will appear in the list of zimlets in the Zimbra OSE web client. Clicking on it opens a window that displays the account passwords. Initially, there are no passwords in the list; to add a new password, click on the "New Password" button. In the window that opens, you can specify the name of the application in which the password will be used, as well as its type: text or QR code.
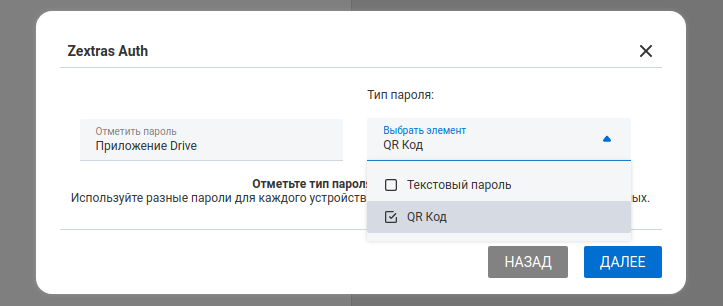
Text passwords are used to connect applications running over the Exchange ActiveSync protocol. The ability to create a separate password for EAS was present in the Zextras Mobile extension before, but now this functionality has been completely transferred to Zextras Auth. The advantage of Zextras Auth is that this extension allows the user to create multiple passwords for multiple applications at once without administrator involvement.
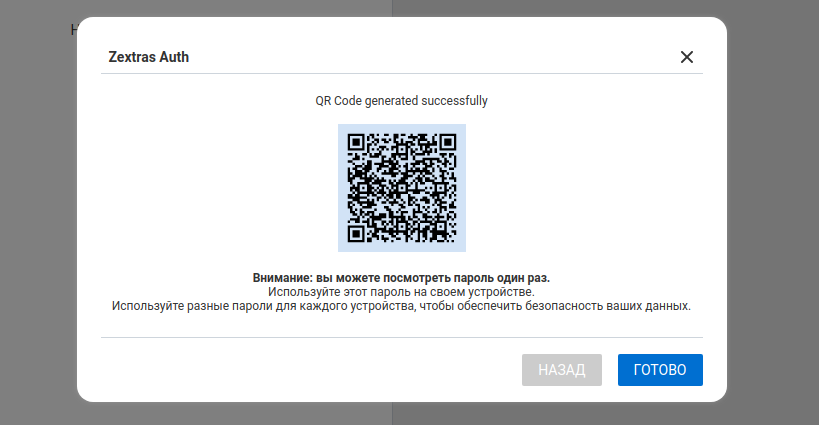
QR codes currently can only be used to connect Zextras Drive and Zextras Team mobile apps. The generated QR-code “burns out” after the first login and cannot be used for a second login.
In order to enter using the QR code, it is enough to press the "SCAN QR CODE" button in the Team or Drive mobile application and point the camera at the monitor screen with the QR code.
Zextras Drive mobile app
Drive mobile apps for iOS and Android differ in appearance, but they have absolutely the same functionality. They allow you to download and upload files to the Zextras Drive storage and share them with other users. Also, Drive mobile apps for iOS and Android allow you to manage data - create folders, copy, move, rename and delete files in the storage.
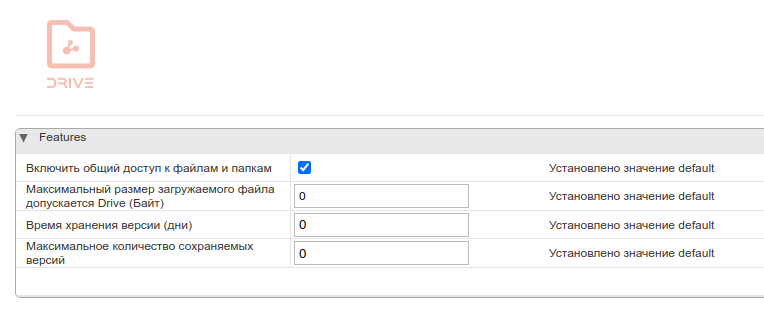
The Zimbra OSE server administrator, using the administrator console, can restrict certain functions to the Zextras Drive user. In particular, he can:
- Enable or disable the ability for a user to share their files
- Limit maximum upload file size
- Limit the storage time of file versions
- Limit the number of saved versions of a file
iOS
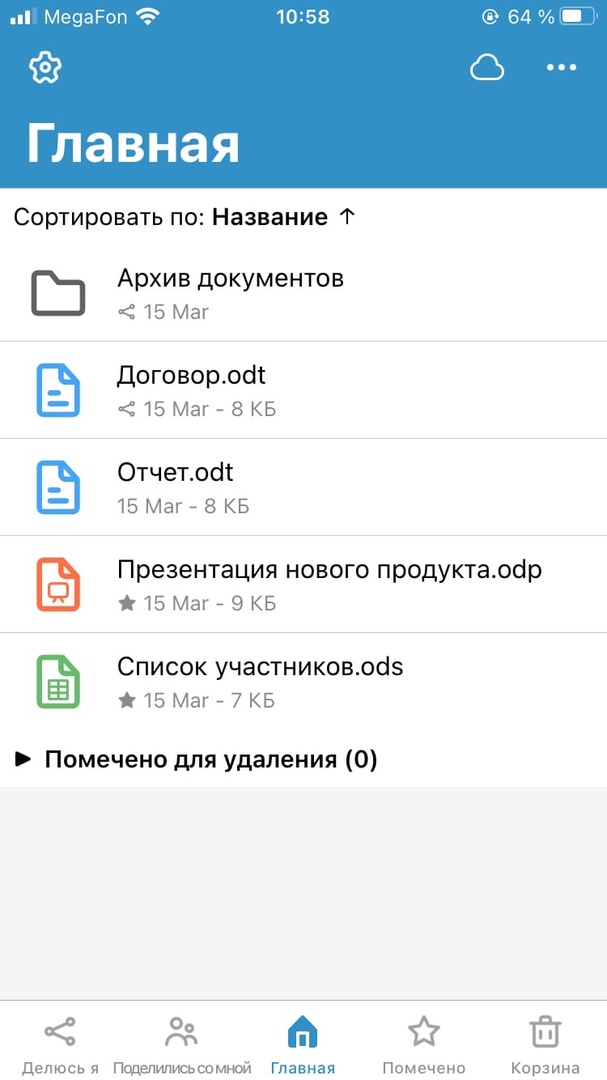
The interface of the Zextras Drive app on iOS consists of five sections: Share Me, Shared With Me, Home, Marked, and Trash.
- The section "I share" displays all the files to which the user Zextras Drive has shared with his colleagues
- The "Shared with me" section displays all files that the user's colleagues have shared with the Zextras Drive user
- The "Home" section displays all the files that are in the user's Drive storage
- The "Marked" section displays all files that have been marked by the user
- Deleted files are displayed in the "Trash" section
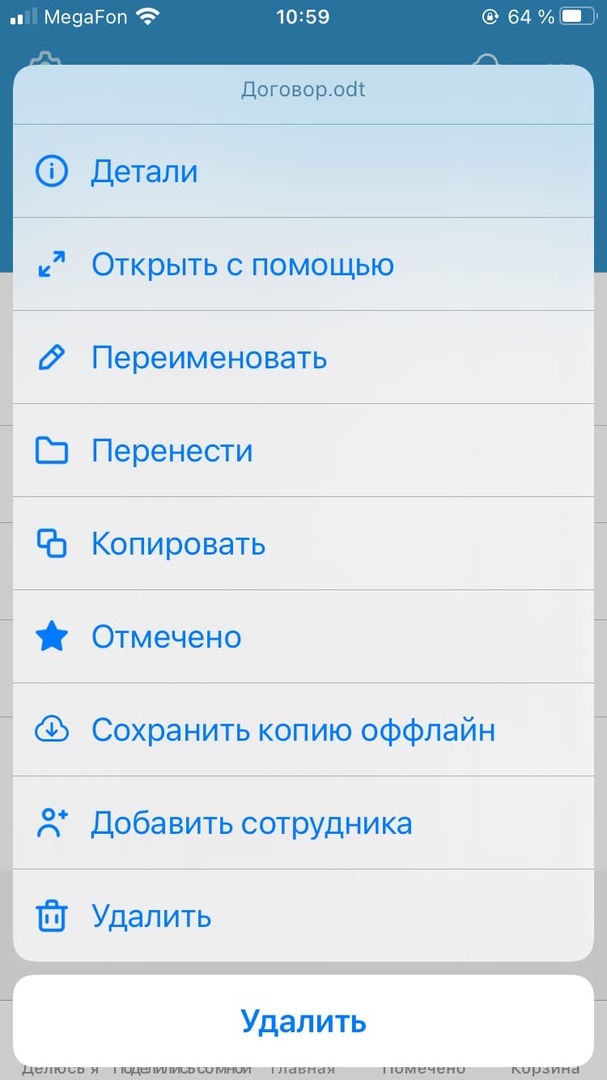
A long press on the file brings up a context menu, in which the following sections are available:
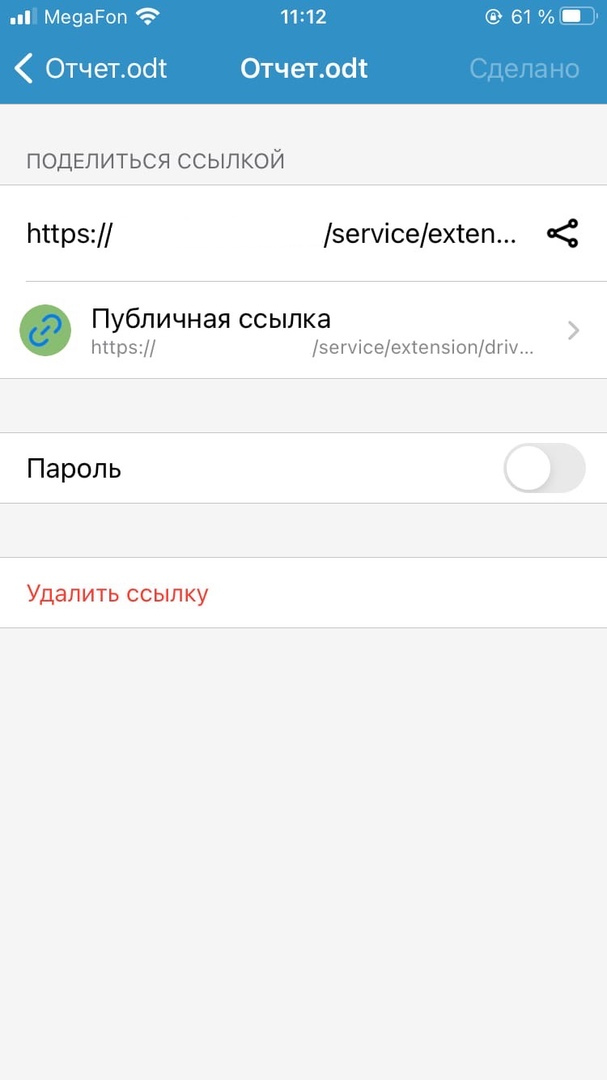
- Details - Displays file details such as size, owner, last modified, description, public link, and a list of employees who have access to it. In this section you can create a public link to the file
- Open with - Allows you to open the file using the application installed on the mobile device
- Rename - Allows you to change the file name
- Move - Allows you to move the file to the specified folder
- Copy - Allows you to create a copy of the file in the specified folder
- Marked - Allows you to mark the file so that it gets into the "Marked" section
- Save Offline Copy - Lets you save the file to your device or iCloud Drive
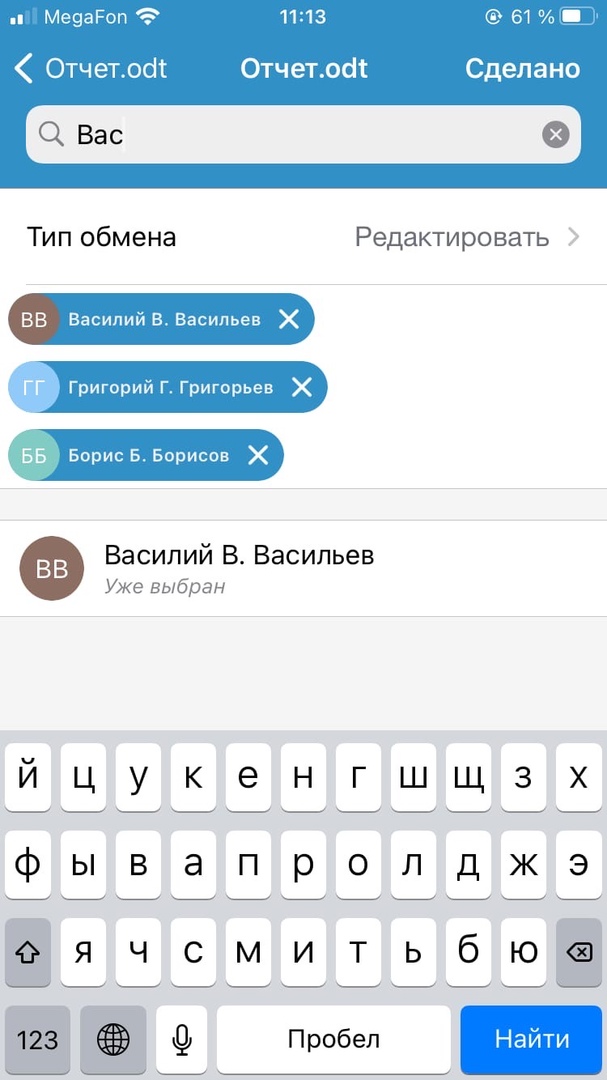
- Add Employee - Allows you to give an employee access to the file
- Delete - Allows you to move the file to the trash
- Restore - Allows you to move a file from the recycle bin.
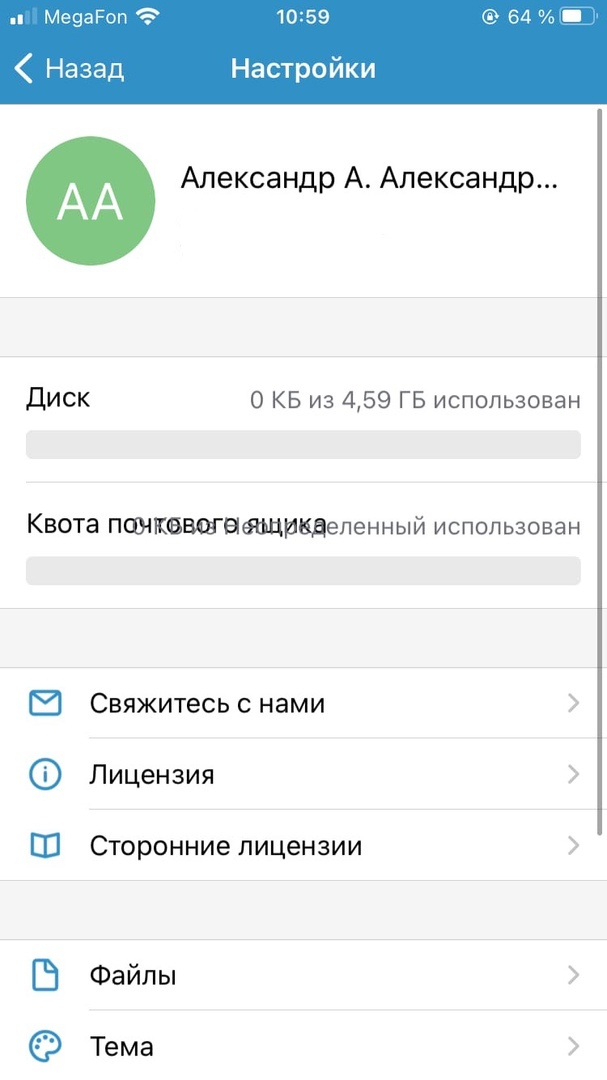
In the window of each of the sections there is a search bar that allows you to quickly find files and the "Settings" icon, pressing which leads to the opening of the application settings window. They include:
- Account details
- Disk usage data
- Mailbox quota usage data
- Contact Us - Opens a feedback form to send a message to the app developers
- License - Opens an end user agreement
- Third Party Licenses - Opens a list of software licenses that were used to create the application
- Files - Opens the file download settings. Among them, downloading files only over Wi-Fi, compressing media files and clearing the local cache.
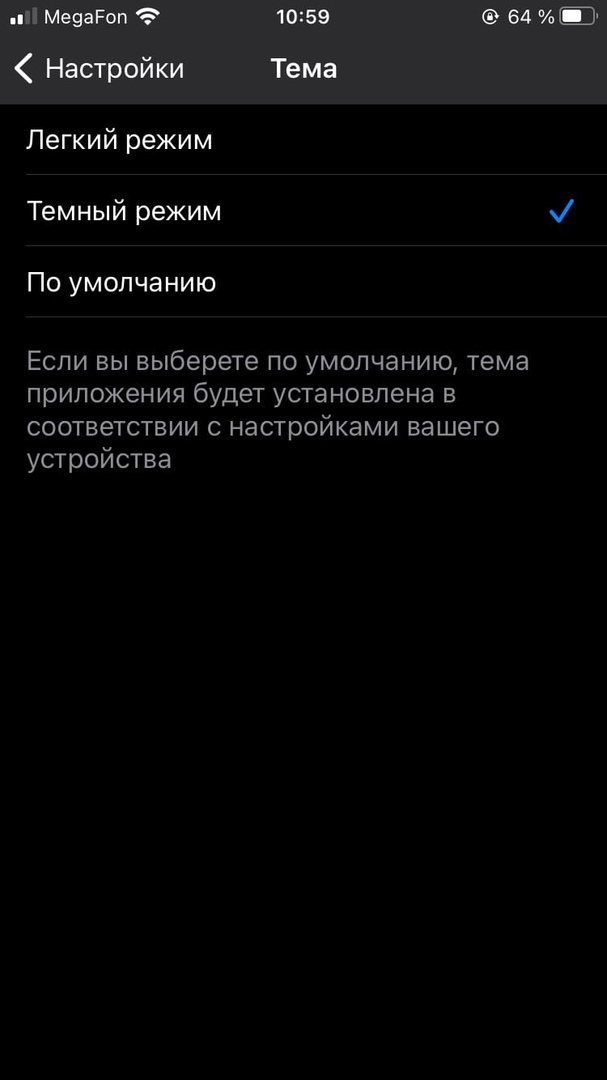
- Theme - Allows you to switch between light and dark theme
- Logout - Logout from your account
- Version - Displays the current version of the application.
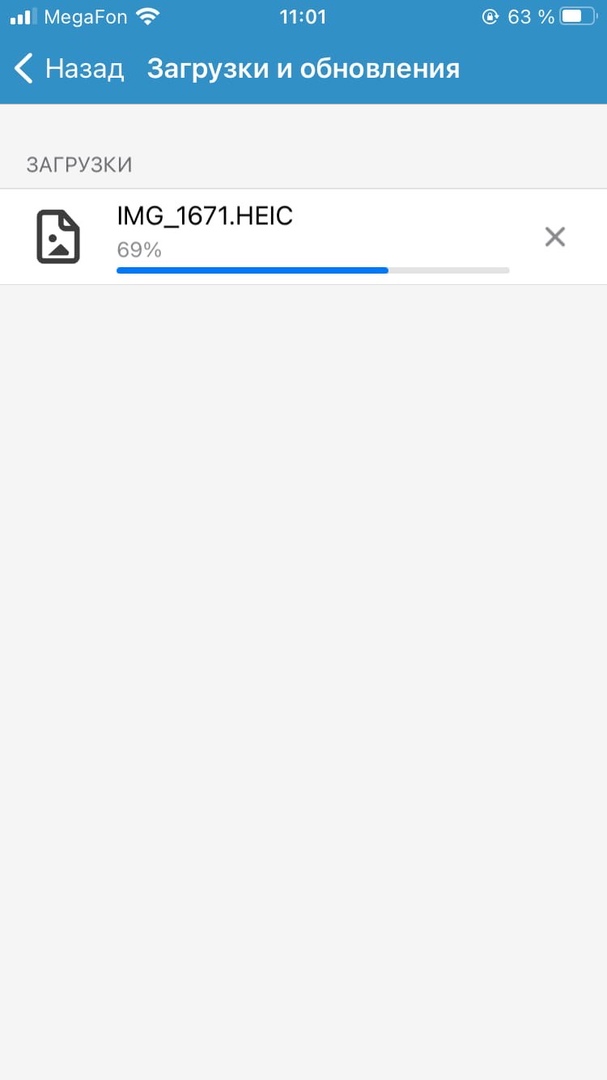
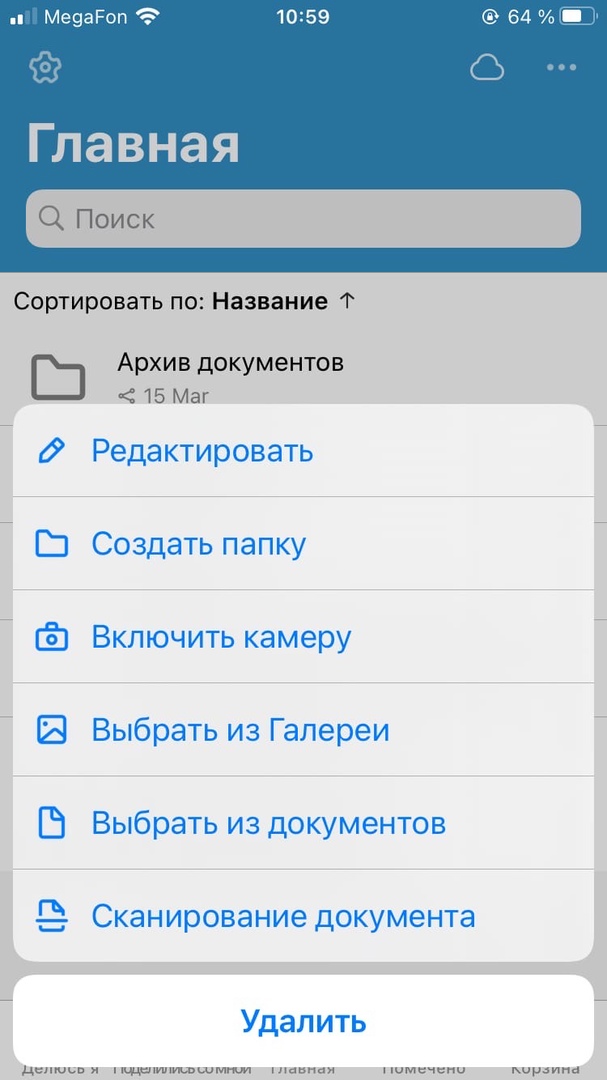
There are two additional buttons in the "Main" section. The first one, in the form of a cloud, opens the download manager, which displays the downloaded files. The second button opens a dialog for loading new files into Drive and managing the files stored in it. The dialog box that opens contains the following sections:
- Edit - Allows you to select multiple files to move at the same time, move or copy to another folder, or mark them or delete them at the same time
- Create Folder - Allows you to create a new folder in the selected location
- Enable camera - Launches the camera, and the captured picture or video is saved to Drive
- Select from Gallery - Allows you to download photos and videos from the device's gallery
- Select from Documents - Lets you download photos and videos from iCloud Drive
- Document Scan - Allows you to create a scan of a paper document using the camera.
Android
The Zextras Drive Android app interface also consists of five sections: All Files, I Share, Shared With Me, Starred and Trash. The section row can be scrolled left and right.
- The "All Files" section displays all the files that are in the user's Drive storage. The "Share Me" section displays all the files that the Zextras Drive user has shared with his colleagues
- The "Shared with me" section displays all files that the user's colleagues have shared with the Zextras Drive user
- The "Marked" section displays all files that have been marked by the user
- Deleted files are displayed in the "Trash" section
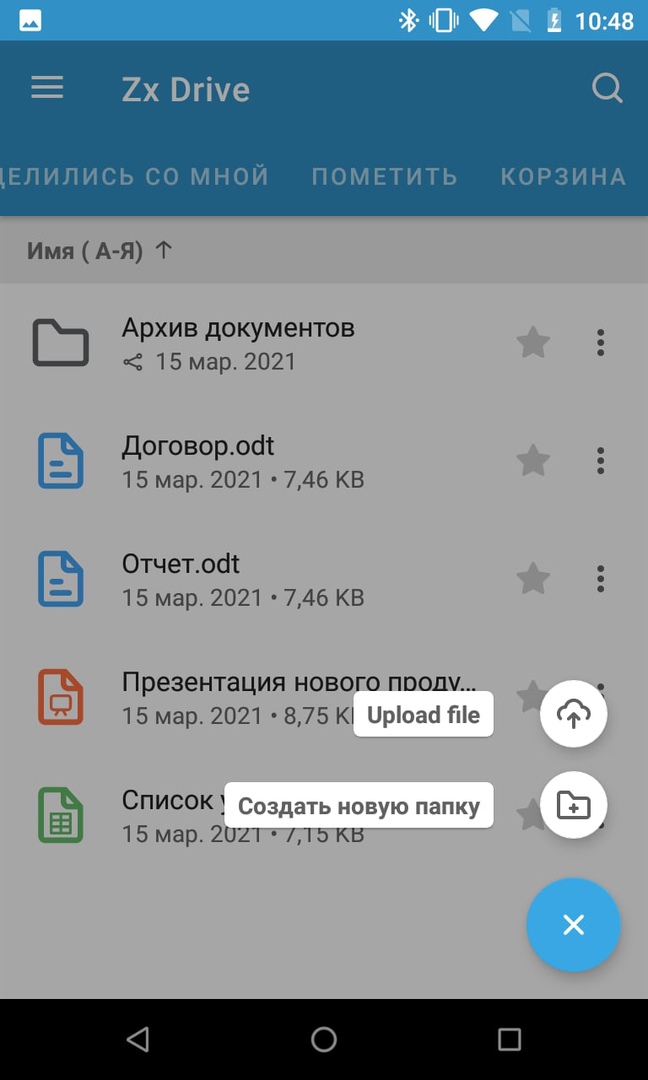
In the upper right corner of each section, there is a search button, thanks to which you can search for files in each section. The "+" button in the lower right corner of the screen allows you to create a new folder or upload a new file.
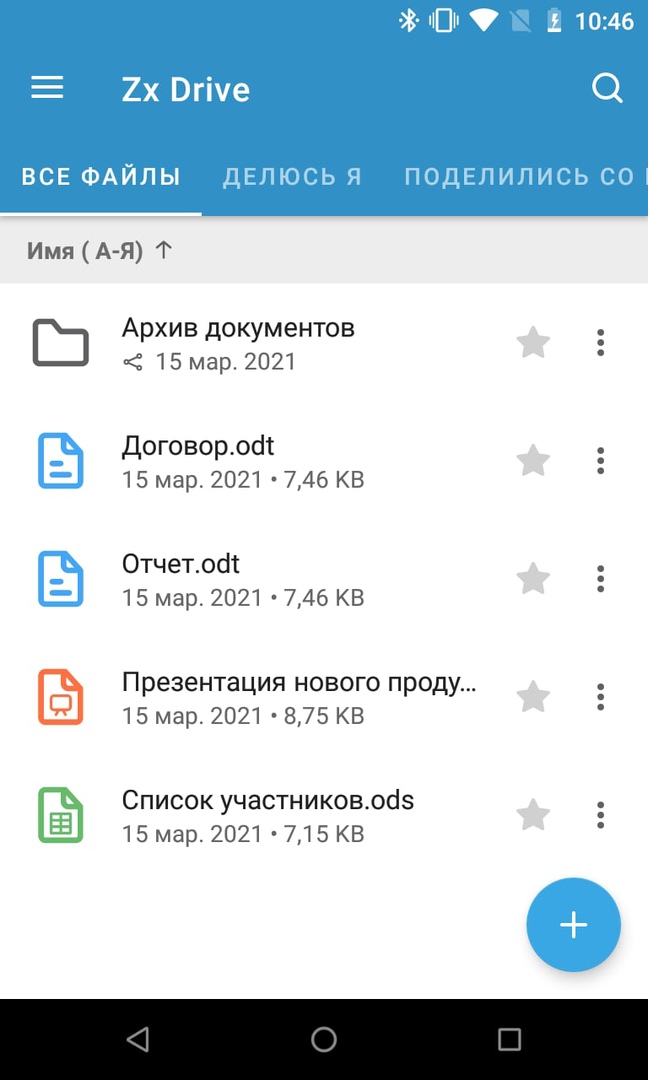
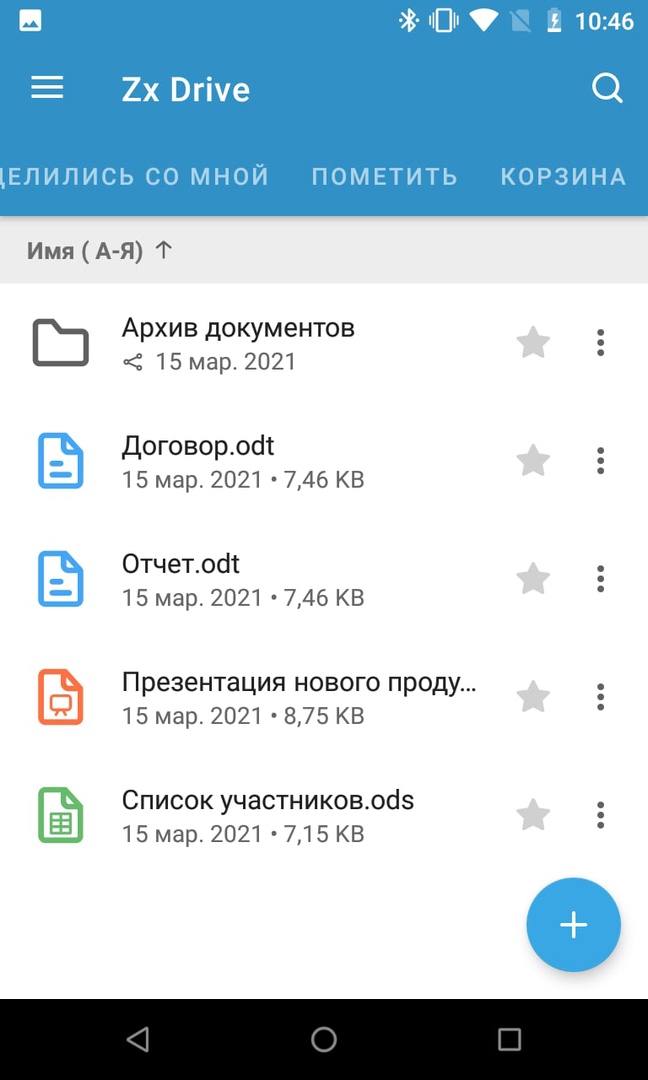
To the right of each file in the Zextras Drive application there are two buttons - an asterisk, when you click on which the file is marked and appears in the "Marked" section, as well as a button in the form of three dots, when clicked, a context menu appears, in which information about the file is available , copying, moving and deleting a file, as well as options for downloading and sharing the file.
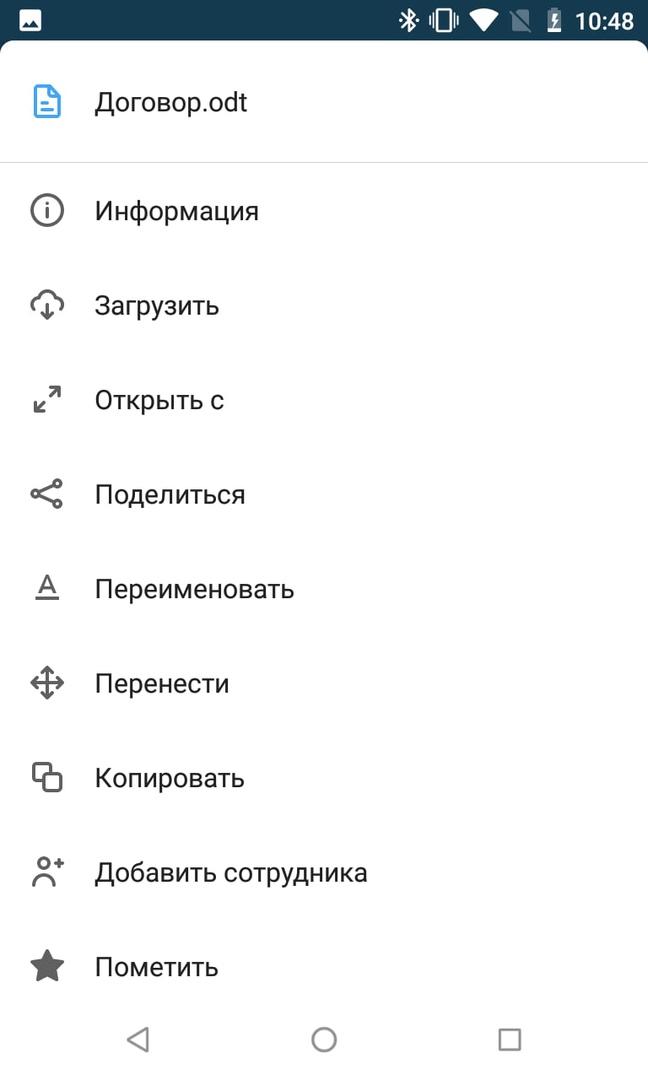
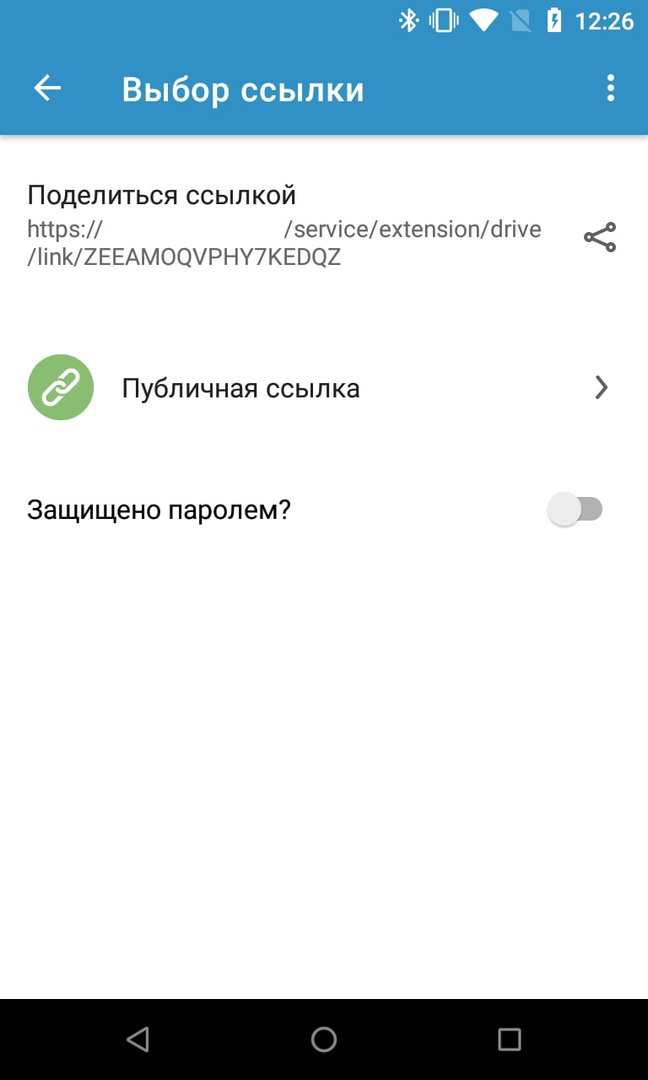
In order to create a link to a file, go to the "Information" section and click on the "Who has access" field. A dialog for creating a link to a file will open, in which you can select the type of link - public or only for employees. Using a public link allows you to set a password to download the file.
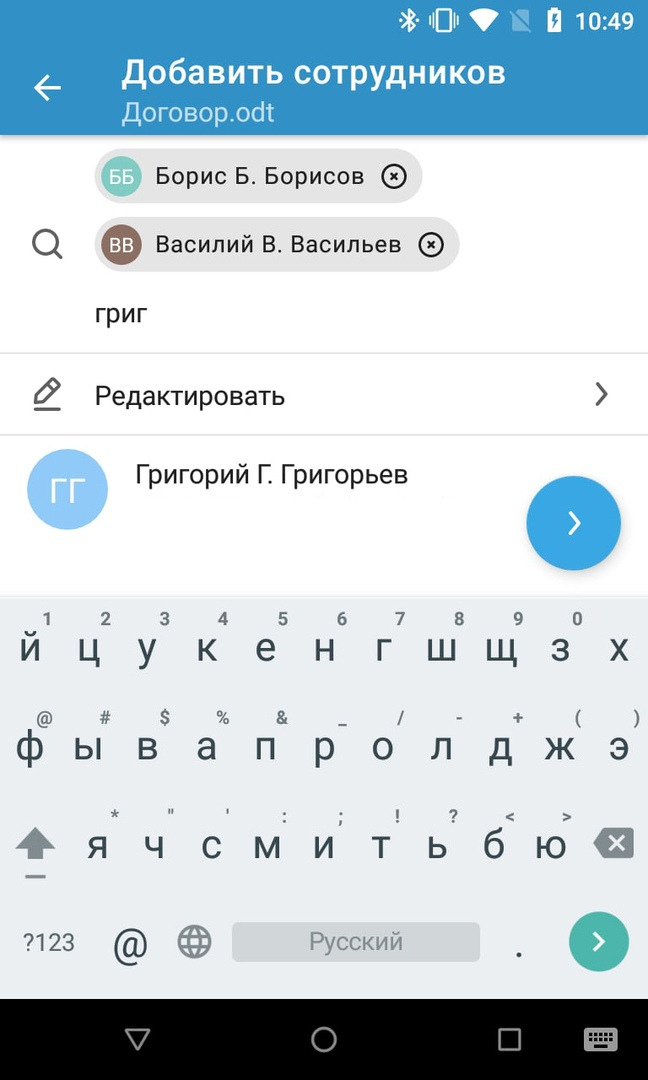
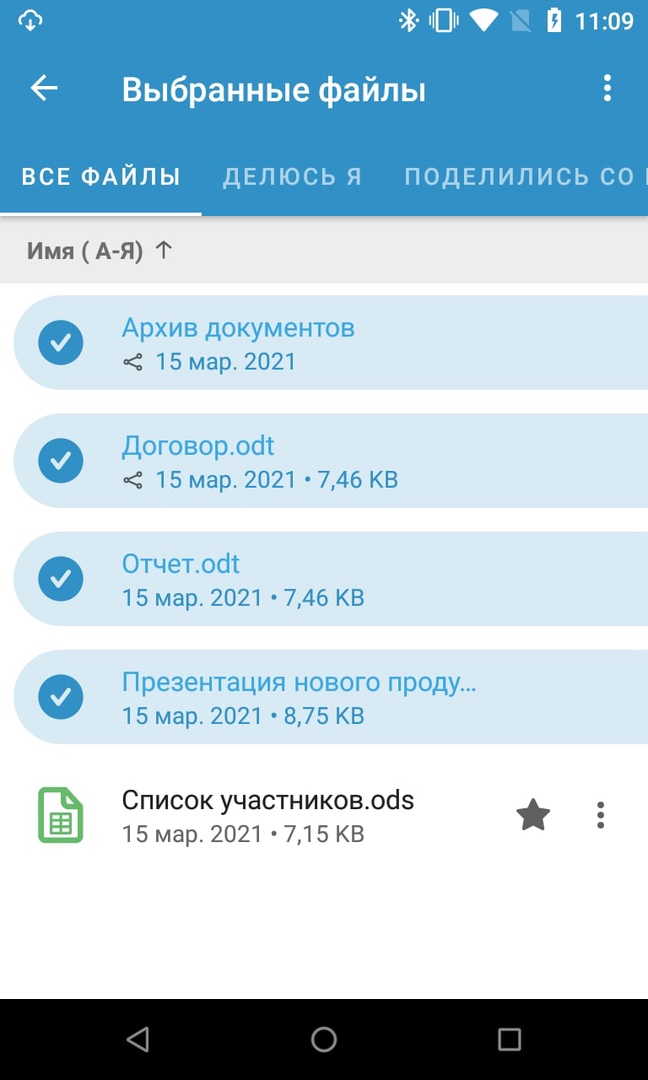
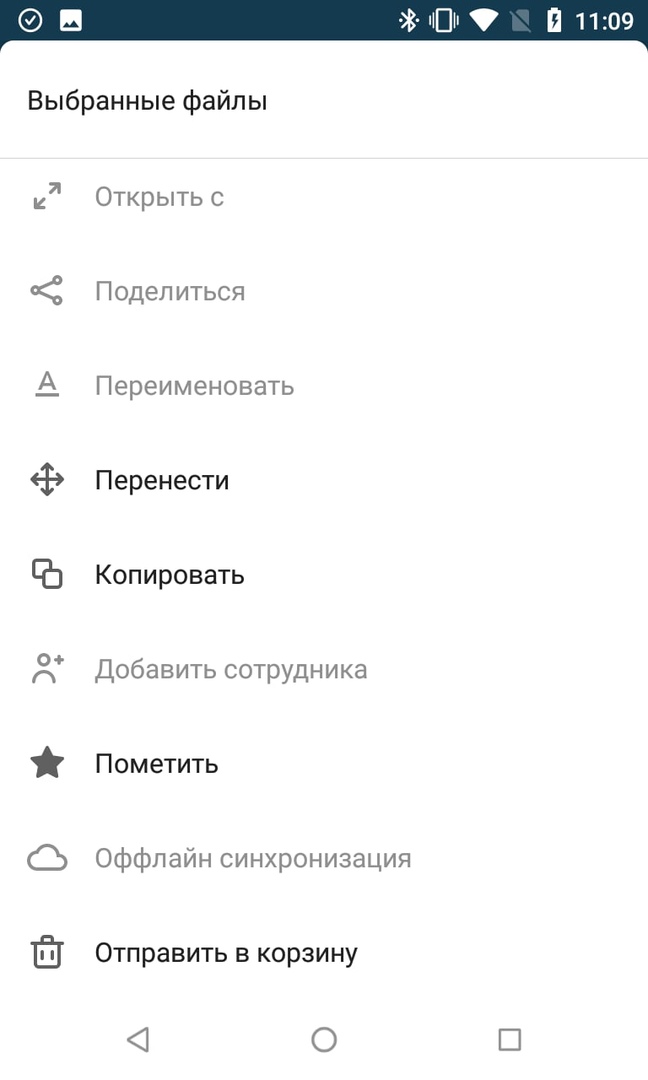
When you long click on a file, you can select multiple files. The search icon in the upper right corner changes to a three-dot button. Clicking on it brings up a context menu in which you can move, copy, mark or delete the selected files, as well as download them to the device.
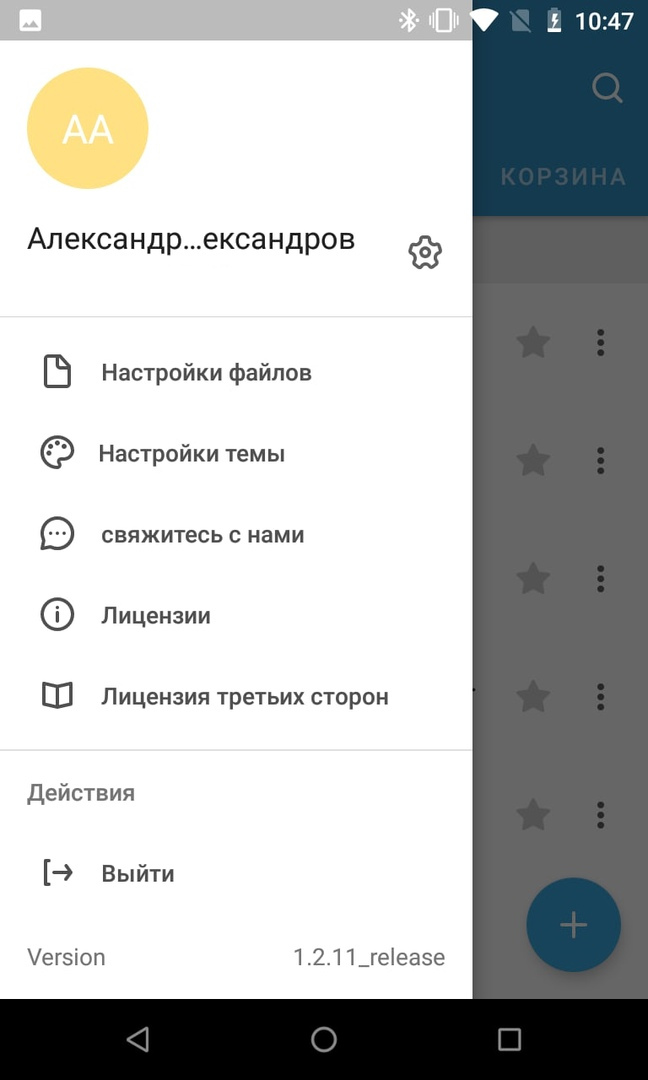
In the upper left corner of the application window is the "Options" button, which calls the side menu with application settings. There are also several sections here:
- Account details
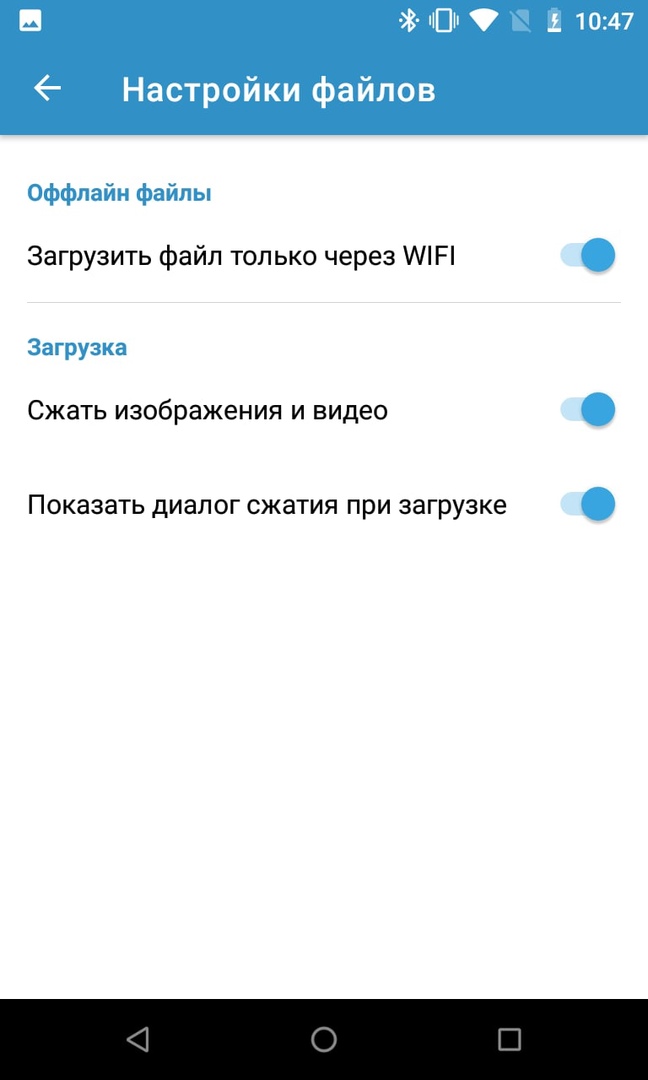
- File Settings - Opens the file download settings. Among them, downloading files only via Wi-Fi, compressing media files and clearing the local cache
- Theme Settings - Allows you to switch between light and dark theme
- Contact Us - Opens a feedback form to send a message to the app developers
- License - Opens an end user agreement
- Third Party Licenses - Opens a list of software licenses that were used to create the application
For all questions related to Zextras Suite Pro and Team Pro, you can contact the Representative of Zextras Technology Ekaterina Triandafilidi by e-mail ekaterina.triandafilidi@zextras.com