
For a long time, I have dreamed of a device that will have a touchscreen screen, hardware buttons on board, and on which linux will work without any problems. And of course it will have a sufficient number of interfaces. At one time, the Vogue project showed promise , but today I found it - the ideal device for pocket carrying, with a powerful processor and linux on board. So this is the HP Prime G2 Calculator. There is a chic i.mx6ull processor with which I have quite a wealth of experience, so porting linux did not seem too difficult a task. However, as usual, the devil is in the little things.
I want to tell you about my thorny path of installing Linux on a calculator, what came out of it and what didn't, you should judge!
Linux for HP Prime G2 project
Despite the fact that I fiddled a lot with this project, and in general even made my own contribution to its development, still the main branch of the project, which started it all, should be considered Linux for HP Prime G2 from zephray . But, as usual, it happens in such projects, if you try to repeat everything according to the instructions, then the nifiga will not work, and you will collect thousands of rakes, which the author, for one reason or another, forgot to mention. Therefore, in this article, I will try to draw your attention to these inconsistencies, tell you how to get around them, and also lay out the obviously working kernel and rootfs assemblies.
It should be understood that I do not want to cast any shadow on zephray.... This is a titan man who deserves real admiration. He did a truly titanic job of porting this stuff to a calculator. In fact, as is usually the case, he adapted the debug board configs for the current device. And also, the display driver was written there, the u-boot loader was correctly configured, the dts file ( device tree file ) was correctly compiled , a bunch of code was added to the kernel itself. Do not forget that all this was done without a scheme and documentation, so the amount of work done is simply breathtaking, and all this is on sheer enthusiasm. Unfortunately, the volume and format of the article will not allow me to go through the code in detail, although there really is something to see and where to take off your hat in admiration!
But there is a lot of code, both in the kernel, in the bootloader, and in the device tree. I'll end the chapter with a quote from Basha :
callidus77:
Pomnitsa in our grid, installers connected the subscriber. They came, stuck the setevukha, but he had no Frya and no firewood. We scratched our heads and left. After three weeks, the person finally connects.
Gryat: "How long have you been looking for firewood."
He: “I wasn’t looking. I wrote them myself. "
Looking ahead, we can say that installing Linux on a calculator turned from a pleasant walk for half an hour, into a real quest for a couple of weeks.
Guinea pig
To get started, we need the HP Prime G2 Calculator (2AP18AA) . Since there is a non-acidic chance that several different devices can be hidden under one name, here are photos and a description of what it looks like and how to determine that this is exactly the device that you need.

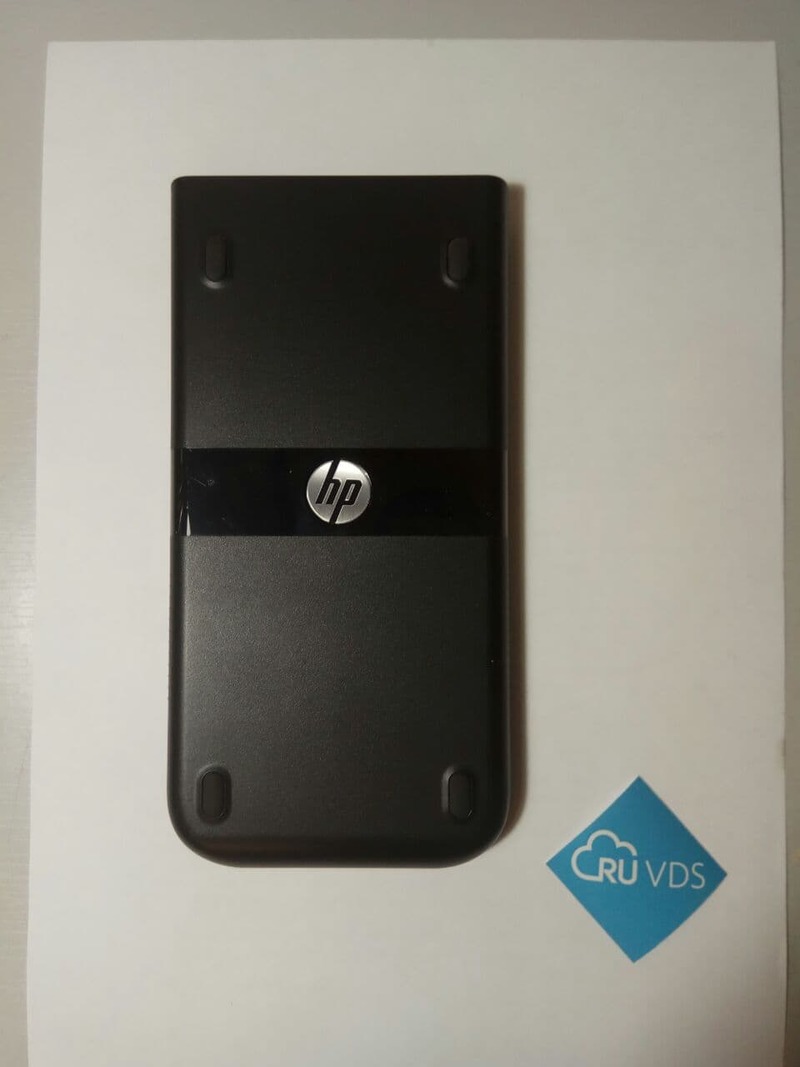
In order to make sure that this is exactly our calculator, you need to open the help (the Help button) and there open the section about the calculator (the second line from the top in the menu). You must have something like this.
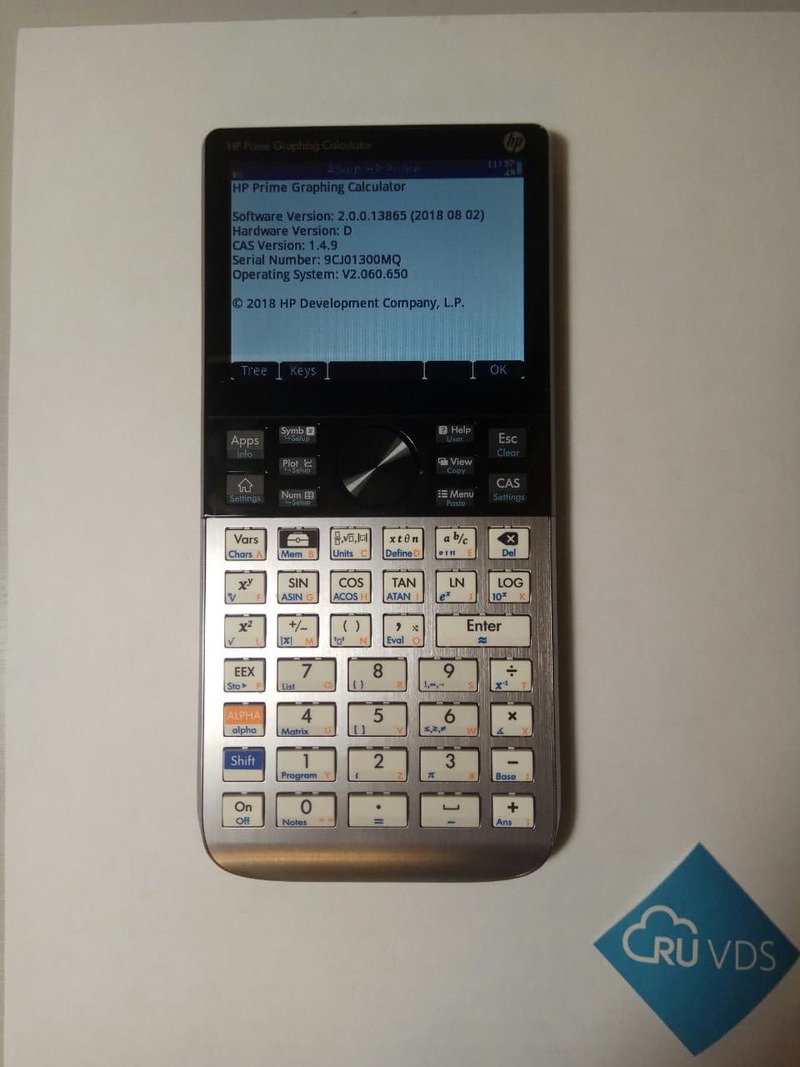
About the calculator.
I will say right away that in our country only one company sells these calculators (at least I did not find others), so there should be no problems with the purchase, except perhaps for its price. But it's all worth it!
Preparing to install Linux on a calculator
To get started, we need to do some activities. to install Linux in Nand or run this OS in RAM, you need to remove the back cover of the calculator, which by definition will immediately void your warranty (remember this before starting work). All manipulations were performed in linux mint 18.2 (everything should work in the same way in Ubuntu 18.04).
Would need:
- HP Prime G2 Calculator (2AP18AA);
- USB cable (USB A - Micro B) for connecting Prime to a PC;
- screwdriver;
- tweezers (conductive or with a jumper), or a button on the wires;
- PC on Linux or Windows 7+;
- distribution kit HP-Prime-Linux (further I will give a slightly different link, for this it does not work quite correctly).
- The uuu (Universal Update Utility) utility included in the mfgtools 3.0 package .https: //github.com/NXPmicro/mfgtools.
We install the necessary software
To begin with, we will prepare a software foothold and make sure that it works. First, let's build the uuu utility.
git clone https://github.com/NXPmicro/mfgtools.git
cd mfgtools
sudo apt-get install libusb-1.0-0-dev libzip-dev libbz2-dev pkg-config cmake libssl-dev g++
cmake . && make
And then I got a cmake error ... As a result, I had to update the cmake utility. To do this, I ran the following commands:
wget -qO - https://apt.kitware.com/keys/kitware-archive-latest.asc |
sudo apt-key add -
sudo apt-add-repository 'deb https://apt.kitware.com/ubuntu/ bionic main'
sudo apt-get update
sudo apt-get install cmake
After a successful build, I decided to install the package., But since we are being hit on the hands when we do make install, we will do it scientifically and install using the checkinstall utility.
sudo checkinstall
As a result, we have the mfgtools package installed , which, if necessary, can be removed with the command
dpkg -r mfgtools
We check that everything works and move on.
uuu -h
uuu (Universal Update Utility) for nxp imx chips -- libuuu_1.4.69-0-g63b1d3c
uuu [-d -m -v -V] <bootloader|cmdlists|cmd>
bootloader download bootloader to board by usb
cmdlist run all commands in cmdlist file
If it is path, search uuu.auto in dir
If it is zip, search uuu.auto in zip
cmd Run one command, use -H see detail
....
Hardware preparation
There should be a tirade that you do everything at your own peril and risk, that, they say, the author is not responsible for your burned-out calculators, etc. etc. But I do believe that we are all adults who clearly understand the risks of what they are doing and understand the consequences.
First, you need to disassemble the calculator. First things first, I unscrewed all the screws and took out the battery.
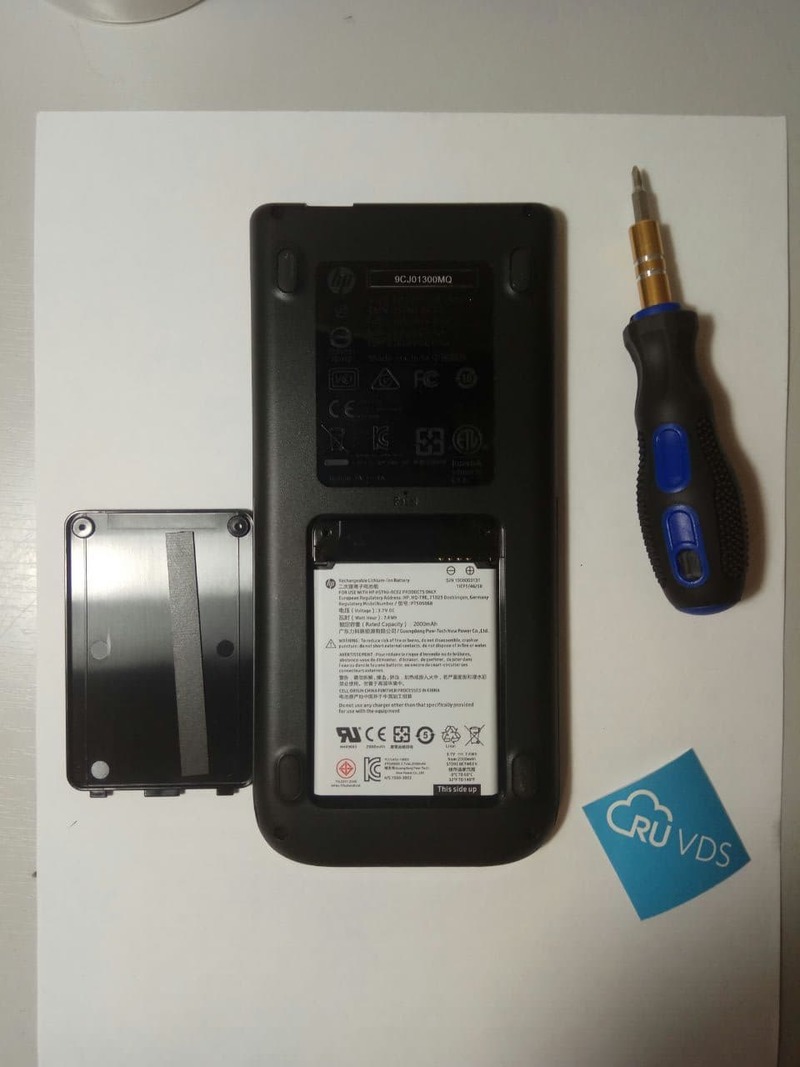
We remove the battery.
By the way, pay attention to what a cool battery this device has. By the way, in further experiments I will no longer need it, alas.
Further, along the perimeter, I pry it with a card and a special opener, trying not to break the locking latches.
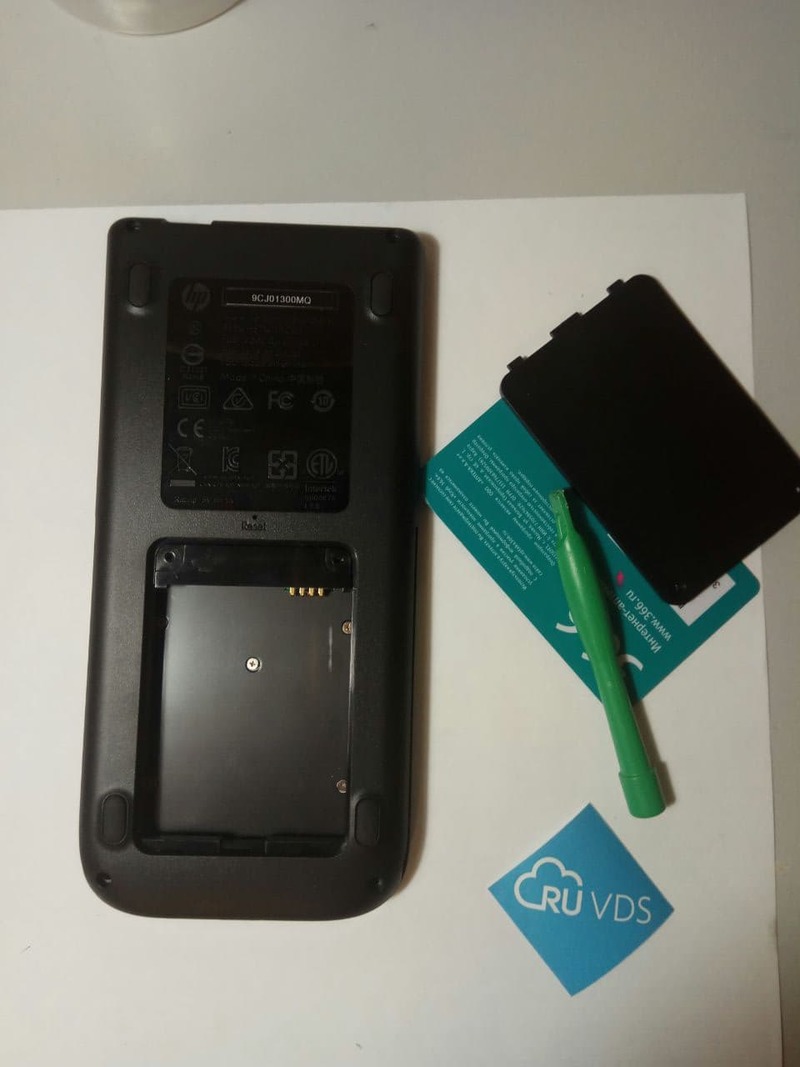
We open the plastic case.
After all the actions, the bowels of the calculator appeared to me and now, I am almost ready for the most barbaric experiments.
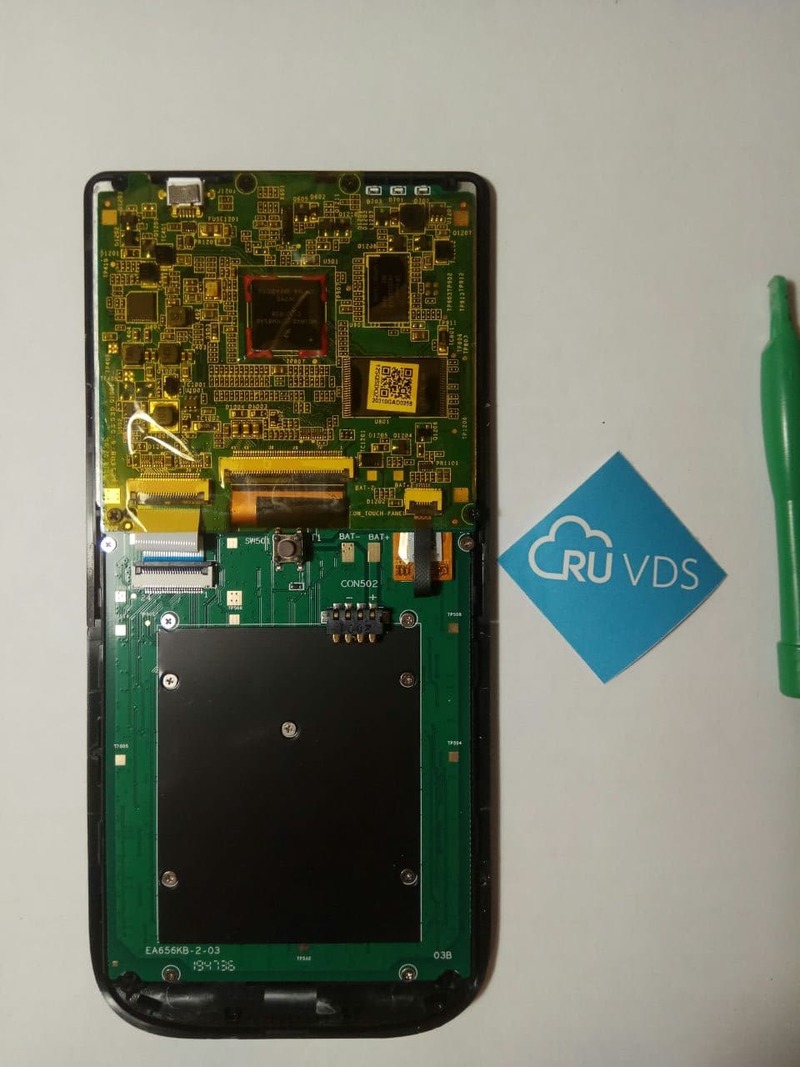
Bosom.
I have almost everything ready to run linux on this calculator. But there is a nuance (s). For the initial start, two pads must be short-circuited. As the author of this project writes:
, USB .
: . .
Reset ( ). USB- “SE Blank 6ULL”. ( Linux Feescale USB- lsusb)
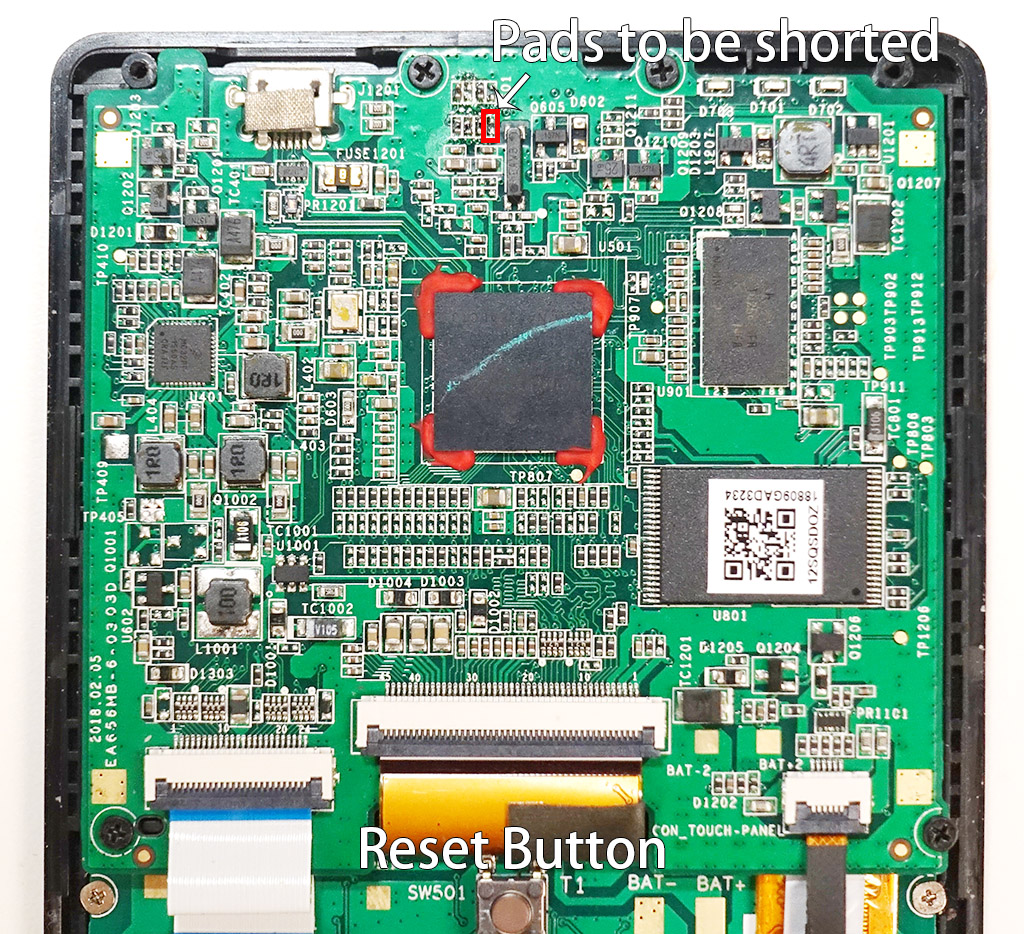
Note: you are shorting the "Boot Mode" contact to ground. By default, this pin is connected to 3.3V via a 10k pull-up resistor.
Further, you will have two options available. At the same time, you can perform a series of actions one by one without restarting the calculator. For example, in one of the options, first make a backup copy of the NAND memory, and then flash the Linux OS into it without resorting to a reboot.
I decided that I was not ready with a trembling hand to short-circuit barely noticeable pads for loading. We only need this operation once (so, of course, you can take a risk), so I nevertheless decided to protect myself and soldered the button.
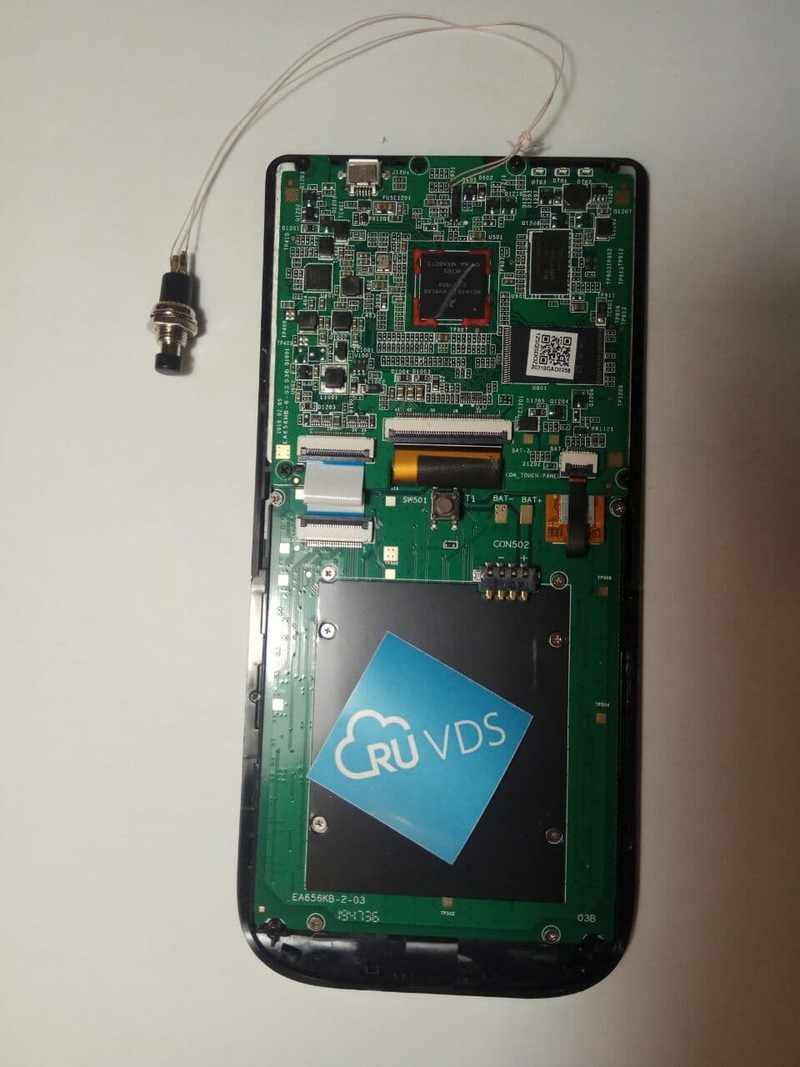
Download button.
I draw your attention to the fact that the button is needed only if you do not want to erase the contents of the calculator and are ready to start linux in RAM one time and calm down. In general, with straight hands and confidence in the future, you can do with one tweezers.
That's it, we are practically ready to launch Linux with one foot
Installing Linux, walking on a rake
Before we move on to the actual installation of linux on the calculator, to all the difficulties that have arisen, I want to draw your attention to one detail. Before repeating other people's instructions (including those given in this article), make sure that all the files that should be in the installation archives are present, that you are executing exactly the command that you need. If you are executing someone else's script, check the contents of that script. If you do not understand what is written there, then figure out what is happening there, and then there is a non-acidic chance that if everything does not work, then at least you can save your equipment from all sorts of troubles.
But as you can imagine, since I wrote such a paragraph, I did not follow this path. As they say, the Russian reads the instructions with the words: damn it, already broke. So I acted in about the same way, and my path was thorny. In order to make a backup of the firmware, run and / or install linux, you need to download the flash_utility.tar.gz archive from here... Before we go further, looking ahead, I will say that this archive does not contain rootfs.tar.bz2, which is necessary for flashing on nand (although there is a call to it in the flash_linux_to_nand.uu script), initramfs, which allows you to start linux without installing, does not works and linux installation on nand fails. As a result, you get a brick, in fact, not. I did not know about all this, and from that moment on, installing linux turned out to be a real quest for me.
In order for us to move on, I will quote the instructions for using this utility.
2.2 NAND backup
: NAND ECC OOB-, . ECC. , flash- ( , ..) - . , , , , . , , , .
SDP. flash_utility :
Windows:
uuu backup_nand.uu
Linux:
sudo ./uuu backup_nand.uu
, NAND backup.
2.3 NAND
NAND backup.
SDP. flash_utility, :
Windows:
uuu restore_nand.uu
Linux:
sudo ./uuu restore_nand.uu
2.4 Linux RAM
Linux NAND. Linux SDP USB.
: , - .
: RAM ~15. .
SDP, , flash_utility, :
Windows:
uuu run_linux_in_ram.uu
Linux:
sudo ./uuu run_linux_in_ram.uu
Linux. «root».
2.5 Linux NAND
: , NAND. , , 2.3.
: .
Linux NAND SDP, , flash_utility, :
Windows:
uuu flash_linux_to_nand.uu
Linux:
sudo ./uuu flash_linux_to_nand.uu
The process will take a few minutes. Upon completion, restart (Reset) the calculator, after which it should boot into Linux. The download will take about 15 seconds. For authorization use the login "root".
I deliberately brought this translation here so that it will not get lost in the future.
Logic dictates that you need to make a nand-flash backup and then carry out experiments. To do this, I held down the button, inserted the USB cord into the calculator and performed:
sudo uuu restore_nand.uu
Attention: there is an error in the command above, at this stage it cannot be executed !!! Does nothing bother you about this command? At first, nothing confused me either ... But I, with this command did not backup the calculator, but erased my nand-flash, clogging it with unnecessary garbage, and ditching the ECC section. A calculator will never be a calculator now ...

The evening was languid, I wanted to try, I blunted and confused the commands. Okay, I thought, I was, I wasn’t, I’ll try to flash linux to flash, anyway, the flash drive is already erased, and there is nothing to lose. In the same way, I disconnected USB, held down the button and did:
sudo uuu flash_linux_to_nand.uu
And as a result, I got this error:

Then I did not know yet that if this error did not exist, then I still would not be able to flash my calculator, since the archive of the rootfs itself was missing in the file list, and I would have dropped out with an error a few lines below.
Unfortunately, I did not manage to defeat this error further, this command carries out the u-boot firmware in the nand-flash. For some reason, its execution crashes with an error in creating a temporary file (I later learned this with the UART connection).
The good result of this command is that you no longer need to press a button. And we no longer need it, we can now unsolder it.
So ... I ditched the USB flash drive, I can't put linux, well, maybe at least in RAM it will be possible to start it?
I run:
sudo uuu run_linux_in_ram.uu
I connect the USB to the target device and the command passes with success. And, lo and behold, linux is loading! But ... But we never get to the login.
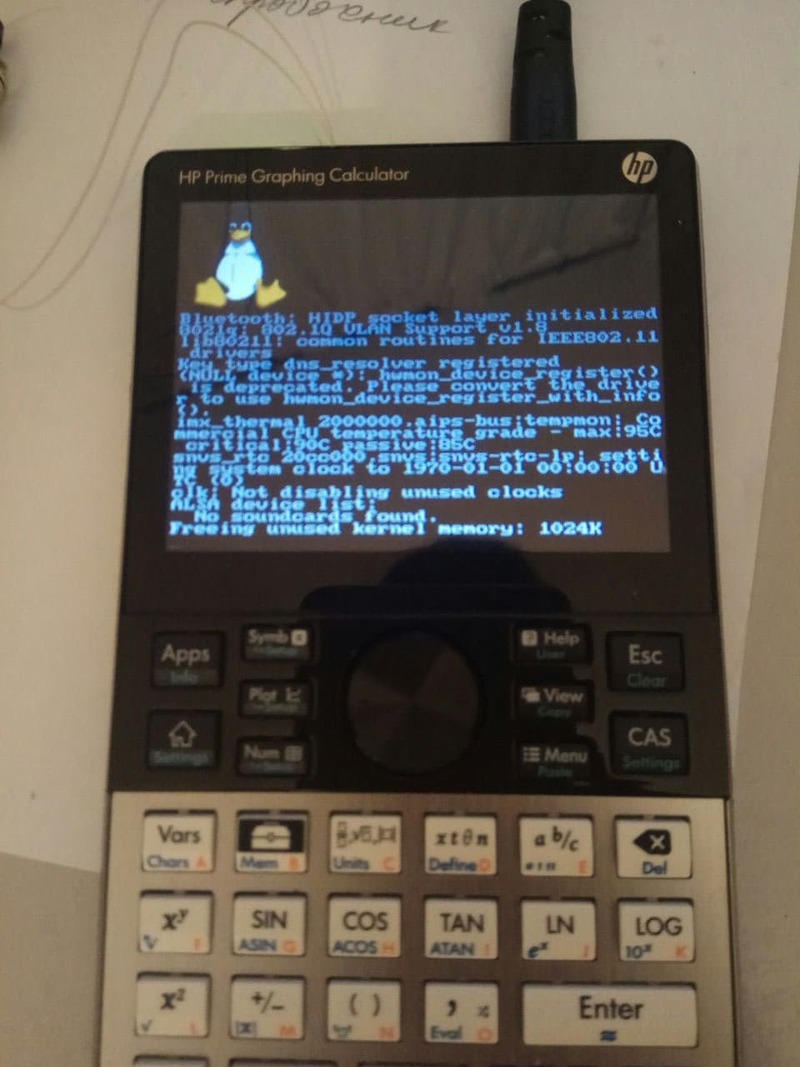
We hang at this stage ...
Good result: bootloader, kernel, display, flashing system as a whole works. Bad result: linux doesn't actually work.
As a result, we need to: connect the hardware UART to see what is happening, and rebuild the kernel (primarily for drivers) and rebuild the rootfs to make it work.
Conclusion of the first part
The article has simply grown to an obscene size, so a difficult decision was made to split it into two.
As you understand, I could not put Linux in this way. And so you have to connect heavy artillery: heat the soldering iron, get into the hardware filling and poke around in the code. You can read about all this in the second part of this epic.
