Having installed and configured the community version of this package, I was faced with the fact that there are no official recommendations on how to generate and run this complex over a secure protocol using a certificate from Letsencrypt. This short tutorial will help you get a certificate in 5-10 minutes without complicated body movements.
So, let's go step by step.
I did everything on an Ubuntu 18.04 system running in VM mode on a Proxmox host machine. This VM was not the only one in the pool of this host, therefore, if someone needs it, I can give my config of a working solution for the reverse proxy HAPROXY
Stop all containers with one command docker stop $(docker ps -a -q)
Remove certbot from the system (if you have it, although if you put Onlyoffice on a clean system it shouldn't be there in principle)
Let's go to the official website https://certbot.eff.org/ and in the drop-down menu set the necessary parameters as in the screenshot:
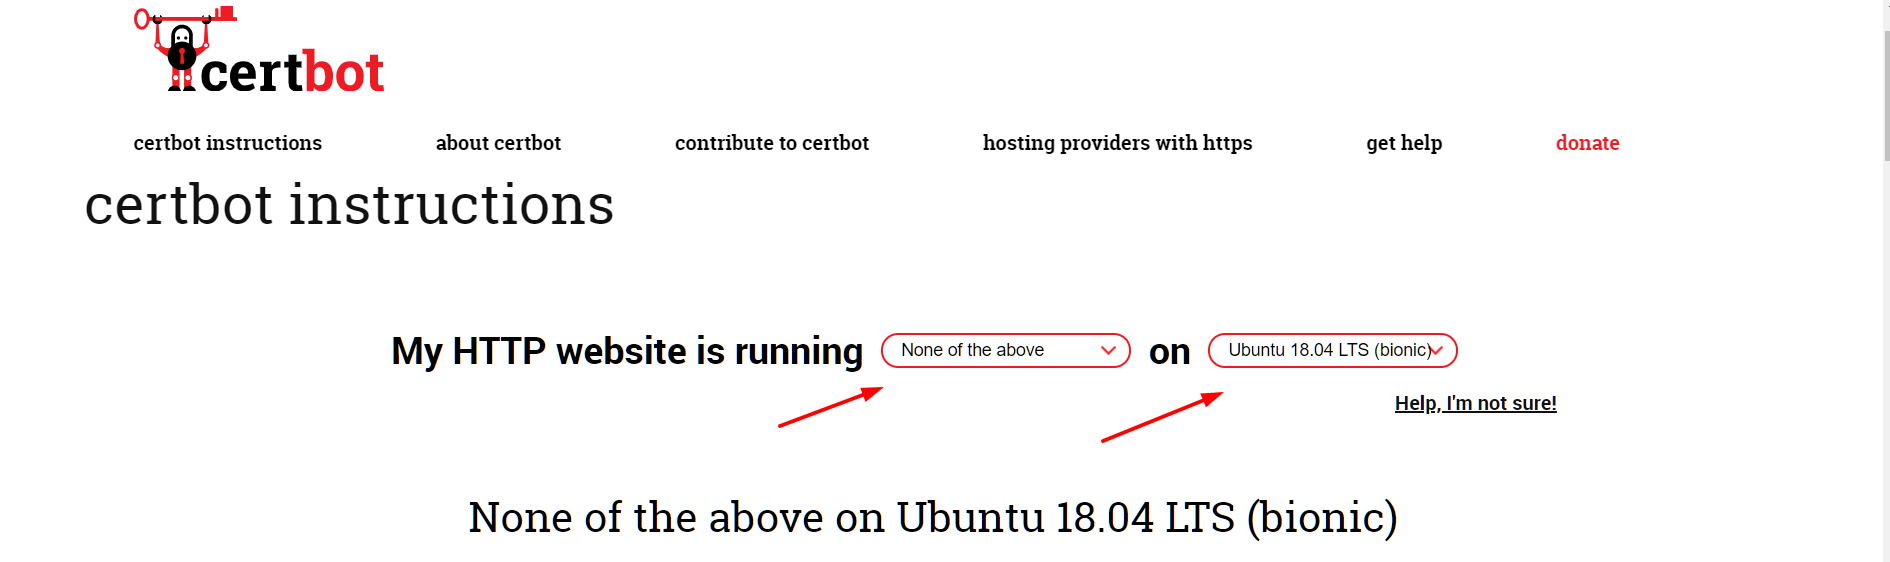
3.1 Who is lazy or he hasn’t figured it out, go straight to the ready-made link https://certbot.eff.org/lets-encrypt/ubuntubionic-other We follow the instructions from step 1 to step 7 on this page. Let me remind you, in the process of following the link - you will need to install the snapd package, without it it will not work. Just do it and everything will work without further ado.
certbot certonly –standalone sitename.ru ( sitename.ru )
4.1 - : /etc/letsencrypt/live/sitename.ru/fullchain.pem /etc/letsencrypt/live/sitename.ru/privkey.pem
4.2 ,
cp /etc/letsencrypt/live/sitename.ru/fullchain.pem app/onlyoffice/CommunityServer/data/certs/onlyoffice.crt
cp /etc/letsencrypt/live/sitename.ru/privkey.pem /app/onlyoffice/CommunityServer/data/certs/onlyoffice.key
shutdown -r now , .. , .
. sitename.ru .
:
:

sitename.ru - https://iuyhgi8798ygiknqwq - - , - . .

: ? - - . , .
, .