Hello dear readers of my blog. This article belongs to the robotics section.
I will present you with instructions for creating an electroencephalograph based on the Arduino educational board.
To implement your plans, you need to purchase:
Arduino board (any option; article introduces Arduino uno)
signal amplifier, for example, microcircuit KIA324P - Datasheet on microcircuit
two resistors rated for kOhm, but having a difference of 1000-100,000 times (for example, 560Ohm and 420kOhm). Thanks for the comments
connecting plugs
connecting wires
Below is a diagram of the device. This is a simplified version without adding capacitors to the circuit, which are needed to eliminate noise and smooth the reading graphs. I didn't use them in the circuit so as not to confuse them.
Here is an amateur device that even a child can assemble.
Device diagram (revised)

Download the program to the Arduino board
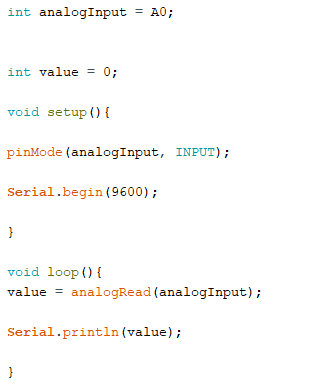
The program, as you can see, is simple and consists in outputting values through the analog pin A0.
We will output through the built-in plotter, which draws a graph.
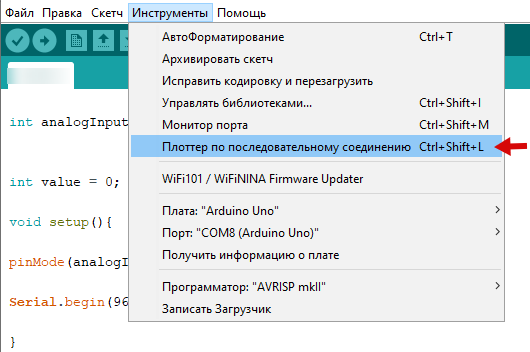
Let's open it when the device is on:
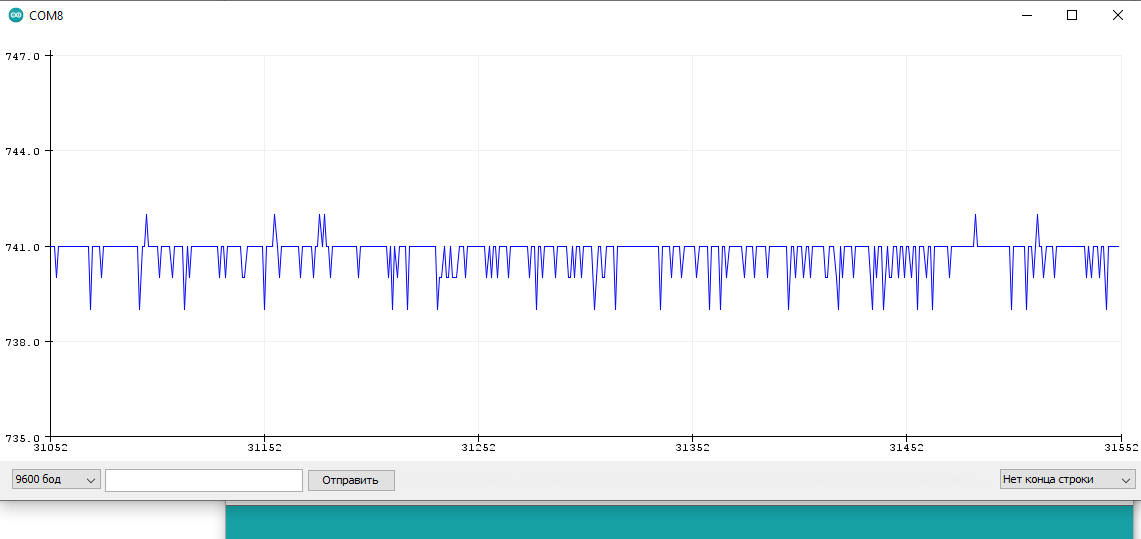
Sensor readings when there is no contact with human skin.
Sensor readings when the contacts of the frontal part of the head are touched.
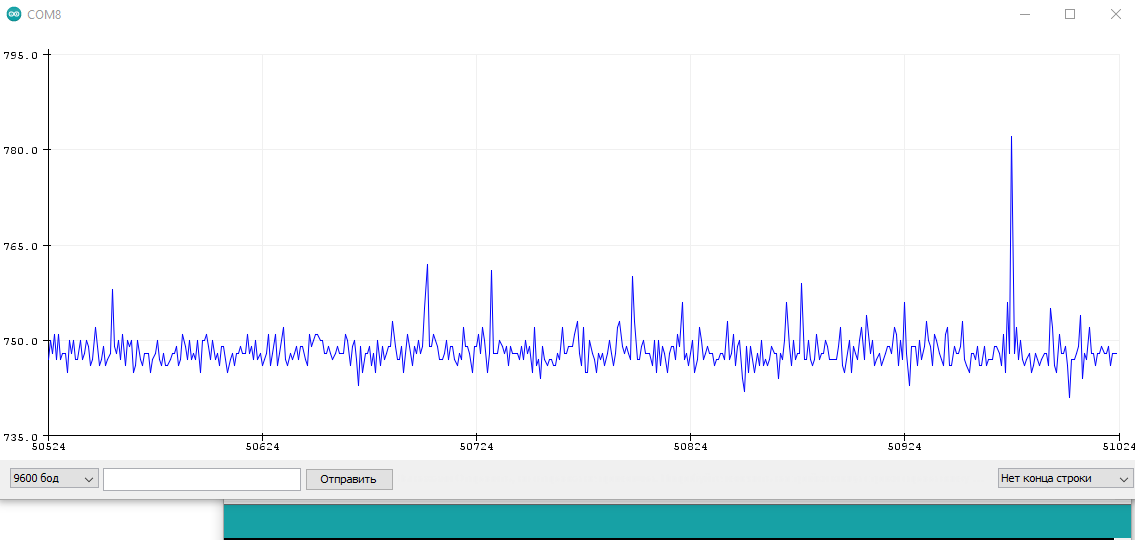
The device is working. Now you can record your biorhythms of a part of the brain or other parts of the body and analyze them.
All successful scientific work.
Detailed assembly stages and sources of information on the basis of which this project was created are presented HERE .
PS Observe safety precautions. Try to use a DC power source - a laptop on batteries. Don't use old computers.