In this article, we will prepare the environment for running containers on Windows 10 and create a simple containerized .NET application.
For all of the steps below to complete successfully, you need a 64-bit system with version 2004 or later and build 18362. Check the version and build number by running the command in PowerShell winver
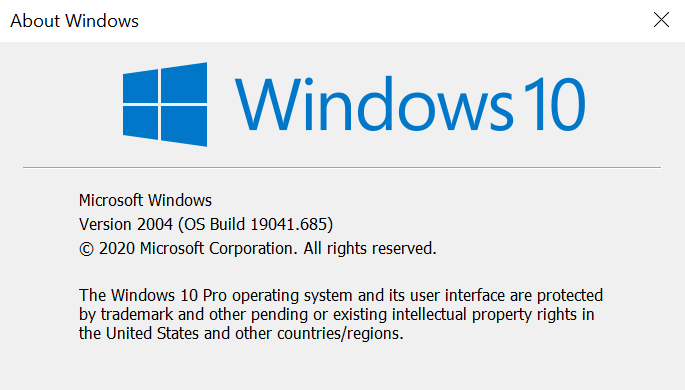
If the version is lower than the required one, then you need to update and only then go further
Installing WSL 2
First, let's enable the Windows Subsystem for Linux (WSL) component. To do this, start PowerShell with administrator rights and run the first command
dism.exe /online /enable-feature /featurename:VirtualMachinePlatform /all /norestart

Let's execute the following command
dism.exe /online /enable-feature /featurename:VirtualMachinePlatform /all /norestart

To complete the installation, restart your computer shutdown -r -t 1
Install the Linux kernel update package
Choosing WSL 2 as default for new Linux distributions wsl --set-default-version 2

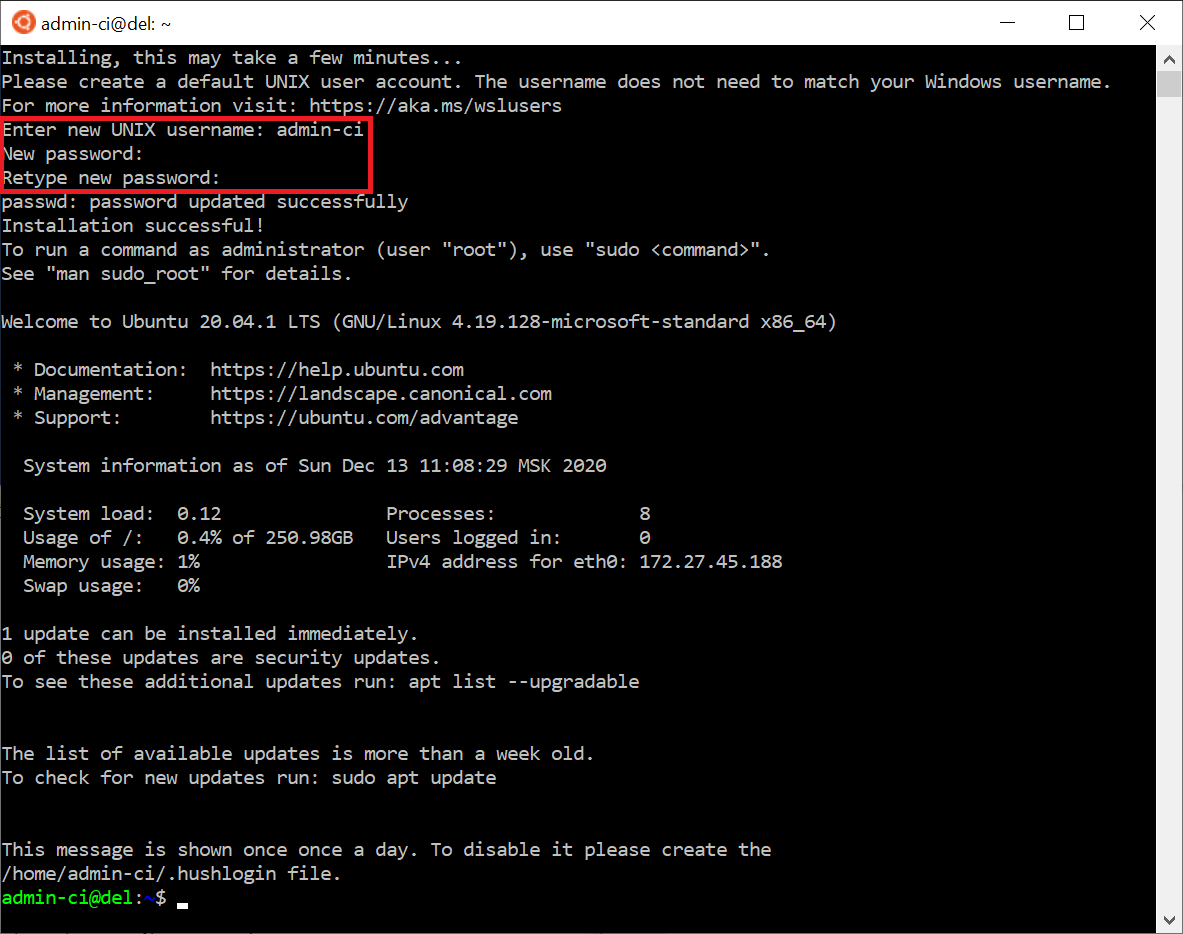
For the purposes of this article, this is optional, but we will install the Linux distribution via the Microsoft Store, for example Ubuntu 20.04 LTS

At the first launch of the installed distribution kit, enter the username and password
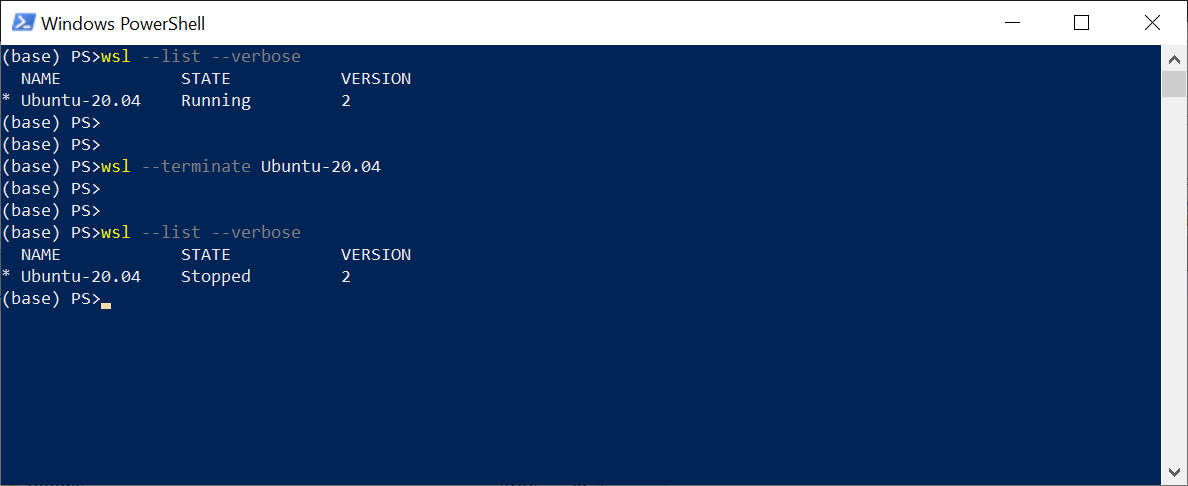
To see the running Linux distributions, run the command in PowerShell wsl --list --verbose

To shutdown the Linux distribution, run the command wsl --terminate Ubuntu-20.04
The file system of the running Linux distribution will be mounted along this path \\wsl$
Learn more about the WSL subsystem
WSL
Docker
Docker Desktop Windows ,
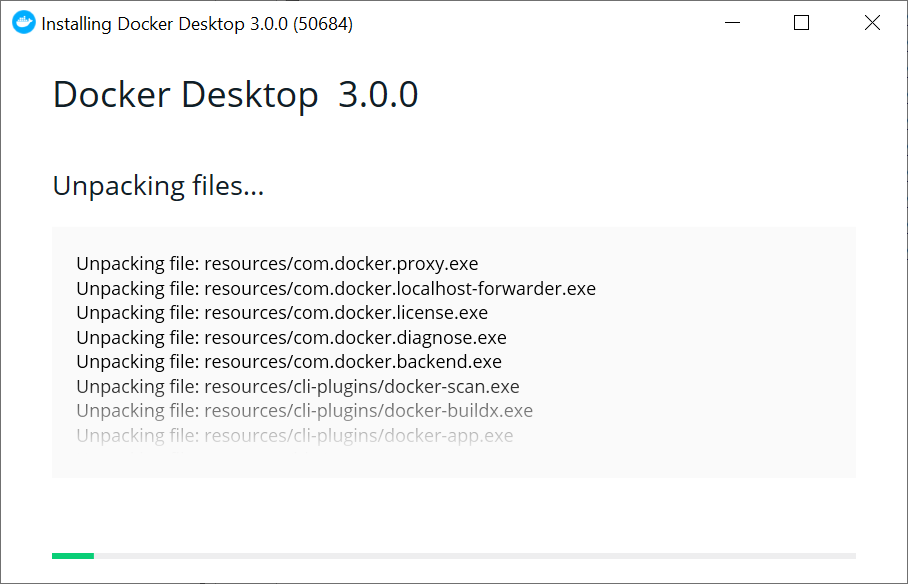
Docker Desktop Docker Linux (WSL 2)

Docker PowerShell, Bash. docker version
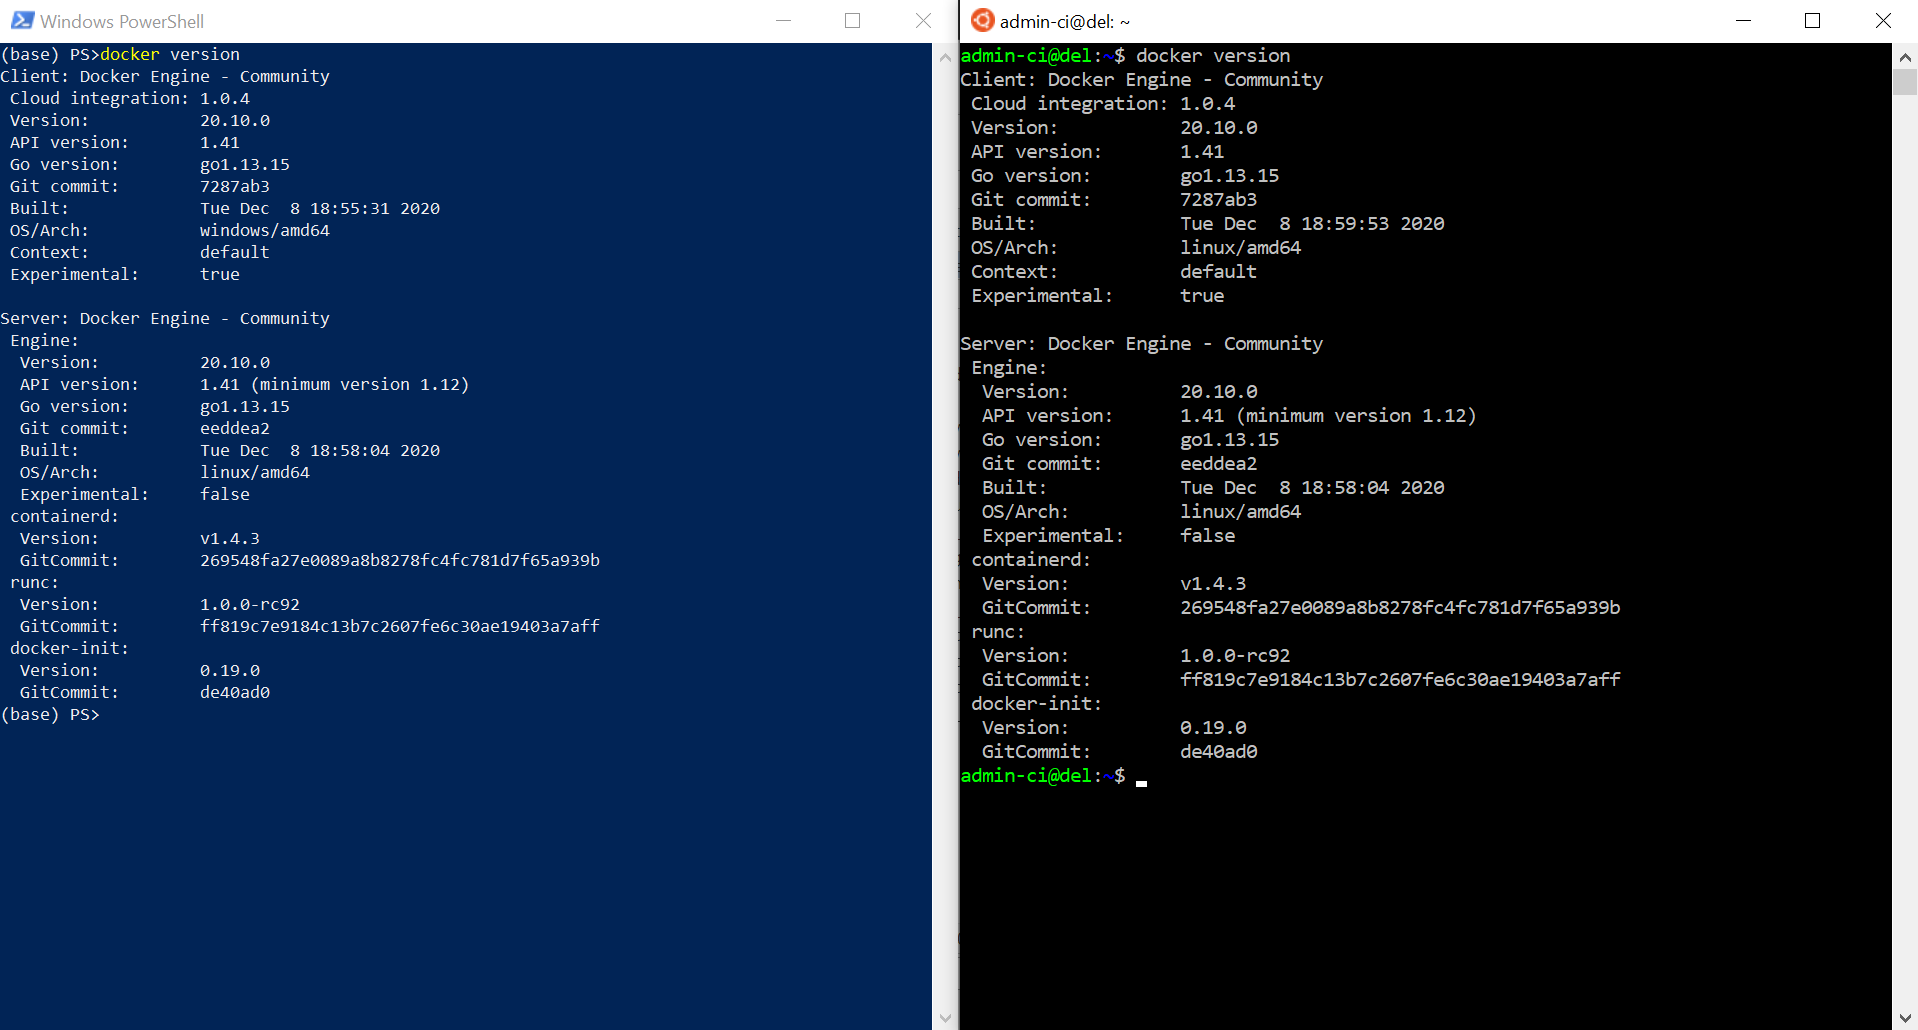
Docker Desktop
, Docker , busybox,
docker run busybox echo "hello docker!!!"

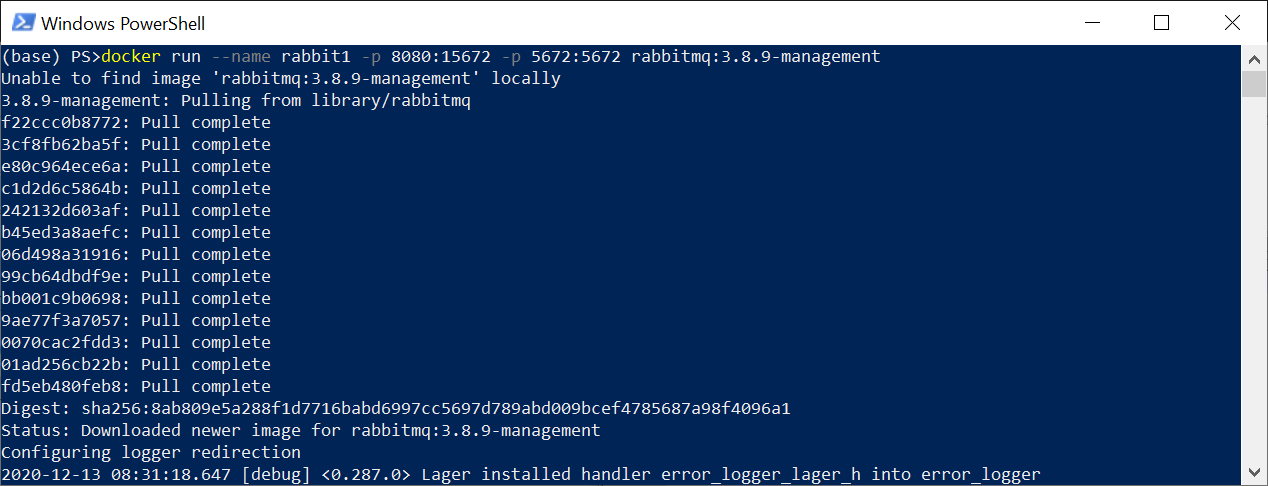
. - . , rabbitmq
docker run --name rabbit1 -p 8080:15672 -p 5672:5672 rabbitmq:3.8.9-management
:
docker run
- . , Docker Hub
--name rabbit1
- rabbit1
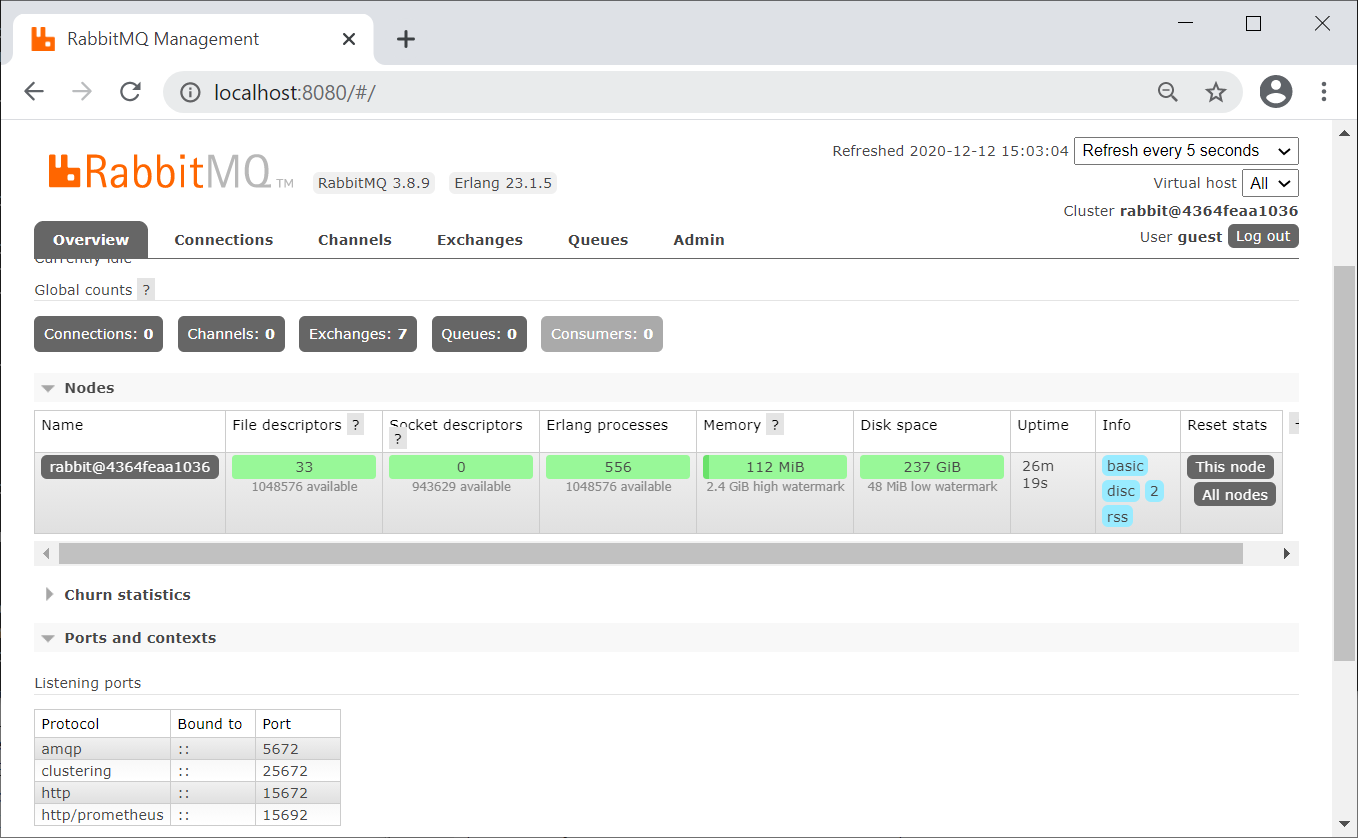
-p 8080:15672
- . 8080 - , 15672 -
rabbitmq:3.8.9-management
- /,
RabbitMQ 5672 8080
, , docker container ls --all
docker ps -a

: docker stop rabbit1
. : docker start rabbit1
Docker
.NET
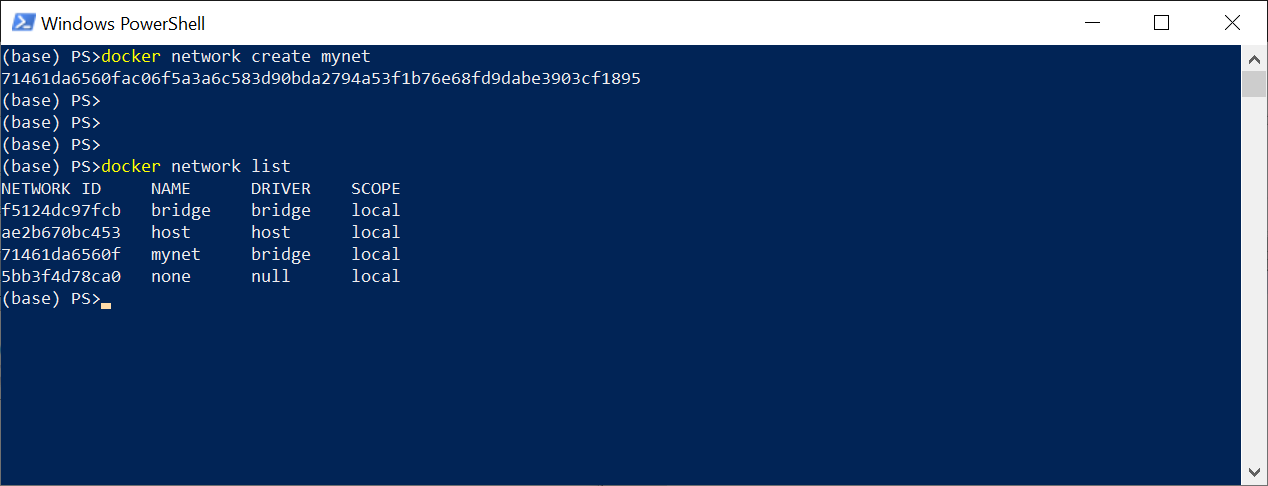
, .. , . bridge, .. , mynet bridge
docker network create mynet
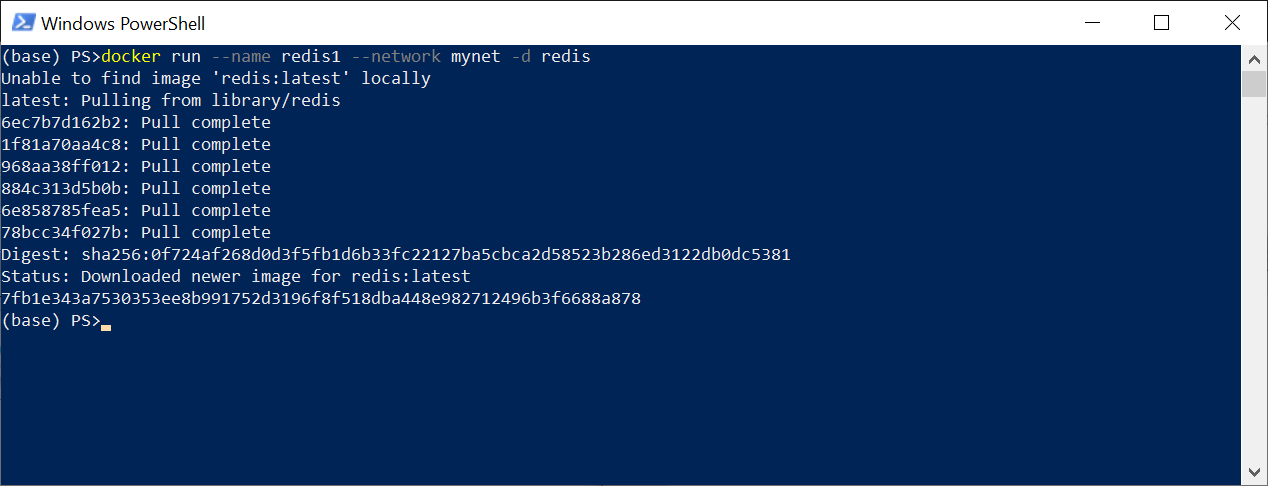
redis . -d
docker run --name redis1 --network mynet -d redis
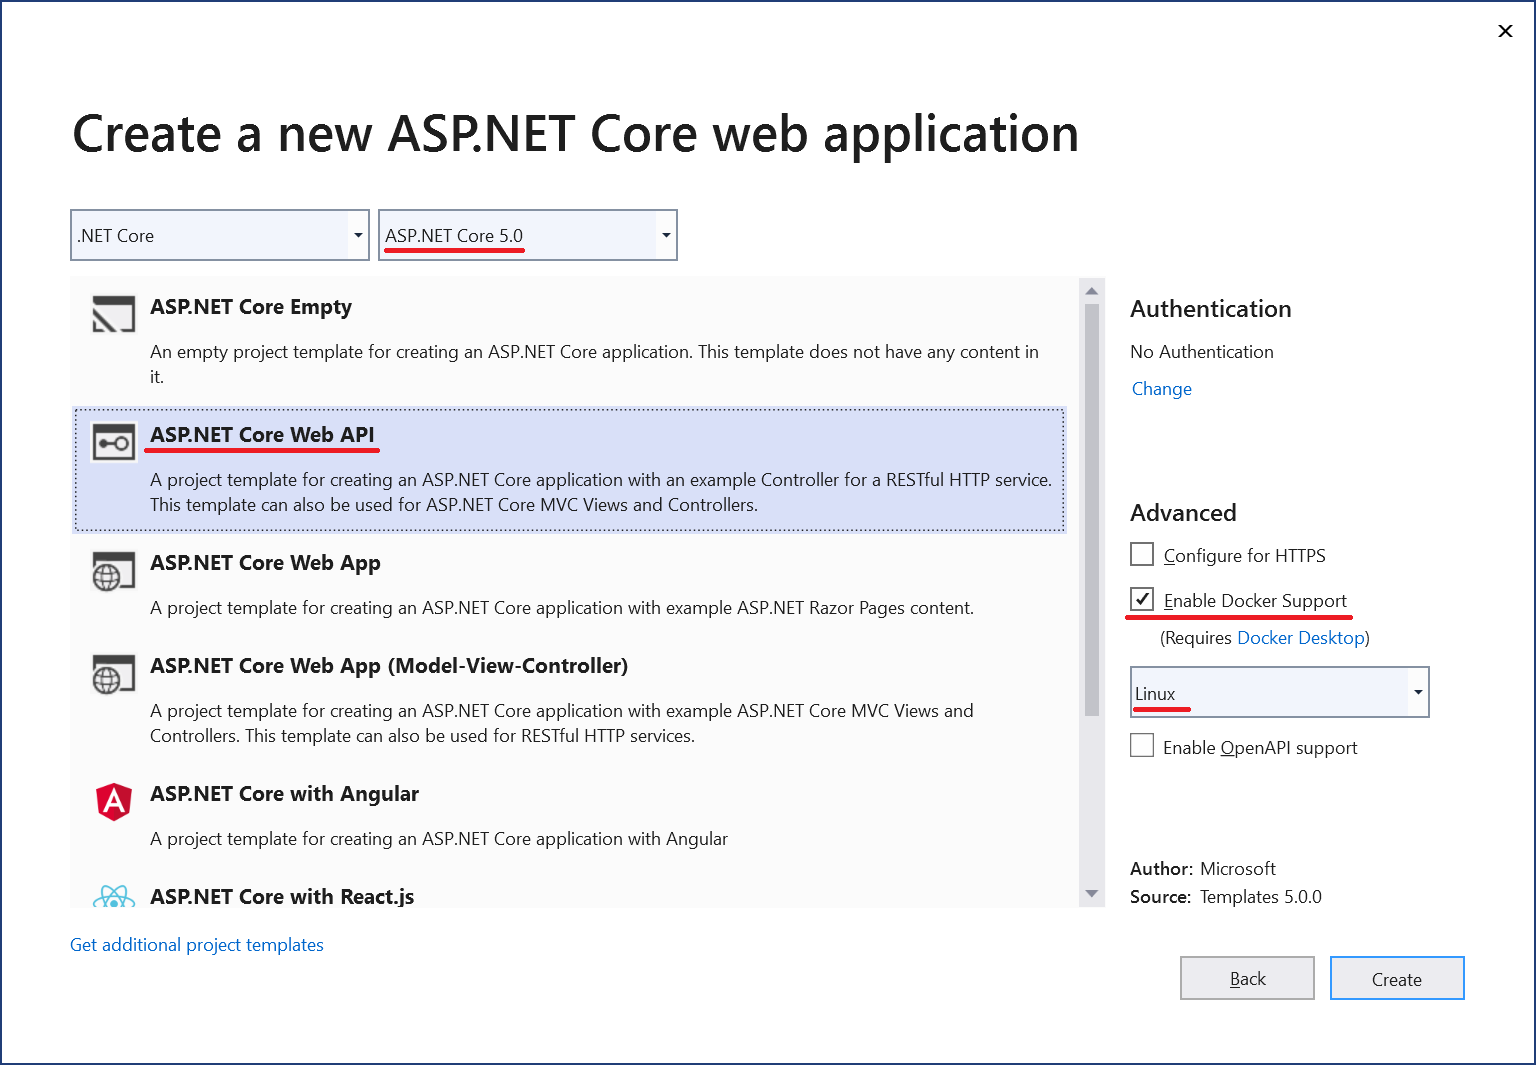
Visual Studio 2019 ASP.NET Core Web API,
Redis StackExchange.Redis Package Manager Console
Install-Package StackExchange.Redis -Version 2.2.4
,
RandomWeatherService.cs,
using System;

namespace WebApiFromDocker
{
    public class RandomWeatherService
    {
        private Random _randomGenerator;

        public RandomWeatherService()
        {
            _randomGenerator = new Random();
        }

        public int GetForecast(string city)
        {
            var length = city.Length;
            var temperatureC = _randomGenerator.Next(-length, length);
            return temperatureC;
        }
    }
}
RedisRepository.cs,
using StackExchange.Redis;
using System;
using System.Threading.Tasks;

namespace WebApiFromDocker
{
    public class RedisRepository
    {
        private string _connectionString = "redis1:6379";
        private TimeSpan _expiry = TimeSpan.FromHours(1);

        public async Task SetValue(string key, string value)
        {
            using var connection = await ConnectionMultiplexer
            	.ConnectAsync(_connectionString);
            var db = connection.GetDatabase();
            await db.StringSetAsync(key.ToUpper(), value, _expiry);
        }

        public async Task<string> GetValue(string key)
        {
            using var connection = await ConnectionMultiplexer
            	.ConnectAsync(_connectionString);
            var db = connection.GetDatabase();
            var redisValue = await db.StringGetAsync(key.ToUpper());
            return redisValue;
        }
    }
}
Startup
public void ConfigureServices(IServiceCollection services)
{
    services.AddScoped<RandomWeatherService>();
    services.AddScoped<RedisRepository>();
    services.AddControllers();
}
, WeatherForecastController
using Microsoft.AspNetCore.Mvc;
using System;
using System.Threading.Tasks;

namespace WebApiFromDocker.Controllers
{
    [ApiController]
    [Route("api/[controller]")]
    public class WeatherForecastController : ControllerBase
    {
        private RandomWeatherService _weather;
        private RedisRepository _cache;

        public WeatherForecastController(
            RandomWeatherService weather,
            RedisRepository cache)
        {
            _weather = weather;
            _cache = cache;
        }

        //GET /api/weatherforecast/moscow
        [HttpGet("{city}")]
        public async Task<WeatherForecast> GetAsync(string city)
        {
            int temperatureC;
            var cachedTemperatureCString = await _cache.GetValue(city);

            if (!string.IsNullOrEmpty(cachedTemperatureCString))
            {
                temperatureC = Convert.ToInt32(cachedTemperatureCString);
            }
            else
            {
                temperatureC = _weather.GetForecast(city);
                await _cache.SetValue(city, temperatureC.ToString());
            }

            var forecast = new WeatherForecast(
            	city, DateTime.UtcNow, temperatureC);
            return forecast;
        }
    }
}
Dockerfile Docker.
FROM mcr.microsoft.com/dotnet/aspnet:5.0-buster-slim AS base
WORKDIR /app
EXPOSE 80

FROM mcr.microsoft.com/dotnet/sdk:5.0-buster-slim AS build
WORKDIR /src
COPY ["WebApiFromDocker/WebApiFromDocker.csproj", "WebApiFromDocker/"]
RUN dotnet restore "WebApiFromDocker/WebApiFromDocker.csproj"
COPY . .
WORKDIR "/src/WebApiFromDocker"
RUN dotnet build "WebApiFromDocker.csproj" -c Release -o /app/build

FROM build AS publish
RUN dotnet publish "WebApiFromDocker.csproj" -c Release -o /app/publish

FROM base AS final
WORKDIR /app
COPY --from=publish /app/publish .
ENTRYPOINT ["dotnet", "WebApiFromDocker.dll"]

- ,
, mynet
docker network connect mynet WebApiFromDocker

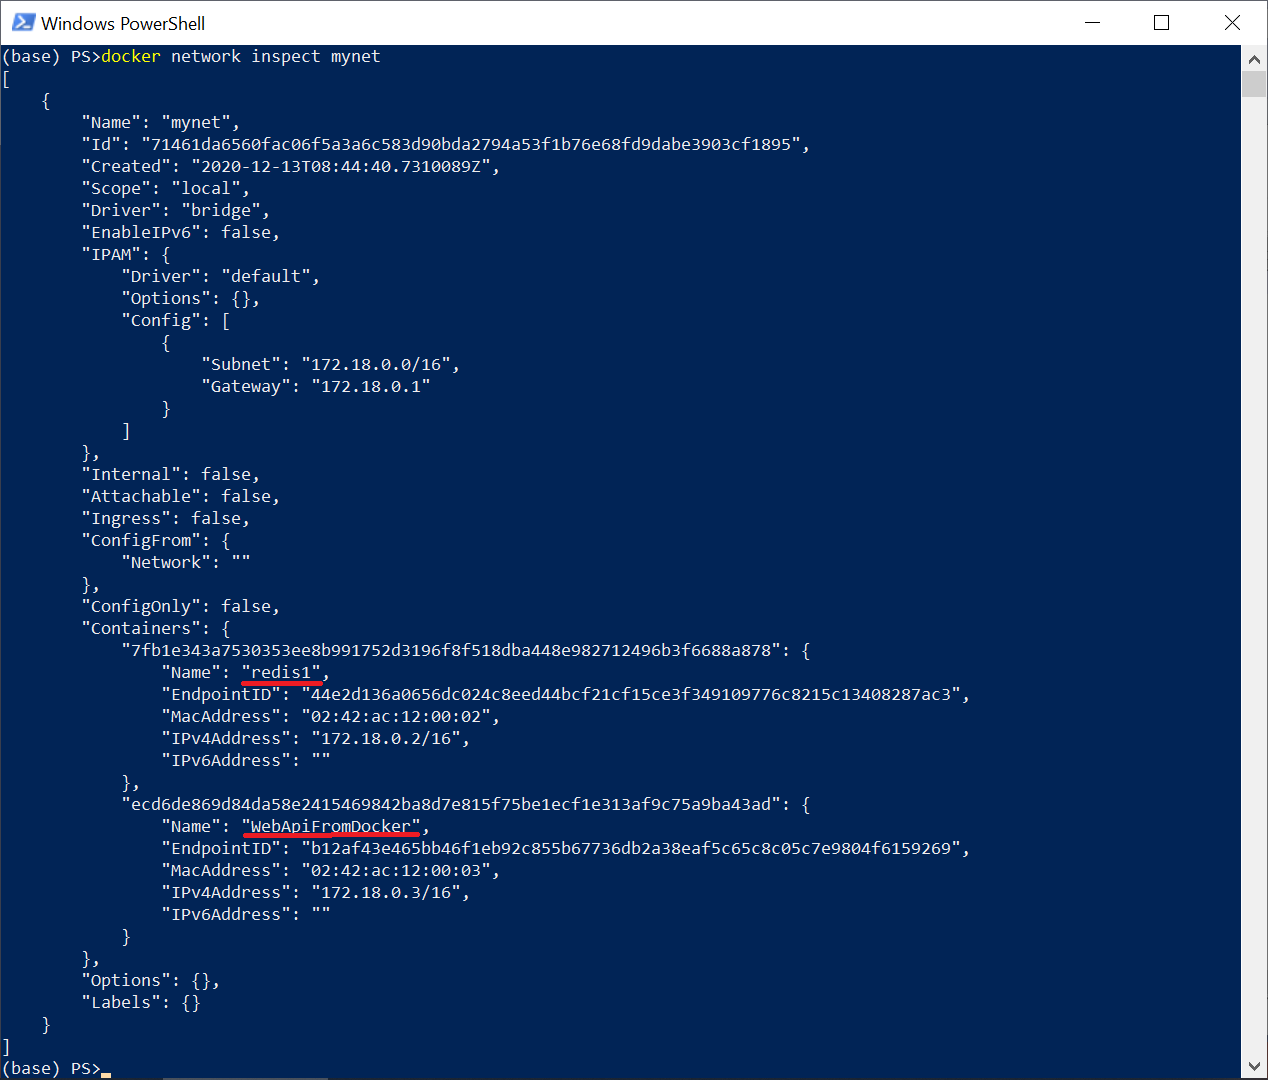
Then we will make sure that all the necessary containers are on the same network
docker network inspect mynet
Next, we will install Breakpoint in a single controller method and send a request through Postman , or through any browser
http://localhost:49156/api/weatherforecast/moscow
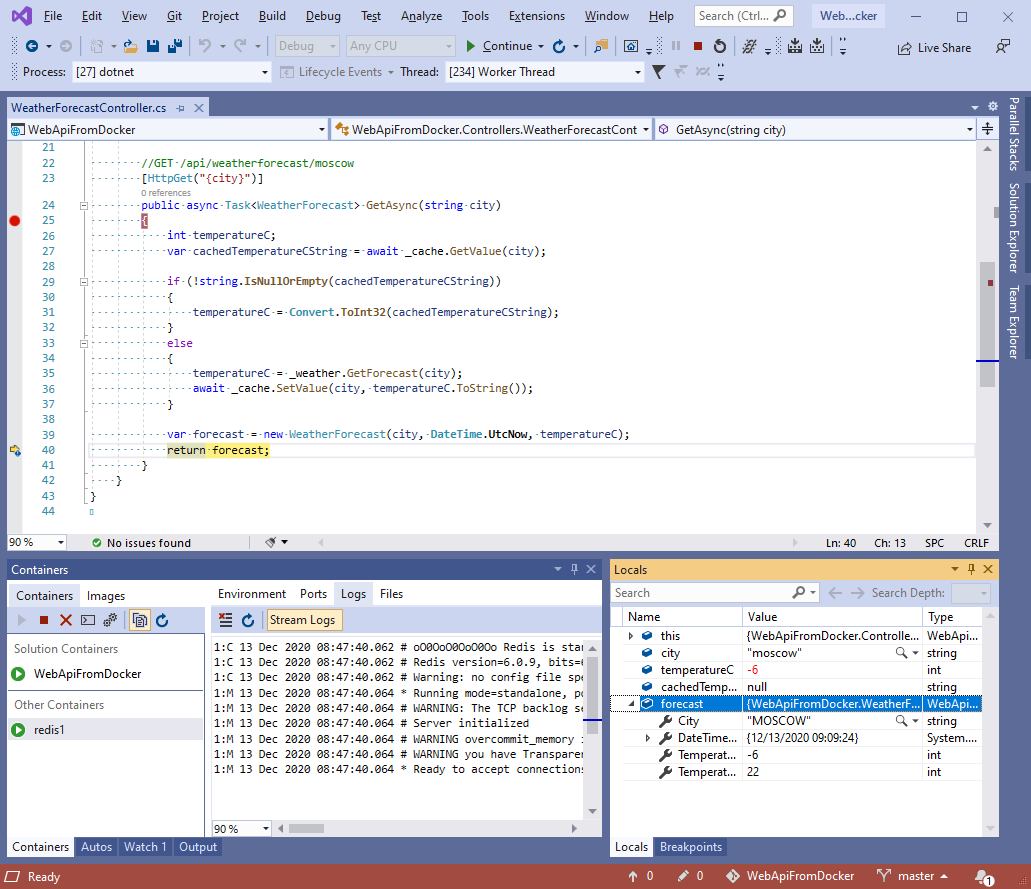
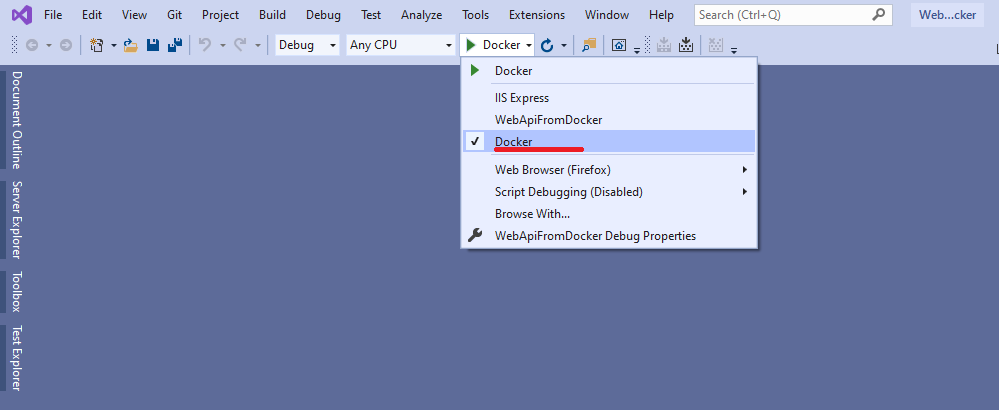
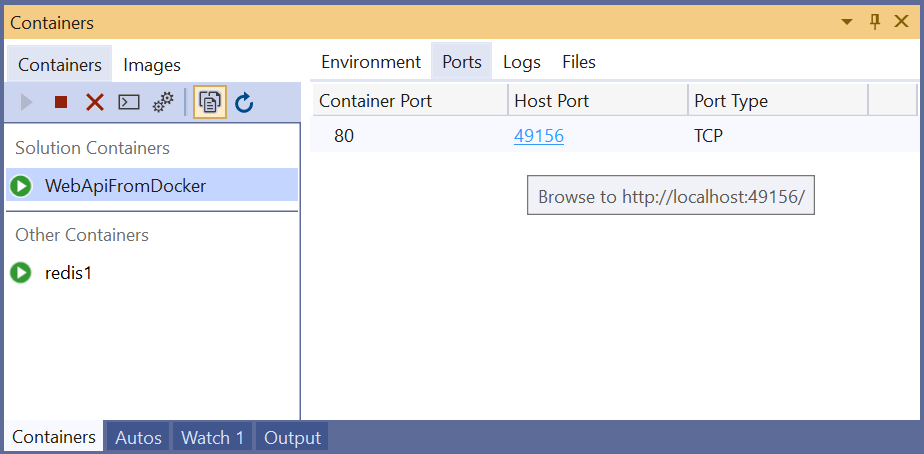
By the way, the port used in your case may differ and you can see it in the Containers window
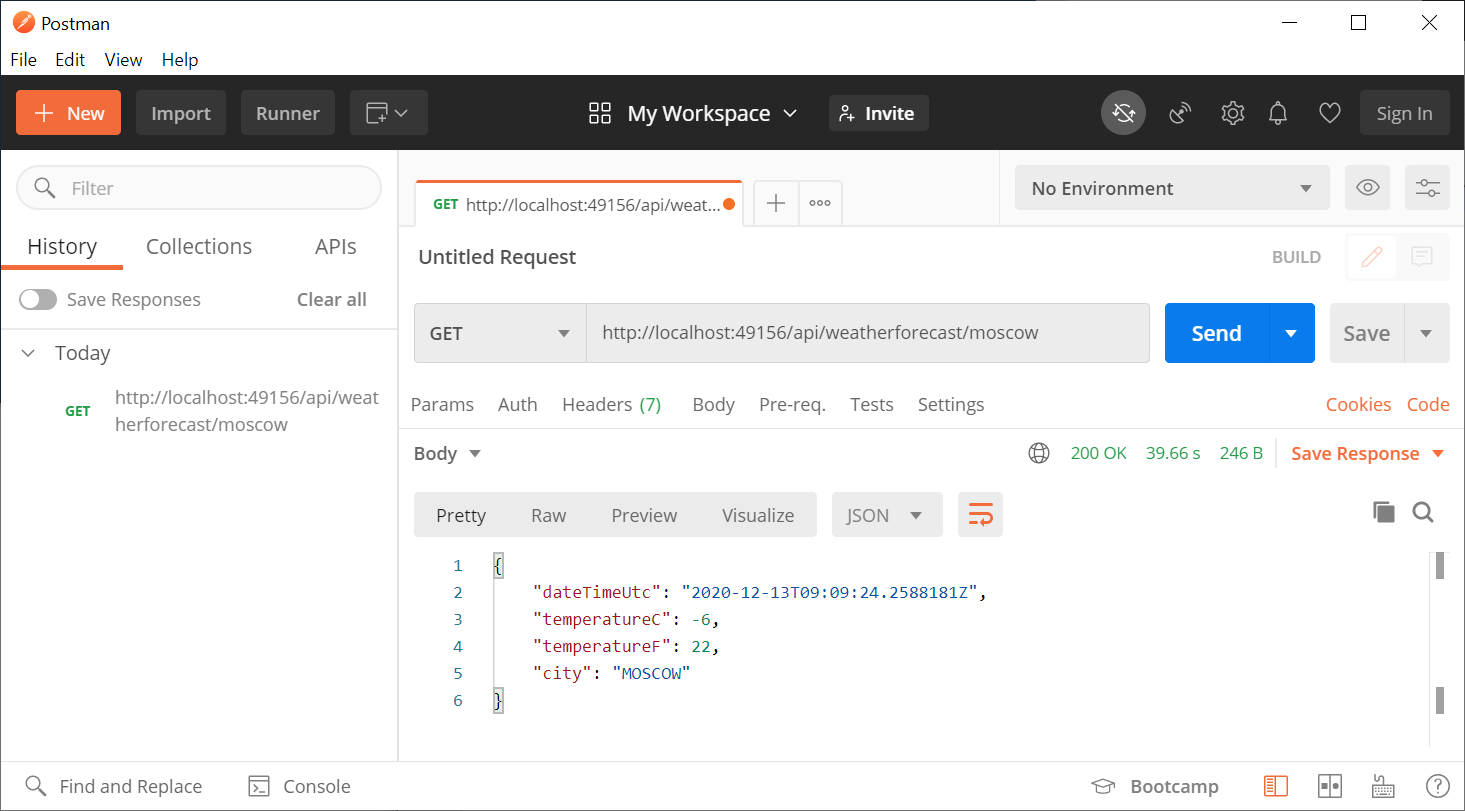
Result in Postman window
Additionally, make sure the value is committed to redis by connecting using the redis-cli console
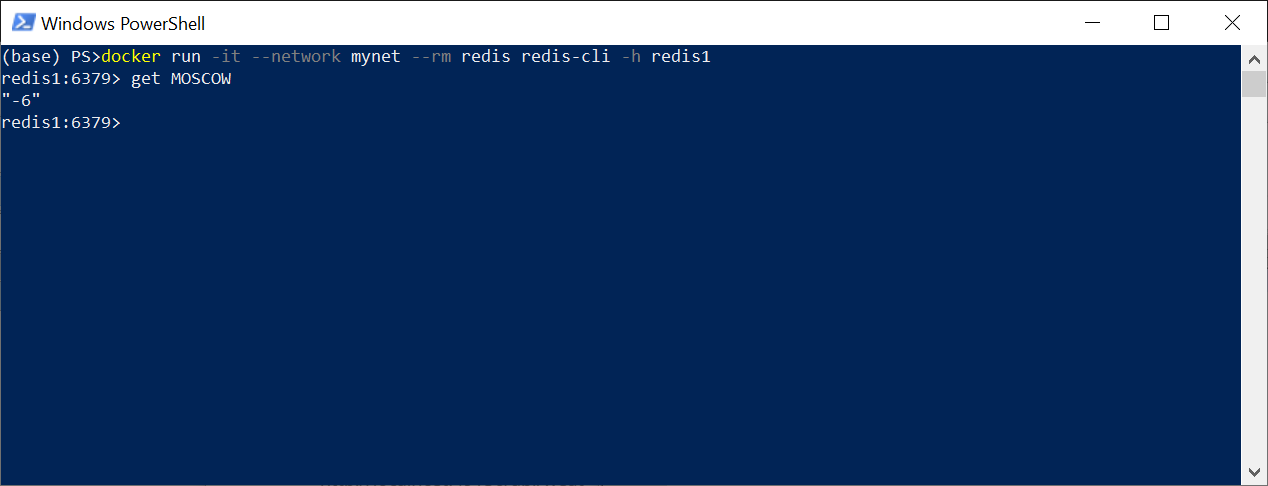
Ok, everything worked as intended!