Good day, friends!
While developing the Modern HTML Starter Template, I thought about expanding its usability. At that time, the options for its use were limited to cloning the repository and downloading the archive. This is how the HTML snippet and extension for Microsoft Visual Studio Code - HTML Template , as well as the command line interface - create-modern-template appeared . Of course, these tools are far from perfect and I will refine them as much as I can. However, in the process of creating them, I learned a few interesting things that I want to share with you.
Snippet and expansion were covered in the first part . In this part, we'll take a look at the CLI.
If you are only interested in the source code, here is the link to the repository .
Oclif
Oclif is a Heroku framework for building command line interfaces.
Let's use it to create a trick that provides the ability to add, update, delete tasks and view their list.
The source code of the project is here . There is also a CLI for checking the site's functionality by URL.
Install oclif globally:
npm i -g oclif / yarn global add oclif
Oclif provides the ability to create both single and multi-command CLIs. We need a second option.
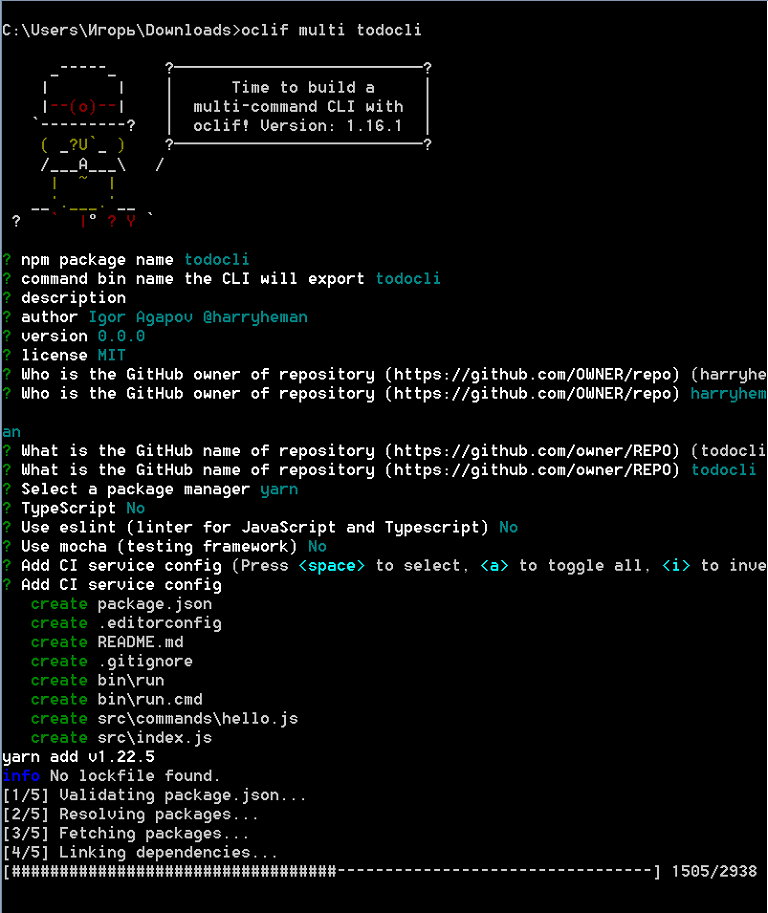
We create a project:
oclif multi todocli
- the multi argument tells oclif to create a multi-command interface
- todocli - project name

Add the necessary commands:
oclif command add
oclif command update
oclif command remove
oclif command show
The src / commands / hello.js file can be deleted.
We will use lowdb as the local database . We will also use chalk to customize the messages displayed in the terminal . Install these libraries:
npm i chalk lowdb / yarn add chalk lowdb
Create an empty db.json file in the root directory. This will be our task repository.
In the src directory, create a db.js file with the following content:
const low = require('lowdb')
const FileSync = require('lowdb/adapters/FileSync')
const adapter = new FileSync('db.json')
const db = low(adapter)

//   todos        db.json
db.defaults({ todos: [] }).write()

//
const Todo = db.get('todos')

module.exports = Todo
Editing the src / commands / add.js file:
//
const { Command } = require('@oclif/command')
const Todo = require('../db')
const chalk = require('chalk')

class AddCommand extends Command {
  async run() {
    //
    const { argv } = this.parse(AddCommand)
    try {
      //
      await Todo.push({
        id: Todo.value().length,
        //       ,
        //
        task: argv.join(' '),
        done: false
      }).write()
      //
      this.log(chalk.green('New todo created.'))
    } catch {
      //
      this.log(chalk.red('Operation failed.'))
    }
  }
}

//
AddCommand.description = `Adds a new todo`

//
AddCommand.strict = false

//
module.exports = AddCommand
Editing the src / commands / update.js file:
const { Command } = require('@oclif/command')
const Todo = require('../db')
const chalk = require('chalk')

class UpdateCommand extends Command {
  async run() {
    //
    const { id } = this.parse(UpdateCommand).args
    try {
      //    id
      await Todo.find({ id: parseInt(id, 10) })
        .assign({ done: true })
        .write()
      this.log(chalk.green('Todo updated.'))
    } catch {
      this.log('Operation failed.')
    }
  }
}

UpdateCommand.description = `Marks a task as done by id`

//
UpdateCommand.args = [
  {
    name: 'id',
    description: 'todo id',
    required: true
  }
]

module.exports = UpdateCommand
The src / commands / remove.js file looks like this:
const { Command } = require('@oclif/command')
const Todo = require('../db')
const chalk = require('chalk')

class RemoveCommand extends Command {
  async run() {
    const { id } = this.parse(RemoveCommand).args
    try {
      await Todo.remove({ id: parseInt(id, 10) }).write()
      this.log(chalk.green('Todo removed.'))
    } catch {
      this.log(chalk.red('Operation failed.'))
    }
  }
}

RemoveCommand.description = `Removes a task by id`

RemoveCommand.args = [
  {
    name: 'id',
    description: 'todo id',
    required: true
  }
]

module.exports = RemoveCommand
Finally, edit the src / commands / show.js file:
const { Command } = require('@oclif/command')
const Todo = require('../db')
const chalk = require('chalk')

class ShowCommand extends Command {
  async run() {
    //        id
    const res = await Todo.sortBy('id').value()
    //
    //
    if (res.length) {
      res.forEach(({ id, task, done }) => {
        this.log(
          `[${
            done ? chalk.green('DONE') : chalk.red('NOT DONE')
          }] id: ${chalk.yellowBright(id)}, task: ${chalk.yellowBright(task)}`
        )
      })
    //
    } else {
      this.log('There are no todos.')
    }
  }
}

ShowCommand.description = `Shows existing tasks`

module.exports = ShowCommand
Being in the root directory of the project, execute the following command:
npm link / yarn link

Next, we perform several operations.

Fine. Everything works as expected. All that remains is to edit package.json and README.md, and you can publish the package to the npm registry.
DIY CLI
Our CLI in functionality will resemble create-react-app or vue-cli . On the create command, it will create a project in the target directory containing all the files necessary for the application to work. In addition, it will provide the ability to optionally initialize git and install dependencies.
The source code of the project is here .
Create a directory and initialize the project:
mkdir create-modern-template
cd create-modern-template
npm init -y / yarn init -y
Install the required libraries:
yarn add arg chalk clear esm execa figlet inquirer listr ncp pkg-install
- arg - a tool for parsing command line arguments
- clear - a tool to clear the terminal
- esm is a tool that provides ES6 module support in Node.js
- execa is a tool to automatically perform some common operations (we will use it to initialize git)
- figlet - a tool for outputting customized text to the terminal
- inquirer - a tool for working with the command line, in particular, it allows you to ask questions to the user and parse his answers
- listr - a tool for creating a list of tasks and visualizing their execution in the terminal
- ncp - tool for copying files and directories
- pkg-install - a tool to programmatically install project dependencies
In the root directory, create a bin / create file (without extension) with the following content:
#!/usr/bin/env node

require = require('esm')(module)

require('../src/cli').cli(process.argv)
Editing package.json:
"main": "src/main.js",
"bin": "bin/create"
The create command is registered.
Create a src / template directory and place the project files there, which will be copied to the target directory.
Create a src / cli.js file with the following content:
//
import arg from 'arg'
import inquirer from 'inquirer'
import { createProject } from './main'

//
// --yes  -y    git
// --git  -g   git
// --install  -i
const parseArgumentsIntoOptions = (rawArgs) => {
  const args = arg(
    {
      '--yes': Boolean,
      '--git': Boolean,
      '--install': Boolean,
      '-y': '--yes',
      '-g': '--git',
      '-i': '--install'
    },
    {
      argv: rawArgs.slice(2)
    }
  )

  //
  return {
    template: 'template',
    skipPrompts: args['--yes'] || false,
    git: args['--git'] || false,
    install: args['--install'] || false
  }
}

//
const promptForMissingOptions = async (options) => {
  //     --yes  -y
  if (options.skipPrompts) {
    return {
      ...options,
      git: false,
      install: false
    }
  }

  //
  const questions = []

  //      git
  if (!options.git) {
    questions.push({
      type: 'confirm',
      name: 'git',
      message: 'Would you like to initialize git?',
      default: false
    })
  }

  //
  if (!options.install) {
    questions.push({
      type: 'confirm',
      name: 'install',
      message: 'Would you like to install dependencies?',
      default: false
    })
  }

  //
  const answers = await inquirer.prompt(questions)

  //
  return {
    ...options,
    git: options.git || answers.git,
    install: options.install || answers.install
  }
}

//
export async function cli(args) {
  let options = parseArgumentsIntoOptions(args)

  options = await promptForMissingOptions(options)

  await createProject(options)
}
The src / main.js file looks like this:
//
import path from 'path'
import chalk from 'chalk'
import execa from 'execa'
import fs from 'fs'
import Listr from 'listr'
import ncp from 'ncp'
import { projectInstall } from 'pkg-install'
import { promisify } from 'util'
import clear from 'clear'
import figlet from 'figlet'

//
const access = promisify(fs.access)
const copy = promisify(ncp)

//
clear()

//     HTML -
console.log(
  chalk.yellowBright(figlet.textSync('HTML', { horizontalLayout: 'full' }))
)

//
const copyFiles = async (options) => {
  try {
    // templateDirectory -    ,
    // targetDirectory -
    await copy(options.templateDirectory, options.targetDirectory)
  } catch {
    //
    console.error('%s Failed to copy files', chalk.red.bold('ERROR'))
    process.exit(1)
  }
}

//   git
const initGit = async (options) => {
  try {
    await execa('git', ['init'], {
      cwd: options.targetDirectory,
    })
  } catch {
    //
    console.error('%s Failed to initialize git', chalk.red.bold('ERROR'))
    process.exit(1)
  }
}

//
export const createProject = async (options) => {
  //
  options.targetDirectory = process.cwd()

  //
  const fullPath = path.resolve(__filename)

  //
  const templateDir = fullPath.replace('main.js', `${options.template}`)

  options.templateDirectory = templateDir

  try {
    //
    //  R_OK -
    await access(options.templateDirectory, fs.constants.R_OK)
  } catch {
    //
    console.error('%s Invalid template name', chalk.red.bold('ERROR'))
    process.exit(1)
  }

  //
  const tasks = new Listr(
    [
      {
        title: 'Copy project files',
        task: () => copyFiles(options),
      },
      {
        title: 'Initialize git',
        task: () => initGit(options),
        enabled: () => options.git,
      },
      {
        title: 'Install dependencies',
        task: () =>
          projectInstall({
            cwd: options.targetDirectory,
          }),
        enabled: () => options.install,
      },
    ],
    {
      exitOnError: false,
    }
  )

  //
  await tasks.run()

  //
  console.log('%s Project ready', chalk.green.bold('DONE'))

  return true
}
We connect the CLI (being in the root directory):
yarn link
Create target directory and project:
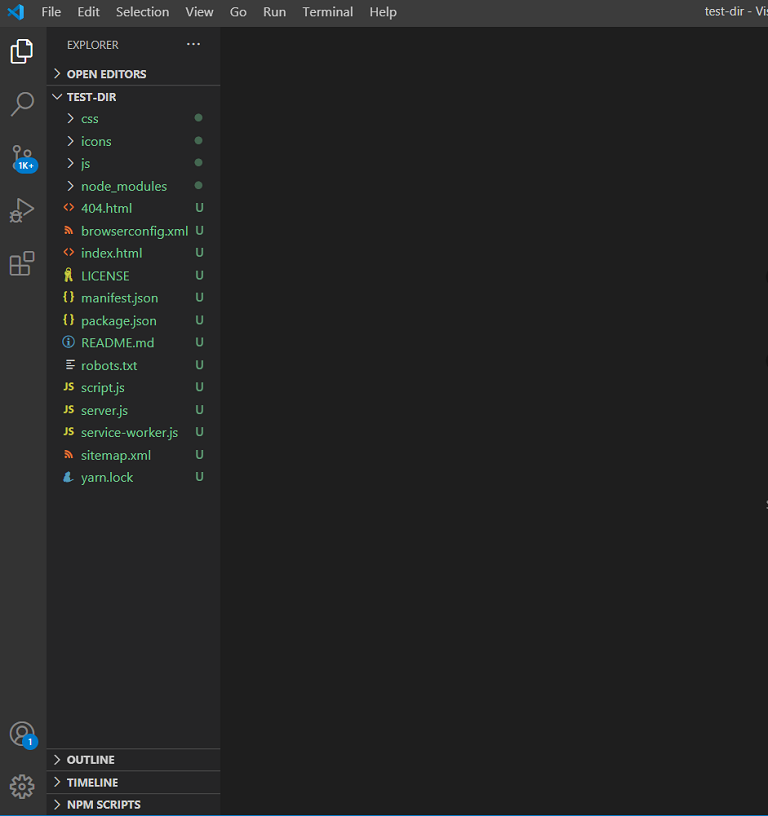
mkdir test-dir
cd test-dir
create-modern-template && code .


Perfectly. CLI ready to publish.
Publishing a package to the npm registry
In order to be able to publish packages, you first need to create an account in the npm registry .
Then you need to log in by running the npm login command and specifying your email and password.
After that we edit package.json and create .gitignore, .npmignore, LICENSE and README.md files (see the project repository).
We package the project files using the npm package command. We get the file create-modern-template.tgz. We publish this file by running the command npm publish create-modern-template.tgz.
Getting an error while publishing a package usually means that a package with the same name already exists in the npm registry. To update a package, you need to change the version of the project in package.json, create the TGZ file again and send it for publication.
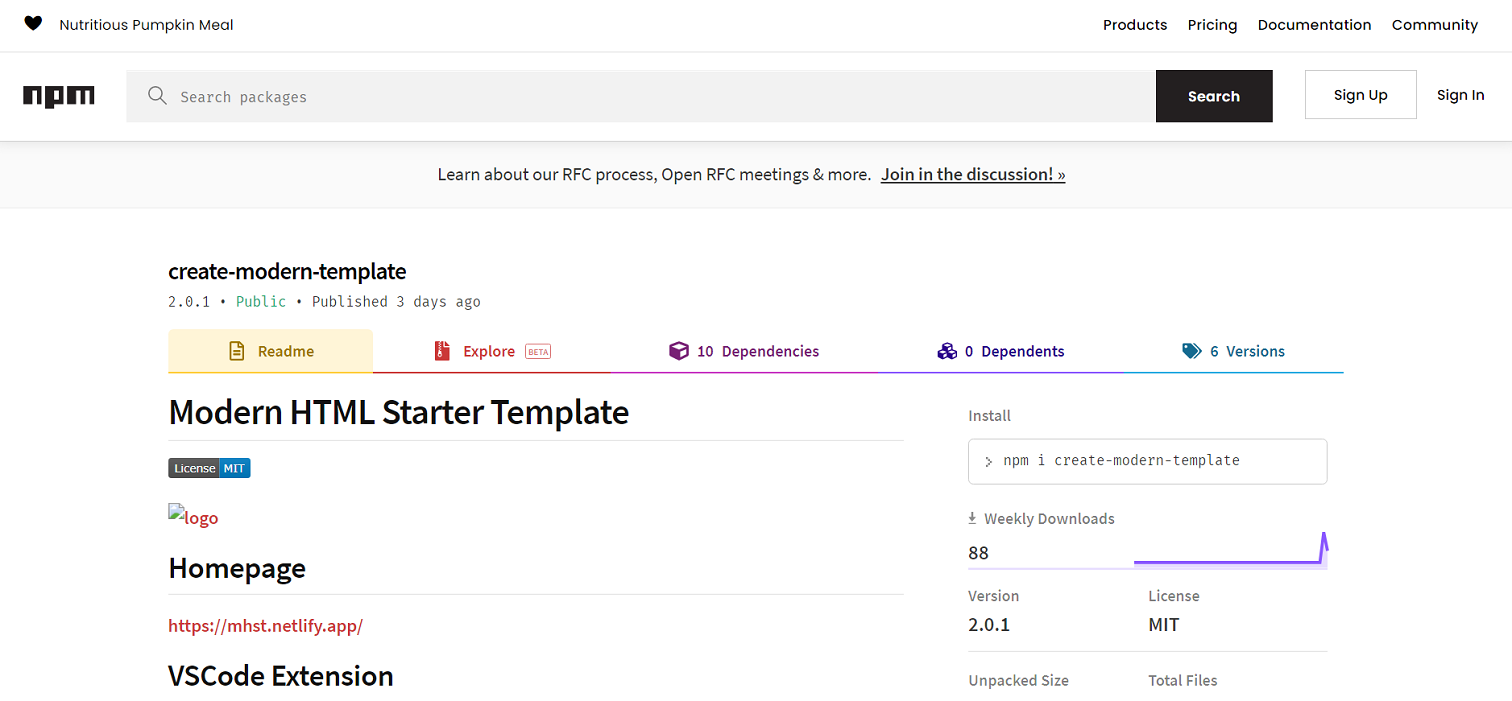
Once a package has been published, it can be installed like any other package using npm i / yarn add.

As you can see, creating the CLI and publishing the package to the npm registry is straightforward.
I hope you found something interesting for yourself. Thank you for attention.