Once I received a task to make an information board for displaying the results of the Darts game.
Naturally, the first thing I did was go to Google to see what was on the market. And if in general there are sports scoreboards, for example, for football / hockey ...

then there is nothing for darts. Well, no, some office offers production, but no photos of the finished result, no prices - no.

When playing 501, players use a mobile application to calculate the player's score. There are a large number of them. Well, of course, this is essentially just a calculator - only a lazy one will not write it on the same Android. However, some applications, in addition to the game account, also have player statistics on their board. Accordingly, the task was to duplicate the score of the players displayed in the application to this sports scoreboard.

I was shown one of the apps that players use. I turned to the developer, in brotherly Belarus, with a question whether he would be able to introduce information output to an external device via BlueTooth into his program. To which he replied that he himself is just learning to write applications on android, and does not want to bother.
Well, what to do, you have to do it yourself ... Everything on my own, with my own hands (c)
By the way, I have never started programming on Android.
The following scheme was drawn in my head.
There is a phone / tablet with an application, there is a scoreboard with a microcontroller, Bluetooth module, and LED indicators.
The first question is which indicators to use? Unambiguously high (15-20 cm high), unambiguously LED.
Classic seven-segment?
No
Disadvantages:
- high price
- unrepairable
- control and power circuit required
- did not find the size you need (max 5 cm)
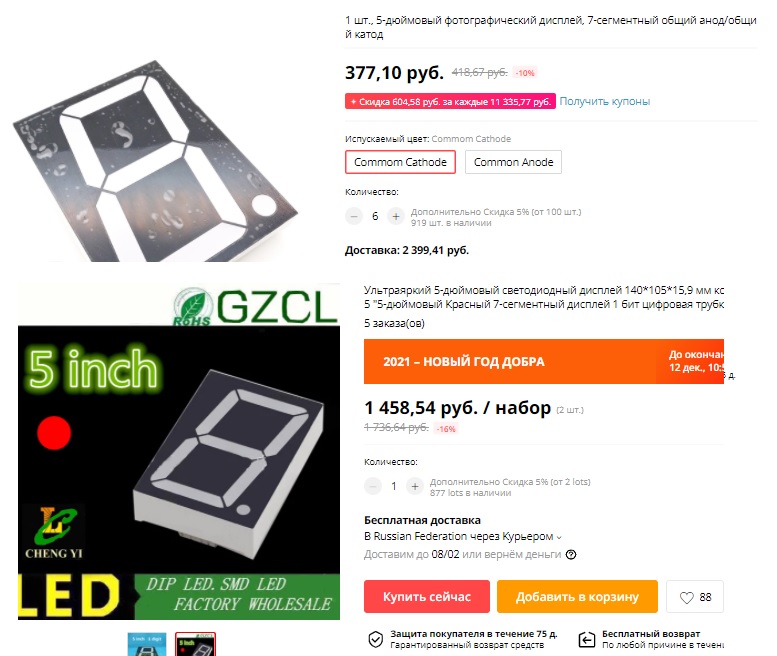
Typesetting from segments?
Also not, for the same reasons except the second and last.
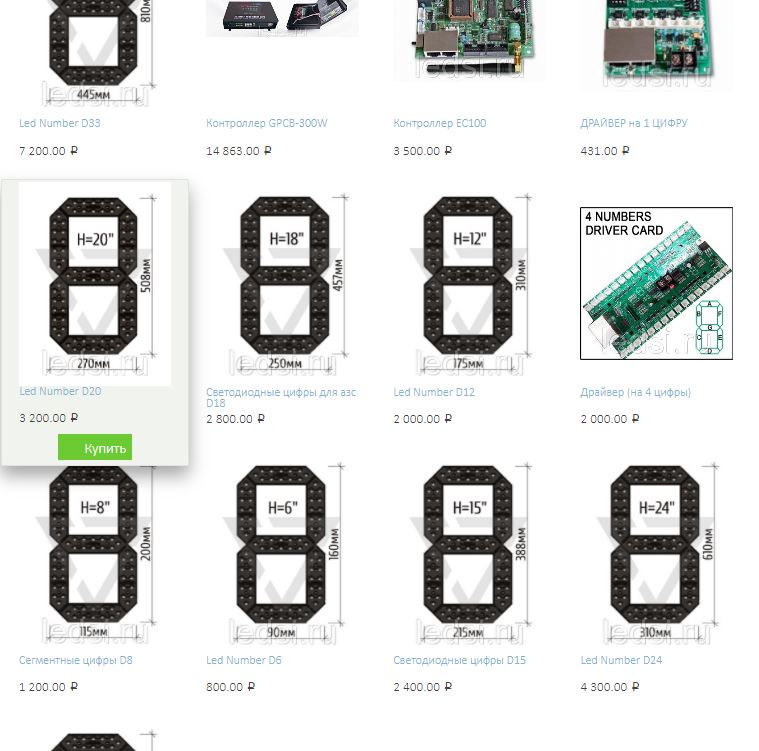
And then, as a result of brainstorming, an idea flies in to make numbers from an LED strip on ws2812b - “smart” controlled LEDs. "Yeah, exactly the same !!!", - I shouted, "Thank you, Kostya." There could be no more ingenious solution.
The advantages of this choice:
- cheap (on my version 250 rubles came out for a figure 20 centimeters high),
- you can easily replace a broken LED (this is important when using ws2812b),
- controlled by just one wire from the microcontroller. No need to fence the dynamic indication circuit, shift registers, power driver. The tape is powered by 5 volts.
- you can create a digit of any shape and size.
Well, the whole scheme was approved: 1.application -> 2.blutus module HC-05 -> 3.microcontroller (arduinya, or stm32) -> 4.ws2812b tape.
From this scheme, the first point was the most difficult (almost impossible) for me. I work with everything else.
To create applications, I use Android Studio environment, which worked very hard on my old computer. (2 cores, 2 gigs, turns on starts for 5 minutes). I found an option for creating simple applications in the online Thunkable environment, which allows you to program in a graphical environment in "blocks". There I threw a simple application, set up the bluetooth. And displayed the necessary information on the scoreboard.

At some point in time, I realized that using this online environment was not right, I still need to master Android Studio. I bought a new computer, installed it, launched Studio. I started with HelloWorld, of course. I had to deal with layouts, layouts, classes, Java and other garbage. At the same time, I bought an account in Google Play paying $ 25 for it.
Well, then it's a matter of time, to master Android and write code.
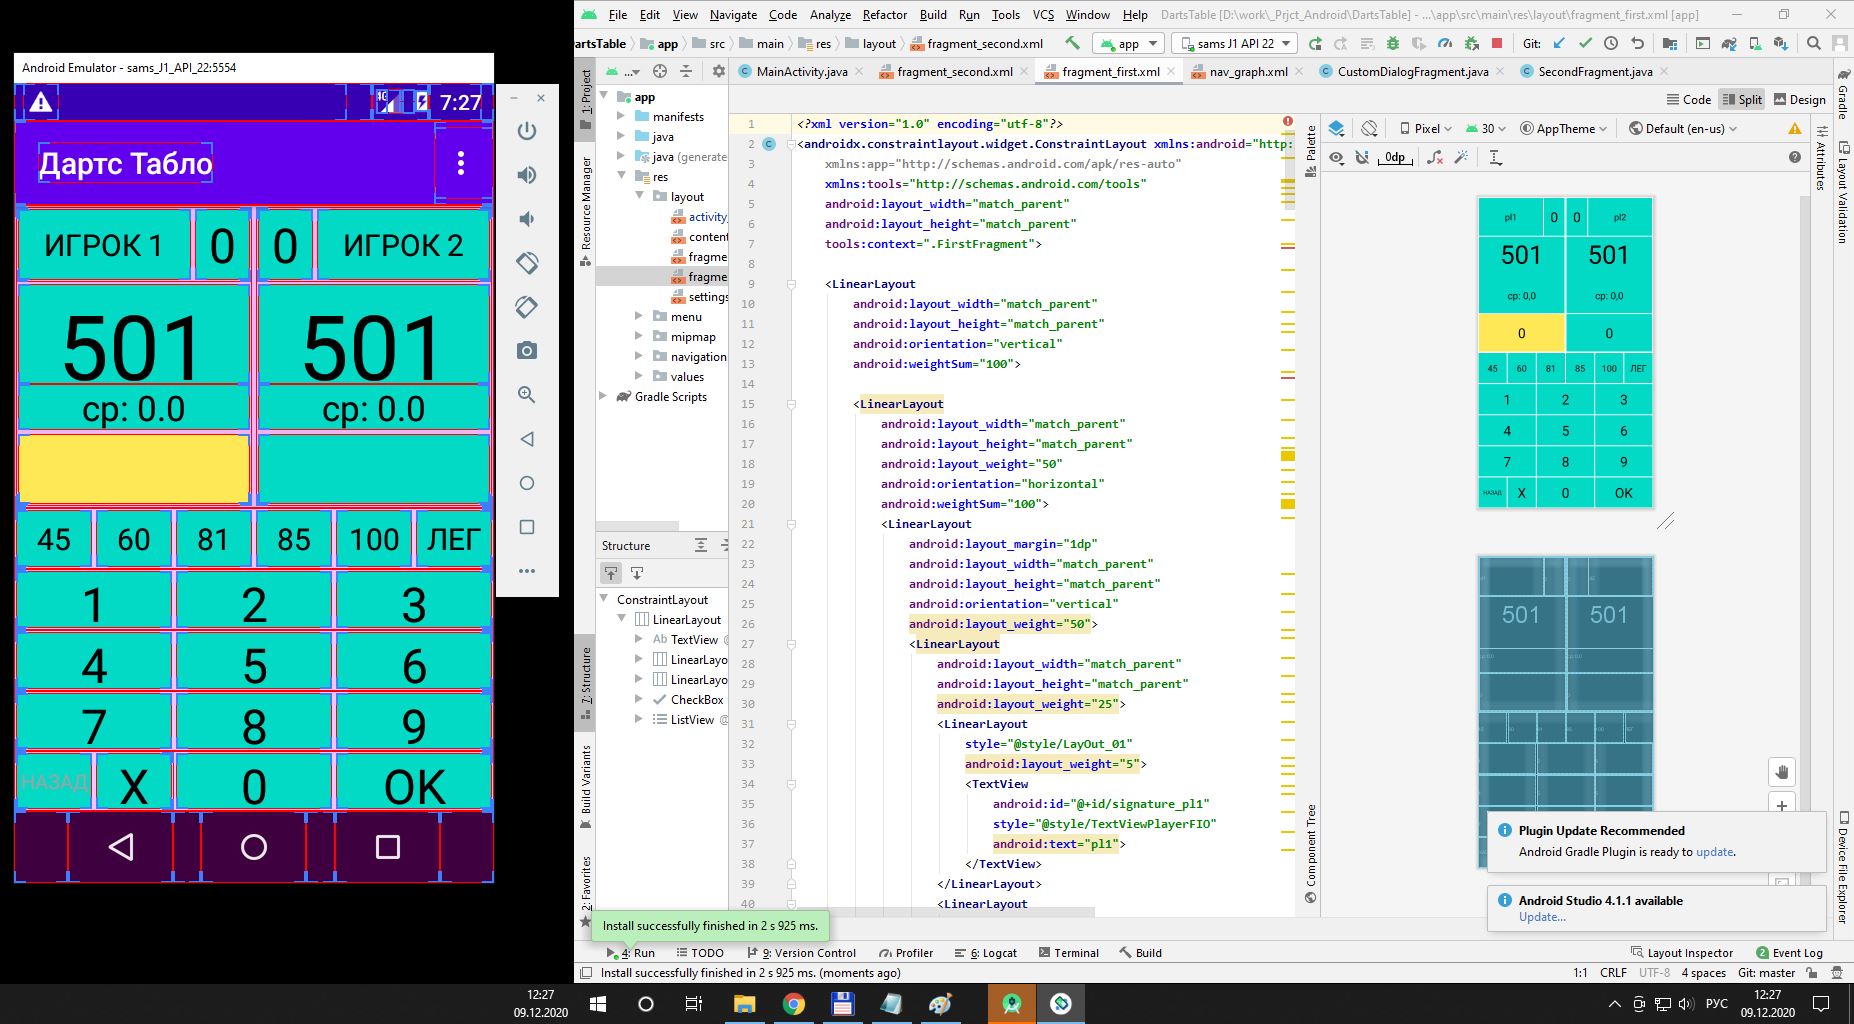
This is how it looks in the Android Studio development environment:
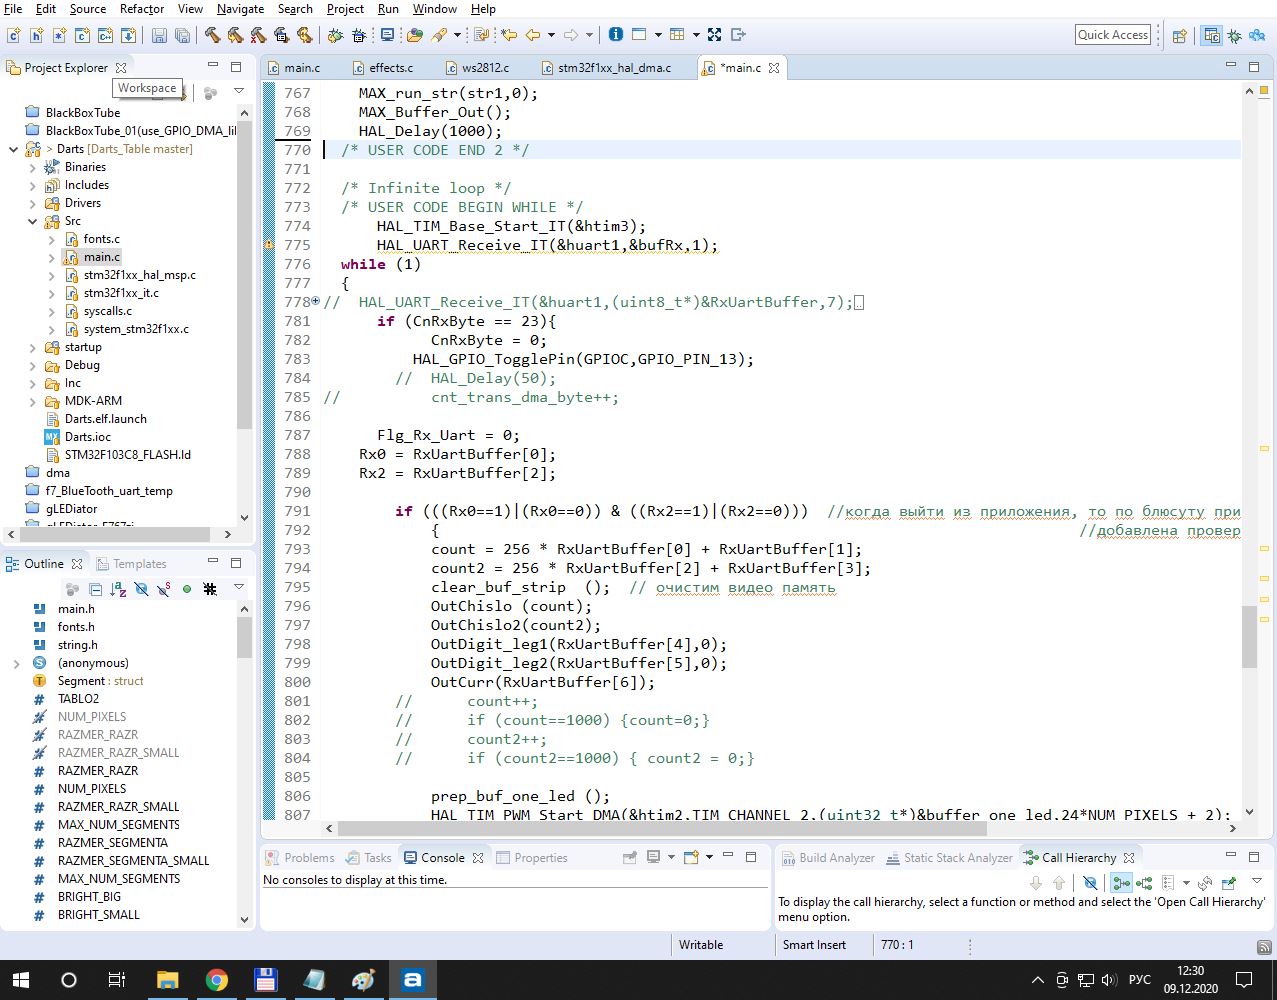
This is how the development process for the stm32 microcontroller looks like:
The scoreboard itself was made from a piece of laminate, on which the collected numbers, arduino and bluetooth module were glued. The front was covered with plexiglass. And they gave it to test operation.
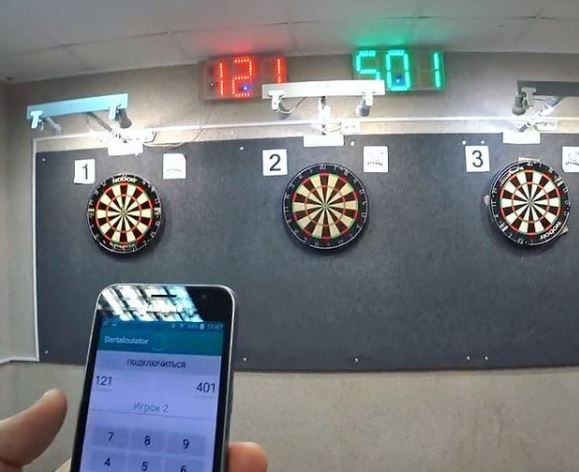
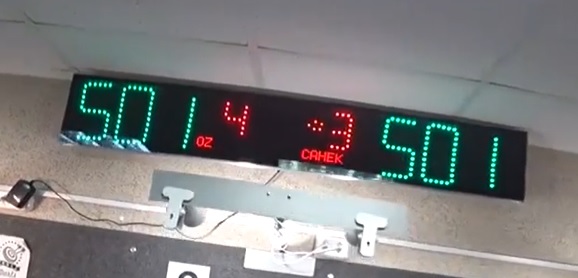
Immediately, comments and new Wishlist poured in (well, this is normal, since a prototype). It was necessary to add a leg count and a pointer to the current player, and if possible add a field to display the names of the players. Leg counts and arrows were added almost immediately.
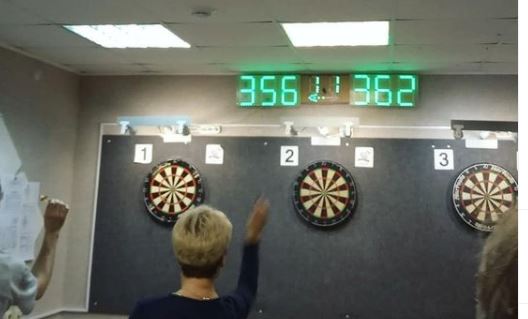
But for the names of the players I had to tinker and at the same time immediately create a second prototype, which is now working in a darts club in a small closed city N. Craft
budget:
ws2812b tape 1300 rubles
stm32 controller 150 rubles
HC-05 bluetooth 200 rubles
5V power supply 250 rubles ...
laminate, plexiglass, fasteners, tinting - from all sorts of remnants.
PS. The main inspirer, Customer and participant of the Darts Club in a couple of weeks will defend the honor of Russia at the World Darts Championship in London. Let's wish him good luck.