The Jira Service Desk (JSD) migration process can be roughly divided into three stages:
- Preparing a backup (backup).
- Server preparation. Installing software. Customization.
- Deploying a backup from the "cloud" on the server.
Server preparation includes installing the operating system on the server, installing software, and setting up. The server can be either physical or virtual. In my case, it will be using CentOS 7 and the software will be automatically installed by a simple script. Installation of CentOS 7 will not be described. Let's assume that the OS is already installed.
Technical requirements for the server can be found here.
1) Preparing a backup.
Let's make a backup of our "cloud" JSD.
We go into the system settings of the "cloud" JSD, the tab "Backup management."
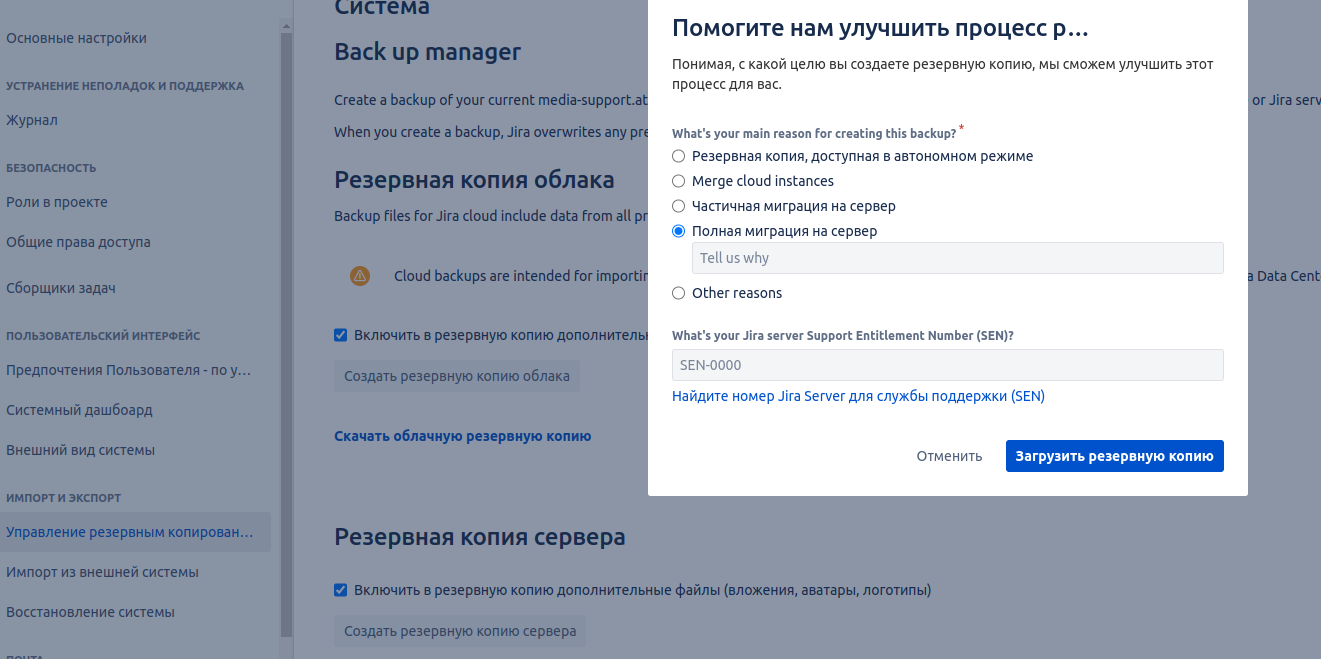
Let's make a server backup.
We select the full server migration and load the backup. There is a 48 hour limit on backups. That is, after creating a backup, the next one can be done only after 2 days.
2) Preparing the server. Installing software. Customization.
The script can be downloaded here in any way convenient for you.
We launch the terminal or connect to the server via SSH.
Add the right to execute the script with the command:
sudo chmod +x soft_install_c7.shRun the script with the command:
sudo bash soft_install_c7.sh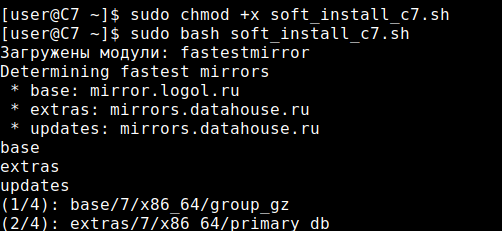
The update will start and then the software will be installed.
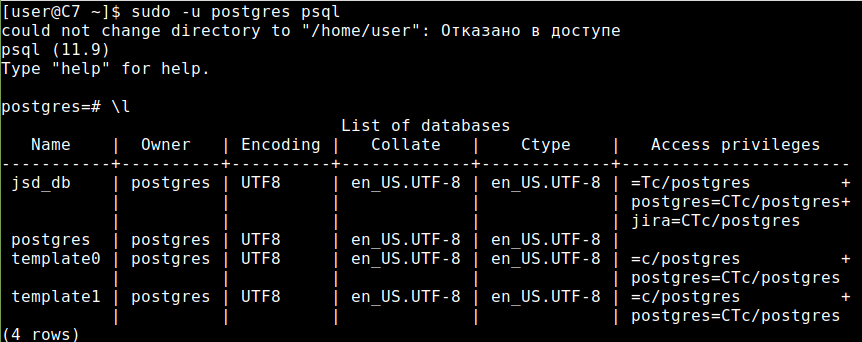
In addition to installing the software, the script will create a database (DB) in Postgre Sql.
When creating a database, the script may swear at access. It's okay, the base will be created.
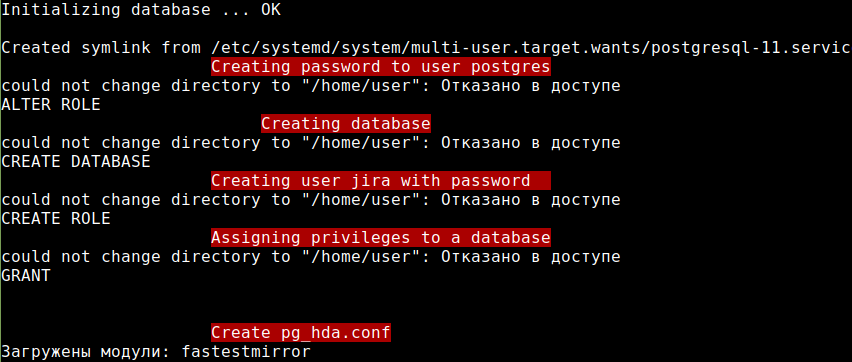
After the script is finished, you can go to the Postgre Sql console and make sure of this.
During the execution of the script, you will need to enter your e-mail and password to configure pgAdmin 4 and answer a few questions.
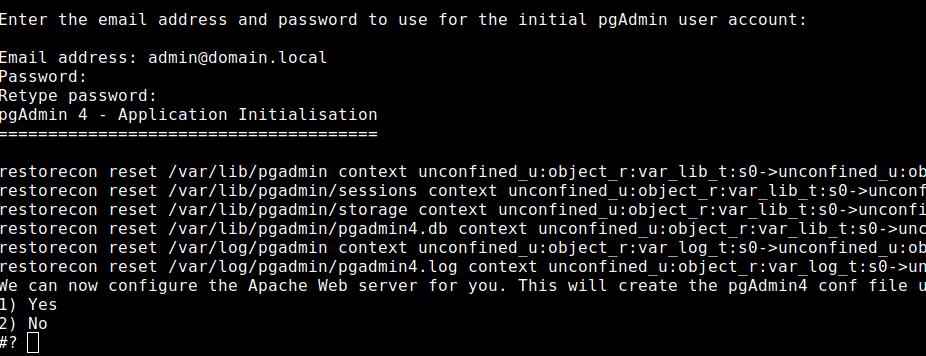
The JSD installation binary will download and run automatically. Several questions will need to be answered.
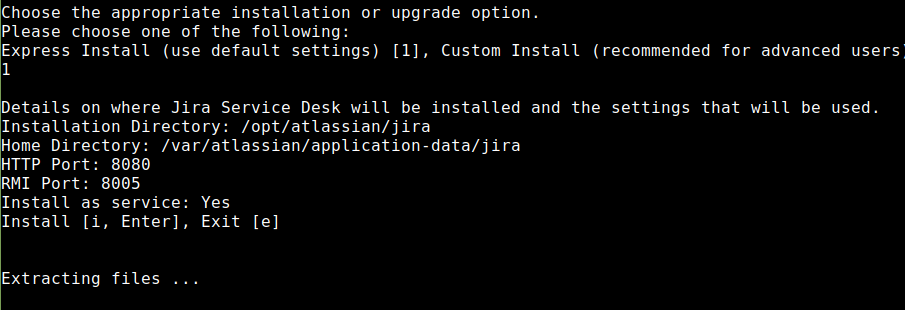
Ports for JSD operation can be left by default or you can choose others.
Firewall rules for Apache, pgAdmin 4 and JSD to work correctly will be added automatically. By default, the script will open ports 80, 8080 and 5432.
You can add a port of your choice with the command:
sudo firewall-cmd --zone=public —add-port=/tcp —permanentYou can remove the port with the command:
sudo firewall-cmd --zone=public --remove-port=/tcp --permanentYou can view all the firewall rules with the command:
sudo firewall-cmd —list-all sudo iptables -L -n -v —line-numbers
To restart the firewall use the command:
sudo firewall-cmd --reload
The script execution will end with the message - DONE!
At the end of the server preparation, you can connect pgAdmin 4 to the Postgre Sql server through the local loop address - 127.0.0.1, or whatever you like. Change the settings in pg_hba.conf to match your configuration if necessary.
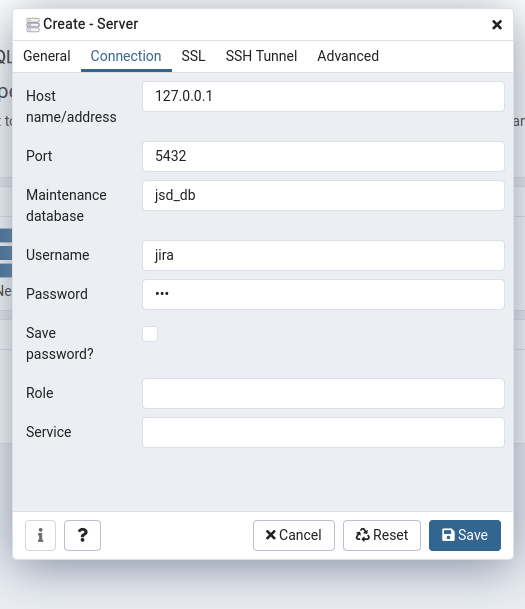
Login and password for the database can be viewed in the script:
Base: jsd_db
Users:
Login: jira Password: 123
Login: postgres Password: postgres
You can change to your values before running the script or after, directly in Postgre Sql.
Remember to disable SSL if you are not using it. If pgAdmin 4 won't connect to the server, try restarting the service.
sudo service postgresql-11 restart You can find information on databases in the Atlassian documentation .
3) Deploying a backup from the "cloud" on the server.
In the browser, go to the server ip-address indicating the port. The default port is 8080. It looks like this to me 192.168.1.25 : 8080
You should see the following.
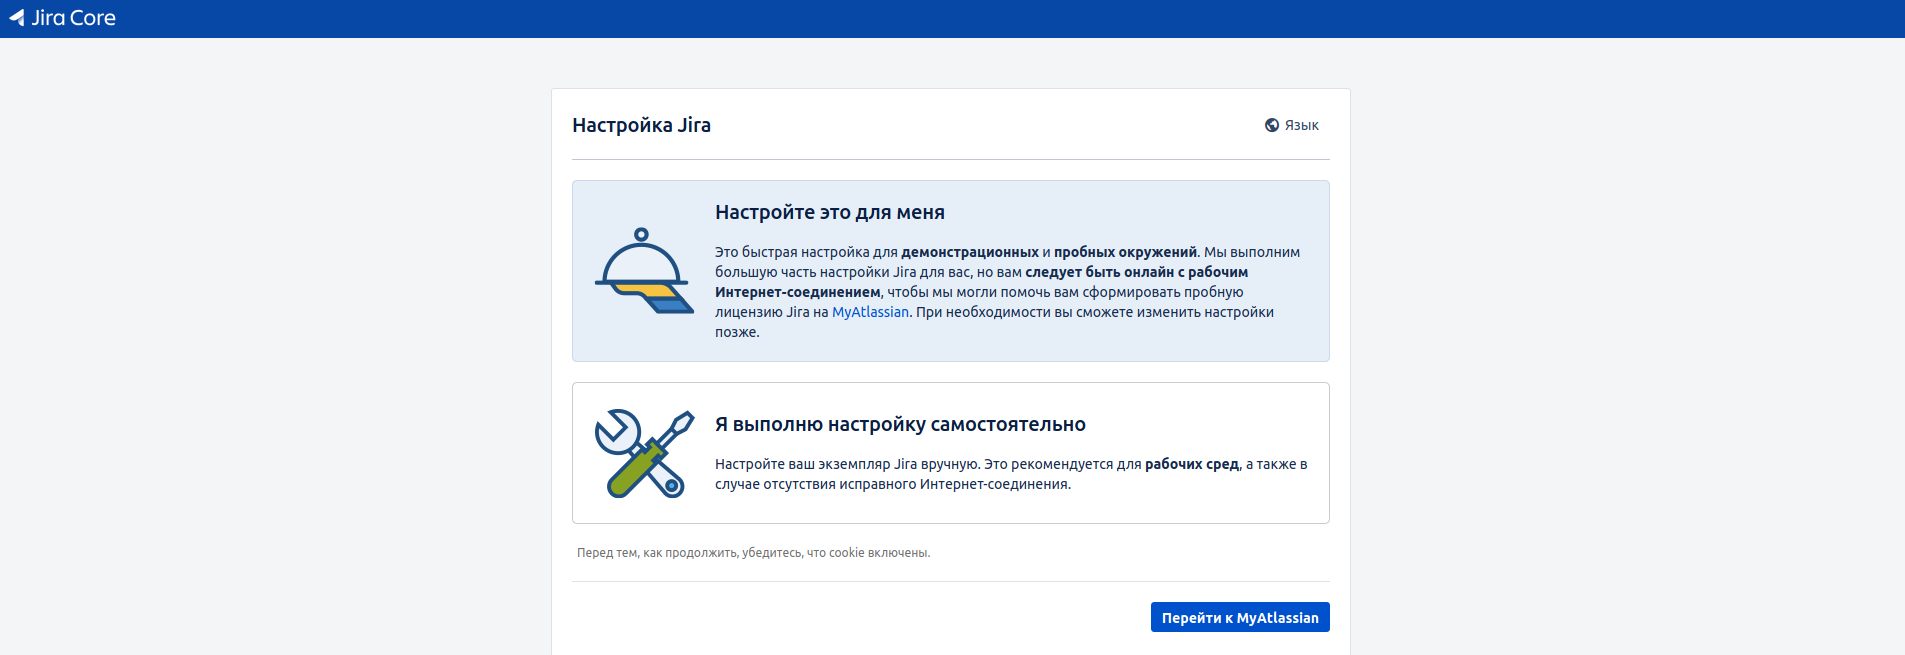
I select the option "configure yourself" and on the next page specify the settings for the database. After the connection, the creation of the database will begin - it will take some time.
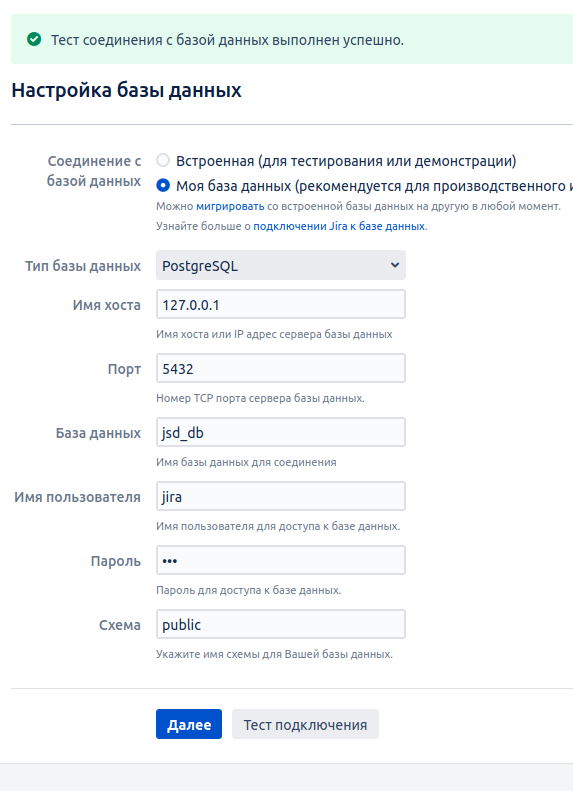
After creating the database, on the next page you will be prompted to import the data or agree with the settings and click next.
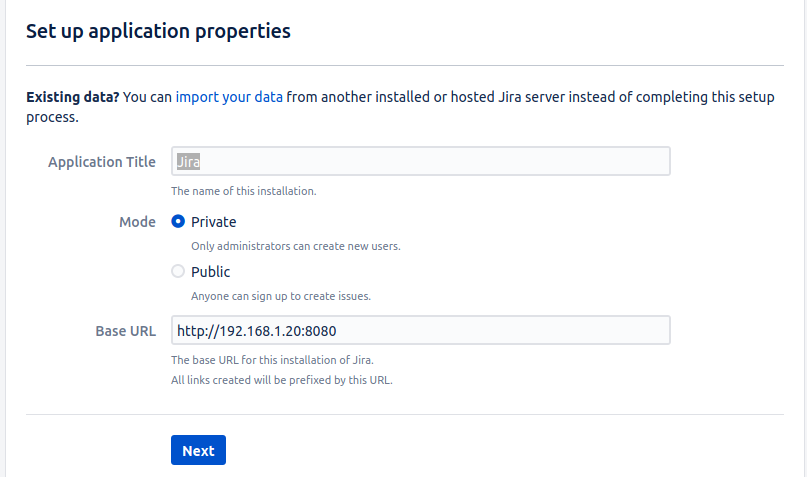
We select "import data".
In the fields of the page that opens, specify the name of the backup, license (if necessary) and mail settings.
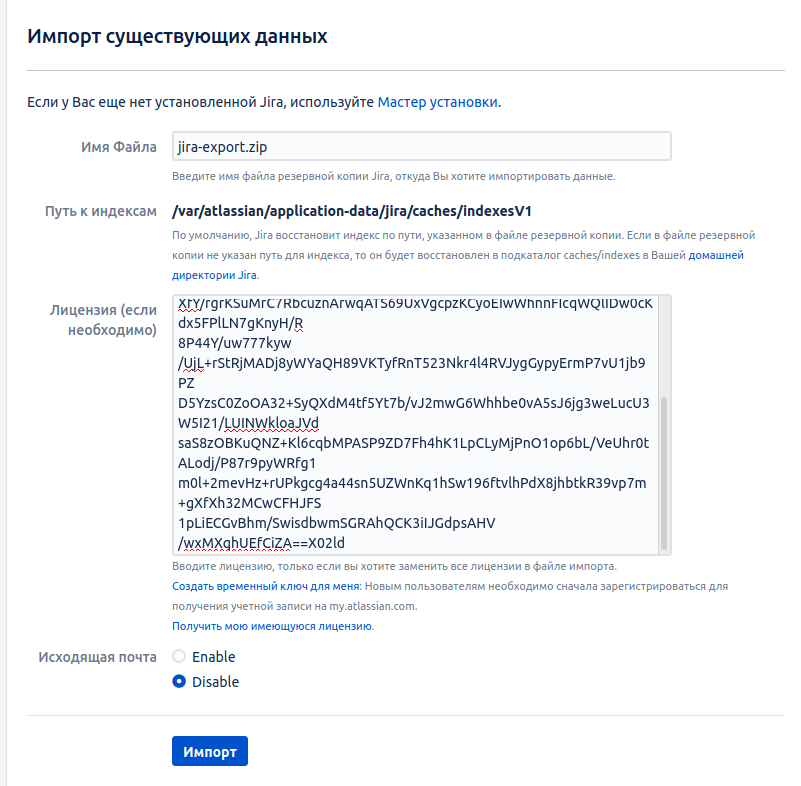
You can generate a trial license for a month on the Atlassian website. To do this, you will need to register on the site. When generating a license, you must select jira service desk (server).
Before restoring the JSD from the backup, place the backup on the server in the directory.
/var/atlassian/application-data/jira/import
If the specified data is correct, you should see the progress of the data import.
The import will take some time.

You are greeted by the login page if everything went well. It remains to enter your username and password.
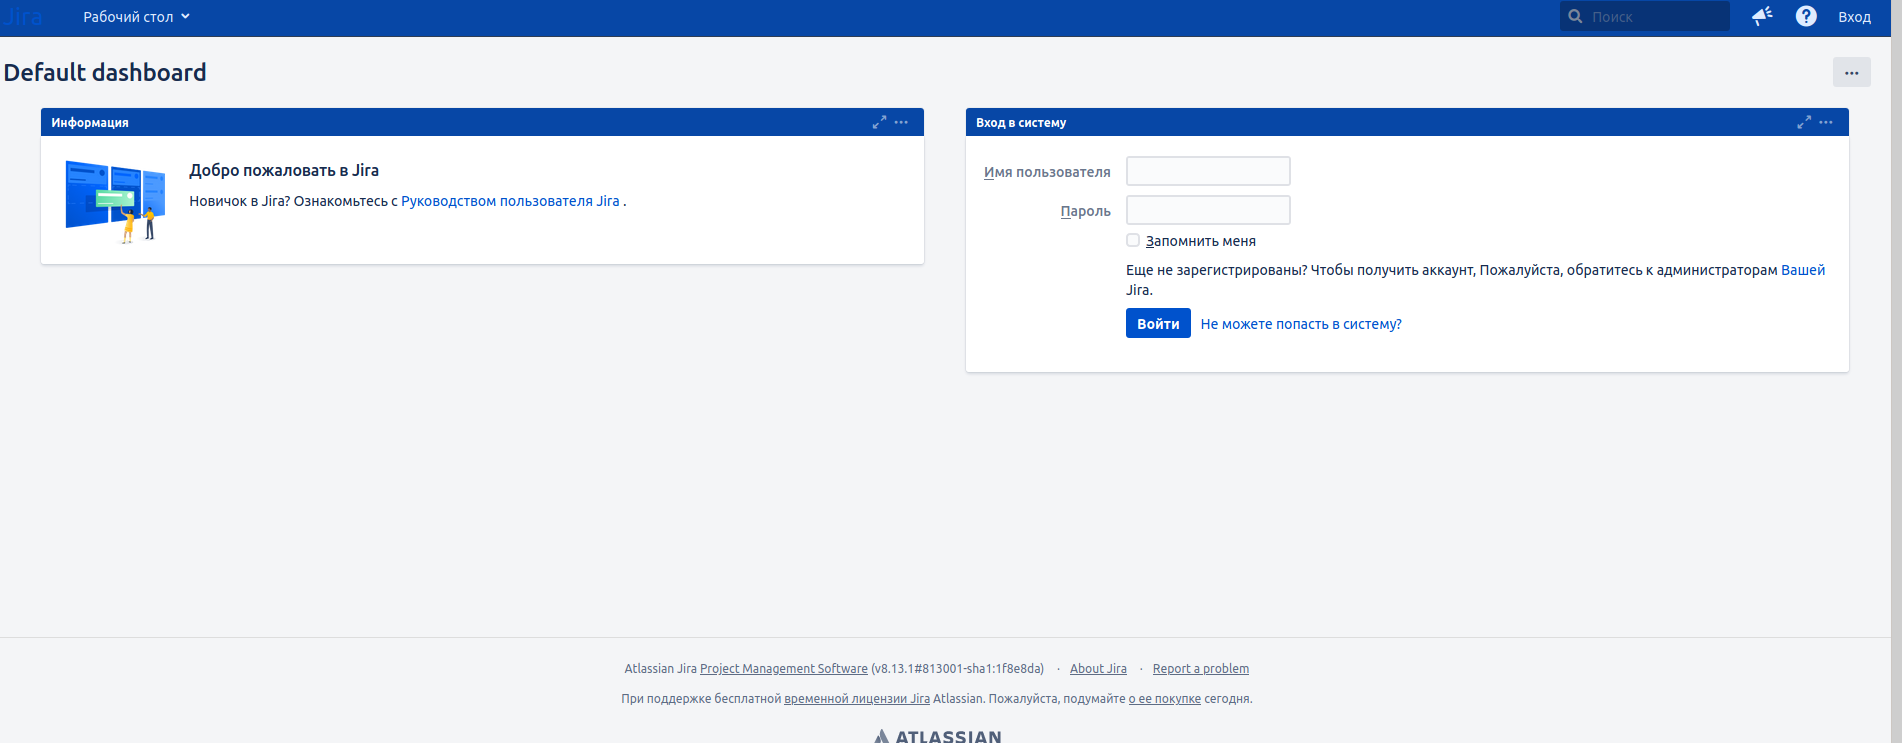
By default, login is sysadmin, password is sysadmin.
After the first login, you can see the update messages, you will also need to select the language and make the account settings (if necessary). In order for the projects and tasks restored from the backup to be available, you must give the account rights by default, or change the passwords for the accounts that were transferred in the backup.
This completes the transfer of JSD from the "cloud" to the server.
You can also read about migration here.
Thank you for your attention, all the best and good luck!