Hello, dear Habrovites!
My name is Konstantin Tomarevsky. I am an engineer at Deutsche Telekom IT Sotutions. I would like to share with you my old idea, which I am trying to implement in hardware.
I am an aviation engineer by training. When I entered the University of SPbSPU, I dreamed that I would design airplanes (well, or space rockets), work in some design bureau and spend my working days doing mathematical calculations, laboratory stands and field tests. I graduated from the University, having received a lot of theoretical knowledge there, but never touching real practice. A lot of time has passed, but the thought that my knowledge remained knowledge, and was not embodied in a practical plane, did not leave me and I decided to try to make an aircraft, albeit not at all large, but really functioning according to all the rules.
Initial idea
My university profile is in aircraft control systems. I was always interested in how an aircraft (glider, airplane) behaves depending on its control, that is, on how its control surfaces are deflected, how quickly and in what configuration. Another interesting point is the effectiveness of the control planes. At different flight speeds, their deflection acts on the aircraft with different forces. If you select the deviations for different speeds, you can make the aircraft soft control.
The first idea was to purchase a ready-made full-fledged airframe model and design radio control with a built-in automated control system, including an autopilot. On the radio side, I went far enough and assembled two identical transceivers for testing the digital control channel. If it is interesting, I will tell you about this in another post.
After a long search, I realized that I wanted to create from scratch not only the control system, but also the glider itself, so that it would be my glider, unlike any other. It was not very interesting to repeat what has already been created.
Idea development
Once upon a time, back in school days, I went to the radio circle. Next to it on the floor there were also a ship-modeling and an aircraft-modeling one. I sometimes went to the model aircraft and watched how they work. When I started working on this project, I searched the Internet about the technology for creating aircraft models, watched many videos on YouTube and realized that this was not enough for me. I don't want to create a single model from just about anything. What was needed was a real technology, with which, using it once, I could make equally accurate models in any quantity. As on a conveyor belt. The choice immediately fell on 3D modeling and 3D printing. These technologies allow the creation of a wide variety of aerodynamic surface shapes with great precision.
Airframe calculation
That's another task. First of all, it was necessary to determine the size. Looking ahead, it depended on how the model would have to be cut so that it could be printed on a 3D printer - the print area is not "rubbery". I made a decision that it will be a narrow-body low-wing aircraft with a classic tail. I have set the following parameters:
- body length: 90 cm
Wing parameters:
- span: 130 cm
- elongation: 7.8
- constriction 2.5
- area: 2160 sq. cm
- geometric twist - 4 degrees
- aerodynamic twist - no
- transverse V - 5 degrees
- wing profile - TsAGI-718 14%
Engine:
- electric brushless
- declared engine thrust ~ 10N
- Two-blade propeller 10 X 7
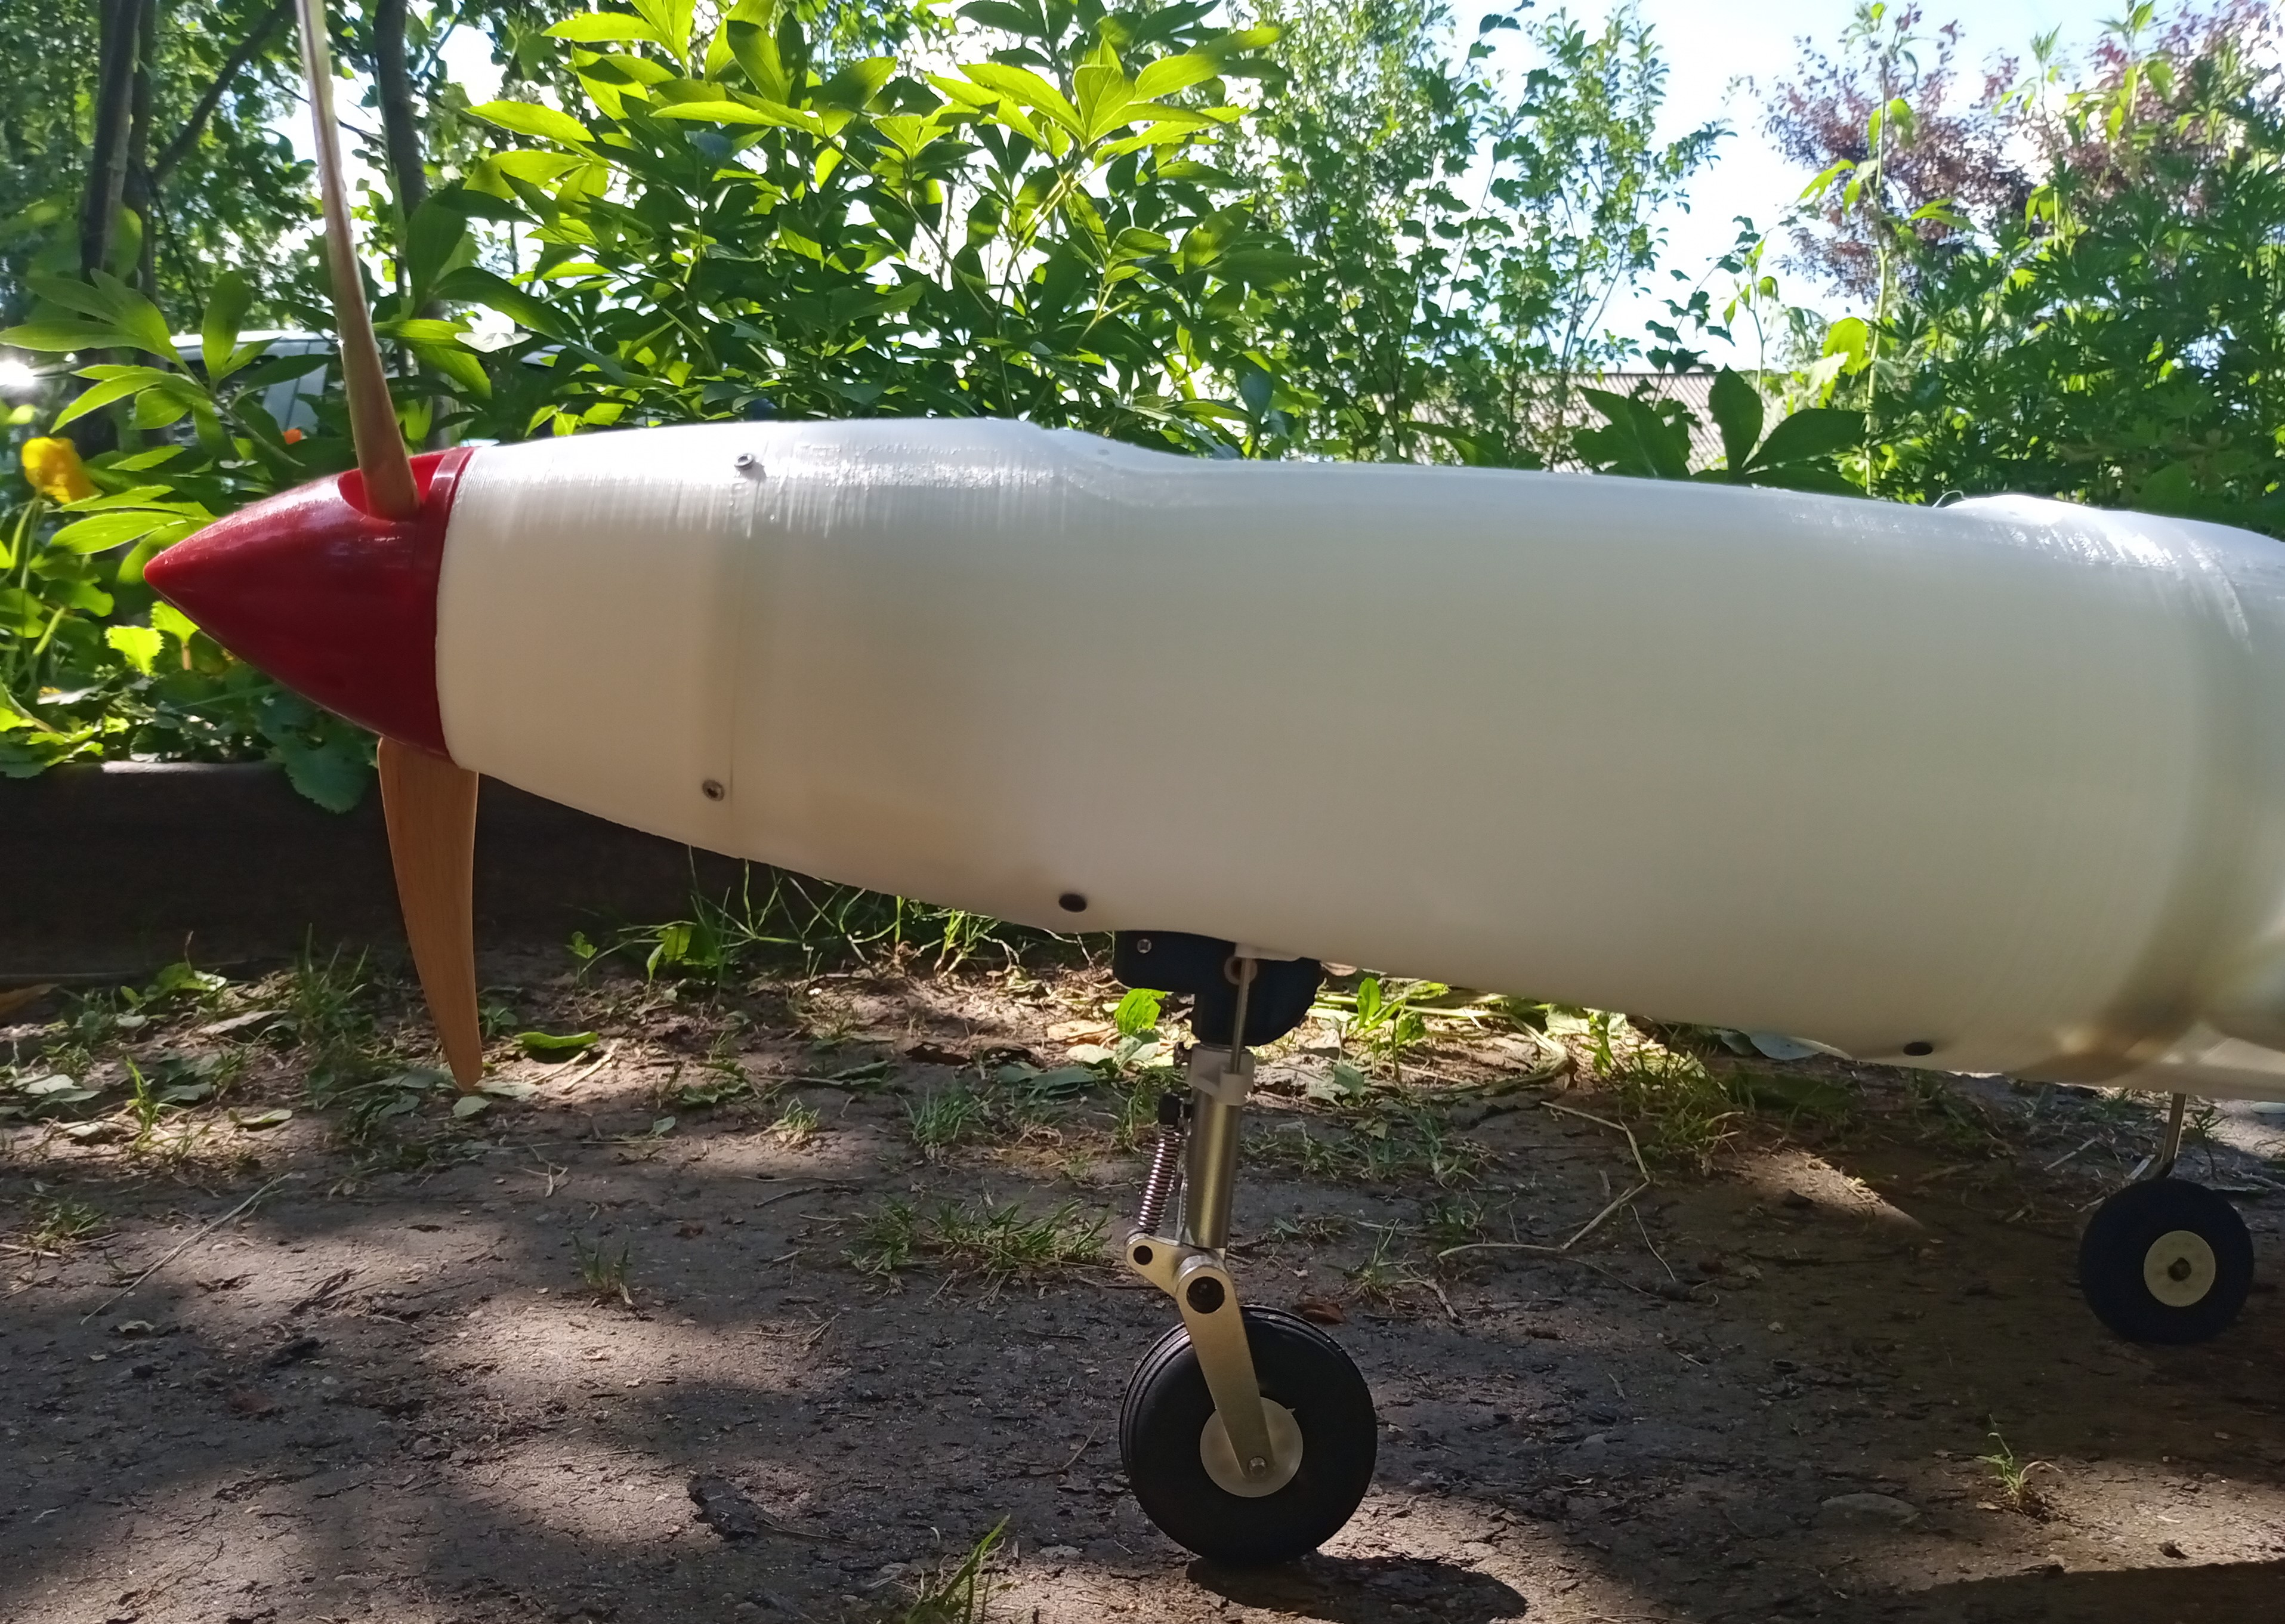
Tricycle landing gear - with the main struts under the wings and nose strut. All chassis are retractable, the front chassis can be rotated. With the mass of the entire structure with all power and control components and electronics 1.8 kg, the estimated take-off speed at an angle of attack of 12 degrees is about 10 m / s.
Design
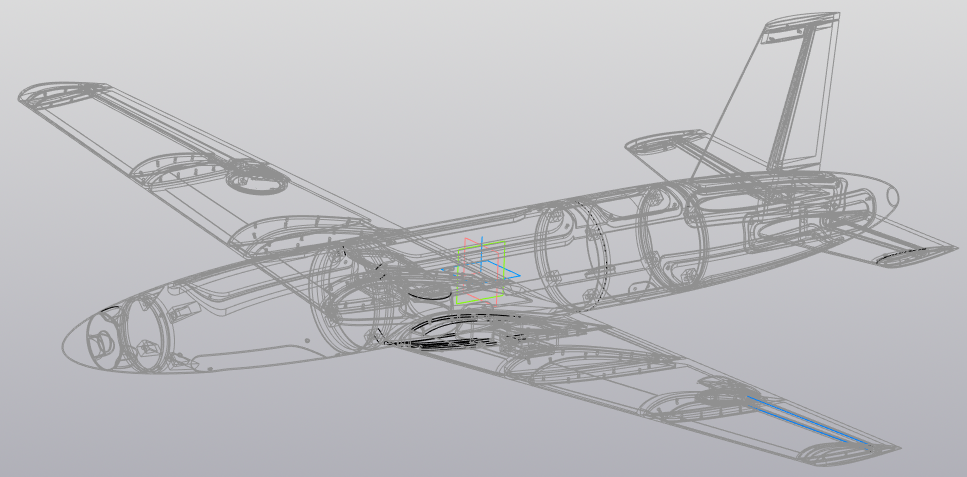
In the first year of the university, we had engineering graphics on a computer in the "Compass" environment. Therefore, now the choice of the modeling environment fell on him. Only then we did not go through 3D, so I had to master this area myself. And it turned out to be incredibly interesting! Here's what happened:
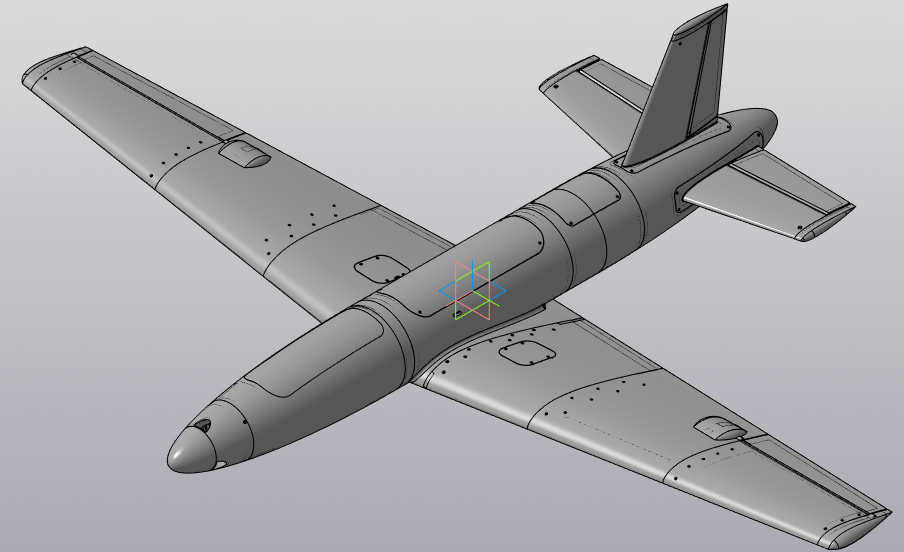
Well, or like this:

3D printing
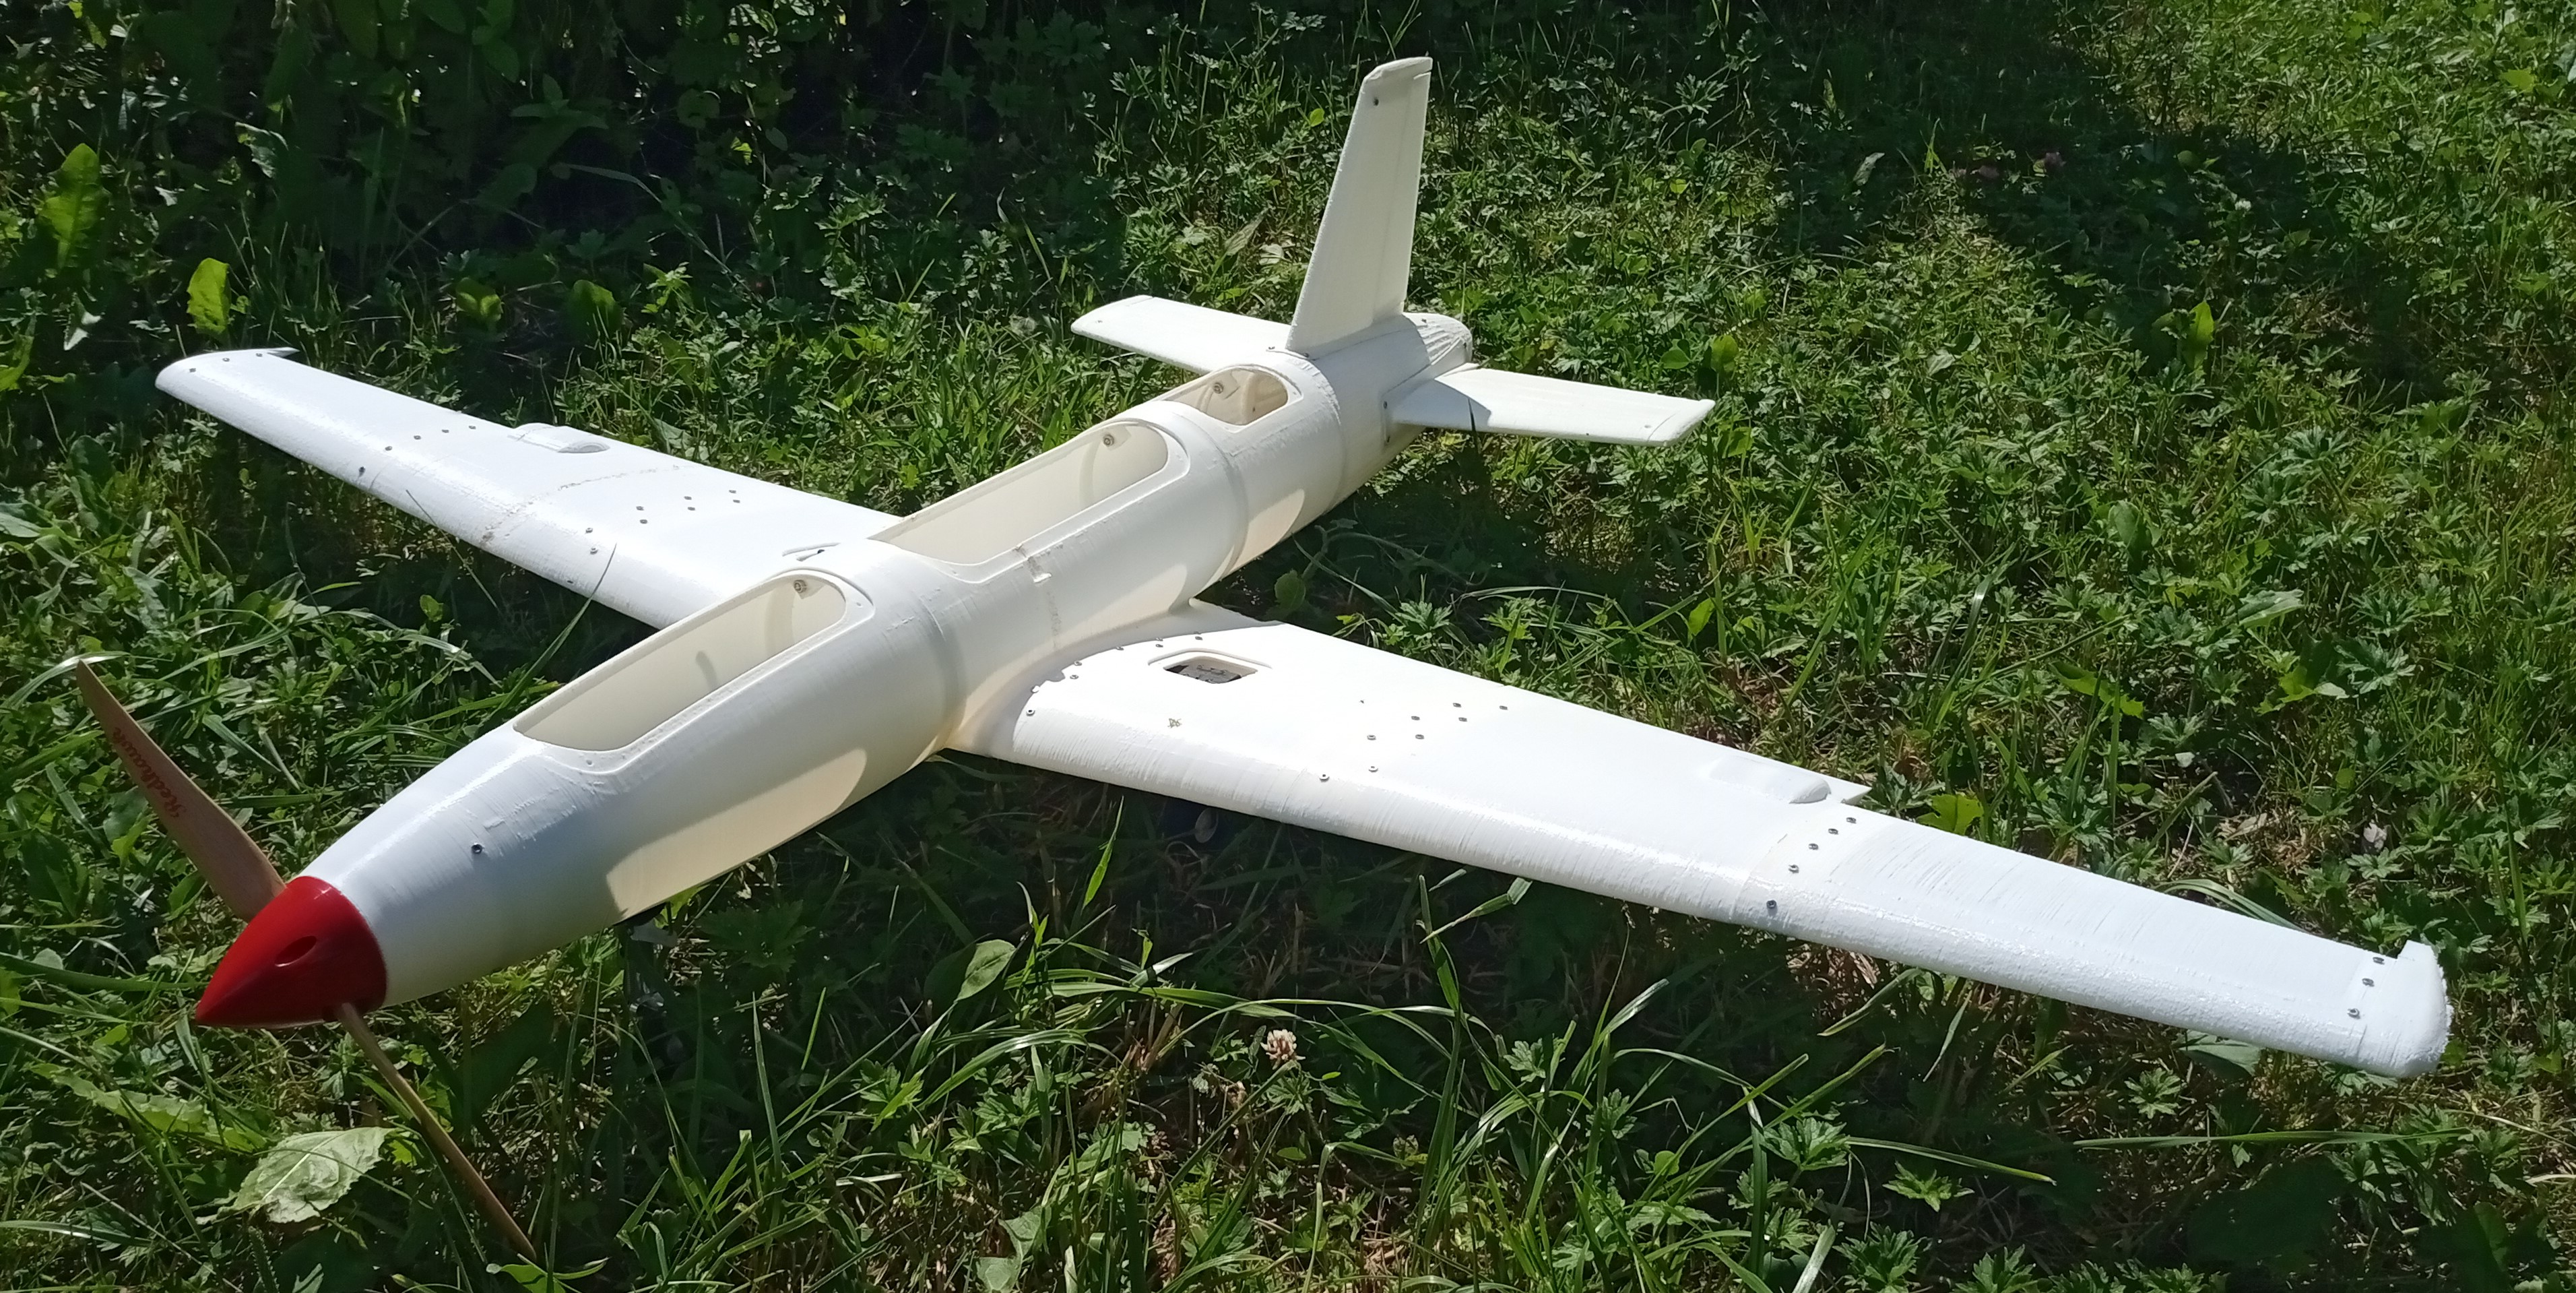
One of the simplest 3D printers was purchased for printing. In fact, airframe calculation, design and printing were closely intertwined. Having reached a certain stage before design and printing, it was necessary to often go back and revise the calculations, the initial parameters. Something was too difficult to implement, given the limited print area of the printer and the printing features, something was simply discarded as unnecessary. Some parts (for example wings) had to be redesigned taking into account the strength of the plastic (thickening the walls). Another challenge was to make sure that there was not a single glued or soldered joint. I have tried to design the model in such a way that some parts can be redesigned and reprinted without affecting the entire model.After a lot of effort and about 230 hours of printing and retyping, the following came out:
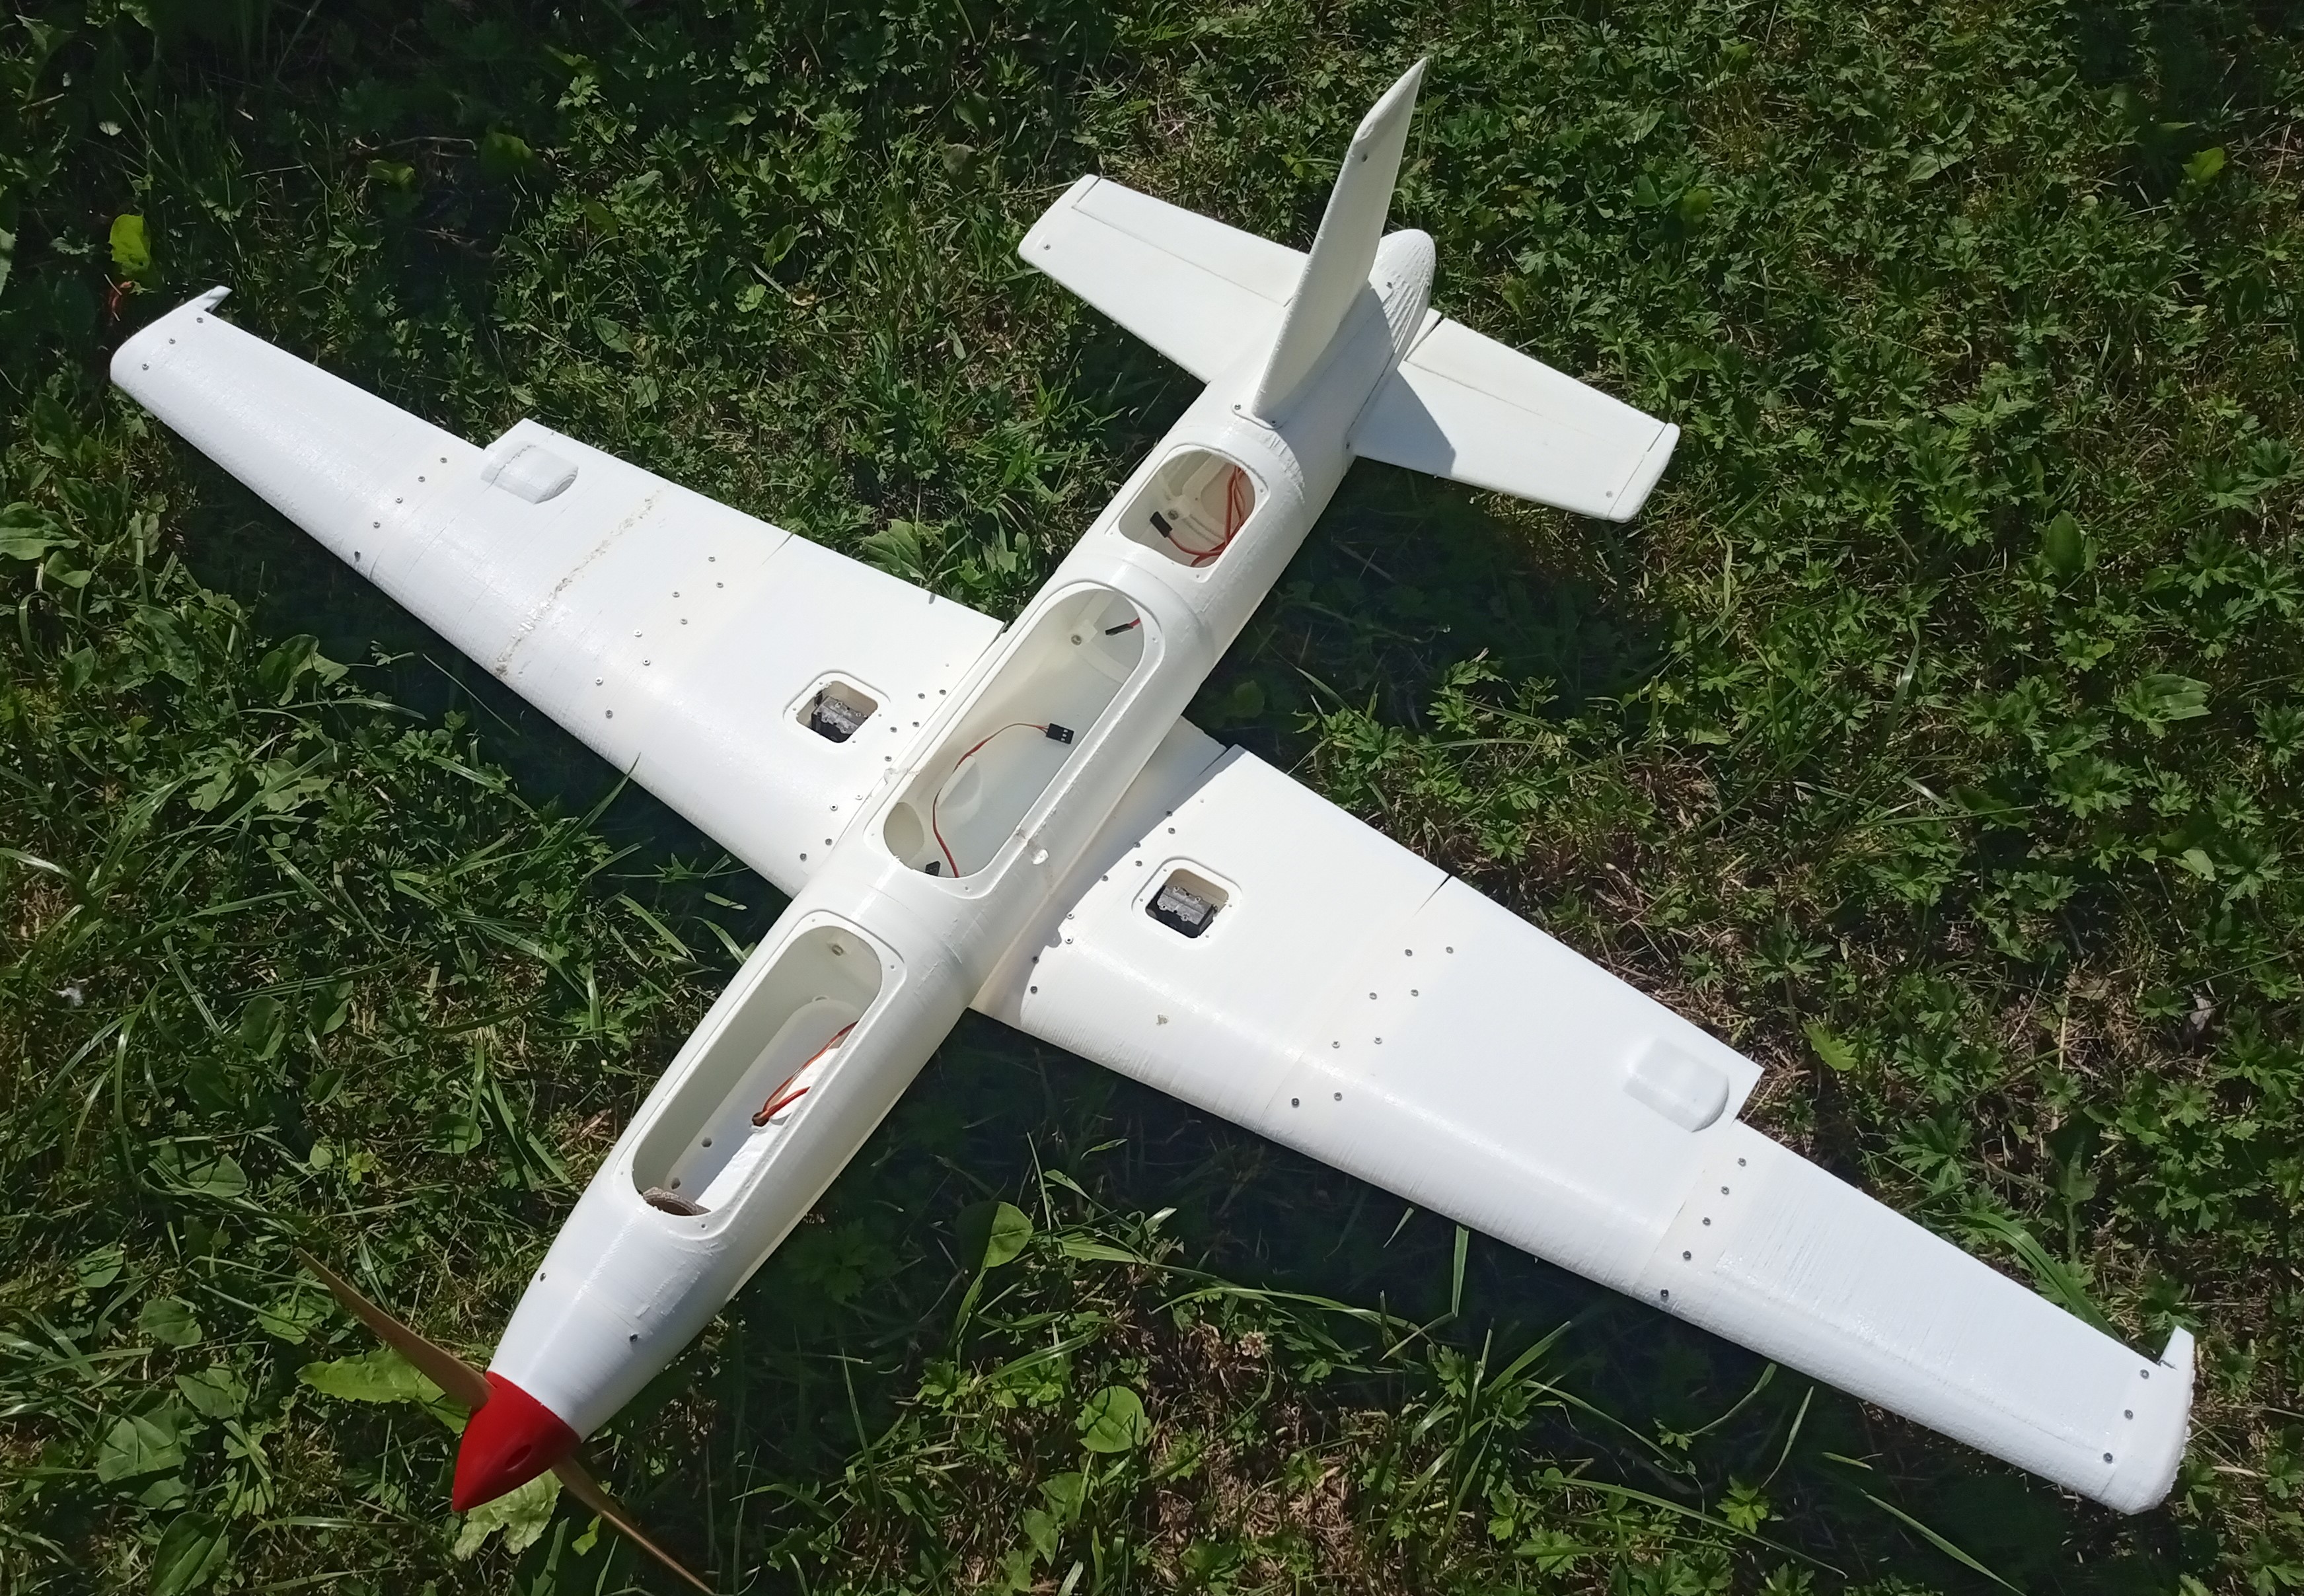
I started designing the model from the tail. The tail was also printed first. From this the print quality of the tail is not the best. Gradually mastering printing, I brought it to a fairly high quality. The weight of the entire structure turned out to be a little more than 2 kg, which turned out to be slightly more than the design one.
Tail view:

Front landing gear:
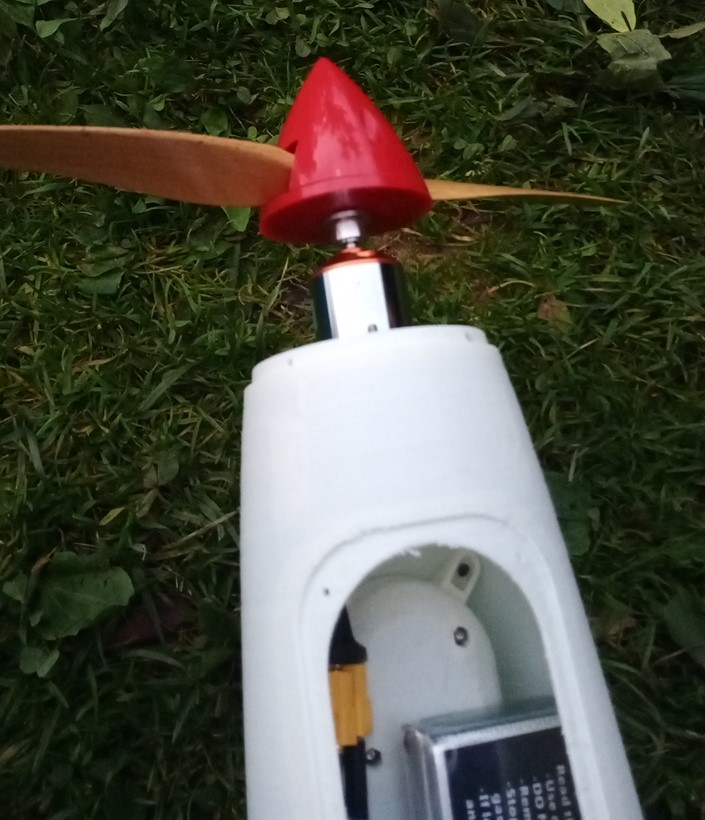
Engine location:
Subtotal
What we have in terms of internal equipment:
- Engine
- 6000mAh Li-Polymer Battery
- 6 servos
- 3 landing gear legs
Flight tests have not yet been carried out. There is still a lot to be done. In addition, I have not yet decided on the choice of the control panel. I will talk about this in the next posts.
Let's remember the good old dispute that stirred up many forums on the Internet at one time - will it take off or not?