Anyone who uses vmware products knows or doesn't know that a certificate issue can cause a lot of pain and suffering. Therefore, in order not to step on this rake, I will show how to make and change certificates for products such as:
- VMware Vcenter Server 6.7
- VMware Replication Server 8.3
- VMware Site Recovery Manager 8.3
For this we need:
- Certificates
- Putty
- A little patience
Preparing certificates, I will use an ordinary windows server 2019 with the role of Active Directory Certificate Service and openssl v1.1.1h
You can download it here
1. Creation of certificates
I will use a local server for issuing certificates, but this method is suitable for issuing certificates and on commercial sites.
Let's prepare requests to the certification authority.
I gave names like FQDNs:
- Vcenter Server is named vc.home.local and ip 192.168.233.11
- VMware Replication Server I named as vr.home.local and ip 192.168.233.12
- VMware Site Recovery Manage also srm.home.local and ip 192.168.233.13
For these names, we will prepare requests and private keys in the openssl program . For this we will make a small configuration file vc.cfg with the contents. Next, for each new server, I will change the contents of this file by substituting the server names and ip addresses:
[req]
default_bits = 2048
distinguished_name = req_distinguished_name
req_extensions = v3_req
prompt = no
[req_distinguished_name]
countryName = RU
stateOrProvinceName = RO
localityName = RnD
organizationName = HOME
commonName = vc.home.local ()
emailAddress = root@home.local
[v3_req]
basicConstraints = CA:FALSE
keyUsage = digitalSignature, keyEncipherment, keyAgreement
subjectAltName = @alt_names
[alt_names]
DNS.1 = vc.home.local ()
IP.2 = 192.168.233.11 ()
Next, use openssl
1.1 Do vc.home.local
openssl req -batch -new -newkey rsa:2048 -nodes -keyout vc.home.local.key -out vc.home.local.req -config vc.cfg1.2 Change the names and ip of the server in vc.cfg and release the key and request for vr.home.local
openssl req -batch -new -newkey rsa:2048 -nodes -keyout vr.home.local.key -out vr.home.local.req -config vc.cfg1.3 Change the names and ip of the server in vc.cfg and release the key and request for srm.home.local
openssl req -batch -new -newkey rsa:2048 -nodes -keyout srm.home.local.key -out srm.home.local.req -config vc.cfg1.4 In addition, you need certificates for vcenter services (vpxd, vsphere-webclient, vpxd-extension),
we make them with the command:
openssl req -new -newkey rsa:2048 -nodes -keyout vpxd.key -out vpxd.reqWe will get into a small wizard, where we will enter information about ourselves or about the company. Be sure to write the name of the service in the “Common Name” field. We repeat the procedure for the remaining services. As a result, we get a private key and a certificate request.
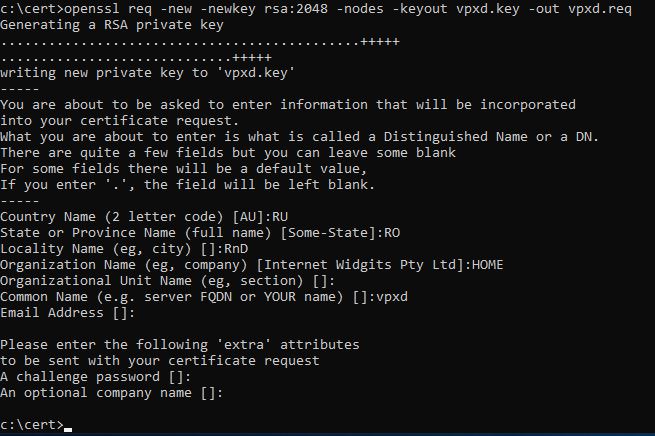
Generating a key and certificate request
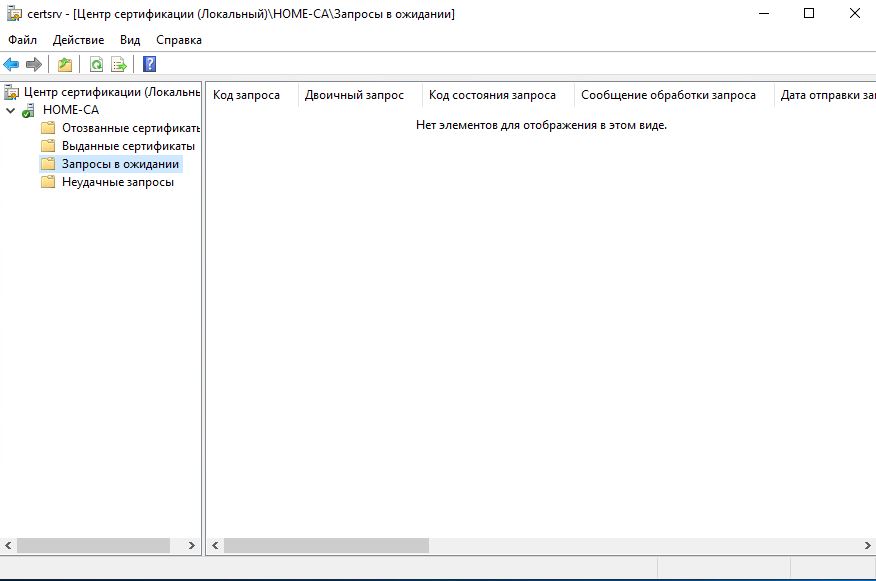
Now all requests and keys are ready, let's start issuing a certificate. Go to the certificate issuance center. Launch the Certification Authority console .
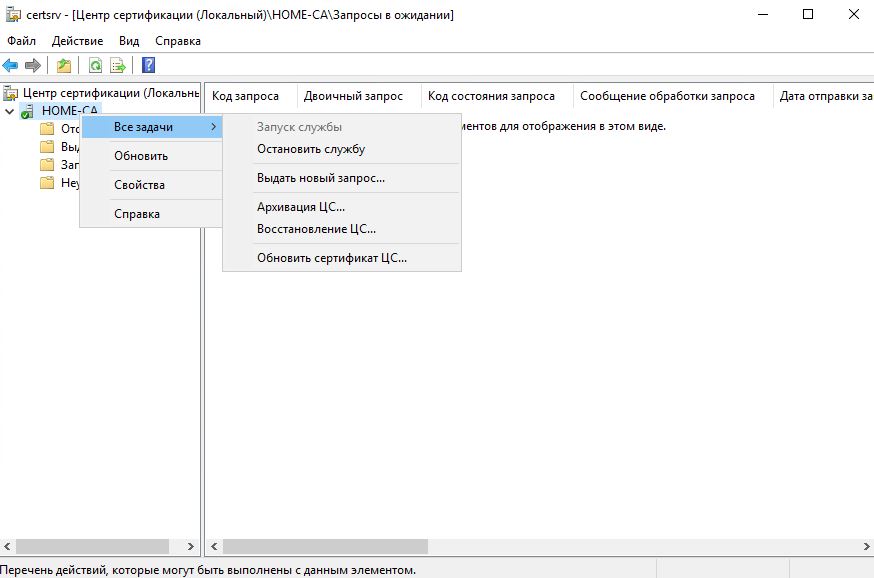
Next, right-click (pkm) on the server root and select issue a new request.
We select our request file, with the req extension.
Go to the Pending Requests menu . If you have it empty, press F5 and the window will refresh. Next, press pkm, and select Issue:
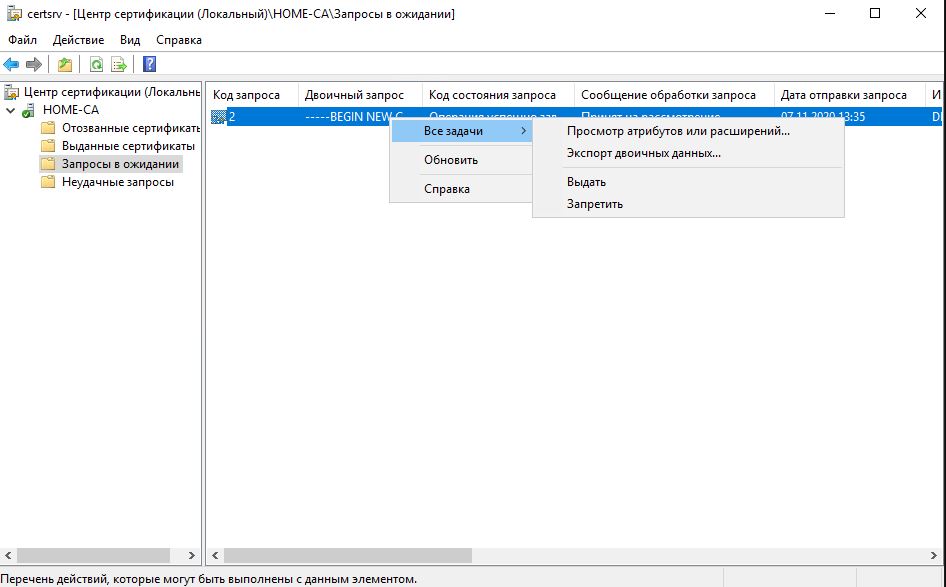
Next, go to the Issued certificates menu and open our certificate.
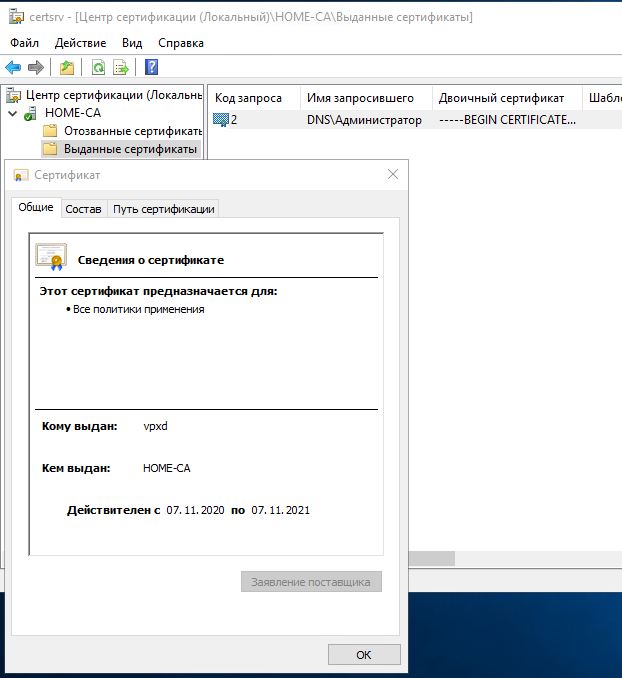
Next, we need to save it to disk. To do this, go to the Composition tab and click the Copy to file button... Next, a wizard will appear to save the files, we need to select Base64 and the file name in this case vpxd.crt:
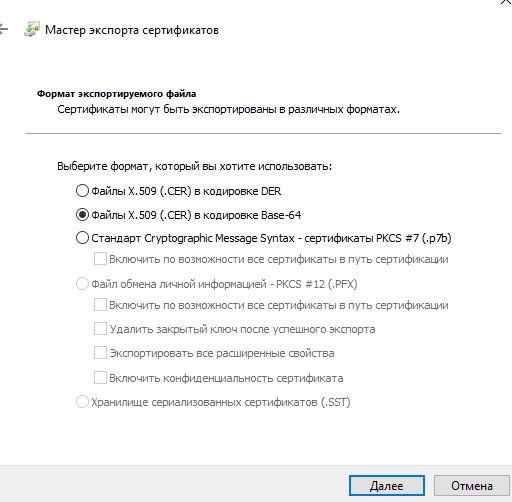
Saving the certificate.
We repeat the issuance procedure for all our certificates /
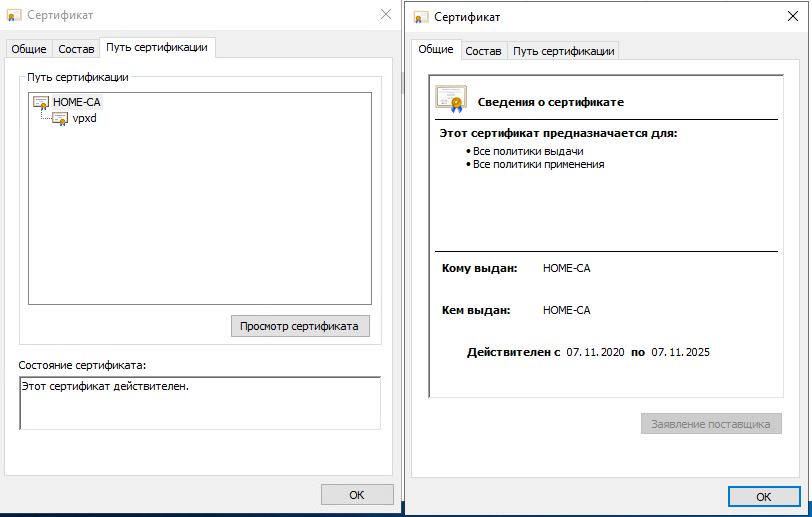
We still need a root certificate. To do this, open any certificate, go to the Certification path tab, select our root certificate and click the View certificate button. Further, we will also save it like all the previous ones.
And that's not all for VMware Replication Server and VMware Site Recovery Manager. We need a certificate and key container. pfx file, it's very easy to make it, we need private keys and a certificate file:
openssl pkcs12 -export -out vr.home.local.pfx -inkey vr.home.local.key -in vr.home.local.crtOpenSSL ask for a password, come up with a password and get the coveted file at the exit.
This completes the creation of certificates and proceeds to their installation.
2. Let's start changing with Vcenter
To do this, we go to the administration section , and go to the certificates section . Login as an administrator.
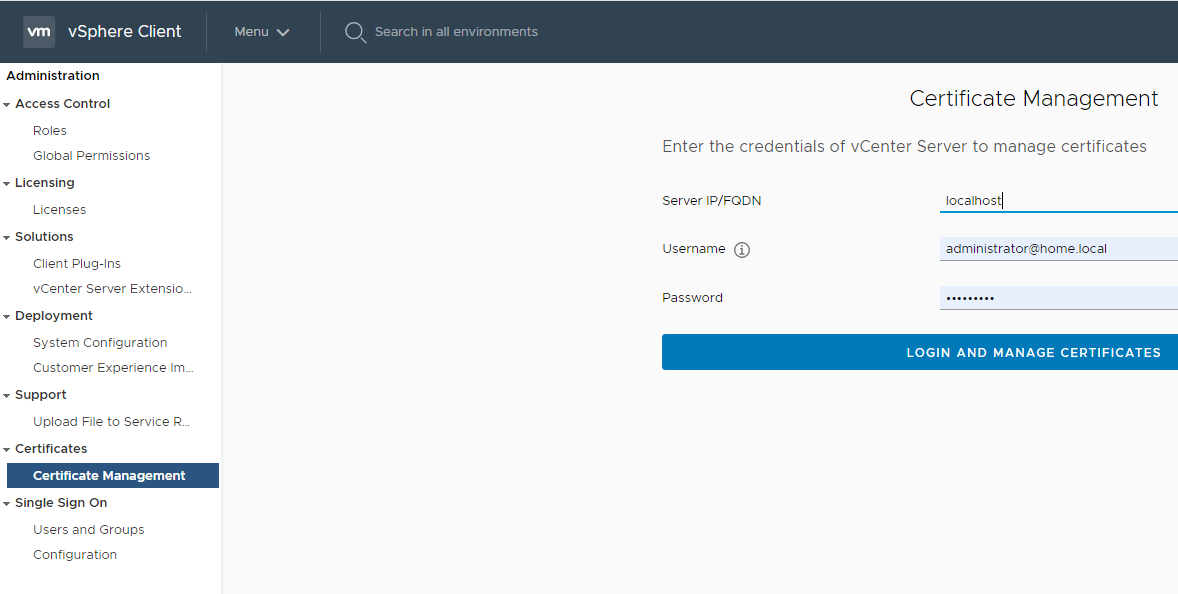
Section for managing certificates.
Next, once in the control panel, first of all, add a root certificate or Trusted Root Certificates. Scroll to the very end and press ADD. We select our certificate ca.crt
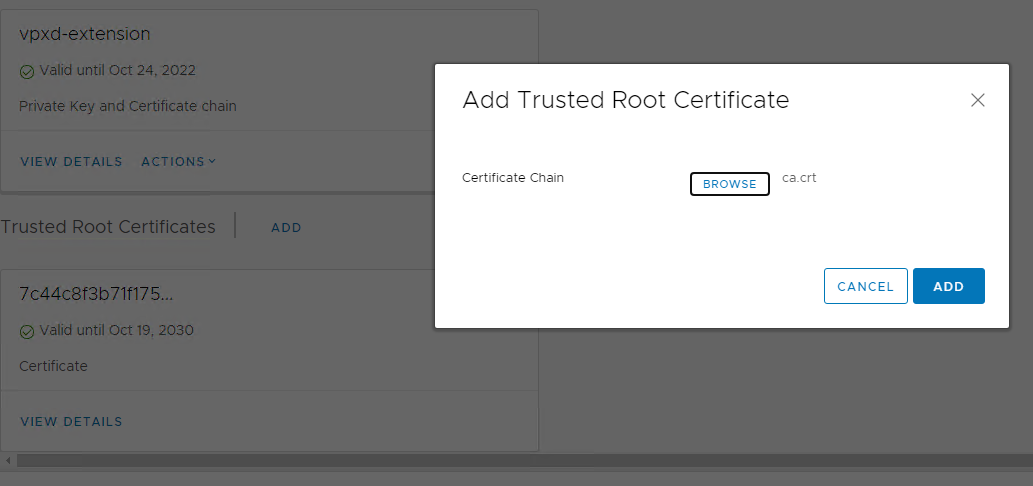
Add Trusted Root Certificates
Next, we change the current certificates through the menu item Replace:
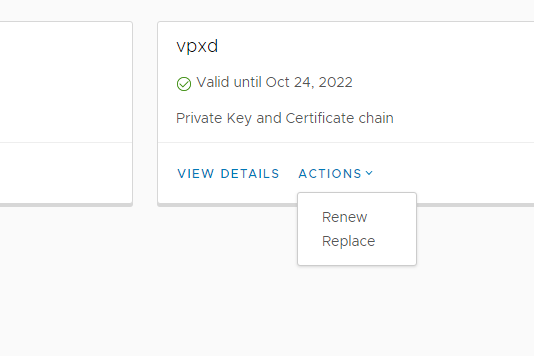
Select the certificates that we created for vcenter:
For services, we select the certificates of the services created in paragraph 1.4
For certificates __MACHINE_CERT and machine certificate vc.home.local, created in paragraph 1.1
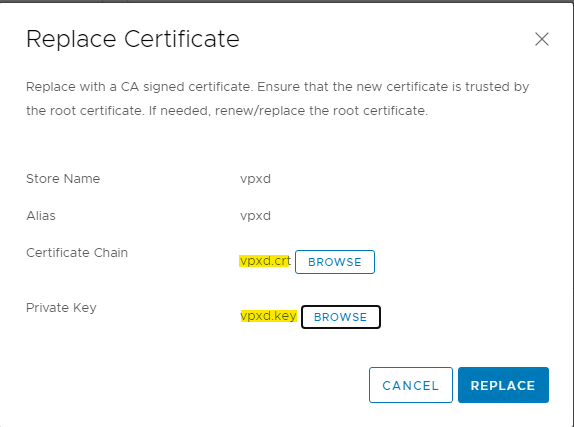
We have replaced all the certificates that are available to us from the control panel. If you have a
configuration that lacks the components of VMware Replication Server and VMware Site Recovery Manager, then you can put an end to this and enjoy the VCentre after rebooting the server. If you are using a stand-alone server for issuing certificates, I advise you to make certificates for 10 years or more. If you buy, then look at the circumstances.
For correct recognition of certificates by your browsers, you need to install the root certificate in the operating system certificate store.
3. Change the certificate on the VMware Replication Server
Let's start with the fact that you need to install a root certificate on the vr server, because it is not in the standard web interface. To do this, we need to log into the server via ssh, but it is disabled by default. Let's turn it on. Open the virtual machine console and log in as root.
We activate the ssh server.
/usr/bin/enable-sshd.shThen you can connect to the server via putty.
All root ca certificates are in the jks container along the path /opt/vmware/hms/security/hms-truststore.jks
But the container has a password, let's find it out with the command:
/opt/vmware/hms/bin/hms-configtool -cmd list | grep keystoreNext, we save our ca.crt to the server, I usually do this through text editors, on the local computer I open the certificate with a notepad and copy it to the clipboard, on the remote machine using the vi editor I paste and save. After that, we can write our certificate to the container with the command:
/usr/java/default/bin/keytool -import -trustcacerts -alias root -file /root/ca.crt -keystore /opt/vmware/hms/security/hms-truststore.jks -storepass Then we say yes to the request for adding . That's it, we have successfully added our root certificate.
We go into the server control panel at vr.home.local : 5480
Go to the Configuration tab , the Upload PKCS12 (* .pfx) file field,
select our pfx file. click upload and install
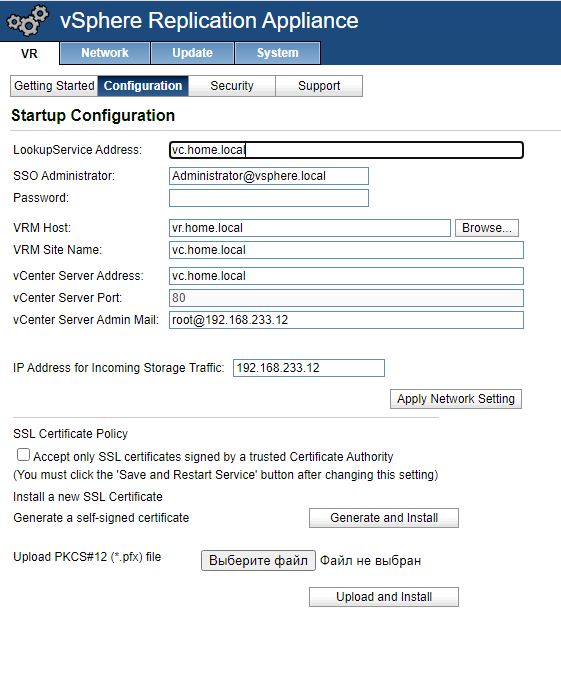
vr server configuration.
After restarting the web server and login, we try to save the configuration with the Save and Restart Service button:

And we get an error:
Unhandled exception com.vmware.vim.vmomi.client.exception.SslException: javax.net.ssl.SSLException: Certificate thumbprint mismatch, expected:
The server tells us that the certificate prints of the services in the center do not match.
Open putty and connect to our vc.home.local center. Start
bash with the shell command:
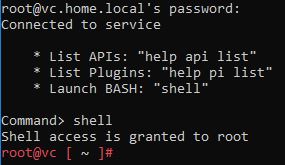
Change to the directory:
cd /usr/lib/vmidentity/tools/scripts/And we look at the status of this service:
./lstool.py list --url https://localhost/lookupservice/sdk --no-check-cert --ep-type com.vmware.cis.cs.identity.sso 2>/dev/null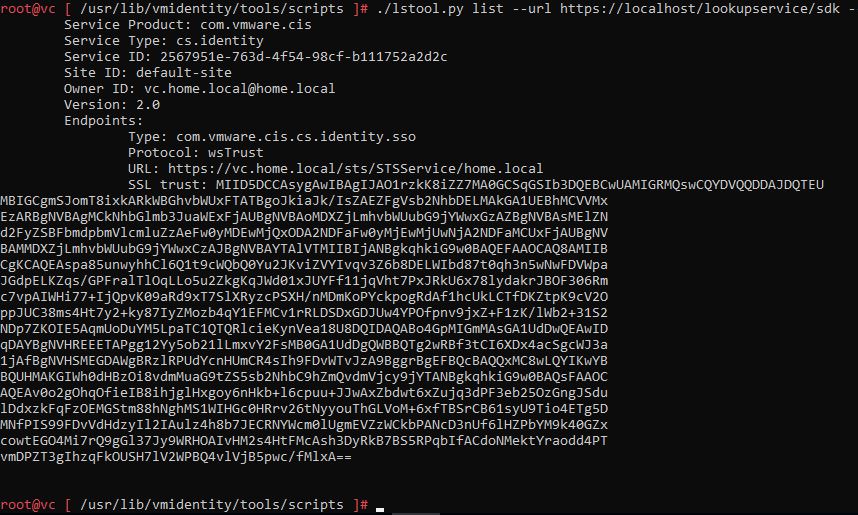
If you open our certificate vc.home.local.crt in a text editor and compare, it turns out that the certificates are different. The fact is that the web interface in the center does not change all certificates.
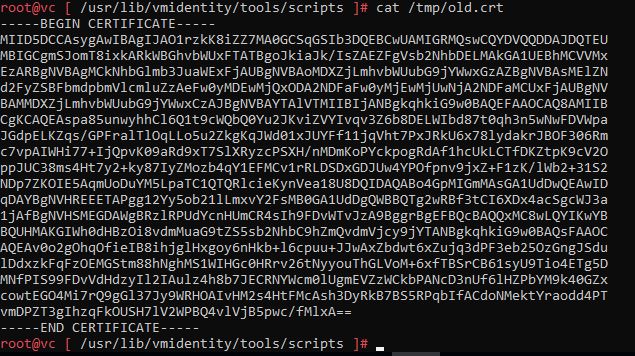
Copy the contents of the certificate into the file /tmp/old.crt, do not forget that the contents of the certificate must be between the tags ----- BEGIN CERTIFICATE ----- and ----- END CERTIFICATE -----
It should look like this :
Now, open our new certificate in the vc.home.local.crt center in a text editor
and copy it to vc in the file /tmp/new.crt
Next, find out the sha1 hash of the /tmp/old.crt file, you will need it there to replace the old certificates with new.
openssl x509 -in /tmp/old.crt -noout -fingerprint -sha1Next, run the replacement script:
./ls_update_certs.py --url https://vc.home.local/lookupservice/sdk --fingerprint 86:0D:BB:--- ----:C7:0E:D1:3E:17:39 --certfile /tmp/new.crt --user administrator@home.local --password At the end of the script, the report will contain the number of replaced certificates.
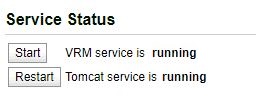
After that, go to vr.home.local: 5480 and save the configuration. If you did everything correctly, the server should successfully save the configuration and start the server vr service.
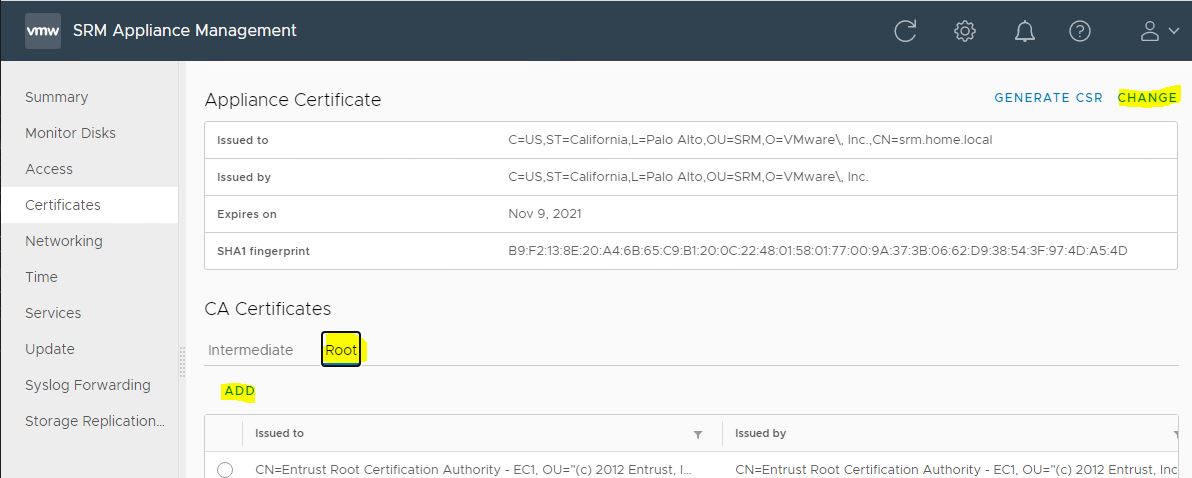
3. Replacing the certificate with VMware Site Recovery Manage
On this server, everything is done from the web interface in the Certificate menu .
We go to the administrative panel srm.home.local : 5480
- Add our root ca with the ADD button
- Change the current certificate with the CHANGE button
This concludes the change of all certificates.
Thanks to all!