Installation and activation of the subscriber terminal
Despite the famous tweet of Elon Musk about Plug and Play ("plug and play"):
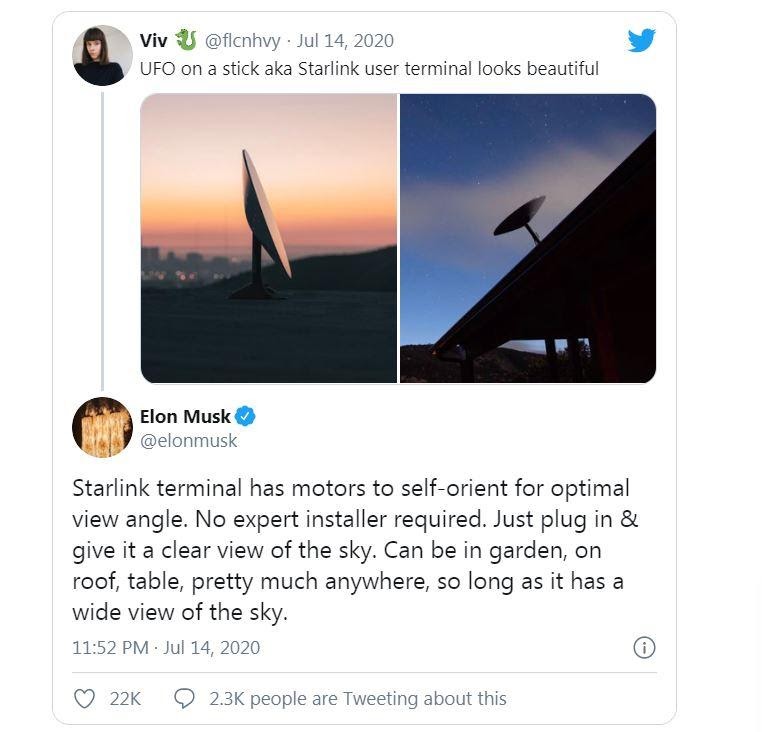
- this is very far from the truth. Before you “plug” the power supply cable into an outlet and start “play”, you will have to do an interesting activity - assembly, and in some cases, installation of the antenna.
The simplest and most typical solution is installation on a flat surface - a lawn:
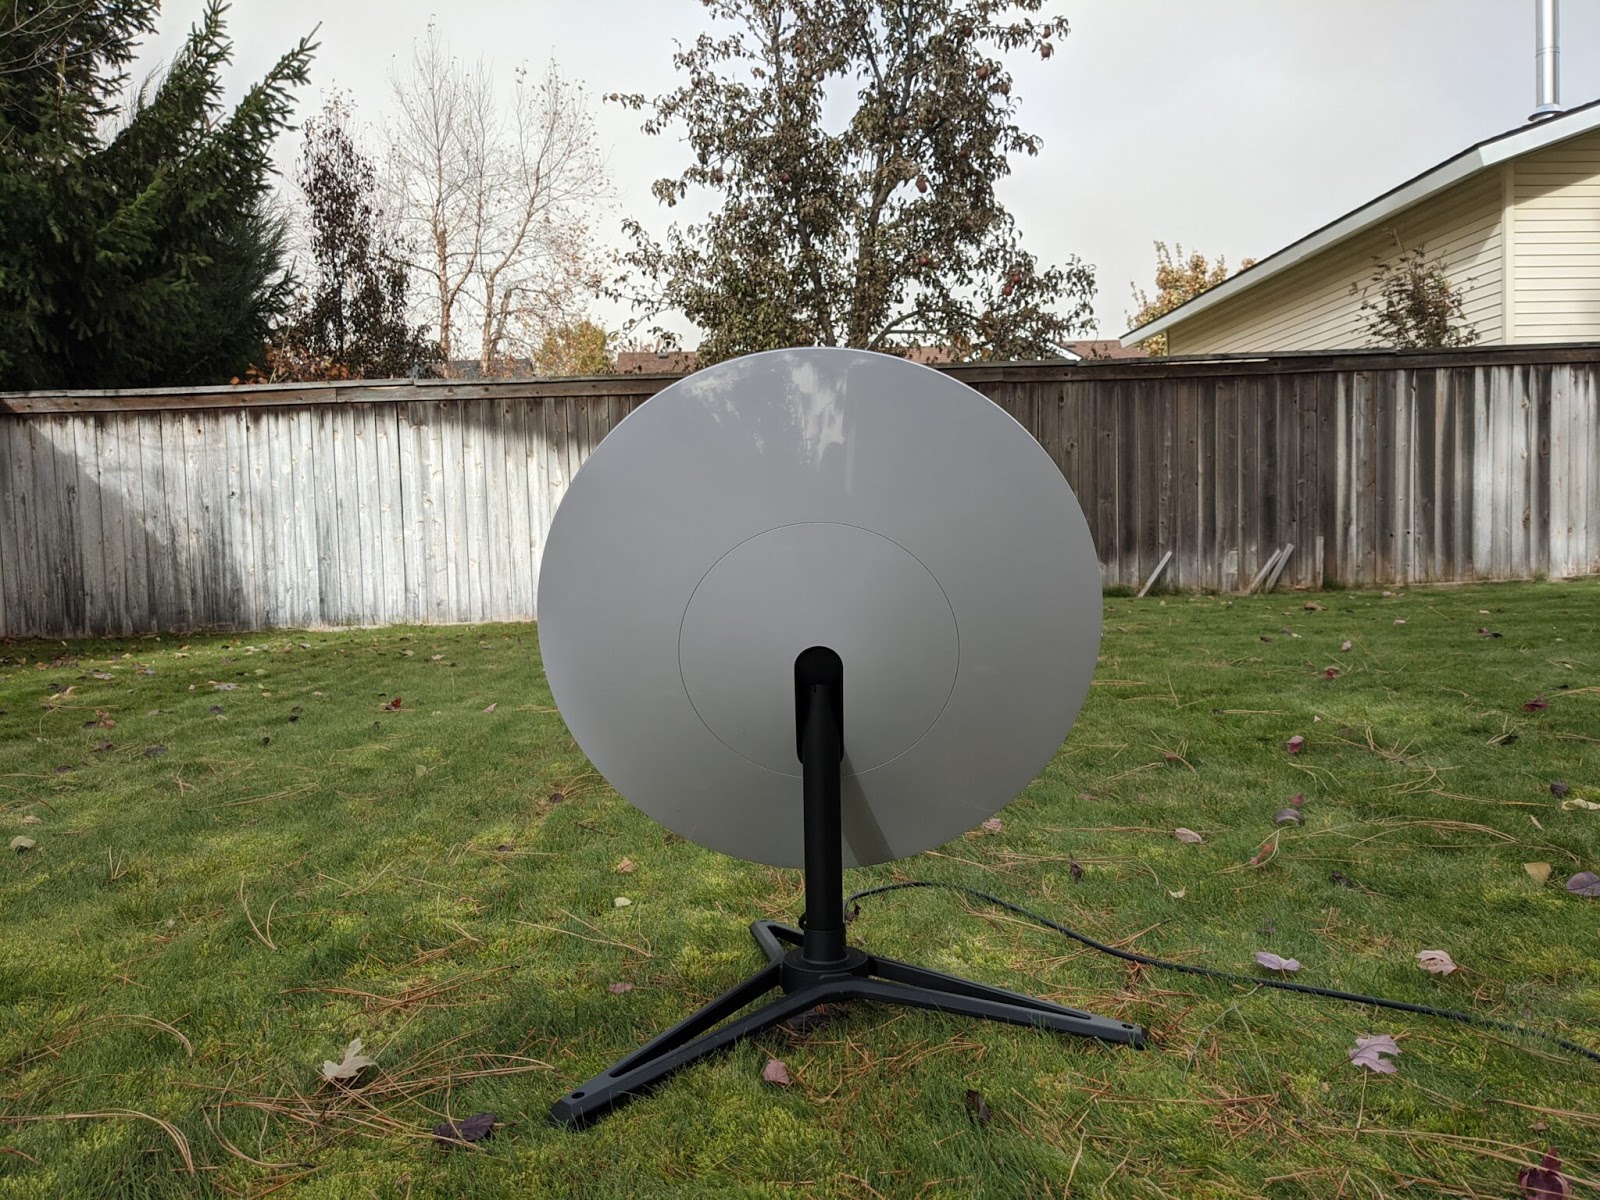
Here, only the assembly is enough: the rod (it is inseparable from the antenna itself) with a diameter of 2 inches (50 mm) is inserted into the tripod and fixed with a latch. A tripod for installation on the ground is included in the standard delivery. View from afar
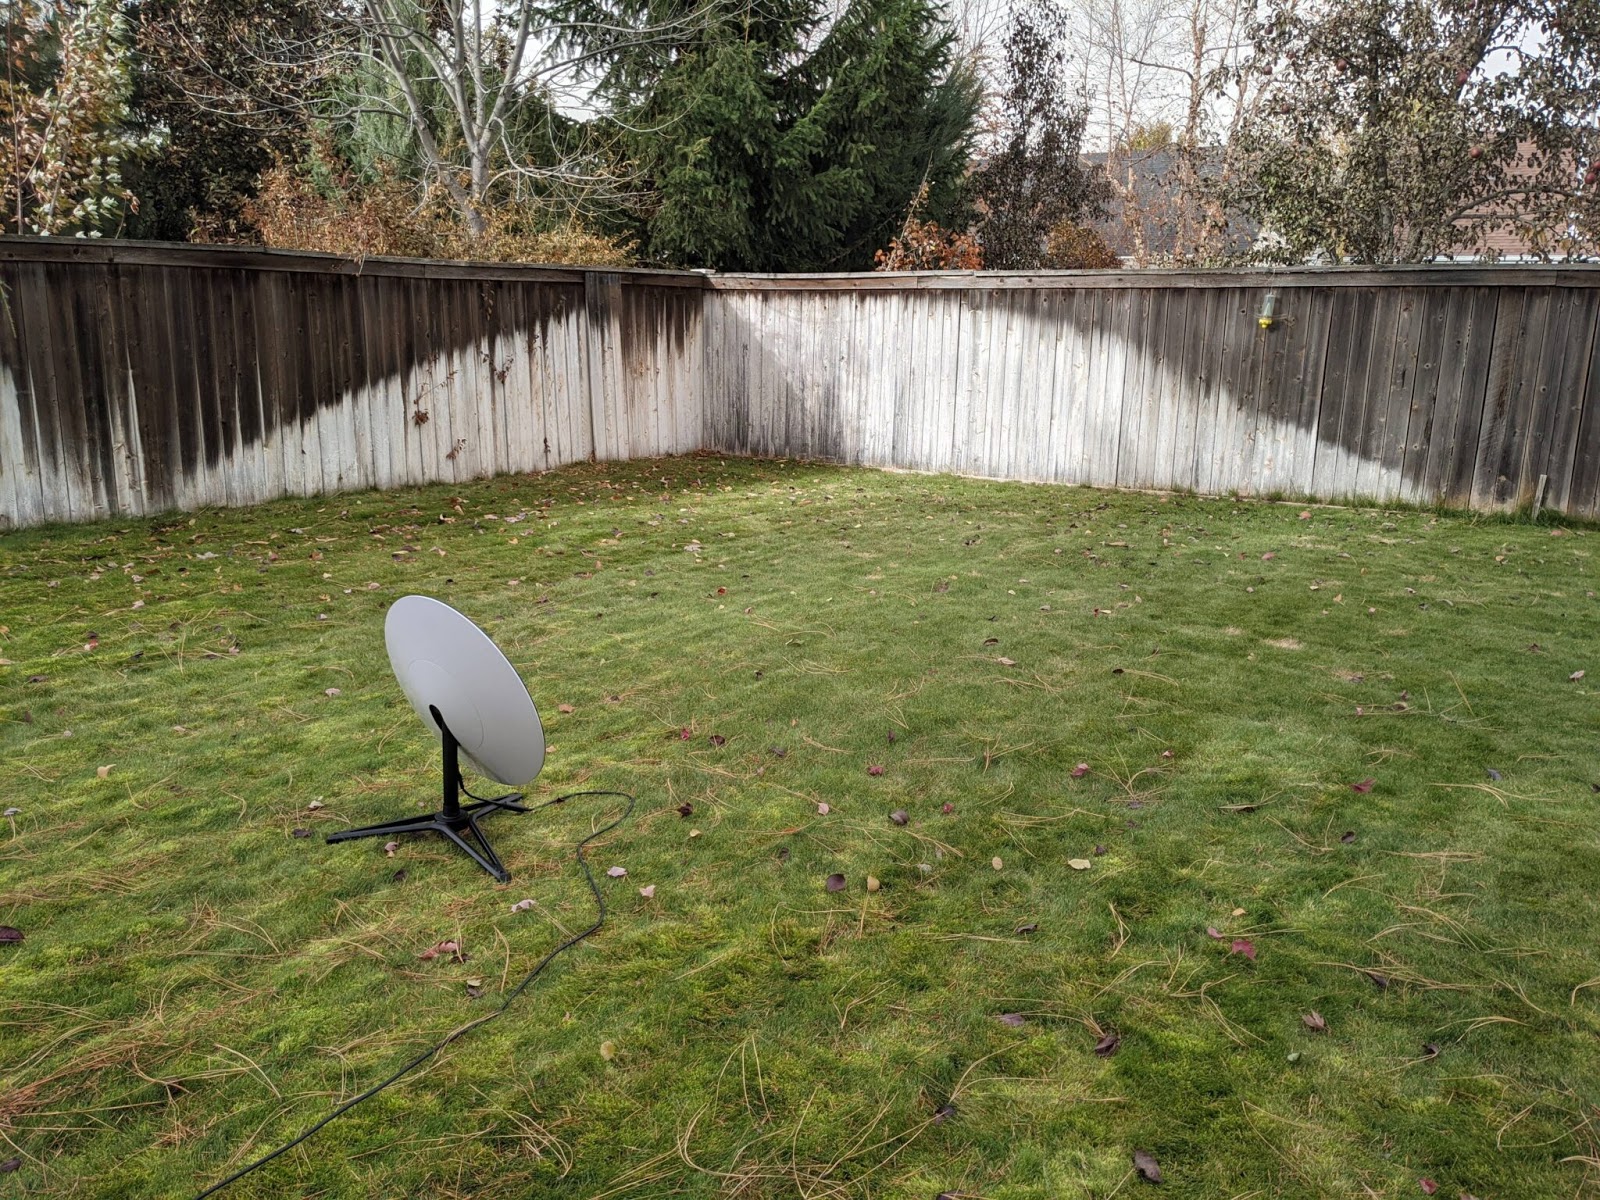
The PoE cable is 100 feet (30 meters) long, with one end entering the antenna and cannot be removed from the antenna without disassembling the antenna.
It is clear that the size of the support is too small for a strong wind, and it will be necessary to roll the tripod-base with weights or screw it with screws / dowels to another solid surface.
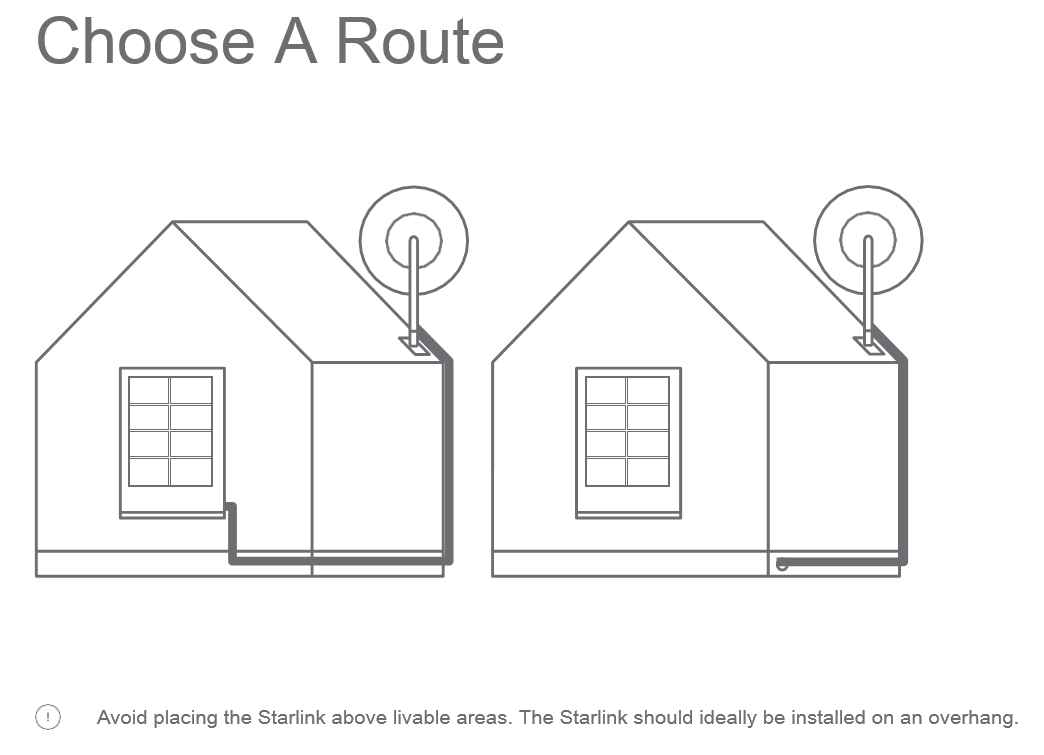
A wire snaking on the grass, to put it mildly, is not the best option, especially if the Subscriber sometimes mows the grass with a lawn mower. Then the solution is roof mounting (also a typical solution).
There are two roof mounting options. The first is for the Rigedline ridge, and the second is the Vulcano Mount for flat roof areas.
However, there is no 100% certainty that Generation Z, accustomed to iPhones, will cope with such an installation so easily when such a structure needs to be dragged onto the roof ridge and fixed on the roof (this is Rigedline, it was recommended at the beta testing stage):
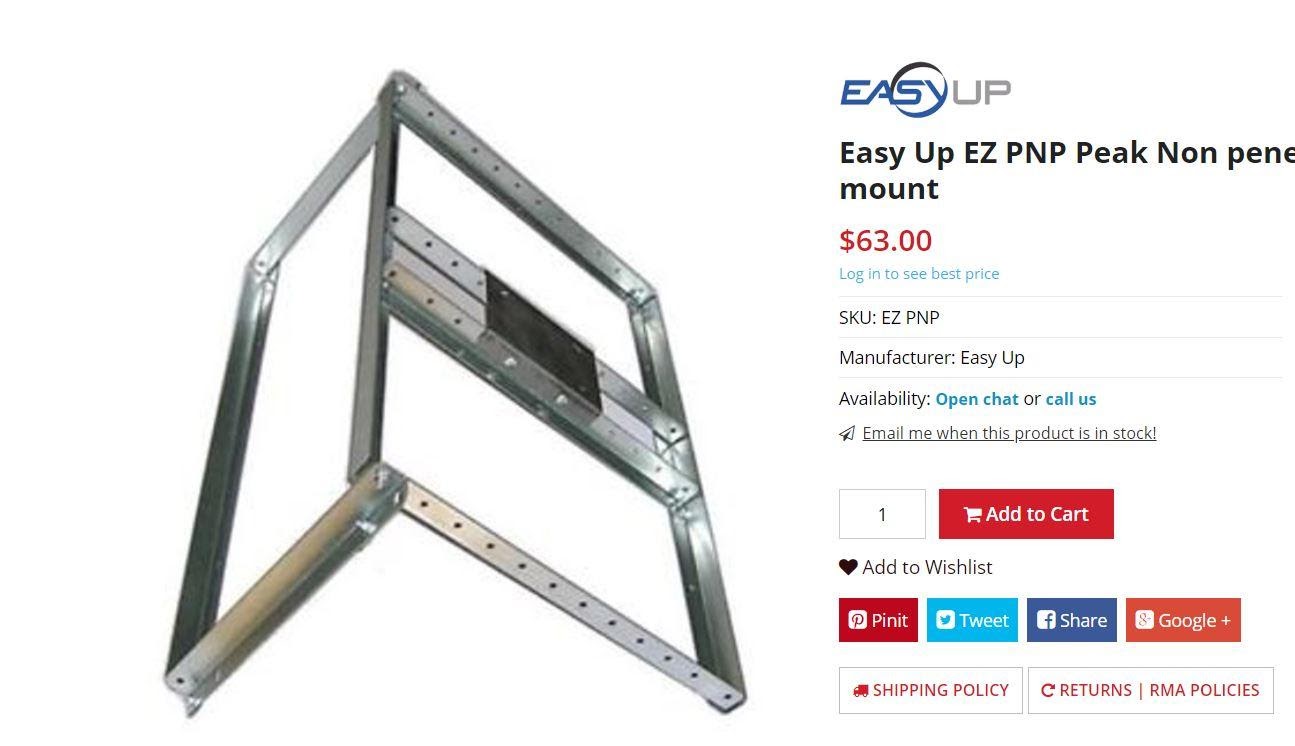
Figure: Easy Up EZ PNP Peak - Non-intrusive Starlink Antenna Mount on the Roof
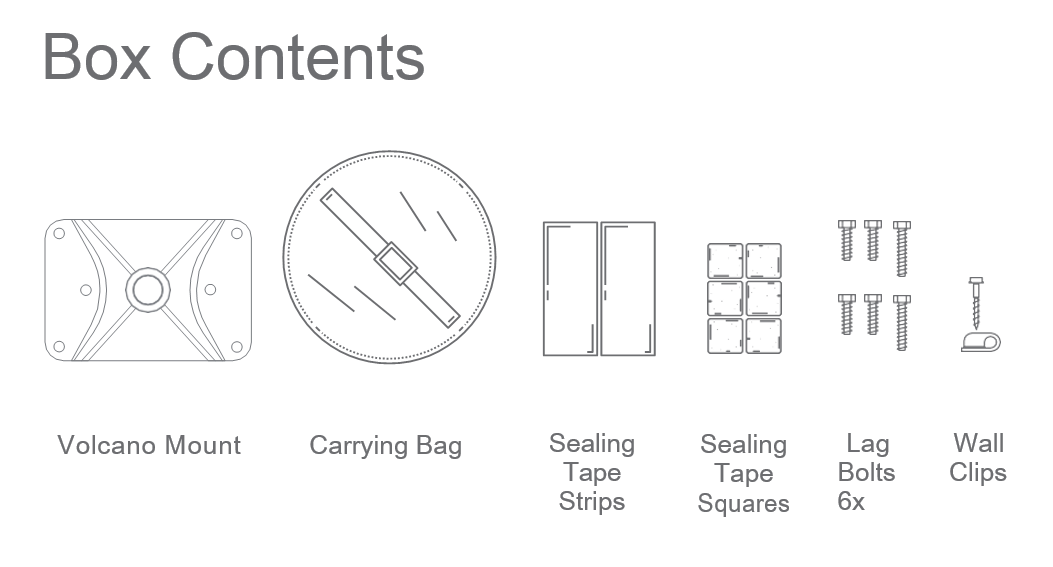
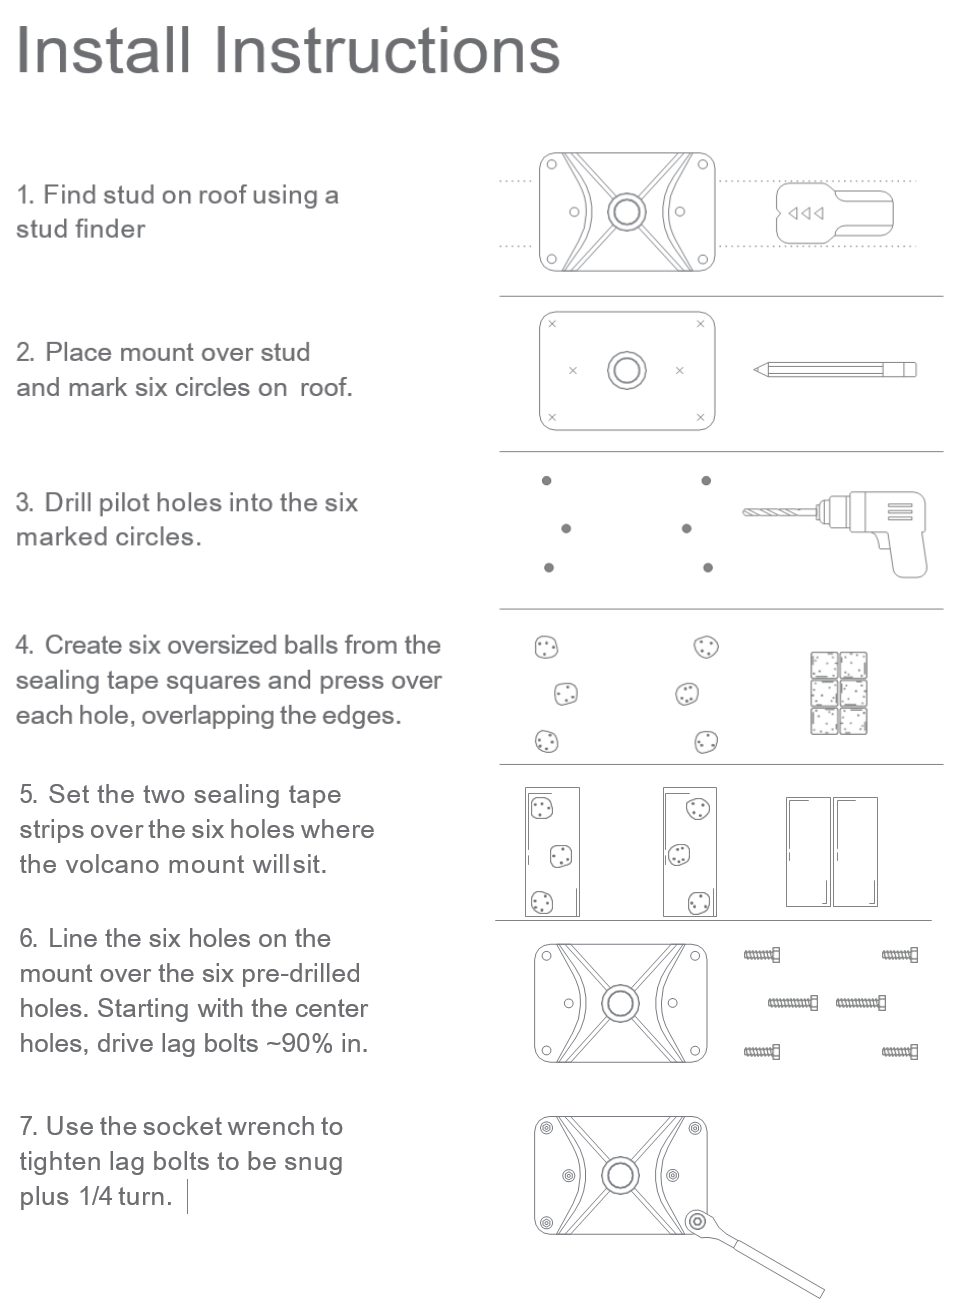
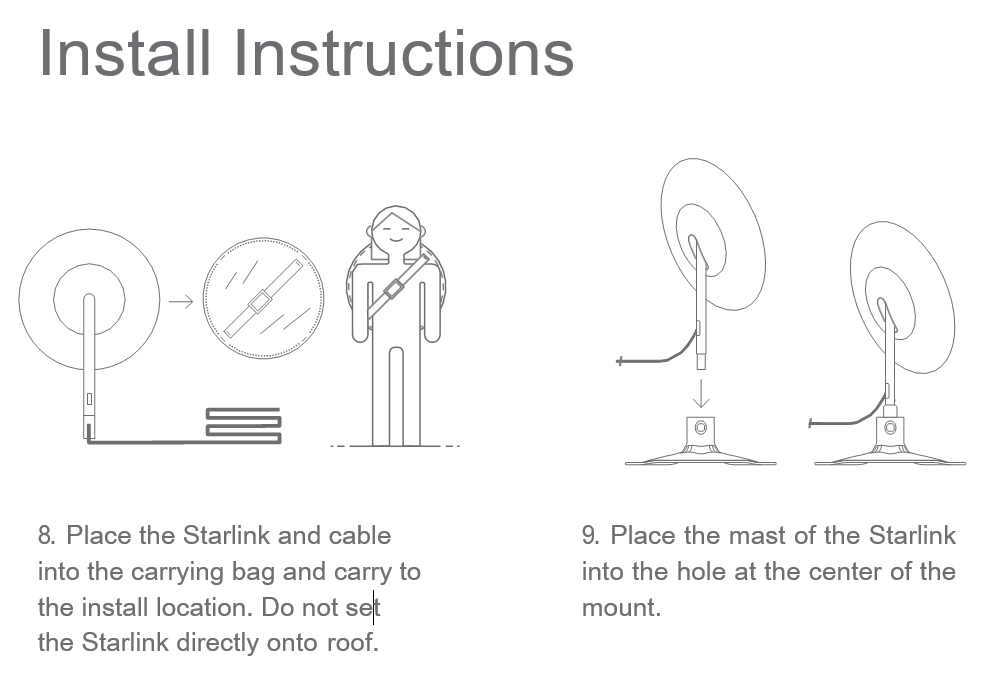
The most difficult thing during installation is not to damage the waterproofing on the roof and secure it in the place where the cable gets into the house. The description of mounting with Vulcano Mount available on the web has highlighted this.
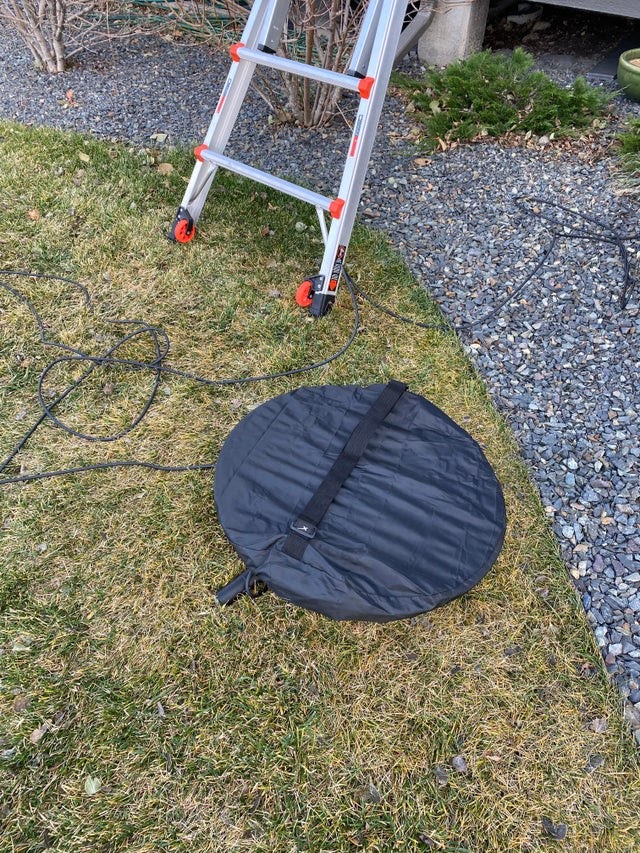
The mounting kit even includes a special cover for the antenna, in which it must be lifted to the roof so as not to damage the antenna surface.
Also, the installation kit includes a special device that allows you to determine where the rafters and beams pass (apparently by the presence of studs and bolts tightening them). This is necessary because the typical roof in modern American homes is ⅜ inch (9-10 mm) plywood.
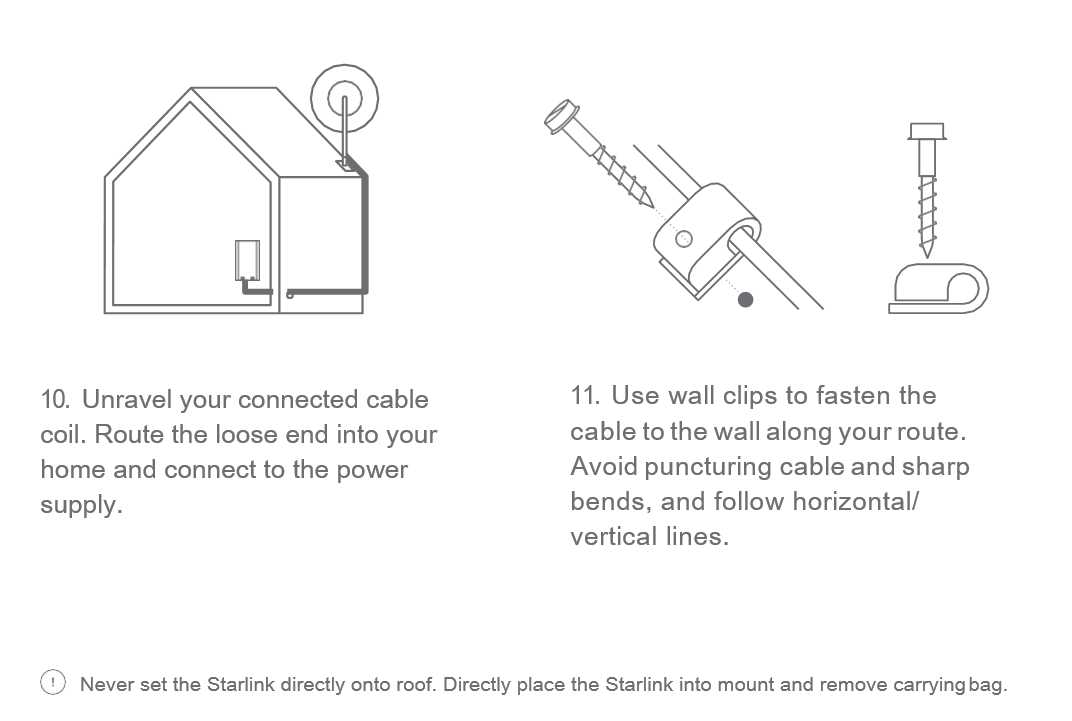
The kit also includes several dozen cable clamps, which are recommended to be fixed along the wall of the house. Judging by the lack of dowels, everything is designed for a typical American house with a wooden frame.
Despite the detailed description and the seeming clarity and ease of installation, according to the author, with massive sales, at least 50% of potential subscribers will decide to resort to the services of a professional installer or builder in order to save their time and money on future home renovations.
In general, it is necessary to note the very high level of manufacture and implementation of the Manual and its thoughtfulness, the only blunder found is that with such a roof slope angle as in the drawing of the manual, the antenna inserted into the Vulcan Mount will not stand upright.
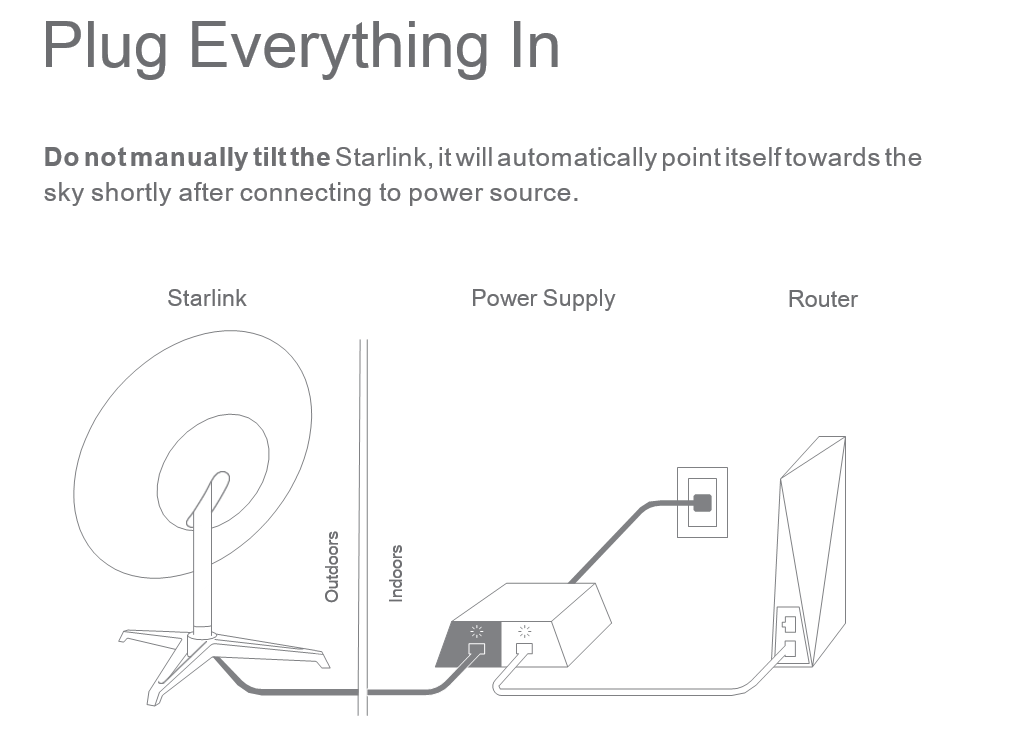
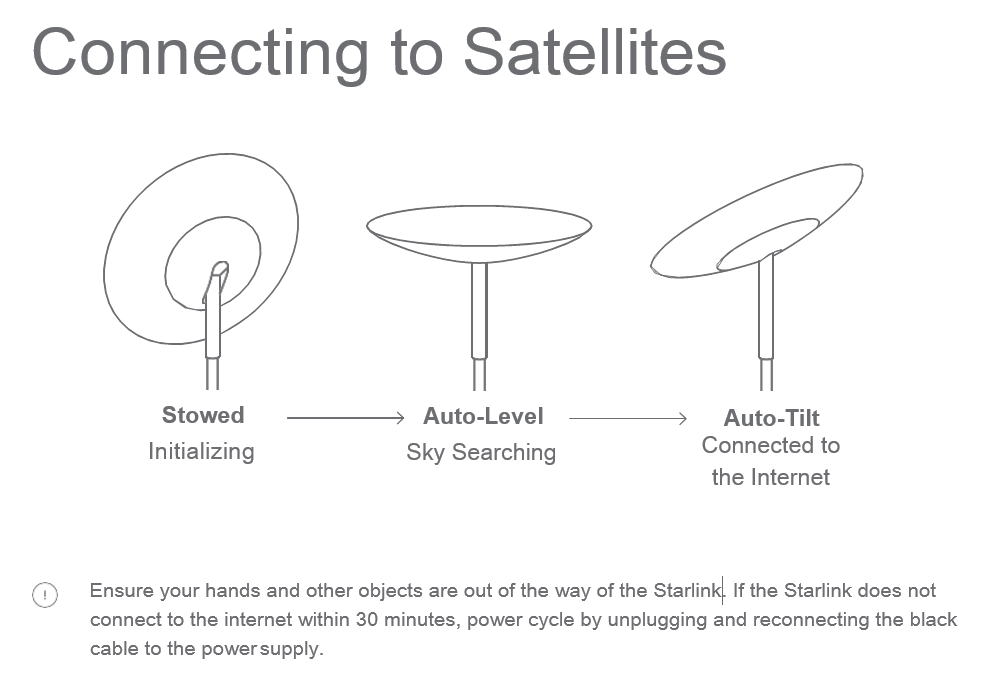
After connecting all the cables between the Antenna, the power supply and the router (for simplicity, the power supply is color-coded: black socket to the antenna, white to the router), the antenna starts searching for the satellite and setting up the connection.
Below are SpaceX instructions for mounting a terminal with a Vulcano Mount, and there is also a youtube video about this type of mounting: youtu.be/Zl3n_jVpaJg
The power supply and router are restricted to indoor use only. Energized and moving parts may be
inside the system. Ensure the power is disconnected before accessing, moving, or installing the Starlink (aka "Dishy McFlatface") to avoid impact with equipment.
Replace and secure the Starlink before powering on the equipment again.
To reduce the risk of fire, electrocution, electric shock, and injury to persons, always follow basic safety precautions, including the following:
• Plug the power cord into an AC outlet that is easily accessible at all times.
• Disconnect the power from the power source by unplugging the power cord from the AC outlet.
• If the power cord has a 3-pin attachment, plug the cord into a grounded (earthed) 3-pin outlet.
• Do not operate this product with a damaged power cord set. If the power cord is damaged in any
manner, replace it immediately. Damaged cords may result in user exposure to hazards.
• Only use the AC adapter and power cord provided with the system or purchased from SpaceX.
To reduce the possibility of heat-related injuries or of overheating the product, do not obstruct the airflow or place the product directly on carpet / rug. Use the product only on a hard, flat surface.
During operation, do not allow the AC adapter to contact the skin or a soft surface, such as carpet / rug or clothing. The product and the AC adapter comply with the user-accessible surface temperature limits defined by applicable safety standards.
Roof penetrating mounts are inherently risky in terms of leakage and should be installed by a professional if uncomfortable with the process. To minimize this risk, the Starlink should be mounted on an overhang. Starlink is not responsible for damage to property caused by the installation process.
Potential Safety Conditions Notice If you notice any of the following conditions or if you have any other safety concerns, do not use the equipment: crackling, hissing, or popping sounds; strong odor or smoke coming from any parts of the system.It is normal for these conditions to appear when an internal electronic component fails in a safe and controlled manner. However, these conditions may also indicate a potential safety issue. Do not assume it is a safe failure. Turn off the system, disconnect from the power source, and contact Starlink technical support for assistance.
For more safety, regulatory, labeling, and disposal information, refer to the Regulatory Notices in the main internet kit.


- Everything about the Starlink Satellite Internet project. Part 1. Birth of the project
- « Starlink». 2. Starlink
- « Starlink». 3.
- « Starlink». 4.
- « Starlink». 5. Starlink -
- « Starlink». 6. -
- « Starlink». 7. Starlink RDOF