In his lecture, he paid attention to the basic principle of constructing many in-game effects, or the principle of granularity. How the studio implemented a large-scale system of realistic destructibility, what limitations of its own resources and platform performance it faced, what optimizations it made and what lessons it learned from all this - further in the material.

So, first about the challenges that the studio faced.
The game takes place inside a brutalist-style government agency building that has some supernatural features like moving walls.
The structure of the headquarters had to look believable, because this is a government agency, where thousands of service employees work on routine assignments. Tables, telephones, mugs, MFPs - all these are the usual attributes for an office worker that you expect to see in the workplace, and by their presence they help to qualitatively tell the story of this very place. Brutalism means tons of concrete, but not only: here we have both wood and glass, which create the most suitable look for a special service building.

When it comes to destruction, the first thing to think about is tactility. The development team was tasked with organizing a rich interactive environment that immediately creates the feeling of being able to interact with almost anything within it.

Obviously, the studio faced certain restrictions during its work. Interactions with objects had to look and feel realistic. The player should have some freedom of action regarding destruction, but not limitless, since the possibilities of the game rest on the ultimate performance of platforms, memory and requirements for artificial intelligence. At the same time, the team entrusted with the task of implementing the destructible environment turned out to be quite small, which also had to be taken into account in the work.
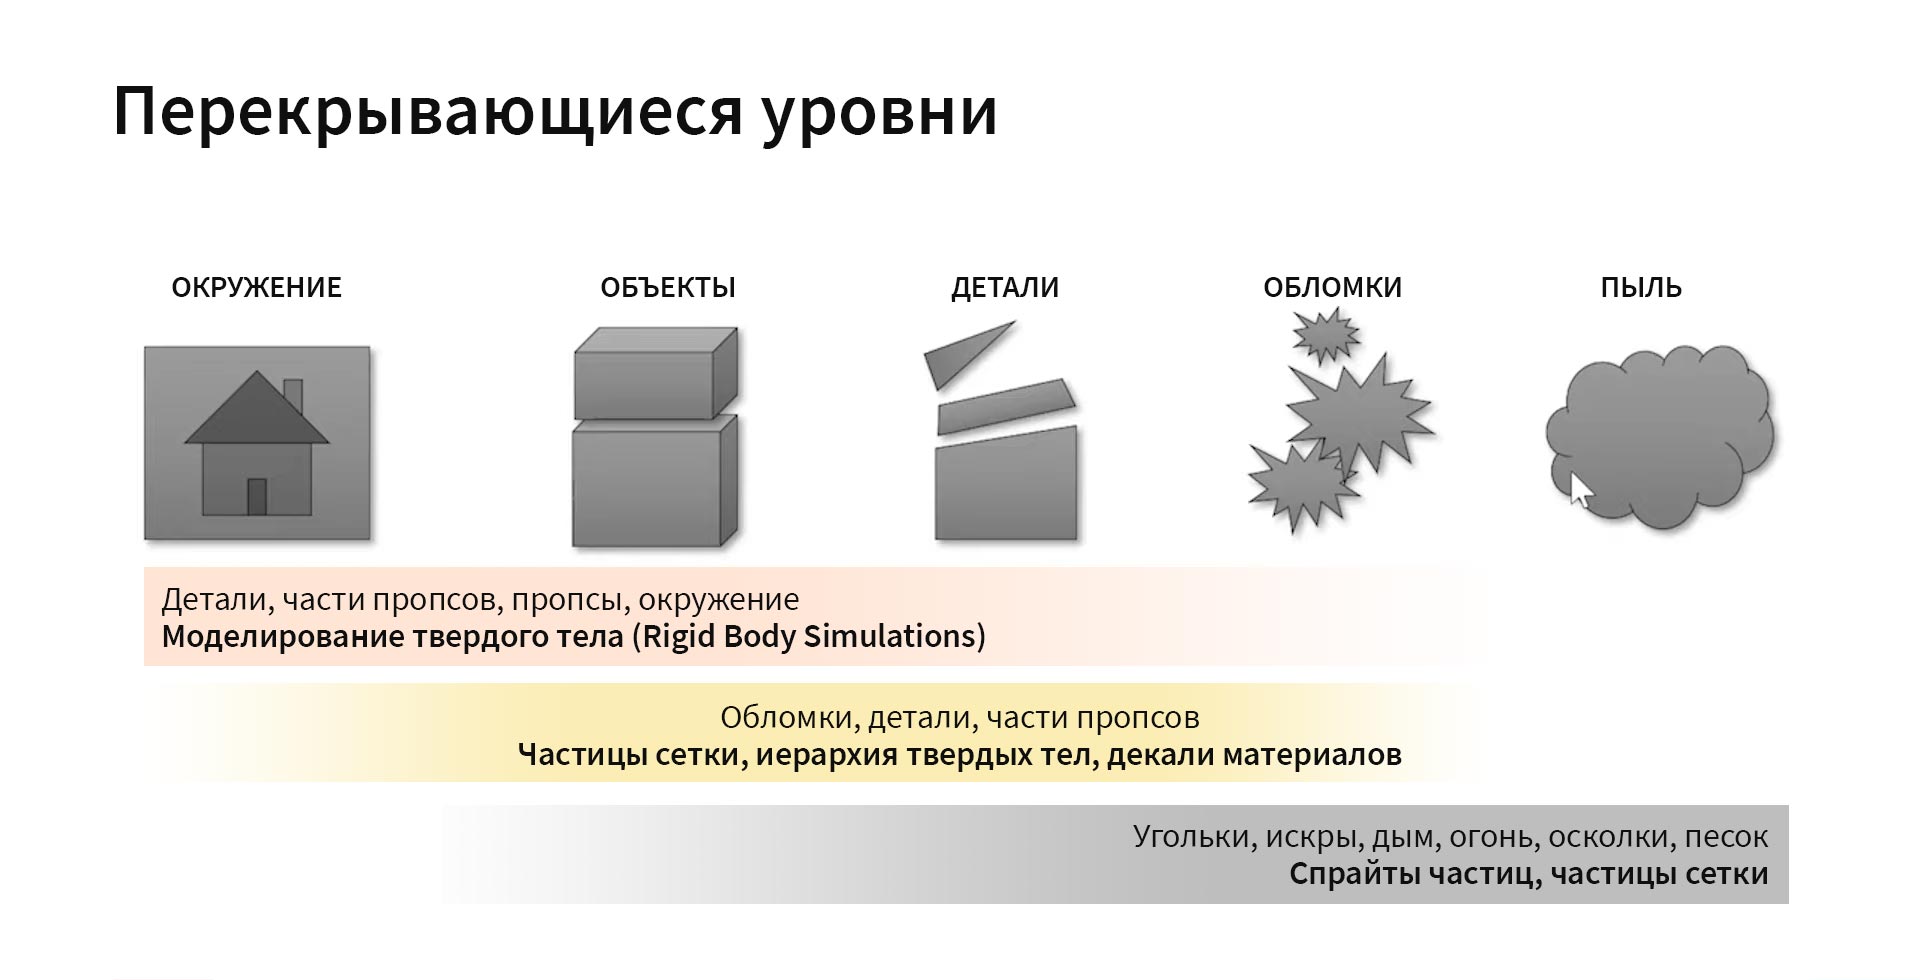
So, in-game destructibility is based on the principle of granularity. It is also the basis for many special effects in cinematography. Its meaning is that nature is not quantified. It is a continuous canvas created from a wide range of objects - from large to small, from large-scale solids to dust and smoke. If something is not reflected on the screen, the whole picture will not work.
In a game engine, this principle can be implemented in three different levels of detail. Objects on them are presented in the form of rigid bodies (Rigid Bodies), their parts, parts of props, props themselves and the environment. The latter in this case is a kind of static grid that interactive objects can collide with. Mesh particles, solid hierarchy, and material decals give objects more detail on certain layers. So, from solid objects we move on to their fragments and then to fragments. The last layer is the particles themselves. Particle sprites, ember particles, sand and more all play a big role in filling these gradients.

The screenshot above shows a static environment. It looks pretty empty, although there is some detail here: for example, in the background you can see the railing for the stairs.

It's amazing how perception changes when we start filling space with objects that we can interact with directly.

As for the workflow in Remedy, it's actually pretty trivial. The environment artists provide level geometry modules and props for assembly, after which the VFX department sets up the rigs and cinematic destruction animations. Finally, the result is then sent to Remedy's own engine, Northlight.
It was necessary to decide on an approach to how everything would work, and the team settled on a procedural one.
What does it mean?
The procedural approach is rule-based processing and interpretation of data.

Information about the game world is represented by models containing metadata about the materials. So, you can set, for example, that the seats of the bench are made of fabric, the base is made of concrete, the plants are actually plants. Having defined the materials, you can formulate a finite set of rules for each of them, determining the reactions to all actions that can be performed in the game. For example, so that when firing from the plants, pieces of leaves fly off, the concrete breaks into fragments, and the metal pipe is deformed, and water breaks out of it. Then all the data is redirected to the engine, and it already reacts to each interaction as appropriate.
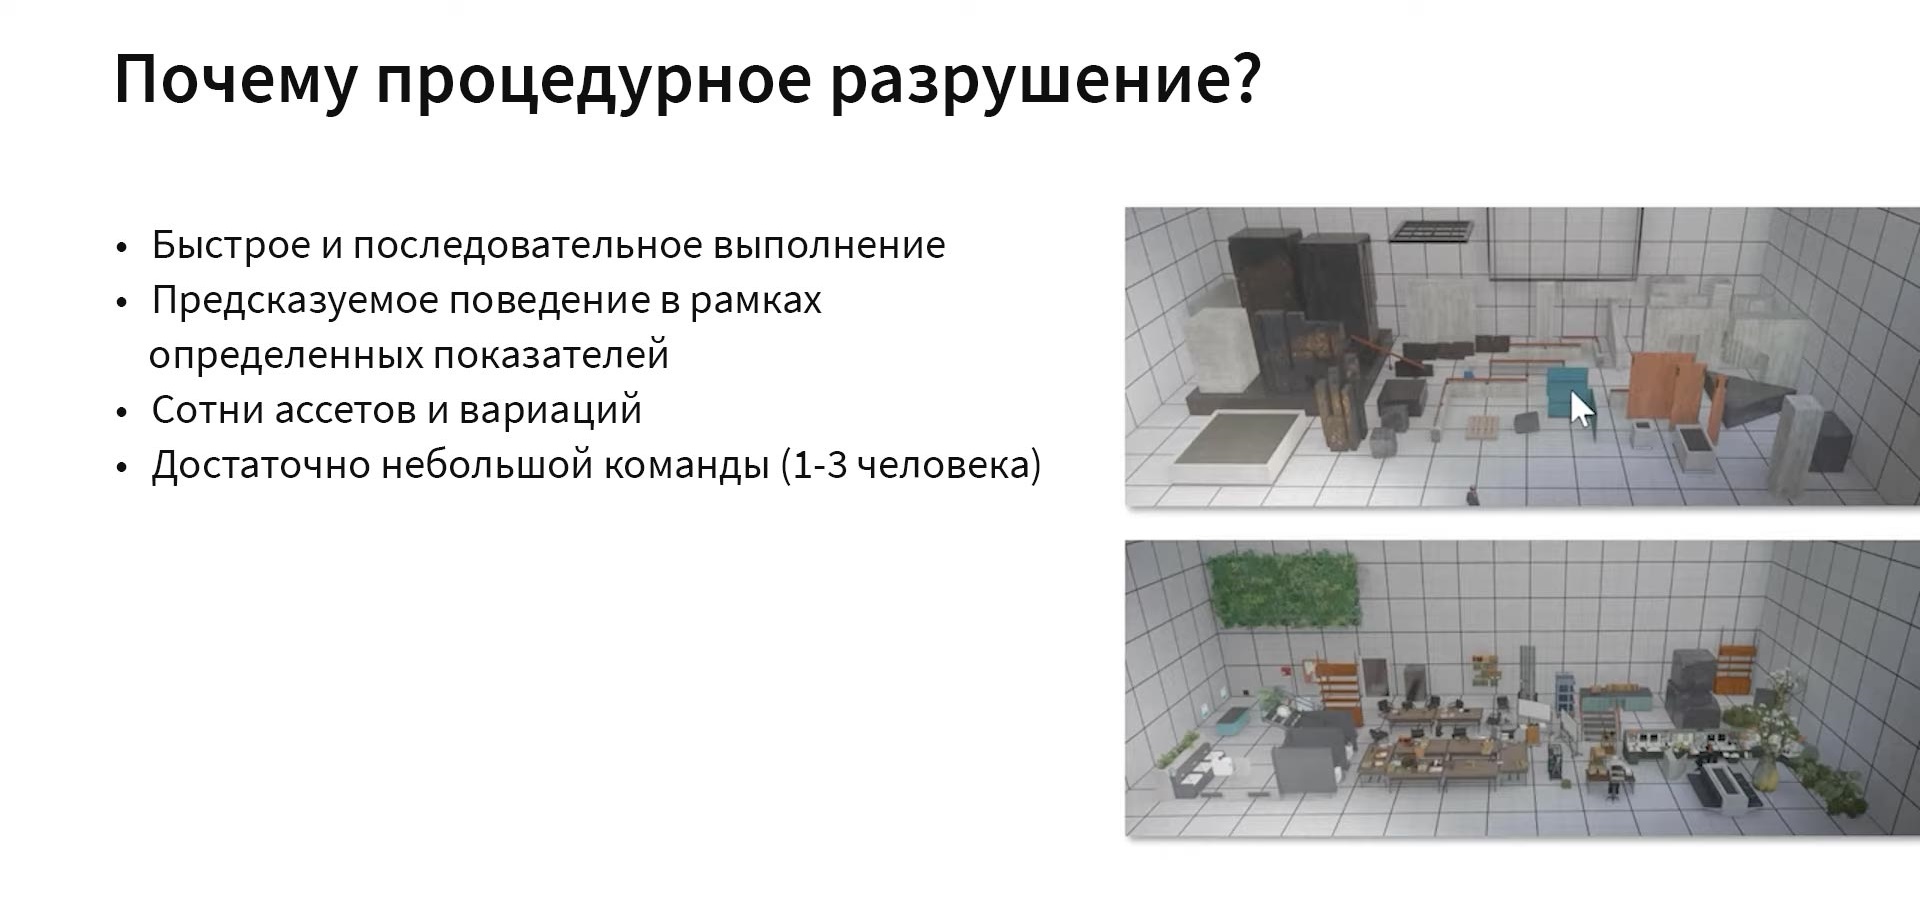
So why procedural destruction?
Because there was a need for a quick and consistent turn of actions, predictable behavior within clearly defined conditions. There are hundreds of assets involved in the game. In the image above, you can see all sorts of blocks that make up rooms, walls, columns, stairs, railings, and more. Under it are various props: tables, chairs, vases, plants, computers, telephones. To implement the destruction of such a variety of objects, a team of only 1-3 people was selected. Therefore, it was necessary to predetermine the patterns according to which the world works: if an object is influenced in a certain way, it is necessary that it breaks exactly as it is prescribed for the chosen method of destruction of a given material.
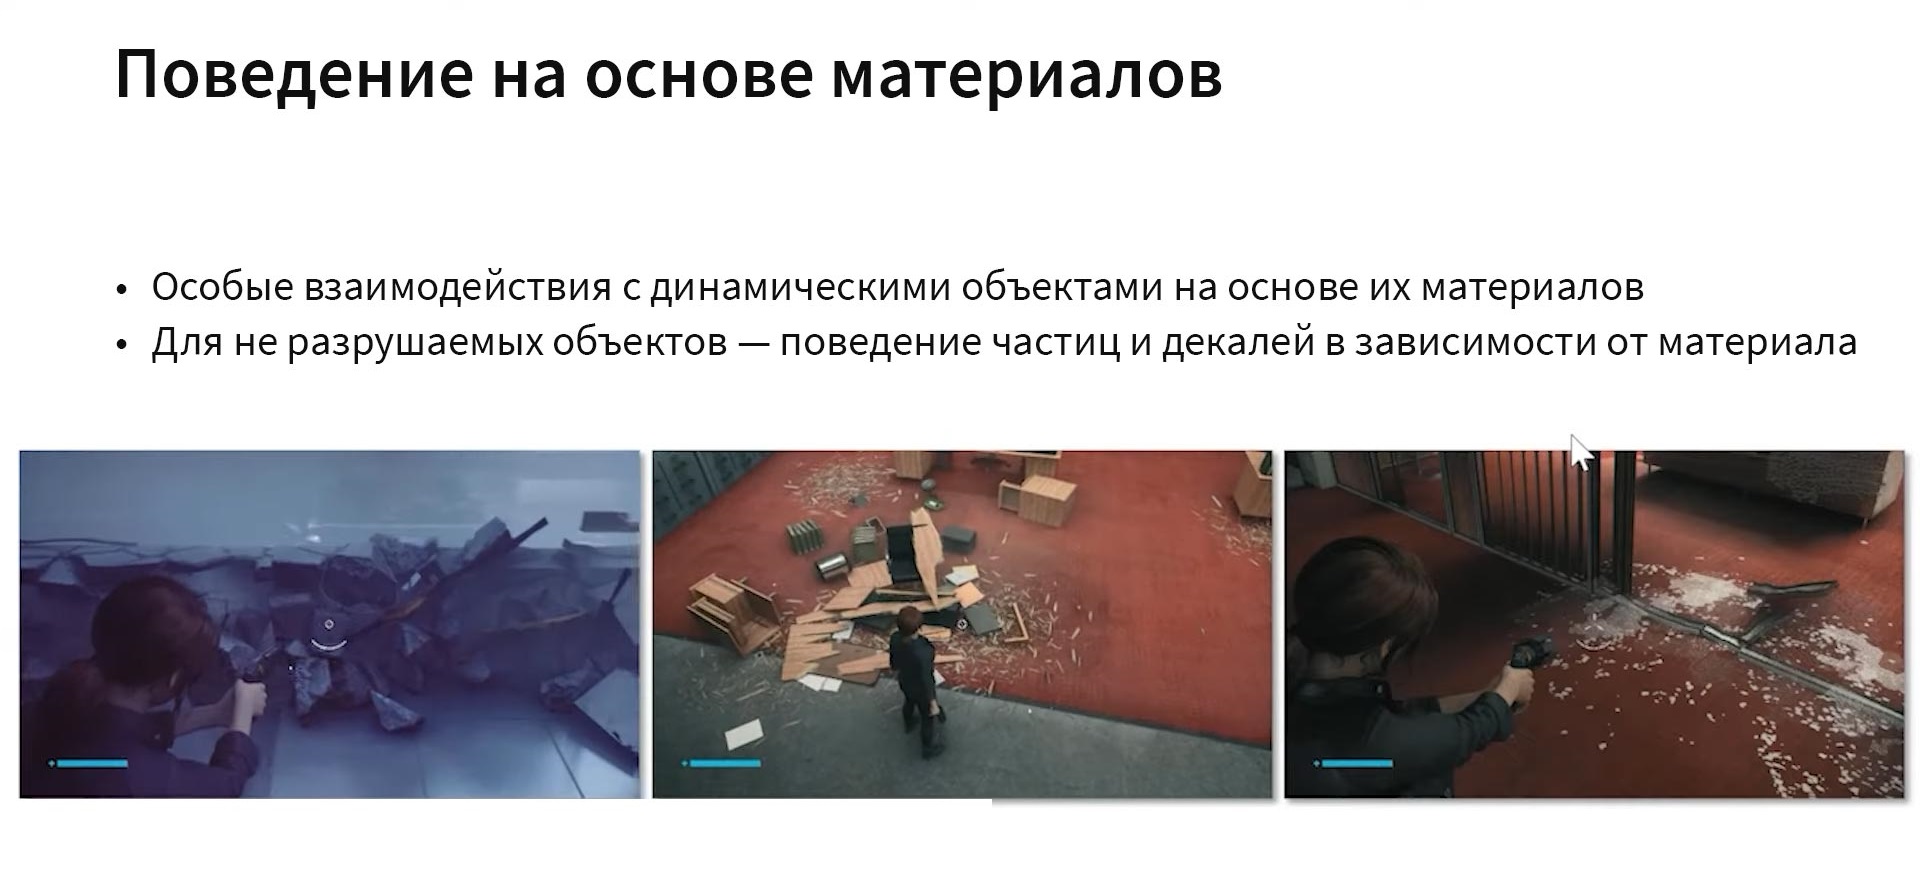
So, it was necessary to set a certain behavior depending on the material. So that when you shoot at the tree, it would fly to pieces. Or, if you shoot at glass, it would shatter into shards. At the same time, particles and decals must also behave in a certain way in accordance with what the object is made of.

Each material has its own fracture geometry, defined by different levels. In the example, we see a piece of railing, at the base of which is concrete, then a metal support and, finally, wood. From left to right, the stages are shown as they break:
- Level A shows a break in the concrete. There are no decals here, since there are still few cracks. It can be seen that the support is slightly bent.
- Level B. The metal is gone, but more broken concrete and wood remain.
- C : , .
Now let's imagine that we hit a certain corner of an object - then it should not break completely, only part of it.

So, in Control there are solid bodies that are a single object. But there are also details connected by links. These are the same rigid bodies that a so-called compound collision can separate.
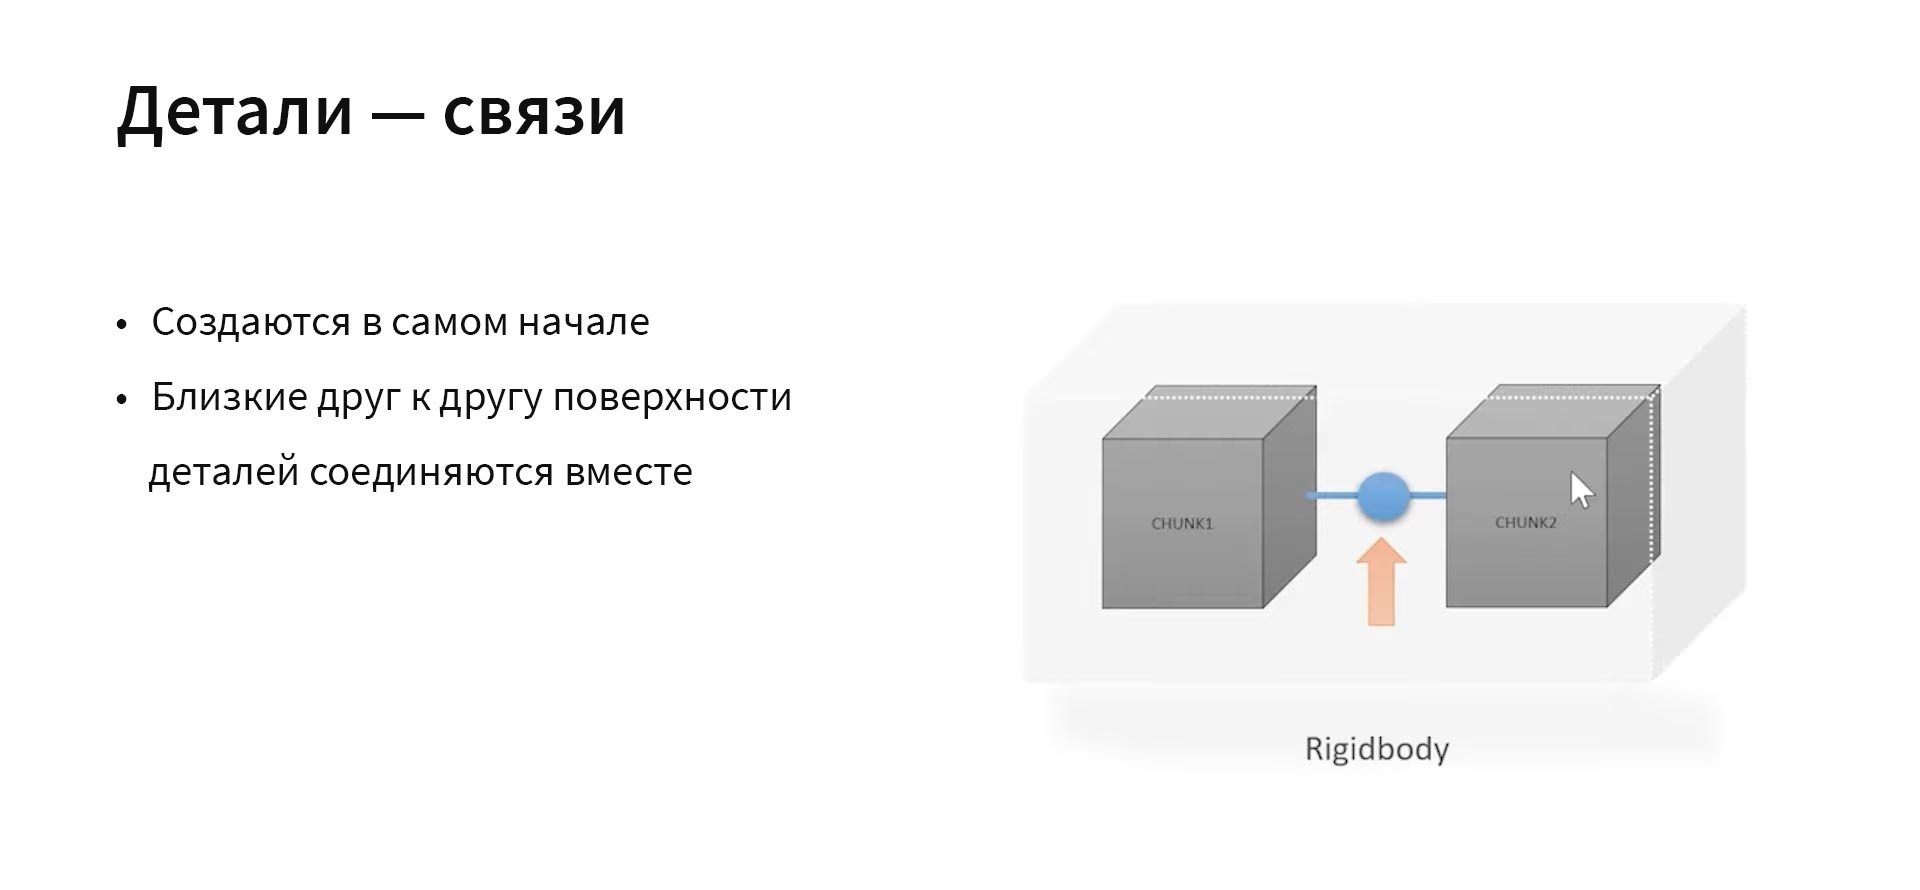
Parts are created during initialization, share a common collider, and move as one piece until they break. They are connected to each other by those surfaces that touch each other.
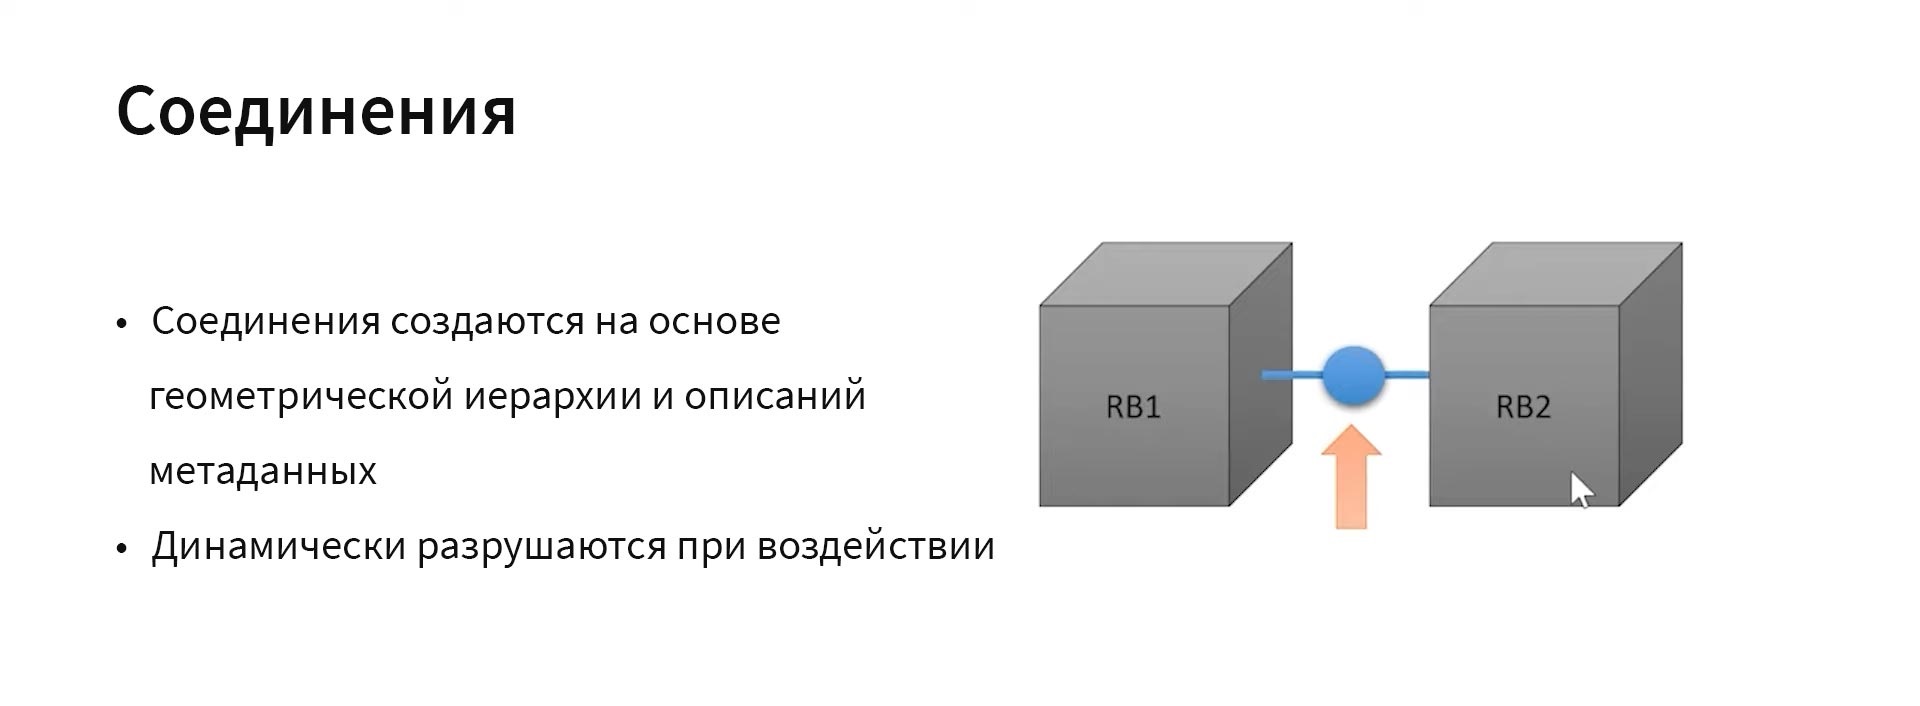
Let's talk about connections. They are created in a geometric hierarchy based on metadata. Solids are connected to each other by a kind of hinge - for example, in the case of a door or a drawer. They can be dynamically destroyed, again by the strength of the impulse.
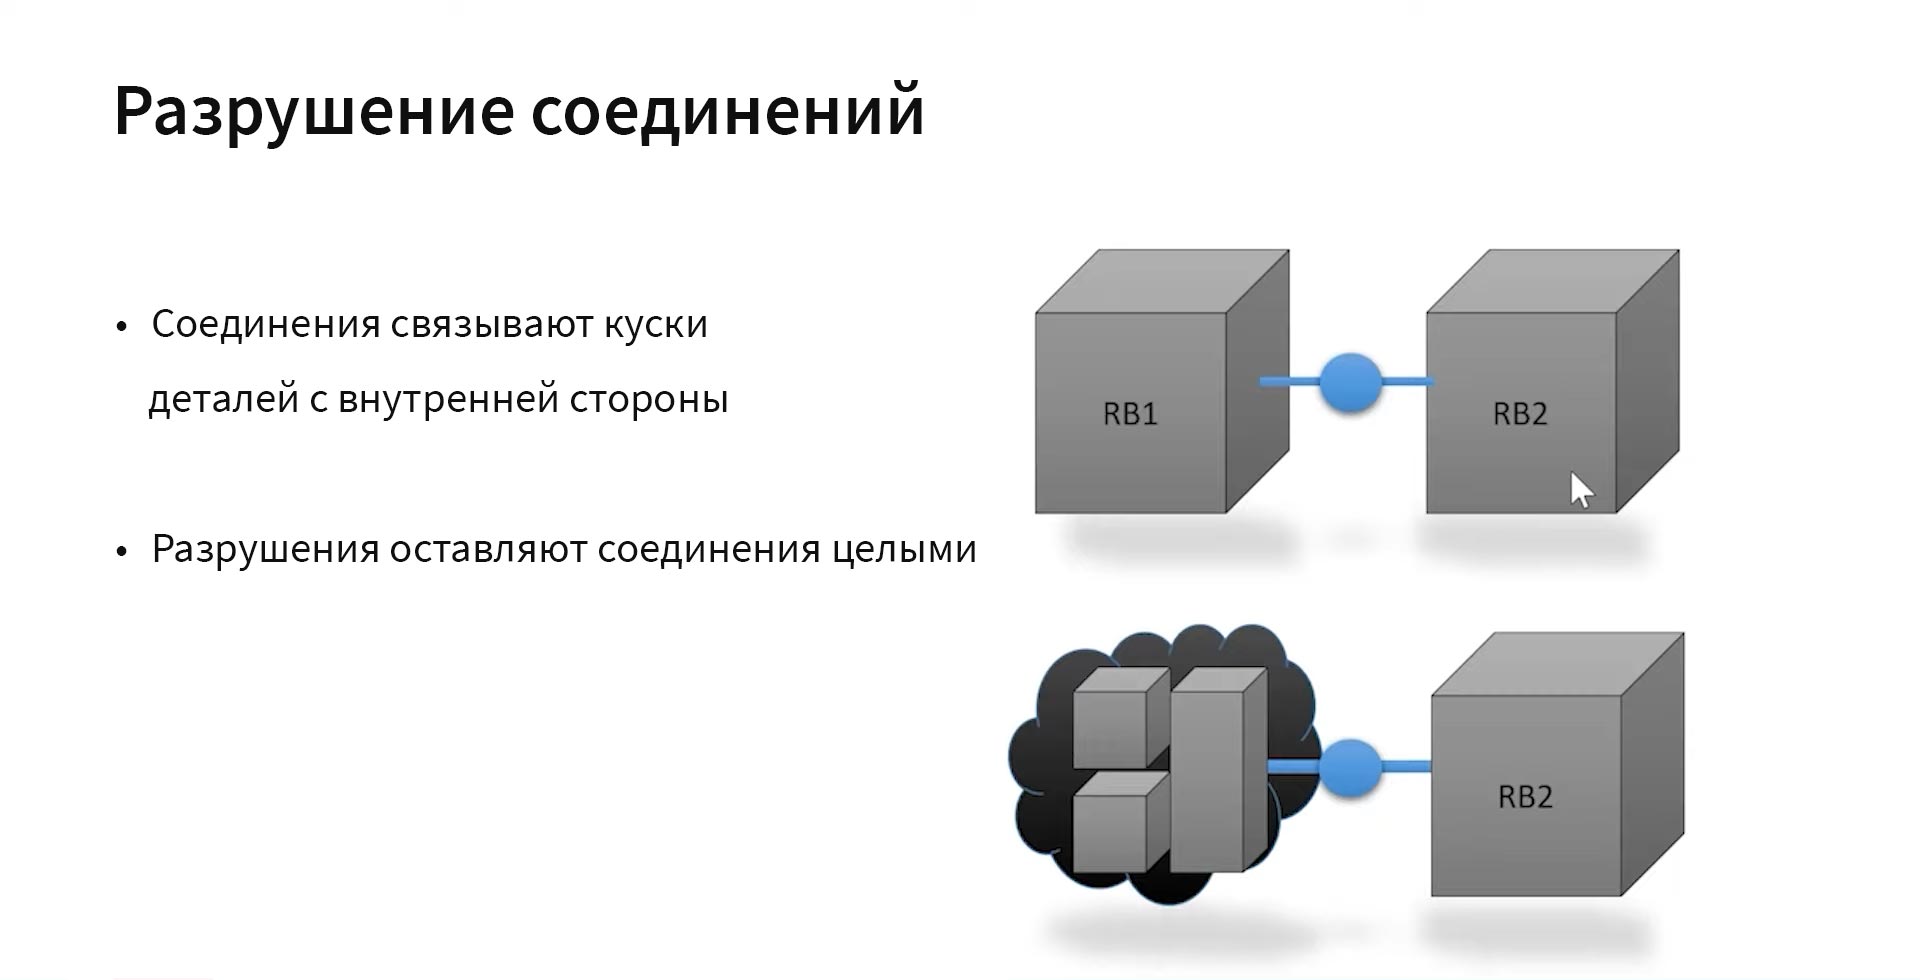
There is a special physics of destruction for compounds. They do not break with the object - that is, if you punch a hole in the door, the door will still remain a whole object, held together by internal connections. Thus, if you break the parent block RB1, the door will not fall off its hinges: a piece of it will still be attached to the opening, not affected by the impact. And a door with a hole in the middle can still be closed and opened as expected. Thus, the developers wanted to avoid situations where objects break completely, regardless of where and what force the blow fell, as is the case in some games.

During the simulation, Northlight's native engine executes the destruction logic and determines which events and particles react to it. The NVIDIA physics engine then models the rigid bodies and tries to fit them into the game's constraints.

The destruction itself is realized as follows. We have some input geometry. Sometimes it is necessary to prepare the model in advance, set the gluing geometry and determine in what cases which parts can break. The models are then sent to Houdini and processed there. Destruction in Houdini is a fairly large-scale HDA setup that performs material-based reactions and writes data to memory. Sometimes I had to manually fix and set some physics metadata to make sure the settings were correct, especially when it came to connections. Then all the data is transferred to the engine, where it is used to create the game world.
The destruction tool in Houdini looks something like this. Let's say we have a concrete block as input. It is necessary to determine which areas can break and set the material. In this case, the block will perform destruction according to the rules set for concrete, manage it and create different hierarchies in terms of rendering geometry and collisions. Then you need to make sure that the modeling is done within the budget and style you have set. After that, you can export the model to the engine.
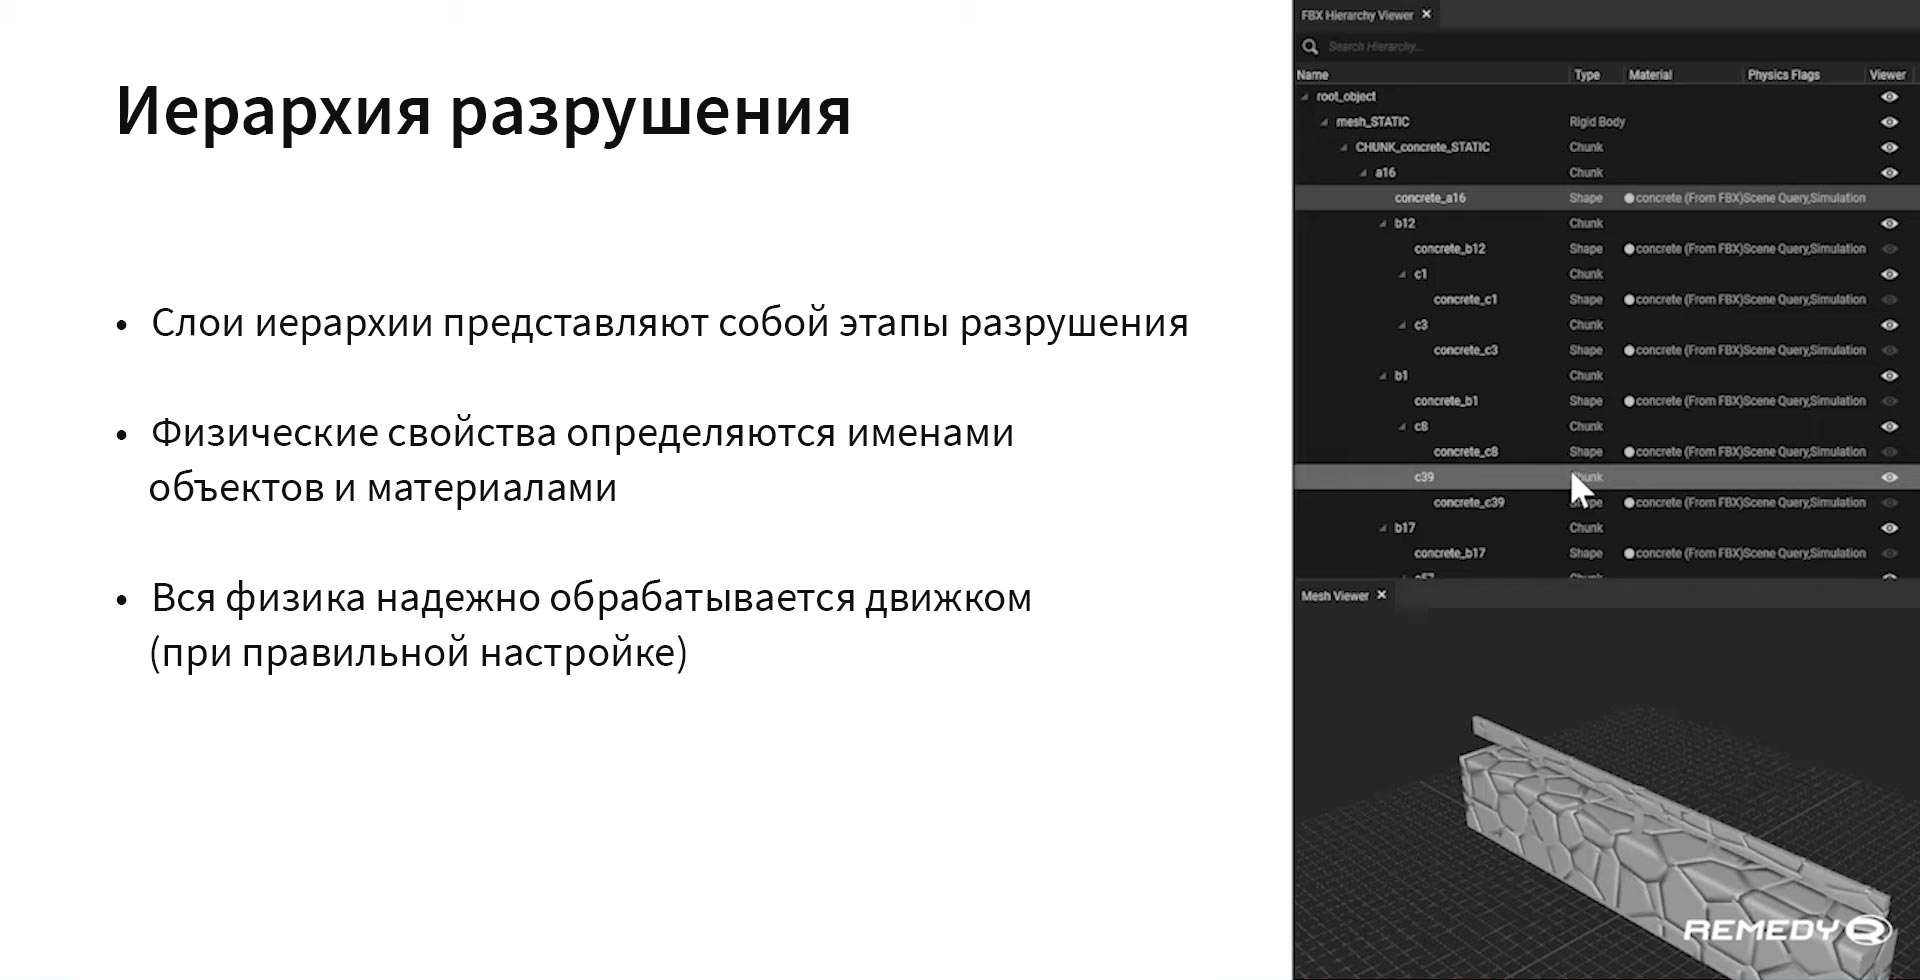
It looks like this in the engine. You have a kind of hierarchy that carries information about layers A, B, C, etc. This includes the name of the material, whether the object is static or not, data on connections, their types, and so on. The hierarchy is represented by levels, and the physical properties differ depending on the name of the material. If the name is specified correctly, the physics is processed by the engine. We will talk about the problem of names later.
Above is a rigid body simulation scenario. Jesse shoots objects around her, and they explode, thereby realizing the physics of destruction.

Since a destructible environment is a resource-intensive thing, and consoles and PCs have their own performance limits, the team was faced with the task of optimizing the system so that it would not overload the devices.
Since it was necessary to fit into a certain performance budget, a limit was set at 200 active solids on the screen - so objects outside of it disappeared altogether.
In the case of events involving many fast moving objects, there is a delay in collisions so that the system has time to do all the calculations.
Sleep mode was also implemented for unused items. For example, if a concrete block falls to the floor, no one expects it to start jumping like a ball - so it can "fall asleep" pretty quickly. This applies to many items in the game. For the same reason, they can be stacked on top of each other, and in the same way they will lie motionless.
In addition, the gaps between items were filled with particles. Thus, when an object is destroyed, dust or chips are formed around it.
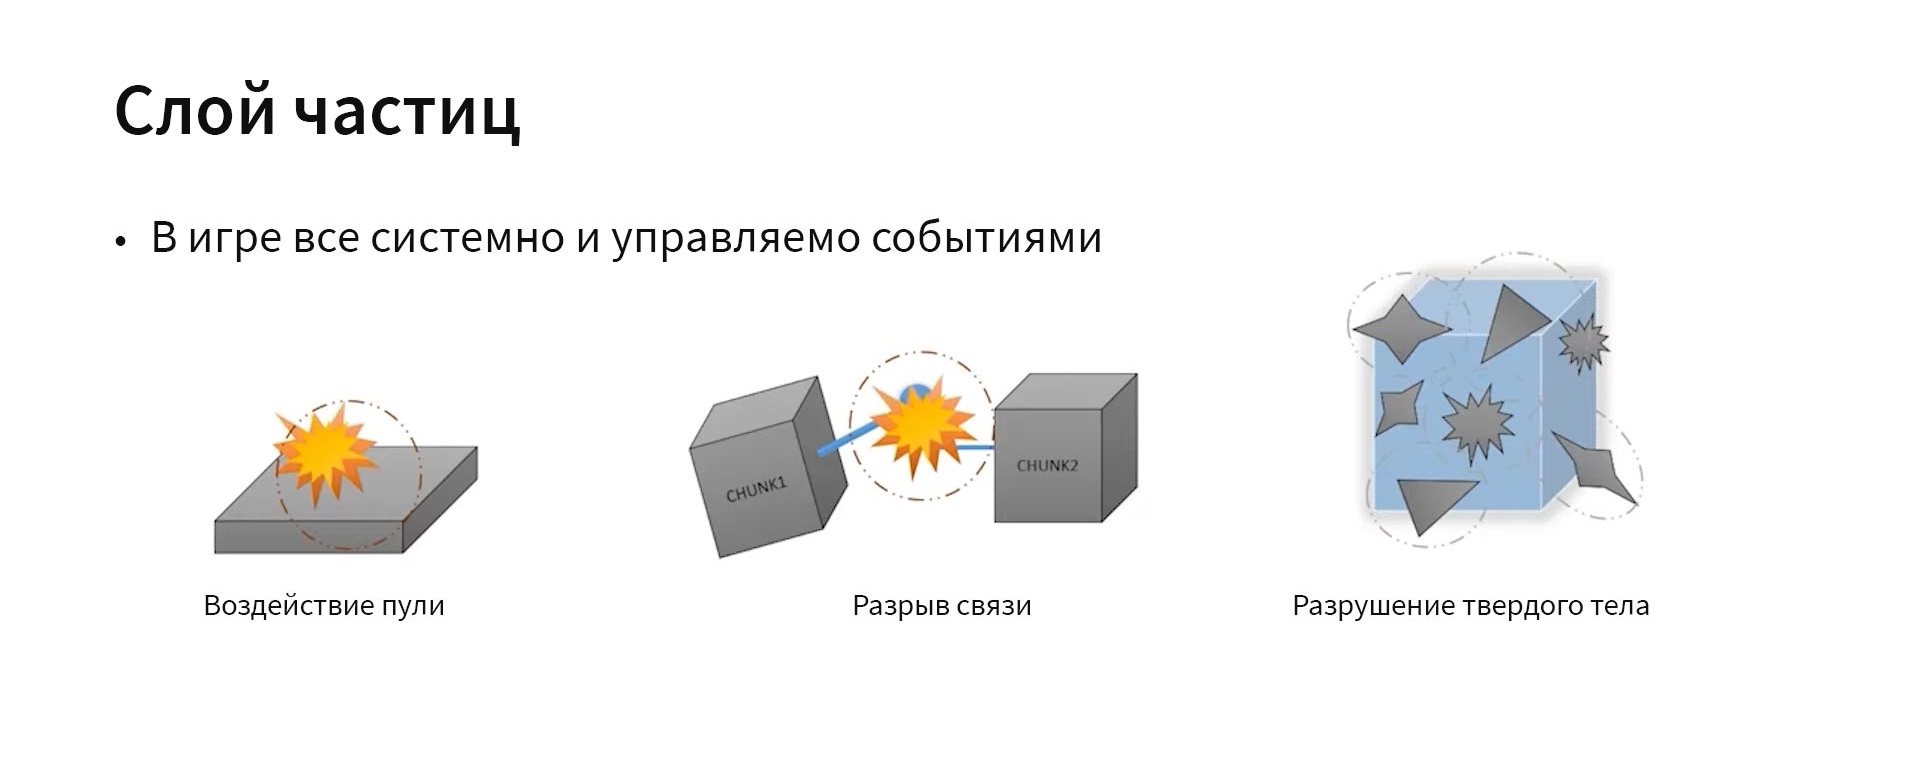
Everything in the game is systematic and event-driven. The following particle events exist:
- bullet impact, which has a different outcome depending on the material;
- breaking the connection between two parts; in this case, scrapping occurs, releasing particles;
- complete destruction of an object, leading to its disintegration into particles.

The above shows the process of editing particles. Right in the game, you can place a certain particle system and then change it. In this case, the frequency of spark formation simply changes. Interestingly, you can literally change it in real time and immediately get instant feedback, and then play it again and see how the effect works. Implemented in this way, a fast iteration loop allows you to polish things like this until they display correctly.
Another feature of particles is standard modeling. From time to time the team had to use signed distance fields (SDF). Thanks to this, it was possible to ensure that objects did not fall through the floor, which would look extremely strange.
In the example above, a destructible object is a symbiosis of particles and a solid. This is what we see. The explosion creates dust in the air due to additional layers of particles that fill the missing gaps in the granularity gradient.
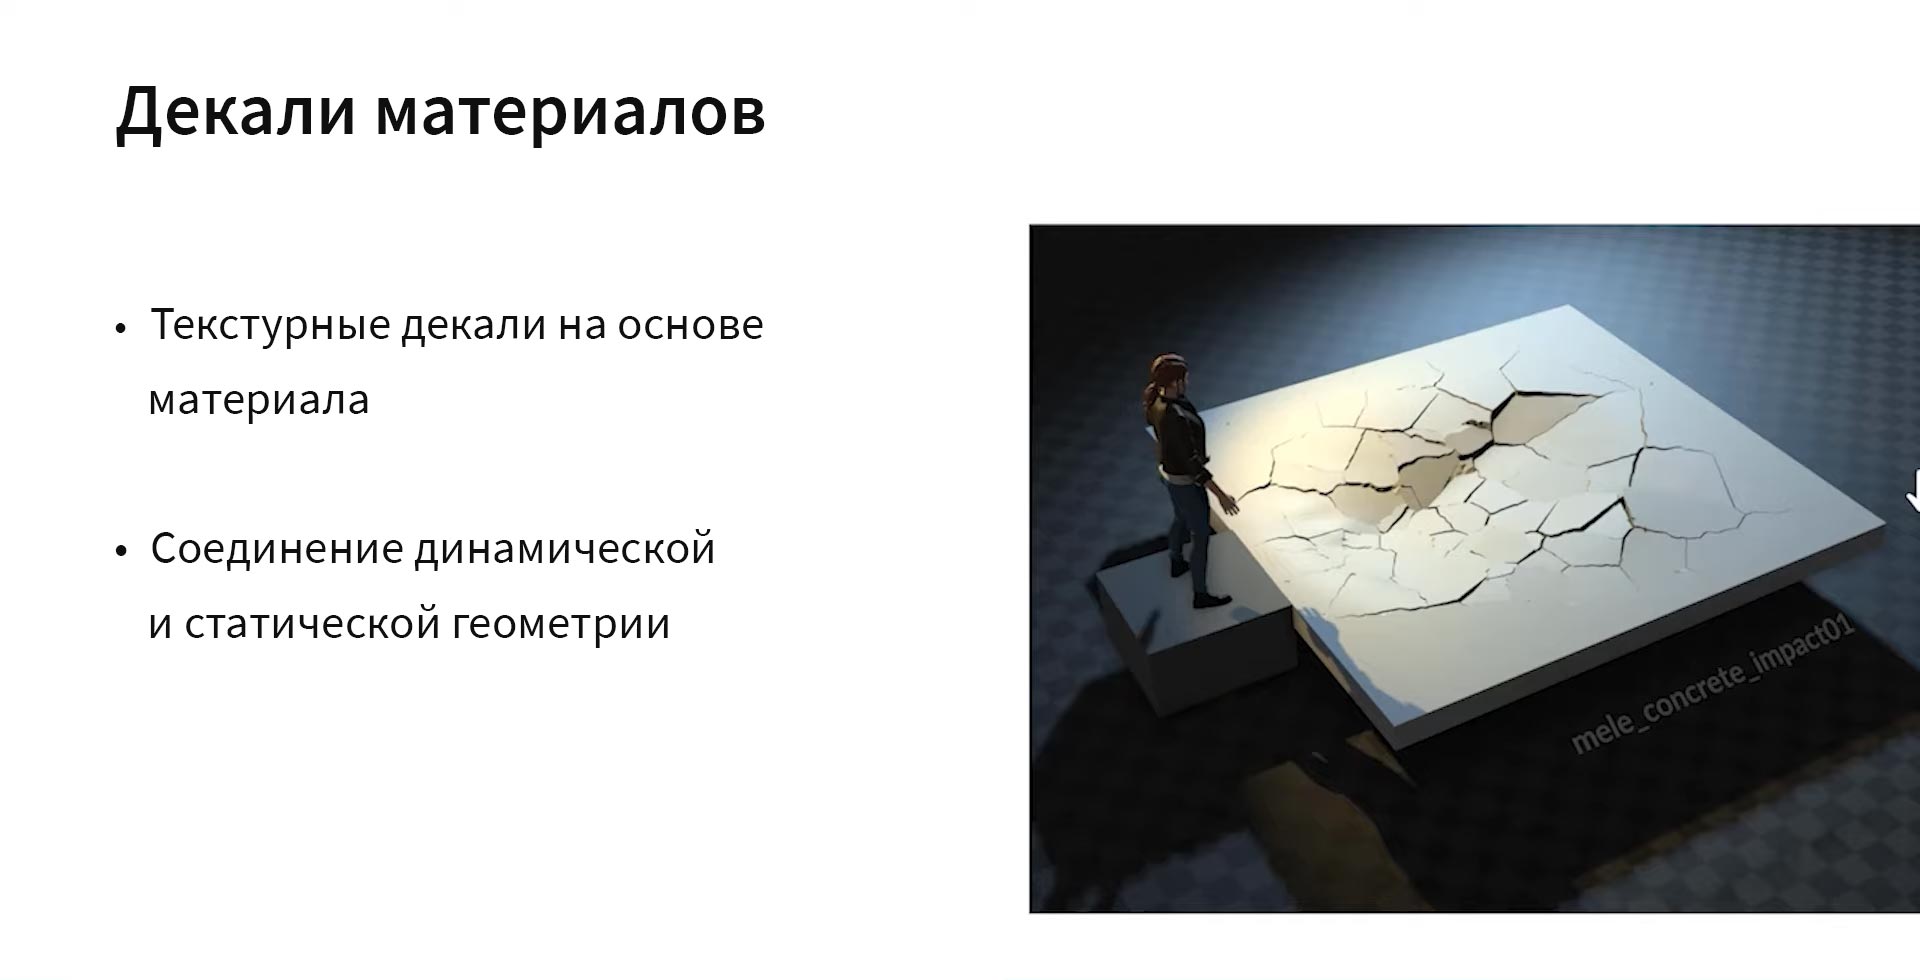
And the last - decals of materials, of which there are many in the game and they are generated dynamically. Basically, they are just textures that are applied over objects to create the appearance of destruction.
If something breaks, a decal with a picture of cracks will appear on the item. They are usually created in Houdini or similar. In Control, the choice of the desired decal is made dynamically based on the material. It also helped to make use of a fairly large portion of the static geometry. As shown in the beginning, there are always many static objects around us, which can also be subjected to some kind of influence that must be taken into account.

This is what it looks like. If you split the floor, the polygon itself will remain the same, but with the appearance of decals, its appearance can change a lot. It is worth noting that they are quite economical and effective in use.
So we have particles, solids and decals. In this example, I had to go to some tricks, because a simple explosion tool would not generate so many decals. Now Jesse "throws" an object that can leave a dent in the floor. At the same time, the floor remains a static polygon, but thanks to the decals, impact marks remain on it.

Let's also touch on the topic of custom props. There are many in-game items to scatter around - fire extinguishers, computers, lamps, and the like - that cannot be completely procedurally generated. The environment artists still had to set the effects for each of them manually. However, from their presence the in-game world looks only richer and more diverse.
So, what lessons did the studio learn from Control?
The following things are worth touching upon here:
- ;
- ;
- ;
- .
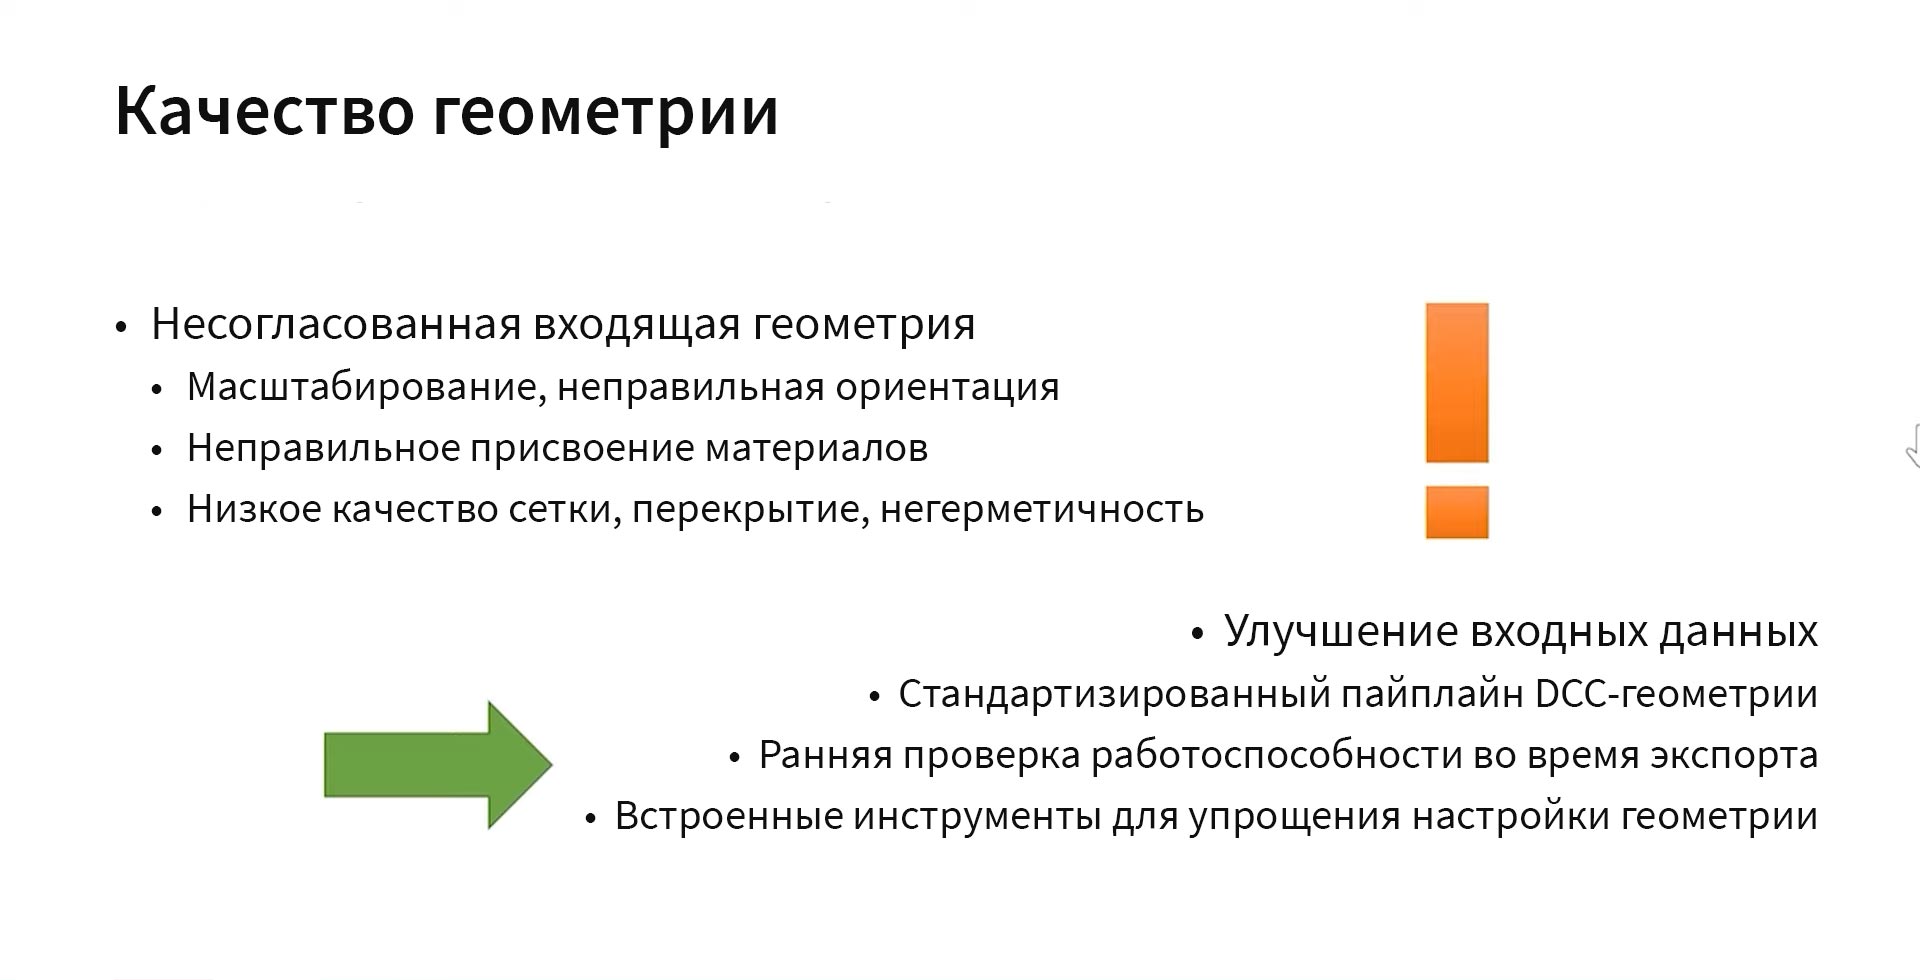
The first is the quality of the geometry. Inconsistent input geometry can result from incorrect scaling and orientation, but also from incorrect material assignments. Sometimes the mesh quality can be too low, and this will also have a detrimental effect on the result. It also happens that when you break an object, you realize that there is nothing inside it, and this is wrong. To avoid such problems, it is necessary to improve the input data, standardize the entire geometry pipeline so that when exporting, the system warns if something does not meet the criteria and needs to be corrected. This would help avoid constant feedback loops between different departments looking for exactly when problems arose.
In addition, it would be nice to have built-in tools so that you can model an object and immediately see how it will look when destroyed. Obviously this poses the challenge of making more tools with better interfaces, but it's worth the trouble.
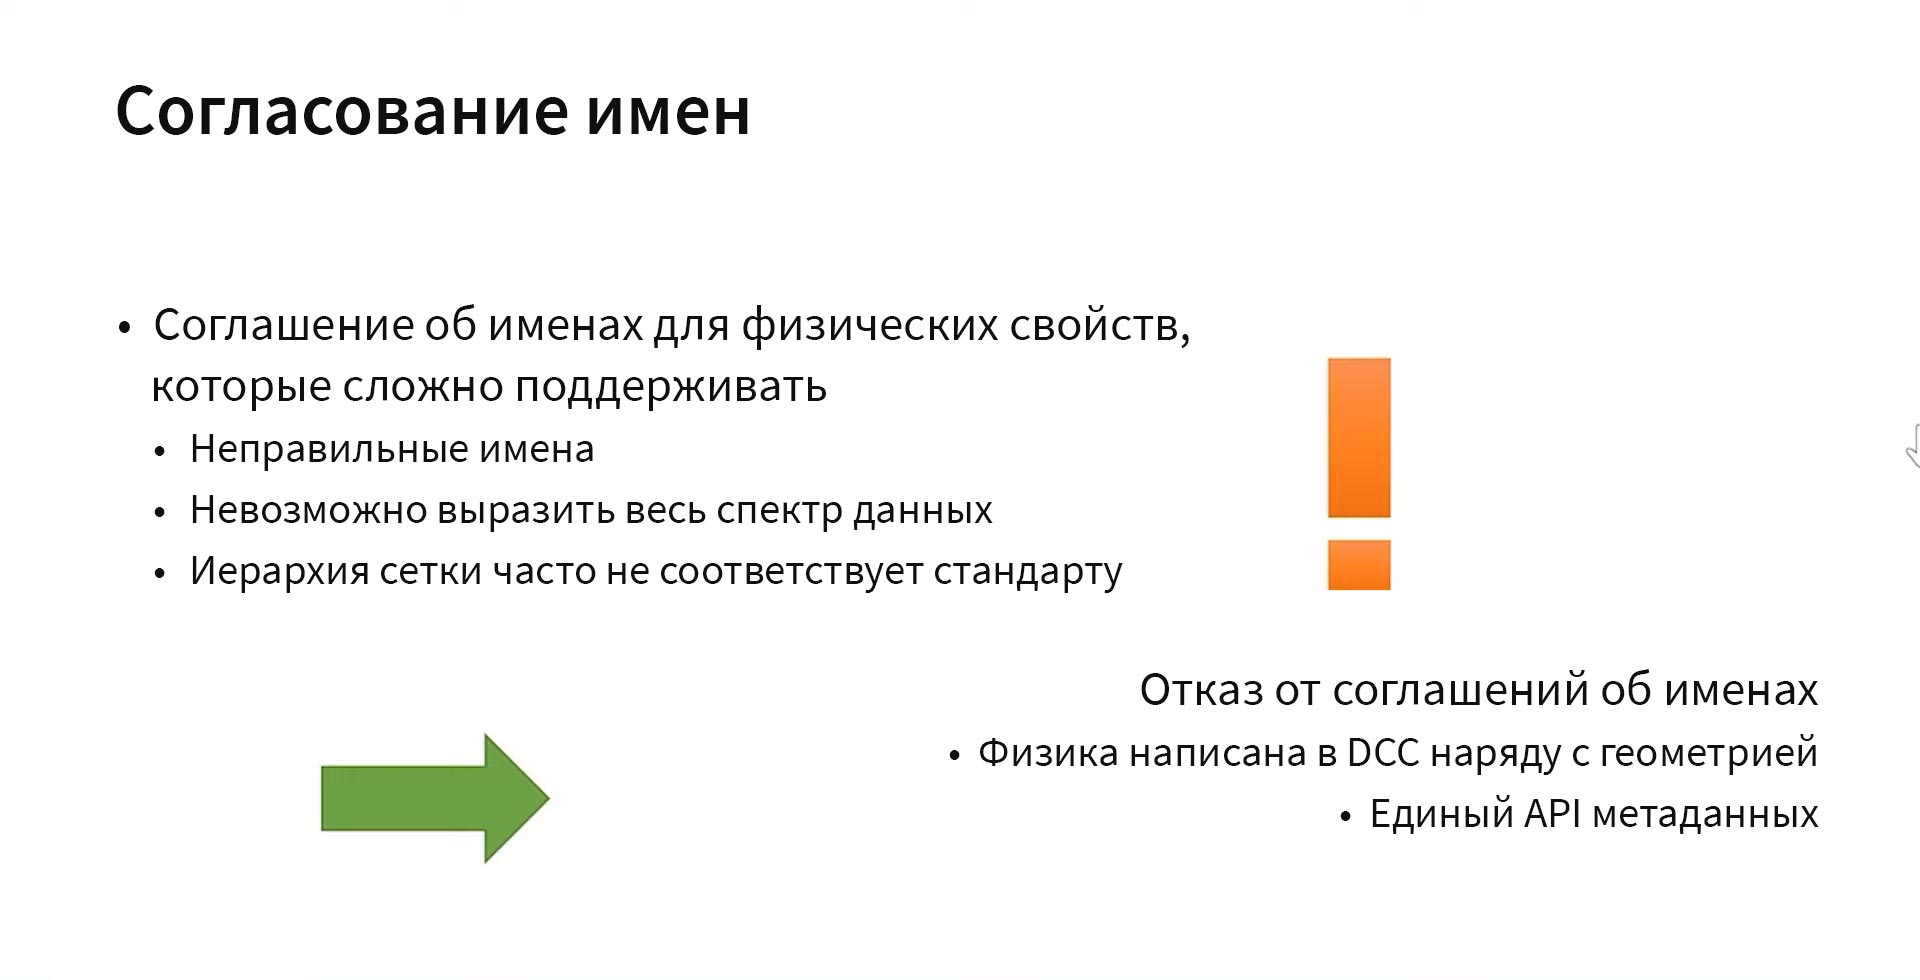
We are used to giving names to different things. But the problem is that these names may be incorrect. For example, in Control there are 17 different designations for the material "concrete", and this cannot be blamed on anyone, because there is always a human factor. Richter's advice is to drop the naming standard altogether. Better to just have a single metadata API. This way, no matter what tool the artists use to create the props, it is possible to export the data to the engine straight from there without any intermediate steps.
The next tutorial is mostly Houdini specific. The bottom line is that often, when starting work on something, you redo it many times in the process, make some add-ons, and you need to make sure that even after two years of work you can open the source file even though that the working tool could have already changed 20 times. This means that you need some kind of standardization to work with HDA. This is what Remedy is working on right now: to ensure that everything is correctly distributed, so that you never lose any version of the tool and always have the opportunity to repeat what you did in the past.
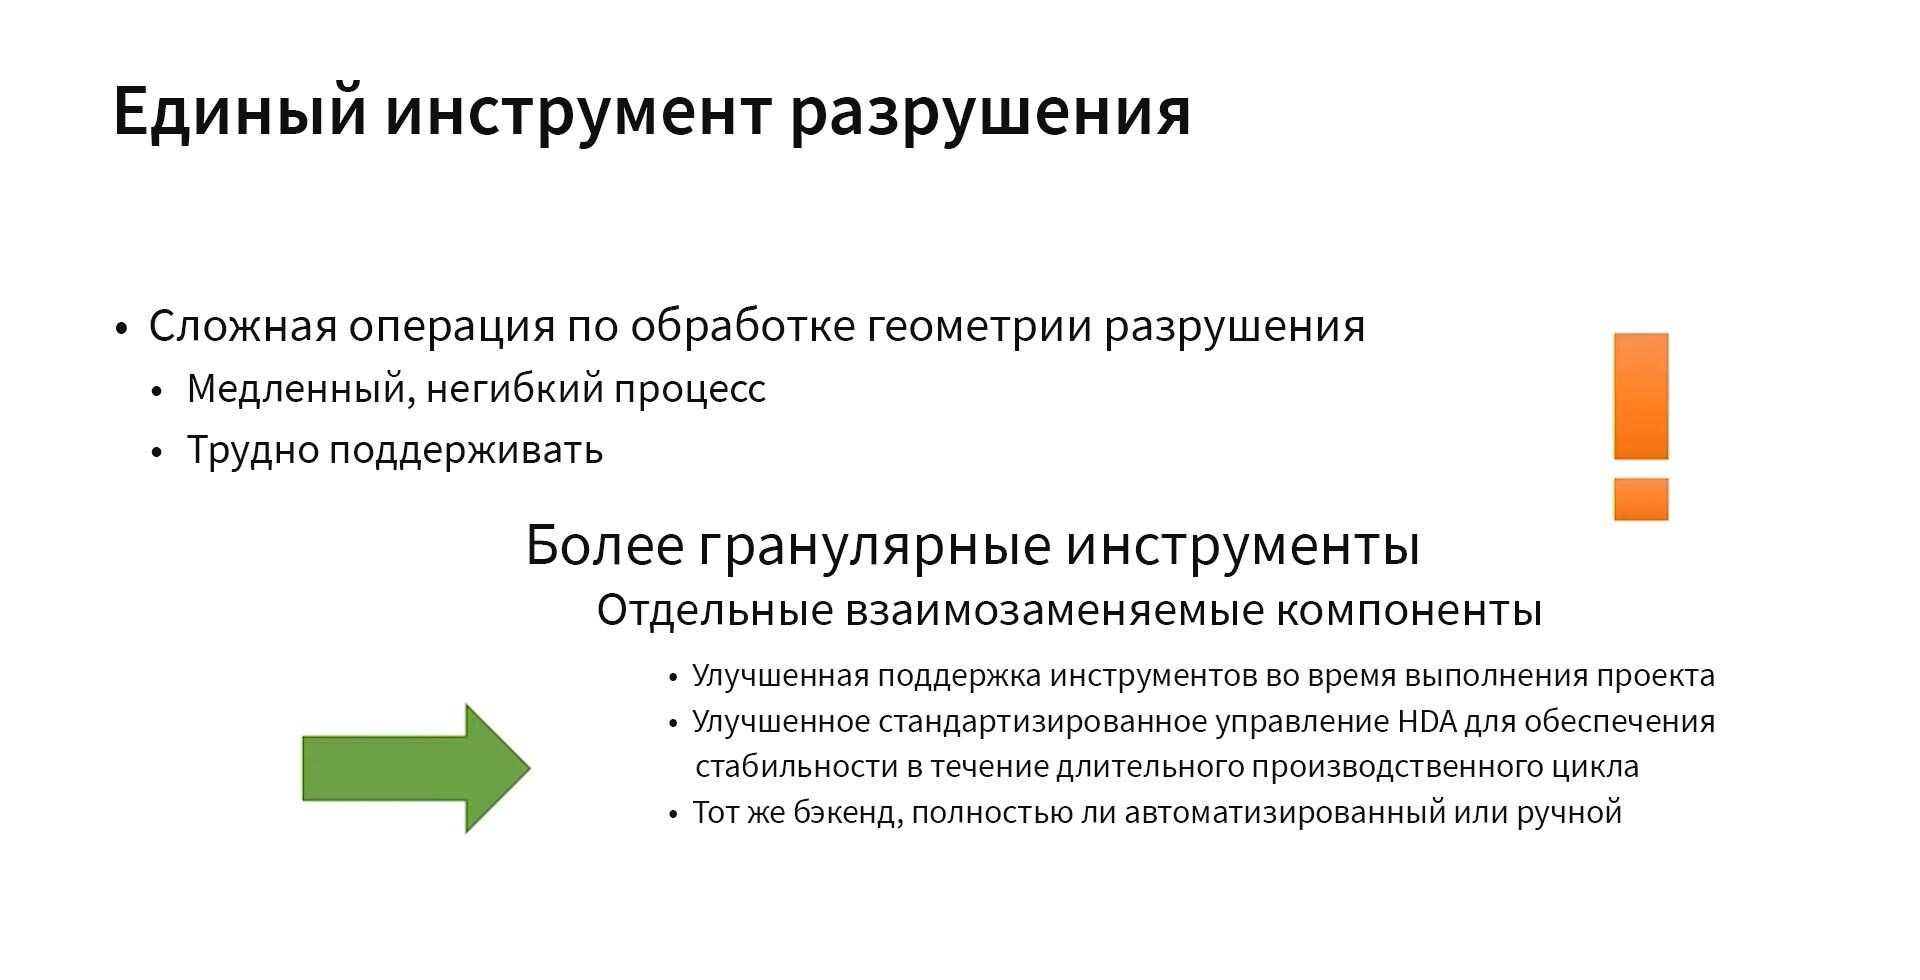
It is important to note here that when you create automated tools, you are in fact using the same software as if you were doing everything manually. And as long as they have the same backend, everything should be completely consistent.

Performance and testing are some of the most essential aspects of development.
Tests were not automated in Remedy initially. After adding new objects to the level, it was necessary to go through it manually to check that everything was working correctly. But then something changed in the engine, the backend changed, something was optimized, and after that re-testing was required. This is quite dangerous, because you will certainly forget to check something. In short, not the best way, leading to a potential accumulation of bugs.
The second aspect is performance testing. For a long time, Remedy did not measure any significant metrics like frame rate or compute time. Thus, performance problems were often discovered too late.
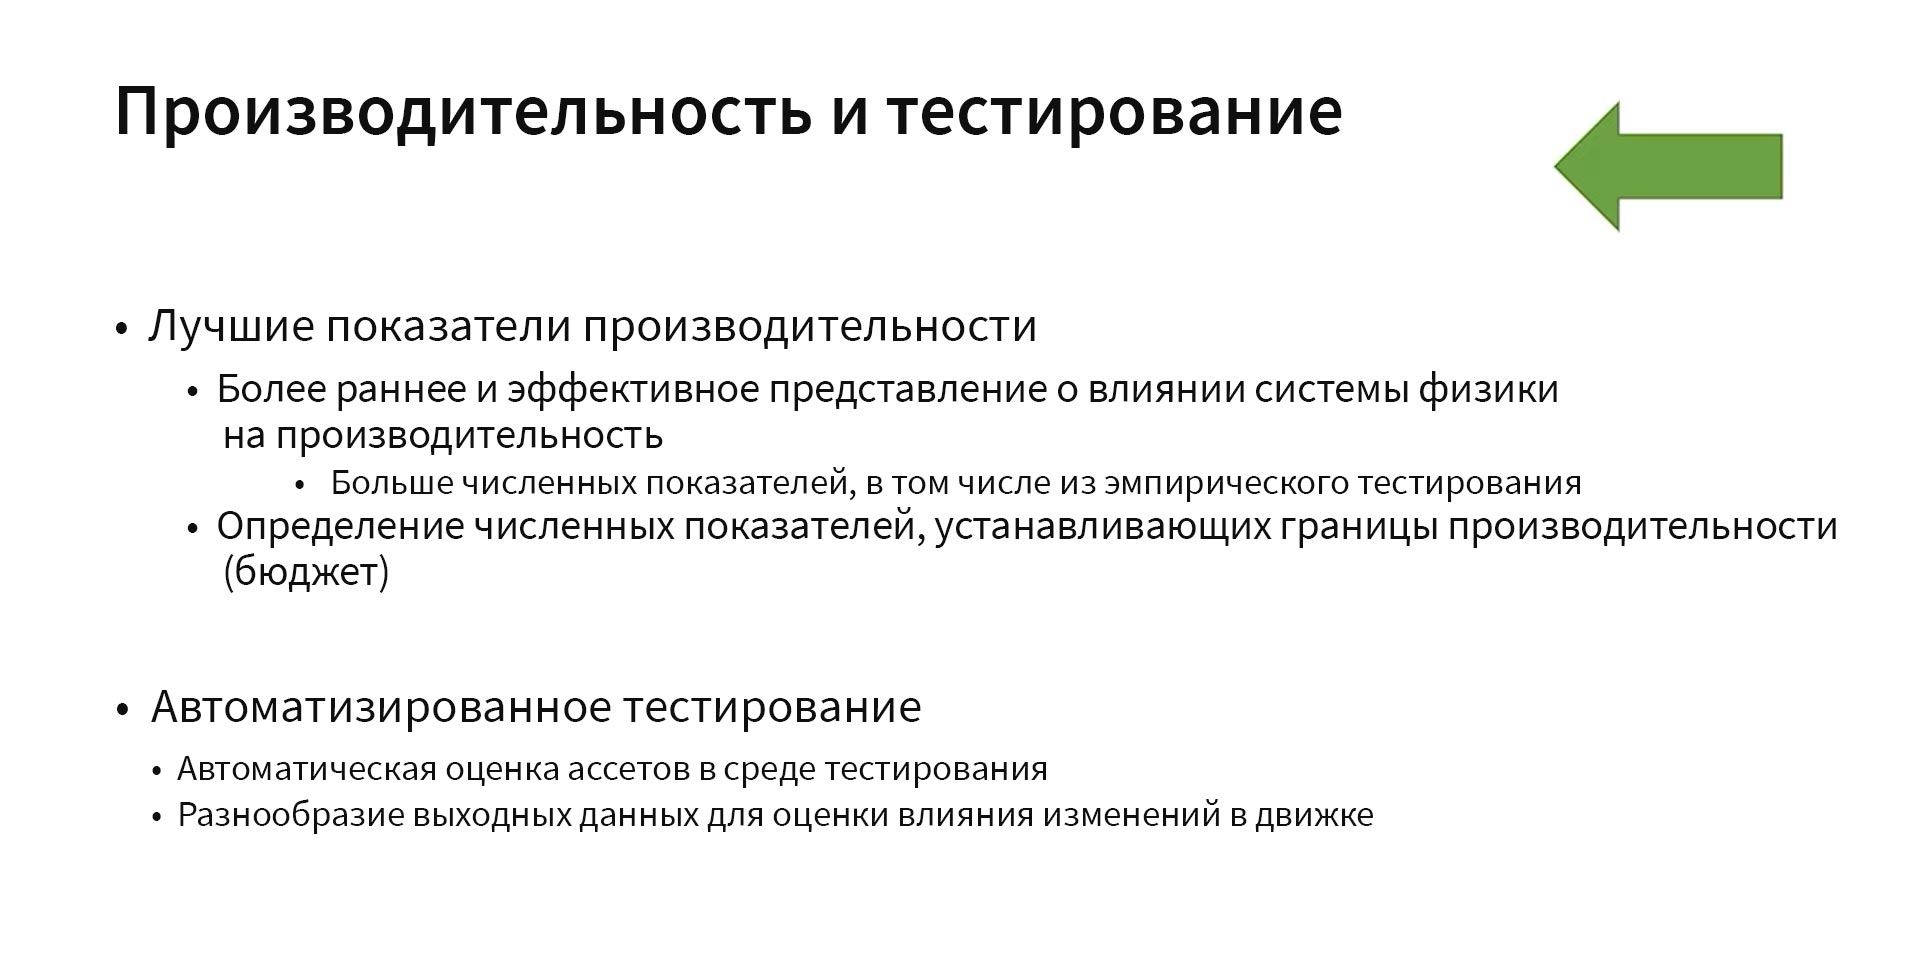
What can be done here is, first of all, to improve performance indicators. It is necessary to determine which parameters increase will affect the game better or worse, in order to rely on this when optimizing and determining a budget that cannot be exceeded.
In addition, automated testing can help you, within which you can also vary the output to better demonstrate the impact of changes in the engine.
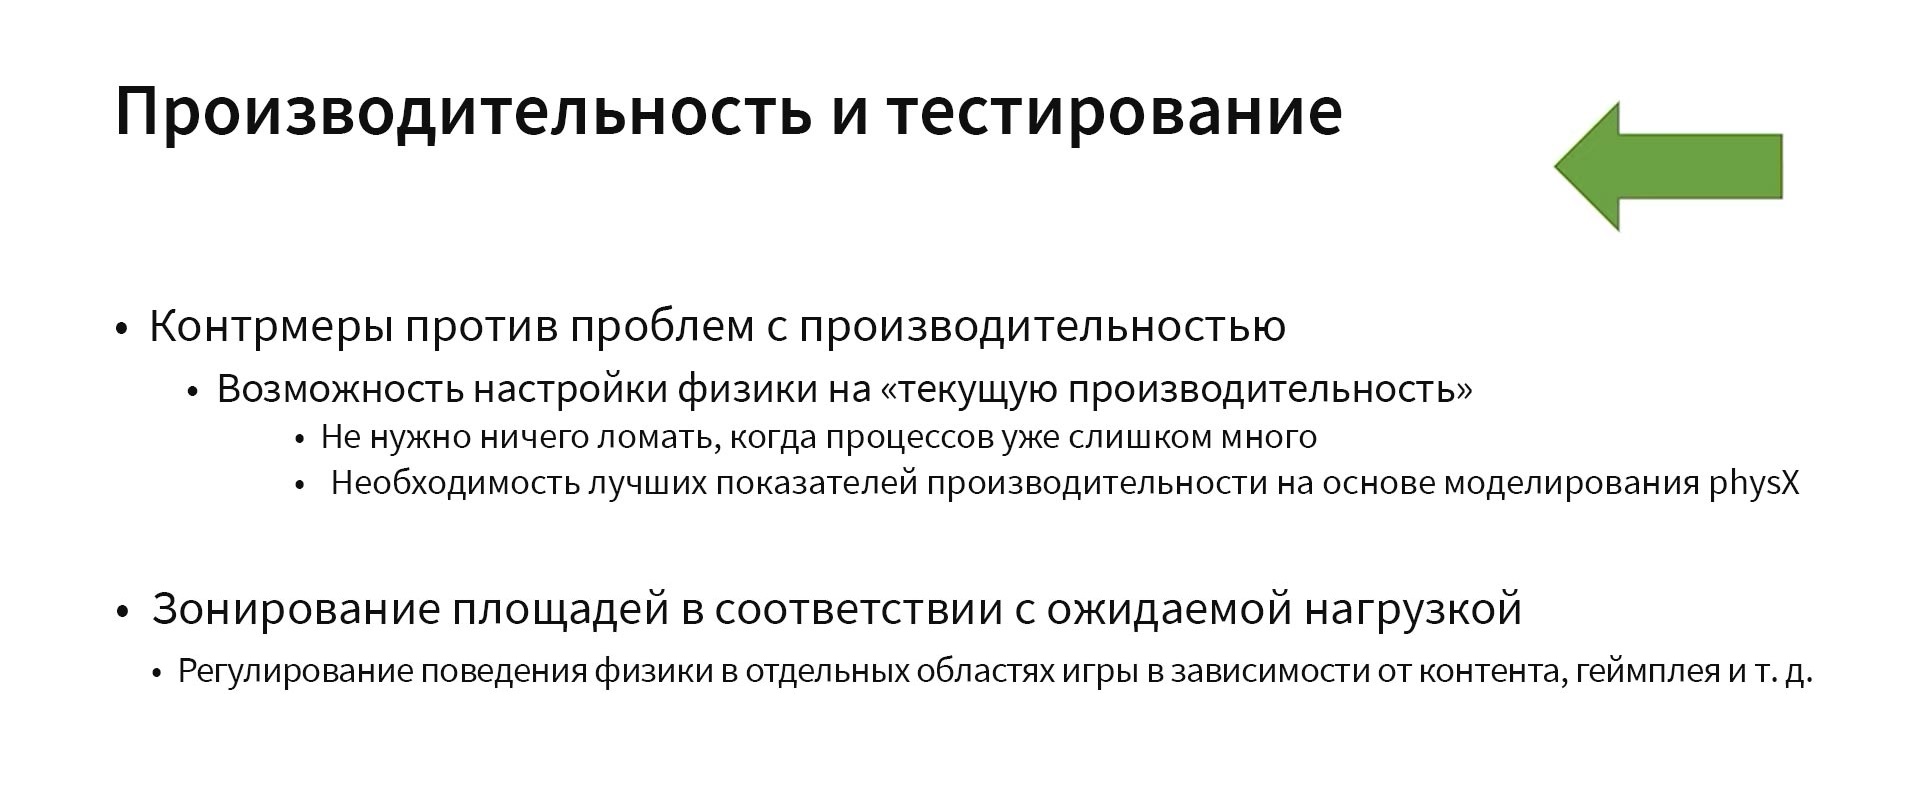
You can also identify and take action against performance degradation. For example, to make sure that during large-scale events, some objects bypass intermediate levels of destruction - say, from solids going directly to particles.
Another measure is the zoning of the area depending on the expected load. This idea is based on the fact that we can ourselves determine to which area to apply certain countermeasures in order not to apply them to all assets at the level when it is not necessary. For example, if soon enemies with grenades arrive in time for Jesse, obviously there will be too much destruction in the location, and during their attack, the process of generating destruction can be accelerated.
As a result, I would like to note that the Remedy team has done a monumental job, from which you can get a lot of ideas regarding the implementation and optimization of the system of procedural destruction of the environment.