
We recently published an article on VMware ESXi on Raspberry Pi. In early October, the developers announced a technical preview of the VMware ESXi hypervisor on the aarch64 architecture called ESXi-Arm-Fling.
We will not repeat the essence of that article, let's better remember the main conclusion - a hypervisor on the Raspberry Pi is needed in order to "test" the ESXi technology on ARM processors. But you can still have fun. If you have some free time, try to shake things up by playing Doom in VMware ESXi on a Raspberry Pi. See details on how to do this under the cut.
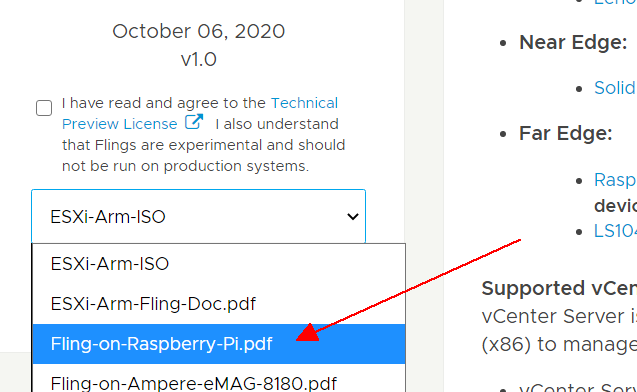
The main thing to do is to install ESXi on your Malinka. The installation process can be viewed on the Fling page. Download the package - at this link . Tip: Even if you are an advanced vSphere user / administrator, check the ESXi installation details.
Once everything is ready and you have access to the ESXi HTML5 interface, you can install an ARM-based virtual machine. One of the good options is Ubuntu 20.04.1 LTS .
Upload the .iso to the Datastore. As the latter, you can use an M.2-USB adapter. To get this opportunity, you must disable USB Arbitrator.
~ # /etc/init.d/usbarbitrator stop
~ # chkconfig usbarbitrator off
Then reboot ESXi and create Datastore using HTML5 interface. If you run into any problems at this stage, you should familiarize yourself with the installation details here .
Now is the time to create a virtual machine with the following characteristics:
- OS: Ubuntu Linux (64-bit)
- 2 vCPU
- 2 GB RAM
- CD Drive: Datastore ISO File (ubuntu-20.04.1-live-server-arm64.iso)
Everything else can be left as default. In addition, you should not fiddle with the settings of the SCSI or IDE controllers, because at one point the virtual machine may simply stop working normally. Just leave the default, SATA.
Once the virtual machine has started, the Ubuntu installation should begin. There should be no problems at this stage - just follow the instructions. After the installation is complete, login and install additional packages:
# sudo apt-get install libsdl-mixer1.2-dev libsdl-net1.2-dev gcc make unzip
Download and compile Chocolate Doom:
# wget wget www.chocolate-doom.org/downloads /2.2.1/chocolate-doom-2.2.1.tar.gz
# tar xzf chocolate-doom-2.2.1.tar.gz
# cd chocolate-doom-2.2.1 /
# ./configure make
# sudo make install
Now for a moment of revelation. Load the Doom WAD file. This is the original version of the game. If you need modified versions, you can search for them on the network, for the time that has passed since the release of the game, what has not been invented.
Doom is easy to modify - sound files, textures and all other resources are stored in separate folders. Overall, Doom was originally conceived as a customizable game that players can easily modify.
# wget www.doomworld.com/3ddownloads/ports/shareware_doom_iwad.zip
# unzip shareware_doom_iwad.zip It's
time to play!
# chocolate-doom -iwad DOOM1.WAD

But not very. This is the picture you get if you play over SSH. It is best, of course, to use the desktop version. Ubuntu Server does not have a desktop installed by default. If you need it, select tasksel, launch and select Ubuntu desktop.
# sudo apt-get install tasksel
# sudo tasksel

The installation will take some time. After completion, we reboot the system to automatically load the desktop version. Then everything is simple:
# cd chocolate-doom-2.2.1 /
# chocolate-doom -iwad DOOM1.WAD

