
Joomla is the third most popular (after Wordpress and Shopify) content management system written in PHP and uses relational databases as data storage.
Like many other CMS, Joomla is completely free to use and open source. The system of templates allows you to easily change the appearance of the site, and a huge catalog of extensions makes it just as easy to supplement the functionality of the site with the necessary modules.
Why we love Joomla
Here are 10 facts for which we love her ourselves.
- Free
The main thing for which we love Joomla and what helped it become so popular - Open Source
As an open source product, anyone can take its code and change it if necessary. This has led many developers to work specifically with Joomla.
- SEO Friendly
Joomla . apache-, , . , - - . .
-
-, . CMS «Joomla Security Strike Team», . , , . Joomla , .
-
Joomla . , , .
-
, ,
-
Joomla , : . : , .
-
: , .
-
Joomla - . , , CMS.
- Excellent Documentation
Detailed documentation for designers, developers and site administrators. There is a channel on youtube, where beginners are taught to quickly deploy a site.
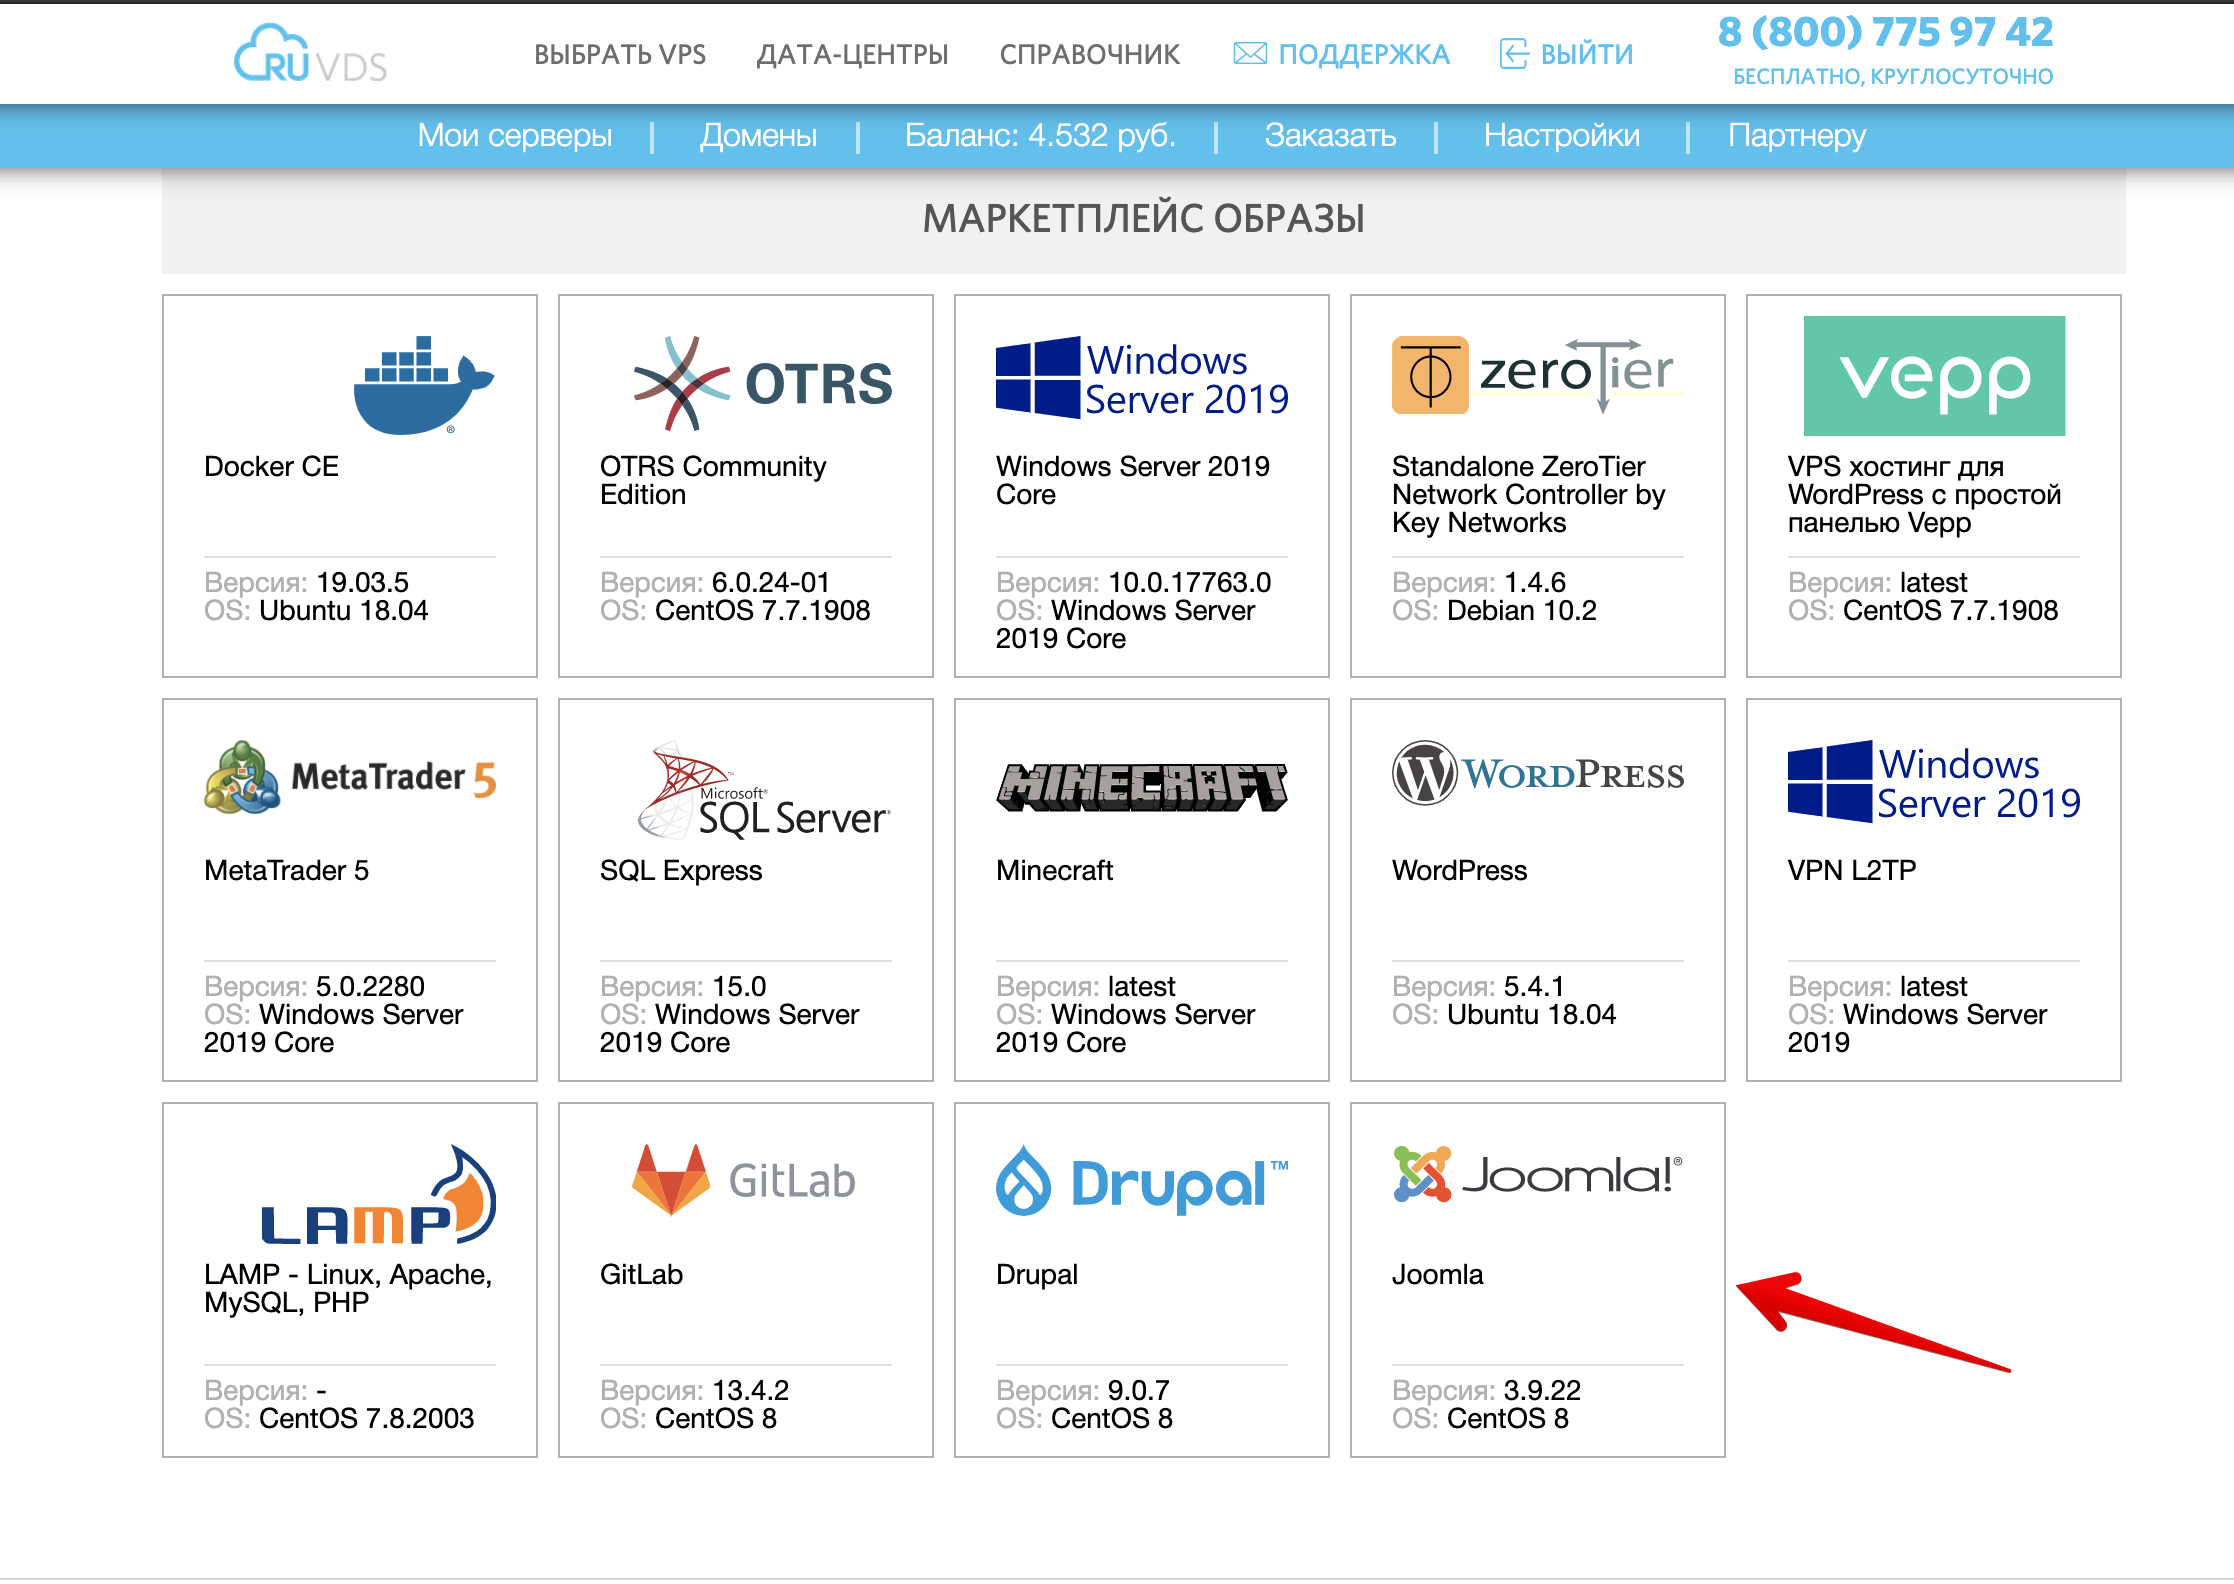
With such great love, we certainly could not leave our marketplace without Joomla and created a new image with it.
How We Build This Image: Server Requirements
It is recommended to use 2 GB of RAM and 2 CPU cores to use Joomla.
The main Joomla files are about 40 MB, in addition you will need space for storing images, database, themes, additional modules and backups, which will depend on the size of your site.
Joomla 3.9 requires a minimum PHP version of 5.3.10, but 7.3 or higher is recommended.
Joomla can use Apache, Nginx or IIS as a web server, and MySQL, MSSQL or PostgreSQL as a database.
We will be installing Joomla using Nginx and MySQL.
Installation
Let's update the installed packages to the latest version:
sudo dnf update -yLet's add a permanent permission for incoming traffic to
http/80and https/443ports:
sudo firewall-cmd --permanent --add-service=http
sudo firewall-cmd --permanent --add-service=https
Let's apply the new firewall rules:
sudo systemctl reload firewalldLet's start and enable the Nginx server:
sudo systemctl start nginx
sudo systemctl enable nginx
Install PHP, PHP-FPM, and required PHP modules:
sudo dnf install php-fpm php-cli php-mysqlnd php-json php-gd php-ldap php-odbc php-pdo php-opcache php-pear php-xml php-xmlrpc php-mbstring php-snmp php-soap php-zip -yInstall MySQL Server:
sudo dnf install mysql-server -yLet's turn on and start the MySQL server:
sudo systemctl start mysqld
sudo systemctl enable mysqld
Since we are making a template for VDS, and they can be slow, we will add a delay for starting mysqld of 30 seconds, otherwise there may be problems with starting the server at the initial boot of the system:
sudo sed -i '/Group=mysql/a \
ExecStartPre=/bin/sleep 30
' /usr/lib/systemd/system/mysqld.service
Let's change the group and user from under which nginx will work by making changes to
/etc/php-fpm.d/www.conf:
sudo sed -i --follow-symlinks 's/user = apache/user = nginx/g' /etc/php-fpm.d/www.conf
sudo sed -i --follow-symlinks 's/group = apache/group = nginx/g' /etc/php-fpm.d/www.conf
Let's change the owner of the PHP sessions directory to nginx accordingly:
sudo chown -R nginx. /var/lib/php/sessionRemove the lines with comments from the configuration file /etc/nginx/nginx.conf (so there are no double positives for sed):
sudo sed -i -e '/^[ \t]*#/d' /etc/nginx/nginx.confAdd
/etc/nginx/nginx.confgzip to the compression settings
sudo sed -i '/types_hash_max_size 2048;/a \
\
    gzip on;\
    gzip_static on;\
    gzip_types text/plain text/css application/json application/x-javascript text/xml application/xml application/xml+rss text/javascript application/javascript image/x-icon image/svg+xml application/x-font-ttf;\
    gzip_comp_level 9;\
    gzip_proxied any;\
    gzip_min_length 1000;\
    gzip_disable "msie6";\
    gzip_vary on; \
' /etc/nginx/nginx.conf
Add the settings for the index.php file to /etc/nginx/nginx.conf:
sudo sed -i '/        root         \/usr\/share\/nginx\/html;/a \
        index index.php index.html index.htm;\
' /etc/nginx/nginx.conf
Let's add settings for the default server processing php through the php-fpm socket, disable the log for static files, increase the expire time, disable the access and error log for favicon.ico and robots.txt and deny access to .ht files for everyone:
sudo sed -i '/        location \/ {/a \
		try_files $uri $uri/ /index.php?q=$uri&$args;\
        }\
    \
        location ~* ^.+.(js|css|png|jpg|jpeg|gif|ico|woff)$ {\
        access_log off;\
        expires max;\
        }\
    \
        location ~ \.php$ {\
        try_files  $uri =404;\
        fastcgi_pass   unix:/run/php-fpm/www.sock;\
        fastcgi_index index.php;\
        include fastcgi_params;\
        fastcgi_intercept_errors on;\
        fastcgi_ignore_client_abort off;\
        fastcgi_connect_timeout 60;\
        fastcgi_send_timeout 180;\
        fastcgi_read_timeout 180;\
        fastcgi_buffer_size 128k;\
        fastcgi_buffers 4 256k;\
        fastcgi_busy_buffers_size 256k;\
        fastcgi_temp_file_write_size 256k;\
        }\
    \
        location = /favicon.ico {\
        log_not_found off;\
        access_log off;\
        }\
    \
        location = /robots.txt {\
        allow all;\
        log_not_found off;\
        access_log off;\
        }\
    \
        location ~ /\.ht {\
        deny all;' /etc/nginx/nginx.conf
Install wget required to install certbot:
sudo dnf install wget -yDownload the certbot executable file from offsite:
cd ~
wget https://dl.eff.org/certbot-auto
Move certbot to / usr / local / bin /:
mv certbot-auto /usr/local/bin/certbot-autoAnd assign the rights and owner to root:
chown root /usr/local/bin/certbot-auto
chmod 0755 /usr/local/bin/certbot-auto
Let's install the dependencies of certbot and interrupt it at this stage (Answers: Y, c):
certbot-autoDownload the archive with Joomla_3-9-22-Stable-Full_Package from offsite
cd ~
wget https://downloads.joomla.org/cms/joomla3/3-9-22/Joomla_3-9-22-Stable-Full_Package.tar.gz?format=gz
Install tar to unpack the archive
sudo dnf install tar -yUnpack the files to the web server directory
tar xf Joomla_3-9-22-Stable-Full_Package.tar.gz\?format\=gz -C /usr/share/nginx/html/Delete the archive
rm -f Joomla_3-9-22-Stable-Full_Package.tar.gz\?format\=gzSet nginx files owner
sudo chown -R nginx. /usr/share/nginx/htmlDisable output buffering according to Joomla recommendation
sudo sed -i --follow-symlinks 's/output_buffering = 4096/output_buffering = Off/g' /etc/php.iniAt this stage, we will turn off the server and take a snapshot:
shutdown -h nowAfter starting VDS from a snapshot, we will perform the initial configuration of the MySQL server by running the script:
mysql_secure_installationLet's turn on the password validator:
Would you like to setup VALIDATE PASSWORD component? : yLet's set the MySQL root password:
New password:
Re-enter new password:
Let's remove anonymous users:
Remove anonymous users? (Press y|Y for Yes, any other key for No) : yProhibit remote root connections:
Disallow root login remotely? (Press y|Y for Yes, any other key for No) : yLet's delete the test database:
Remove test database and access to it? (Press y|Y for Yes, any other key for No) : yReload the privilege tables:
Reload privilege tables now? (Press y|Y for Yes, any other key for No) : yAfter that, to complete the installation, we can go to the address vps_ip_address
At this address, we will see the page with the Joomla installation.
We will indicate the name of the site, we will set the email, login and password of the Joomla administrator. Click "Next".
On the second page, we will specify the root database username and the password that we set when starting mysql_secure_installation.
Let's set a name for the database, for example joomla. Click " Next ".
On the third page, we can choose to install demo data to get acquainted with the capabilities of the CMS or choose an empty site by default, after choosing, we will click " Install ".
To install the Russian language, you need to click " Install language packs"- Russian, and after installation, install in the default language.
To complete the installation, click" Delete directory "to delete the files used for installation.
After that, you can go to the control panel with the created username and password of the Joomla administrator.
CONFIGURE HTTPS (OPTIONAL)
To configure HTTPS, the VDS must have a valid DNS name, specify
the server name in /etc/nginx/nginx.conf in the server section (for example):
server_name domainname.ru;Restart nginx:
service nginx restartLet's run certbot:
sudo /usr/local/bin/certbot-auto --nginxEnter your e-mail, agree to the terms of service ( A ), Subscribe to the newsletter (optional) ( N ), select the domain names for which you need to issue a certificate ( Enter for everyone).
If everything went smoothly, we will see a message about the successful issuance of certificates and server configuration:
Congratulations! You have successfully enabled ...After that, connections on port 80 will be redirected to 443 (https).
Add to / etc / crontab to automatically renew certificates:
# Cert Renewal
30 2 * * * root /usr/local/bin/certbot-auto renew --post-hook "nginx -s reload"
For business owners: offer your software
If you are a software developer that is deployed and used on a VPS, then we can include you in the marketplace. This is how we can help you bring in new customers, traffic and recognition. Write to us
Just offer us an image in the comments
Write, what software would you like to be able to deploy virtual machines with in one click?
What are you missing in the RUVDS marketplace?
What every self-respecting hosting should definitely include in their marketplace?