These days, we live among a large amount of information, as well as the tasks that we perform on a daily basis. Mail, notes, events, documents, goals, orders. It is very easy to get confused and lost in all this if you do not build a convenient workplace or a certain area where all information will be correctly placed for further daily use. So why not create a single hub that will display all the data you need to work?

Just this problem is solved by a new service called Project Moca, which is located inside the Outlook for the Web service and is designed to organize a workplace, providing the ability to customize personal workspaces, with widgets that are necessary for a particular user to work. Let's take a closer look at this service?
Enabling Project Moca Preview in Microsoft 365 tenant
At the time this service leaves the preview stage, this section will no longer be relevant, but at the moment it will be more useful than ever. So, in order to activate Project Moca in the Microsoft 365 tenant, you need to start PowerShell and run three cmdlets in sequence:
Import-Module ExchangeOnlineManagement
Connect-ExchangeOnline
Set-OwaMailboxPolicy OwaMailboxPolicy-Default -ProjectMocaEnabled $ true
The first cmdlet will load the library needed to interact with Exchange Online, in case it hasn't been loaded yet.
The second cmdlet will connect to Exchange Online. You will need to enter the account and password of a user with administrator rights.
The third cmdlet will add support for the Project Moca service to the OwaMailboxPolicy-Default base policy.
After all the cmdlets have completed successfully, you must wait. It may take a while for Project Moca to activate. It took me about a couple of hours.
How to check if a new service is activated?
To do this, you can go to outlook.office.com and take a look at the bottom action bar. A new button should appear among the buttons to go to Project Moca:
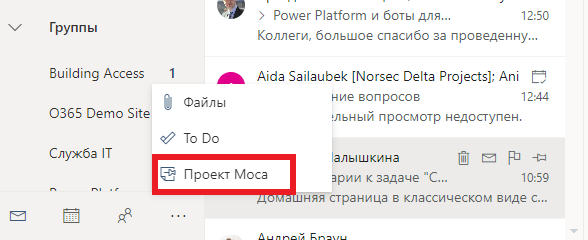
Also, access can be checked by clicking on the direct link outlook.office.com/spaces . If the message "Under construction" appears, it means you still need to wait - the activation process is in progress.
Creating workspaces
After Project Moca is activated, we are greeted by the main page, on which you can create a new area or go to an existing one, if one already exists:
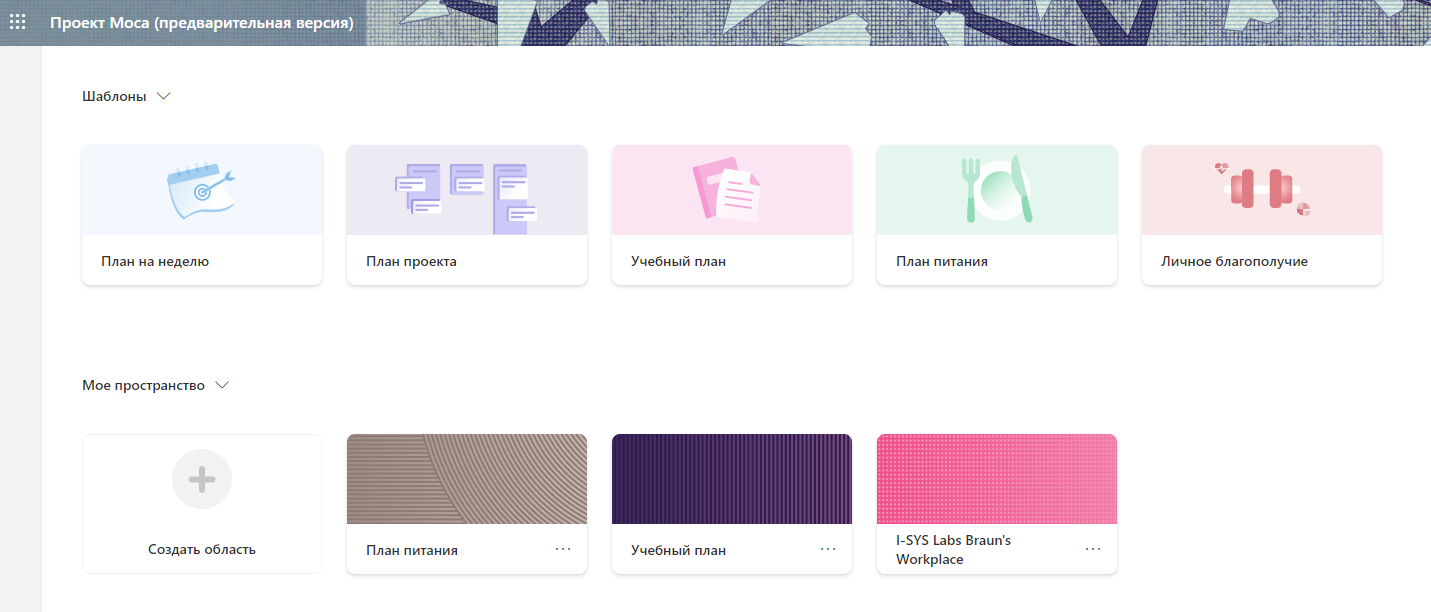
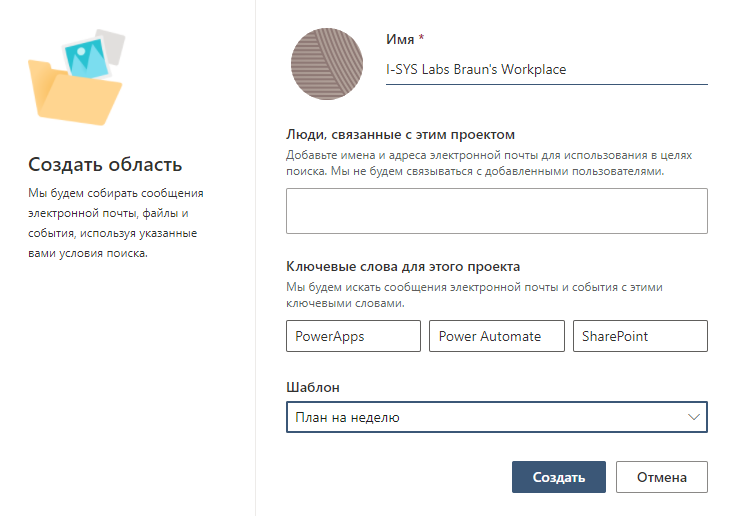
When creating a new area, you must specify a name, add people with whom this area will also be associated, specify keywords to search for emails and events, and select a template. There are 5 basic templates available, in addition to the empty one:
- Project for a week
- Project plan
- Academic plan
- Meal plan
- Personal well-being
Templates are responsible only for the basic arrangement of widgets on the workspace, the choice of each of the templates does not carry any radical changes, so you can safely choose any of them, or opt for an empty template.
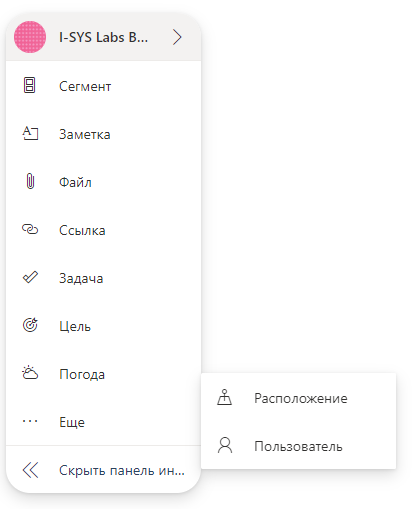
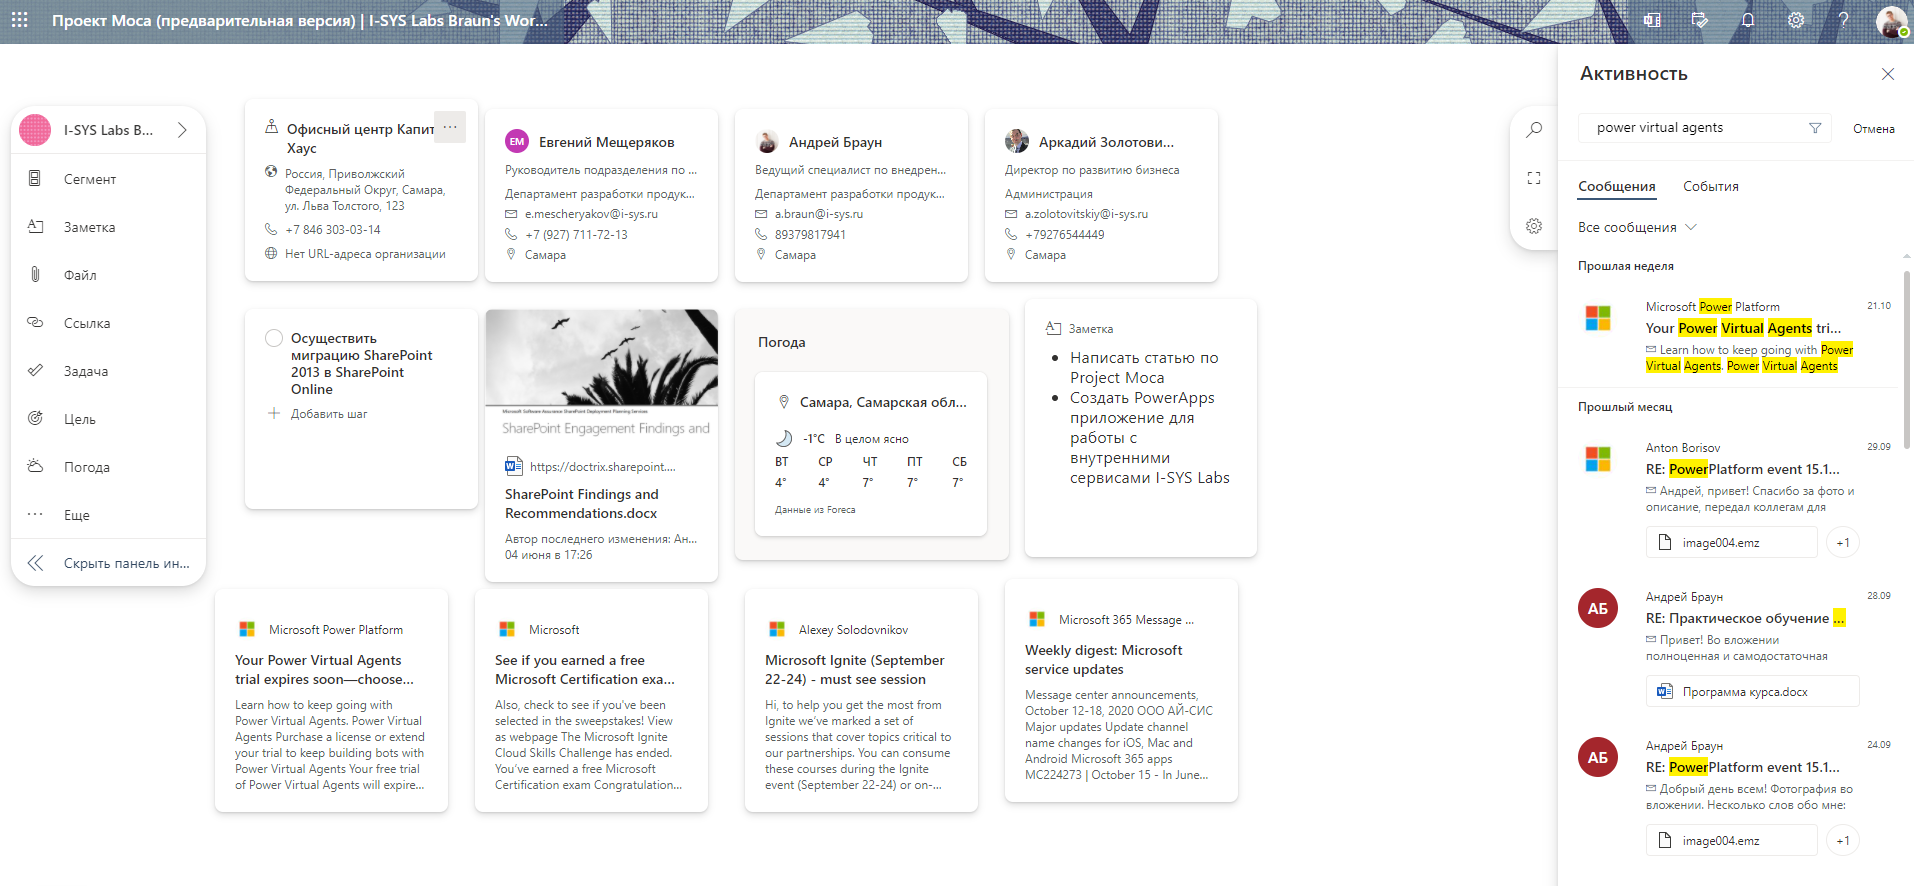
After creating the area, we are transferred to the working board, where we can already "create", namely, create our workplace from the available widgets. The following widgets are currently available:
- Segment is a section in which you can place several widgets.
- The note.
- File.
- Link.
- Task.
- Goal.
- Weather - data from the Foreca service is used.
- Location - a card of an organization or institution with contact information.
- User - contact card.
Placement of Outlook objects is also available. It supports searching and adding letters and events as widgets that are found in your mailbox by keywords:
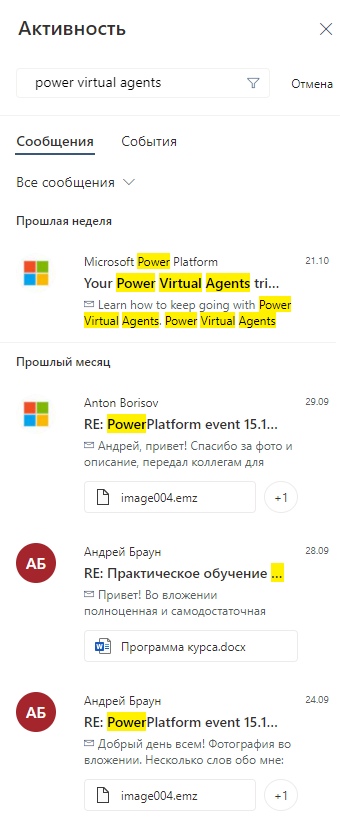
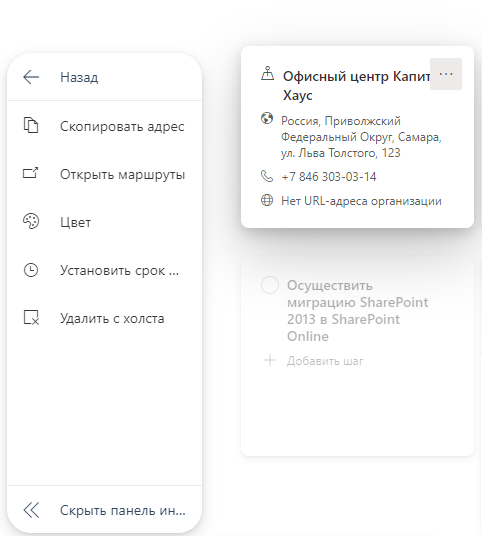
Each object on the workspace can be moved, resized, colored, added due dates and many other settings for each of the added widgets:
As a result, you can create a desktop with sections directly for your purposes by adding and configuring the available "out of the box" widgets, as I did for myself:
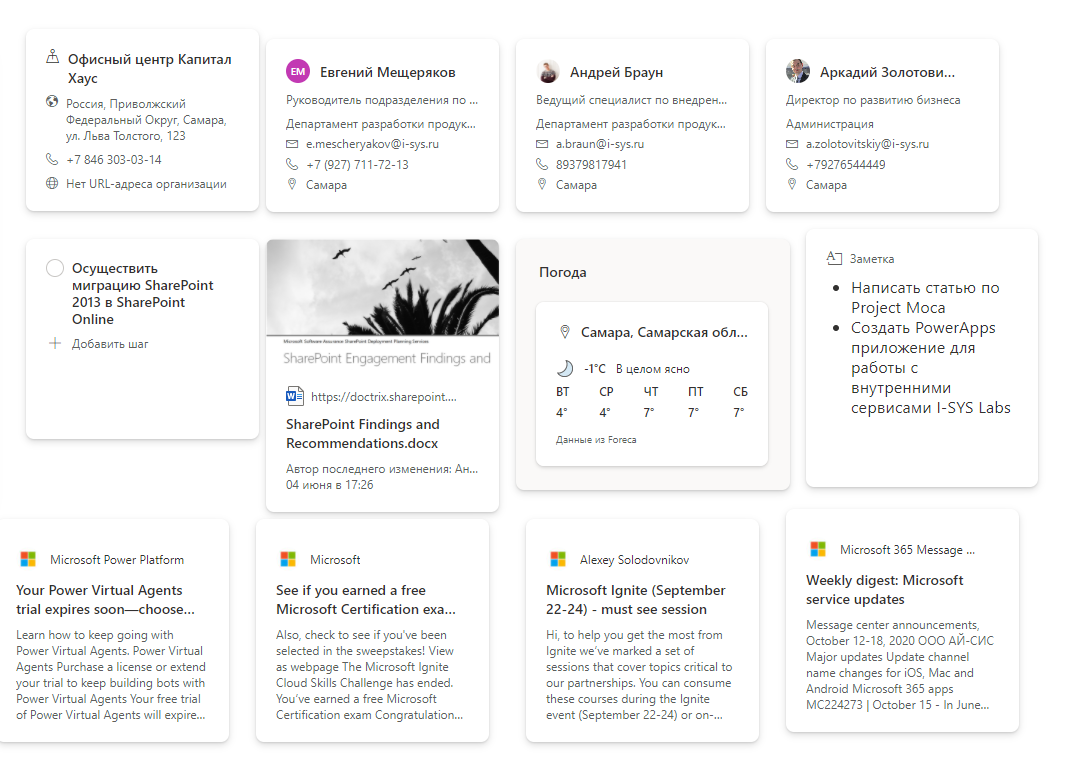
A little closer, focus on widgets:
Some options for ready-made Project Moca workspace templates:
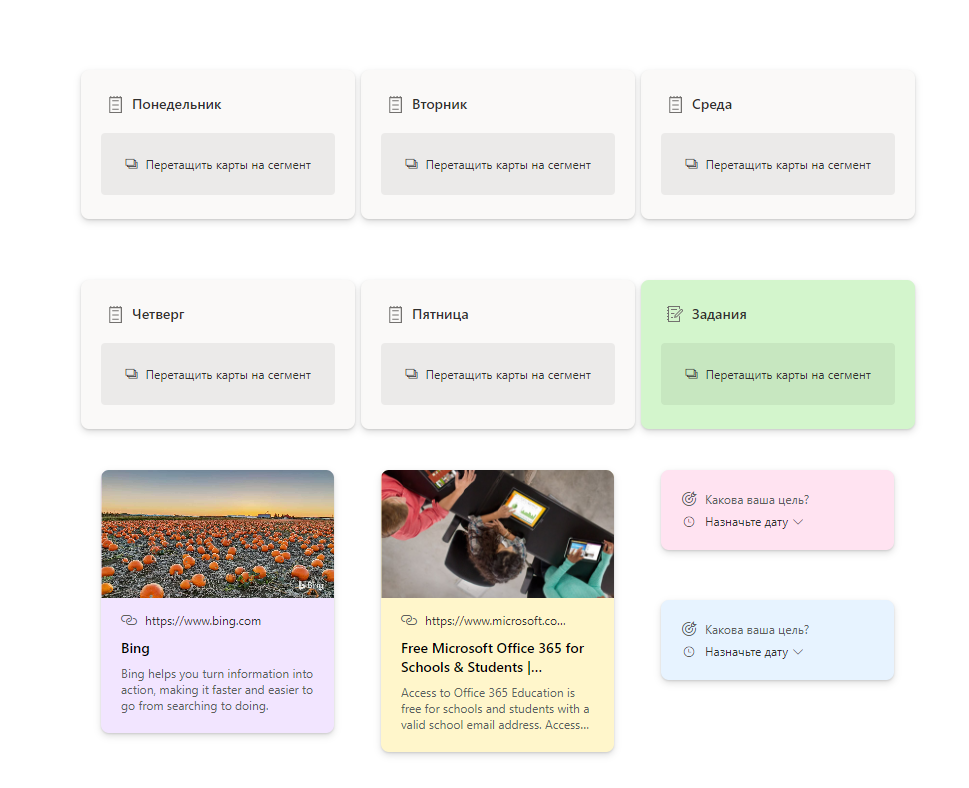
Or another template like this:
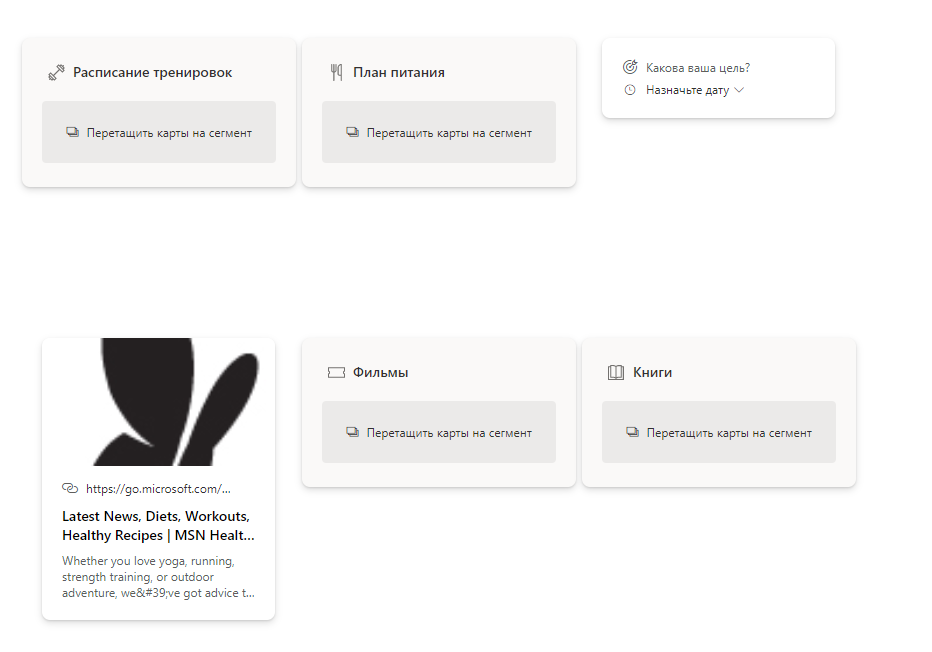
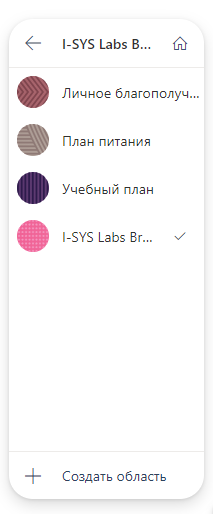
Each user can create several areas for himself and switch between them in real time, thereby moving to the desired widgets that have been configured within each of the areas:
Of course, since this service is in the Preview stage, many features are not yet available. For example, I would really like to integrate with Planner and Lists. I think it would be convenient to add apps and Power BI reports to the PowerApps board. And, I am sure that each of us will come up with a lot of widgets that would be convenient for him personally for working in Project Moca. It seems to me that sooner or later all this will appear, but already at the preliminary stage, Project Moca offers very interesting opportunities for organizing an employee's workplace and provides for this the minimum necessary set of widgets in order to structure the data with which work takes place every day and display them in a convenient form on a separate page that you can add to your browser bookmarks or on a separate tab of the Microsoft Teams team.I will follow with interest the development of the capabilities of this service, and also look forward to its exit from the Preview stage. In the next articles we will see even more possibilities of various Microsoft 365 services. Try activating Project Moca in your tenant and see what it is like. Have a nice day everyone!