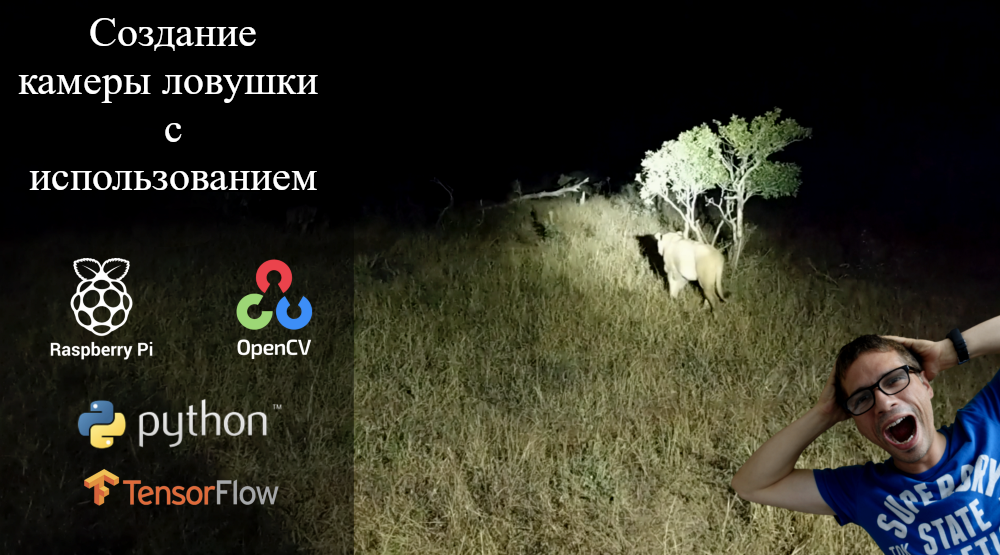
I strongly believe in learning through practice, through creating something new. And in order to create something, you need to make your work enjoyable.
I will begin my story about my new project by revealing the reasons why I decided to try to create a trap camera based on the Raspberry Pi.
I live in London and my garden is frequented by local wildlife. This happens so often that I, an avid gardener, gradually began to get upset. Broken pots, plants dug out of the ground, fruits and vegetables eaten ...
I saw in my garden little foxes (they are just lovely), big foxes, cats (not mine), birds. And once I was even visited by a sparrowhawk.
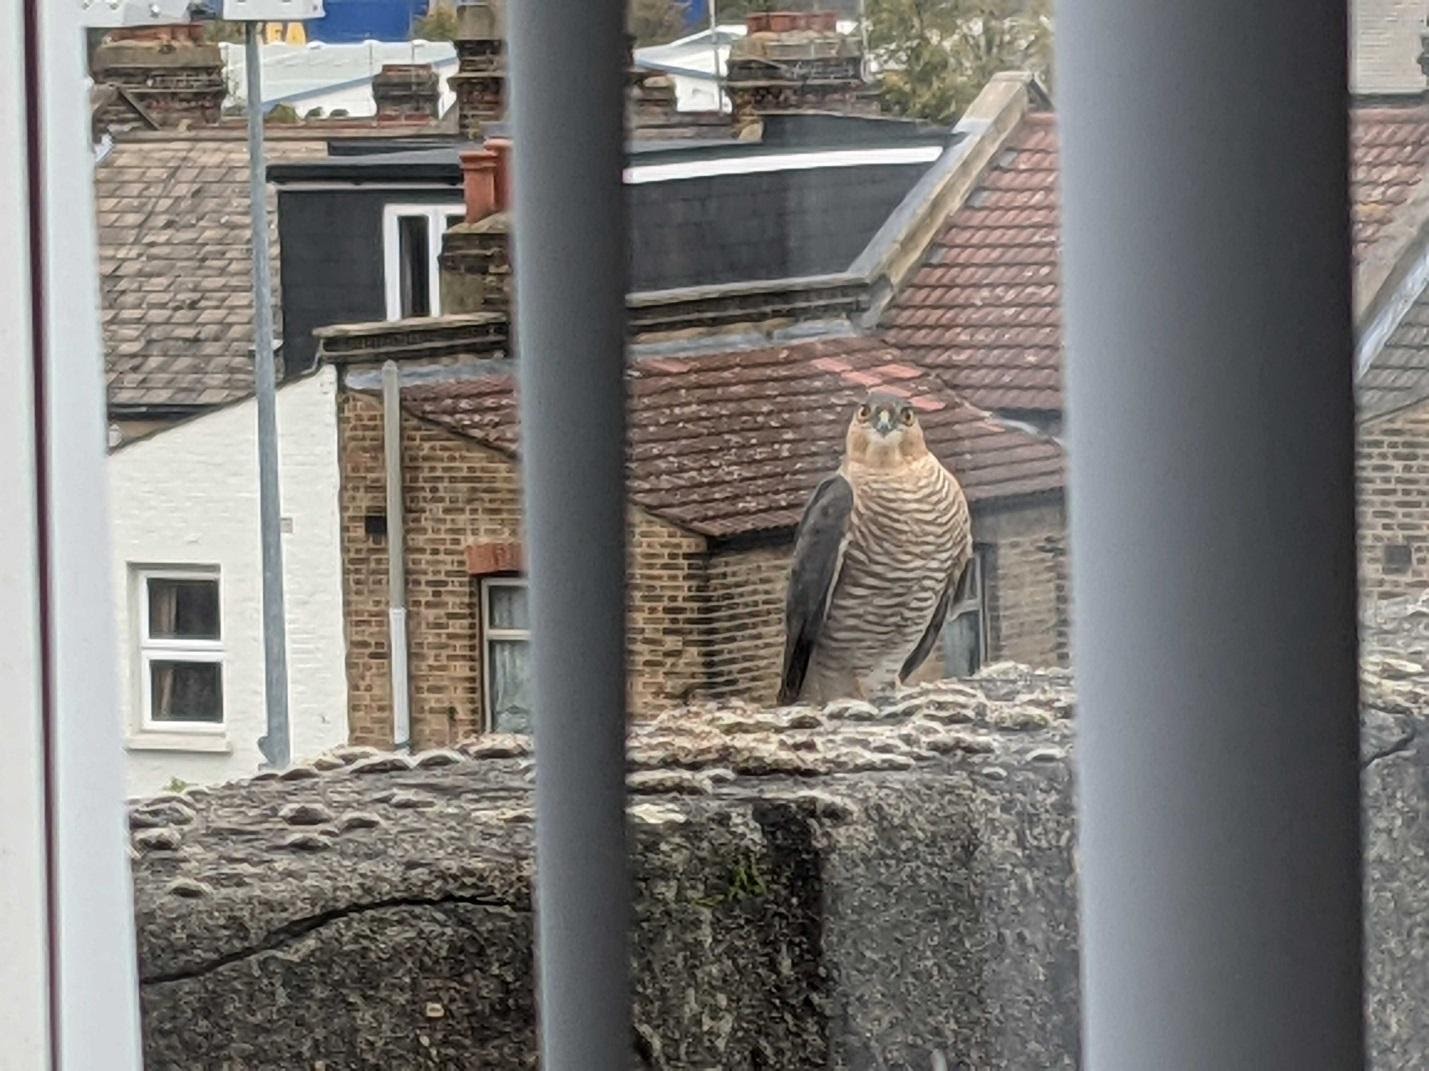
Who else will crawl into my garden under cover of night?

Seeing the animal in this image is not easy.
What other reasons do I need to create a camera trap based on the Raspberry Pi, Python, TensorFlow, and whatever? And my camera should be very good.
Someone may say that you don't need to make such a camera yourself, that you can buy a ready-made one that will perfectly cope with the task of observing wild animals.
It's a sound idea, but it won't be half as interesting.
Camera Modules for Raspberry Pi
I started by researching what types of cameras can be connected to a Raspberry Pi single board computer.
The most popular similar cameras are those that connect directly to the Raspberry Pi using the MIPI connector. The advantage of this type of camera is that data is transferred very quickly between the camera and the board. There is also an easy-to-use API for working with the camera.
I tried this API and found out that it has many useful functions that allow you to record video and take pictures while recording. This allows me to simultaneously detect motion and record video using simple and straightforward tools.
There are three kinds of camera module for Raspberry Pi... Below is an abbreviated version of the table with the characteristics of such modules.
| Camera Module v1 | Camera Module v2 | Hq camera | |
| Net price | $ 25 | $ 25 | $ 50 |
| The size | About 25 × 24 × 9mm | 38 x 38 x 18.4 mm (excluding optics) | |
| The weight | 3 g | 3 g | |
| Image resolution | 5 M | 8 M | 12.3 M |
| Video modes | 1080p30, 720p60 and 640x480p60 / 90 | 1080p30, 720p60 and 640x480p60 / 90 | 1080p30, 720p60 and 640x480p60 / 90 |
| Linux Integration | V4L2 driver | V4L2 driver | V4L2 driver |
| C-API | OpenMAX IL and others | OpenMAX IL and others | |
| Sensor | OmniVision OV5647 | Sony IMX219 | Sony IMX477 |
| Sensor resolution | 2592 × 1944 pixels | 3280 × 2464 pixels | 4056 x 3040 pixels |
| Sensor working area size | 3.76 x 2.74 mm | 3.68 x 2.76 mm (4.6 mm diagonal) | 6.287 x 4.712 mm (7.9 mm diagonal) |
This table lists the official camera modules, but you can find third party cameras that will work with the Raspberry Pi. The camera modules are used to process data from the GPU Raspberry Pi sensor.
Since when using the camera module, the Raspberry Pi itself is engaged in image processing, it turns out that the choice of camera sensors is very limited. Each sensor has its own API, so supporting different types of sensors is not an easy task.
Video recording in low light conditions
I am going to create a trap camera for observing wild animals. Therefore, its capabilities should be sufficient for both daytime and nighttime work. That is, it must have a sensor capable of recording video in low light conditions. It is highly desirable that it would reproduce the real color of the objects being shot. In poor lighting conditions, Camera Module v1 and v2 do not work very well. In order for them to be able to remove something in such conditions, you need to use IR illumination and remove the IR filter from them. The procedure for preparing the camera for shooting in low light conditions depends on the specific camera model. But here there is another problem, which is that the resulting images have a pink tint. When using such cameras, you need a mechanism thatwhich activates the IR filter when shooting during the day and removes this filter when shooting at night.

Image from a Raspberry Pi camera taken during the day in poor light conditions
But there is a new camera for the Raspberry Pi, which in the table is designated as HQ Camera. However, I am not quite sure about its "night" capabilities. It is based on the Sony IMX477 sensor, which in poor lighting conditions can be expected to obtain a better image than previous generations of cameras can produce. Whether this sensor can produce the correct color image in the dark, I'm still going to find out. But my preliminary research on the cameras regarding their specifications suggests that it is unlikely to be capable of that.
Sony Starvis is a great camera sensor
Sony has a special family of camera sensors used primarily for video surveillance. This is Sony Starvis. These sensors are highly advanced devices capable of delivering high quality color images in low light conditions at as little as 0.001 lux. Lux (lx) is a unit for measuring illumination.
In order to make it clearer, I will give a few examples. Almost complete darkness is 0.0001 lux. Namely: there is no sunlight, no light of the moon and stars, the sky is overcast, there are no artificial sources of illumination. I am not aware of any camera sensors capable of filming in complete darkness.
But if the sky is clear, then the stars give an illumination of 0.002 lux. Although it is still very dark in these conditions, the Sony Starvis sensor is capable of shooting in half this light. To me, this is just amazing.
Here is a page from Wikipedia where more examples can be found.
Hopefully I was able to convey to you the idea that the Sony Starvis is the perfect sensor for a trap camera.
The main disadvantage of this sensor is that there are no cameras for the Raspberry Pi in which it is used. But if I came across a USB camera or IP camera with such a sensor, I would think of something and connect it to the Raspberry Pi.
As a matter of fact, I found such a camera.
I didn't want to invest too much in this project, so I bought a suitable IP camera from Sony Starvis on Aliexpress. This purchase cost me, if I remember correctly, £ 20.
Comparing a camera for Raspberry Pi and this camera is like comparing day and night. And I am not exaggerating at all. Look for yourself.
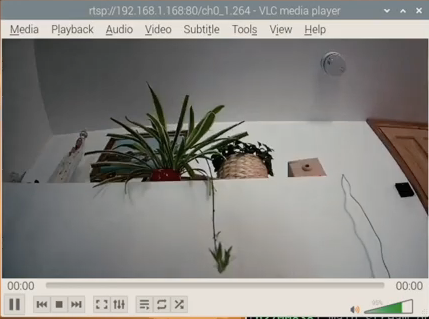
Camera with Sony Starvis IMX307 sensor, shooting in a dark room

Raspberry Pi v2 camera - the same room, but a different point of view
For the trap camera and for the CCTV camera, it is very important to be able to make high-quality recordings in poor lighting conditions.
Some might argue that recording color video in poor lighting conditions is not so important that you can get by with a simple IR camera. But I cannot use IR illumination as I am going to place the camera indoors and point it at the garden through the window. And if you direct the IR source at the glass, the glass will behave like a mirror and the camera will go blind.
If we talk about cameras for the Raspberry Pi, then they are well suited for some simple projects or for learning something new. But if you are engaged in some at least half-serious project, then you just need to use better quality cameras.
Using a USB camera (or even an IP camera) opens up completely new possibilities. In addition, if you also have a regular camera for the Raspberry Pi, you can use it for some artificial intelligence experiments.
Installing and Configuring a Camera for Raspberry Pi
Let's take care of connecting the Camera Module v2 to the board. It's actually very simple.
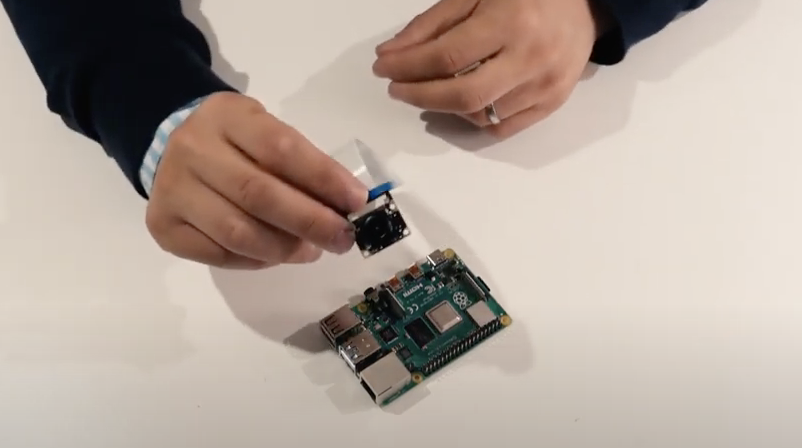
Camera Module v2
The camera has a blue and white cable. It needs to be connected to the board's CSI connector. The blue side of the ribbon should be towards the back of the board.
I used a 3D printed camera body. I found the corresponding files on Thingiverse. But a suitable case, quite inexpensive, can be found, for example, on Amazon.
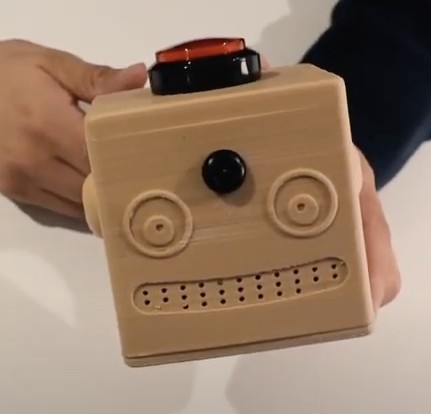
Camera housing
Now it's time to turn on the camera.
After turning on the Raspberry Pi, you need to open a terminal window.

Terminal
Then you need to execute the following command:
$ sudo apt update
And then - this:
$ sudo apt full upgrade
This is to ensure that the board is using the latest Raspbian version and the most recent patches and updates.
After that, you need to run the following command in the terminal:
sudo raspi-config

Working with raspi-config
Here we are interested in the section
Interfacing Options>P1 Camera. Then you need to select a commandFinishand reboot the Raspberry Pi.
Taking photos using raspistill
The camera should now be ready for use. Let's check it with
raspistill. Open the terminal again and enter the following command there:
raspistill -v -o test.jpg
This is what a wonderful photo my camera took.

Camera Snapshot for Raspberry Pi
Video recording with raspivid
Photos are good, but video recording is much better. Here will come to our aid
raspivid:
raspivid -o vid.h264
This command allows you to record a video with a duration of 5 seconds.
If you need to shoot a longer video, this command will need to pass a parameter
-tspecifying the video duration in milliseconds. For example, the following command allows you to record a video that is 30 seconds long:
raspivid -o vid.h264 -t 30000
Setting up streaming
Now comes the fun part. In order to see what the camera "sees", you can use the following command:
raspivid -o - -t 0 -n | cvlc -vvv stream:///dev/stdin --sout '#rtp{sdp=rtsp://:8554/}' :demux=h264
It creates an RTSP stream that you can connect to from the local network.
Outcome
Now that I figured out the cameras for the Raspberry Pi, I can develop the project further, namely, install TensorFlow, Open CV and Python on the Raspberry Pi 4 and start writing code. I plan to talk about this in my next materials. For those of you interested, my YouTube channel, where you can find videos related to this project.
Have you worked with cameras for the Raspberry Pi?

