
Server Tuning
Installing Docker Engine on the server
The docker overhead on Linux is minimal. Docker on Mac runs in a Linux virtual machine, while on Linux it directly uses the host's kernel. You can read more about this here .
Since a small ping is important to us, it makes sense to purchase a hosting in Moscow, but there is not much difference.
Total: Linux, Moscow, characteristics depend on your needs.
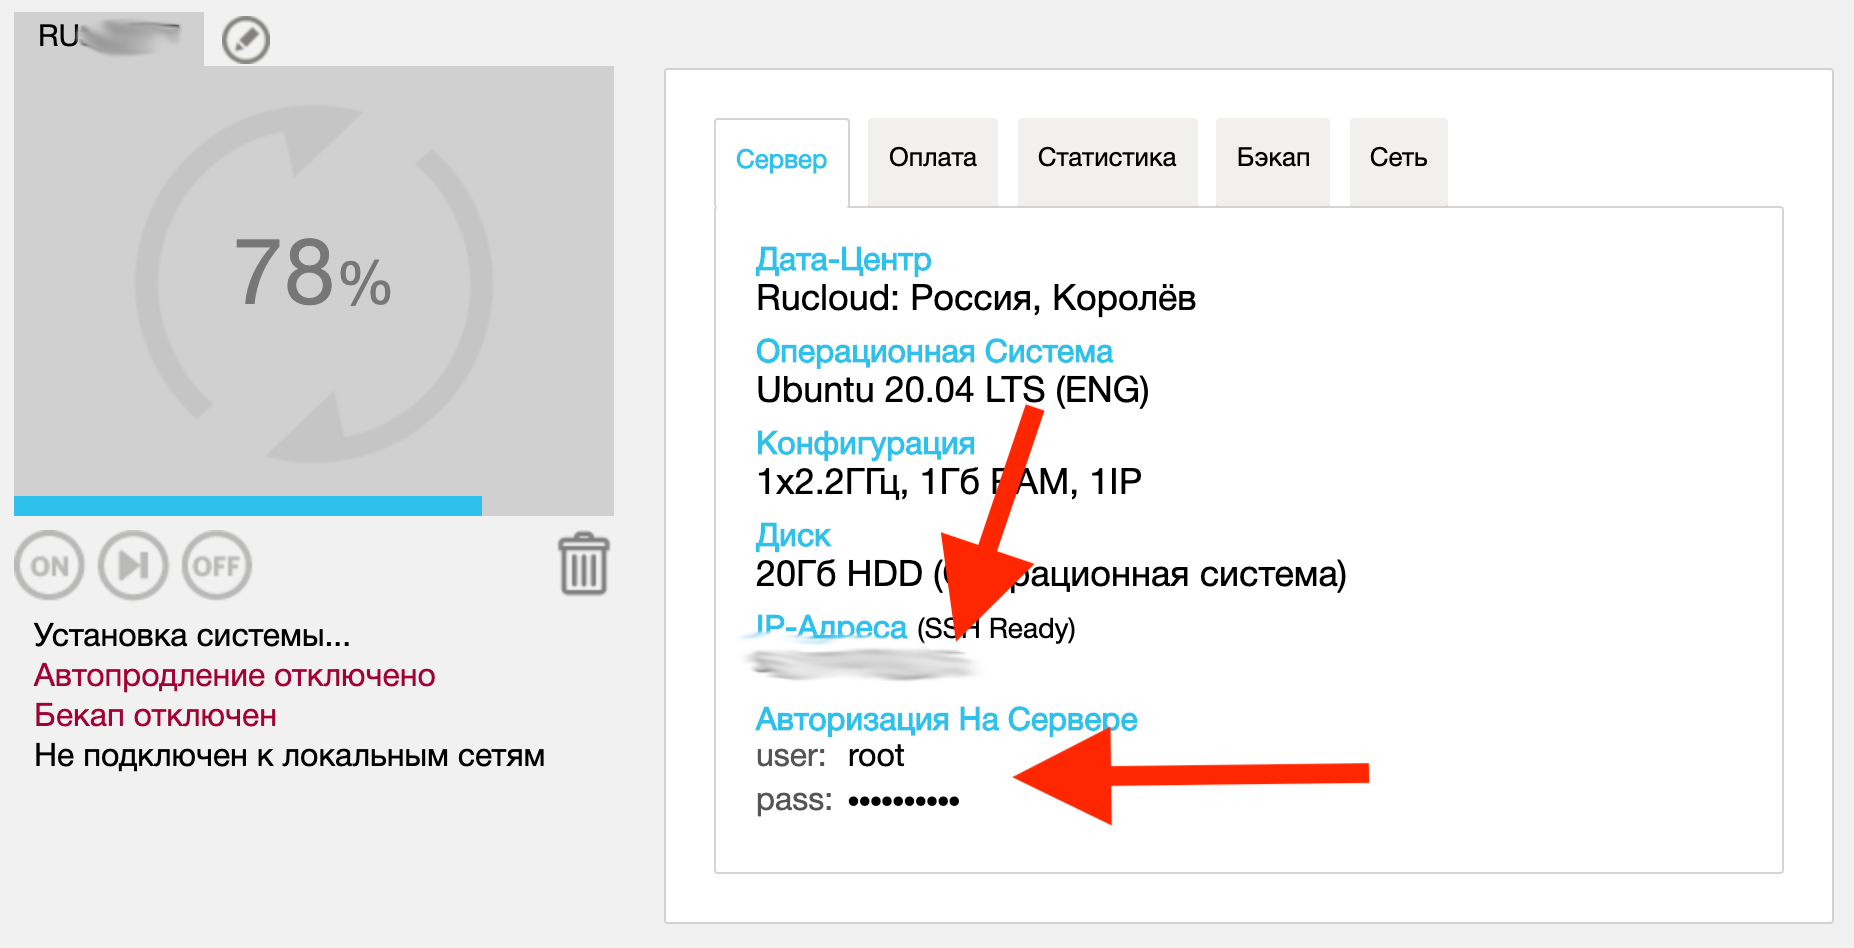
There is just an inexpensive ready-made tariff for this on ruvds.com . Also on ruvds.com it is possible to order a setup immediately with Docker CE on board. A trifle, but nice.
Look for the password and login in the web interface of your hosting and connect.
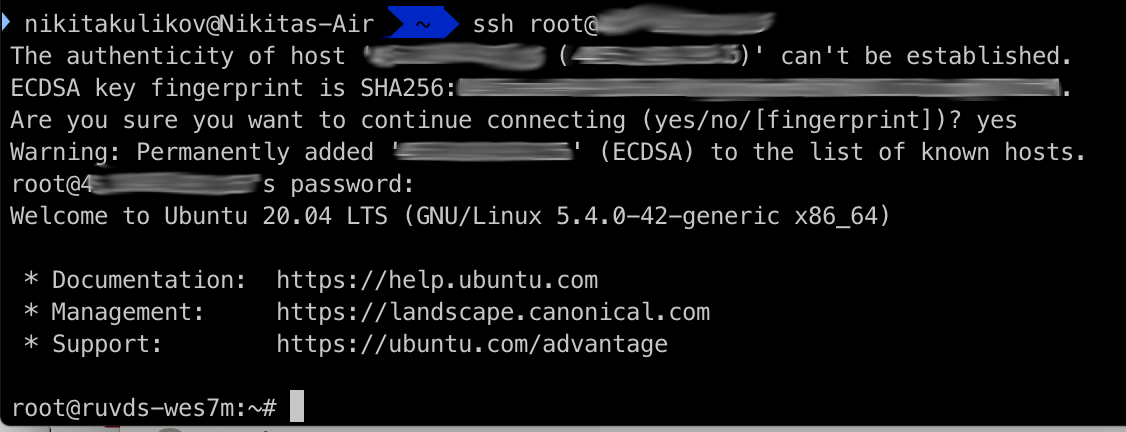
Next, install Docker. There is an excellent instruction here , below I will briefly give commands from it (if you suddenly do not have it
sudo, do not forget to install it apt-get install sudofrom under su):
sudo apt-get update
sudo apt-get install \
    apt-transport-https \
    ca-certificates \
    curl \
    gnupg-agent \
    software-properties-common
curl -fsSL https://download.docker.com/linux/ubuntu/gpg | sudo apt-key add -
sudo apt-key fingerprint 0EBFCD88
sudo add-apt-repository \
   "deb [arch=amd64] https://download.docker.com/linux/ubuntu \
   $(lsb_release -cs) \
   stable"
sudo apt-get update
sudo apt-get install docker-ce docker-ce-cli containerd.io
Let's check the work of docker:
docker run hello-world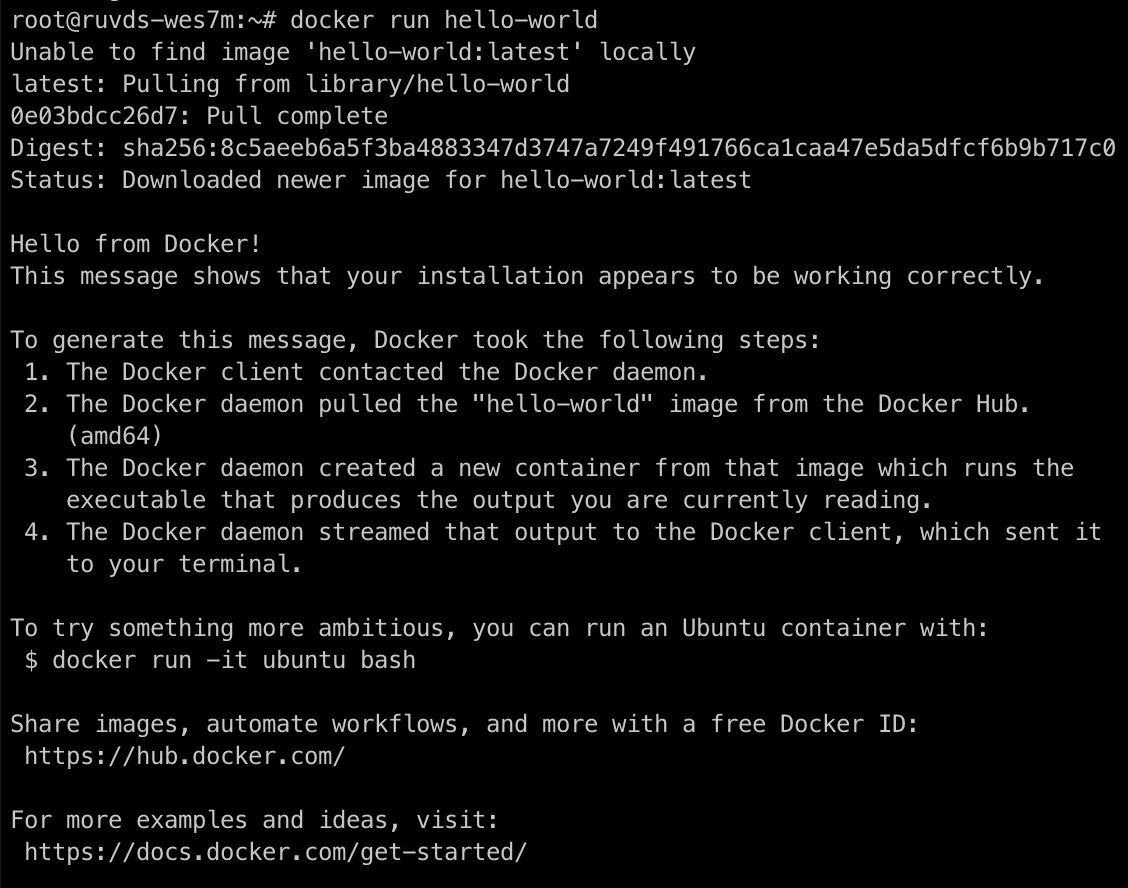
Generating keys
First you need to generate SSL keys. You can follow the easy and difficult path. For instructions on the hard path (canonical), see the Docker documentation . But good people stuffed it all into a <10mb container.
Let's create a folder for the beginning, where we will store everything. Folders can be anything. The first (
/etc/docker/ssl) stores the secret keys, the second ( ~/.docker) the keys for access.
sudo mkdir -p /etc/docker/ssl
mkdir -p ~/.docker
First, let's create client and CA certificates in the local folder
docker run --rm -v ~/.docker:/certs \
    paulczar/omgwtfssl
Let's create server certificates using the CA generated above. Specify there, separated by commas, those IPs through which you will access the server. In our case, do not forget to specify the IP of your server there!
sudo cp ~/.docker/ca.pem /etc/docker/ssl/ca.pem
chown -R $USER ~/.docker
docker run --rm -v /etc/docker/ssl:/server \
    -v ~/.docker:/certs \
    -e SSL_IP=127.0.0.1,172.17.8.101,YOUR_IP \
    -e SSL_DNS=docker.local -e SSL_KEY=/server/key.pem \
    -e SSL_CERT=/server/cert.pem paulczar/omgwtfssl
Configuring the docker daemon
The main task at this stage is to push the command line arguments with the parameters we need when starting docker. How you do it is not important, on Ubuntu you can do it like this:
1. Edit the file with
/etc/default/dockeryour favorite editor
nano /etc/default/dockerAnd add the `DOCKER_OPTS` variable to the end. Don't forget to insert your external IP there
DOCKER_OPTS="-H=YOUR_IP:2376 -H unix:///var/run/docker.sock --tlsverify --tlscacert=/etc/docker/ssl/ca.pem --tlscert=/etc/docker/ssl/cert.pem --tlskey=/etc/docker/ssl/key.pem"2. Add arguments to start the service. On Ubuntu, the startup parameter file is
/lib/systemd/system/docker.service. Add a line to the subsection [Service]:
EnvironmentFile=/etc/default/dockerAnd we change the launch command side by side:
ExecStart=/usr/bin/dockerd -H fd:// $DOCKER_OPTSYes, point 1 was optional, the command arguments could be inserted here too, but there are a lot of them and it is inconvenient to have a large command to run in the service file.
3. Restart the daemon
sudo systemctl daemon-reload
sudo systemctl restart docker
4. Check in the daemon logs that everything works:
journalctl -u docker.service -f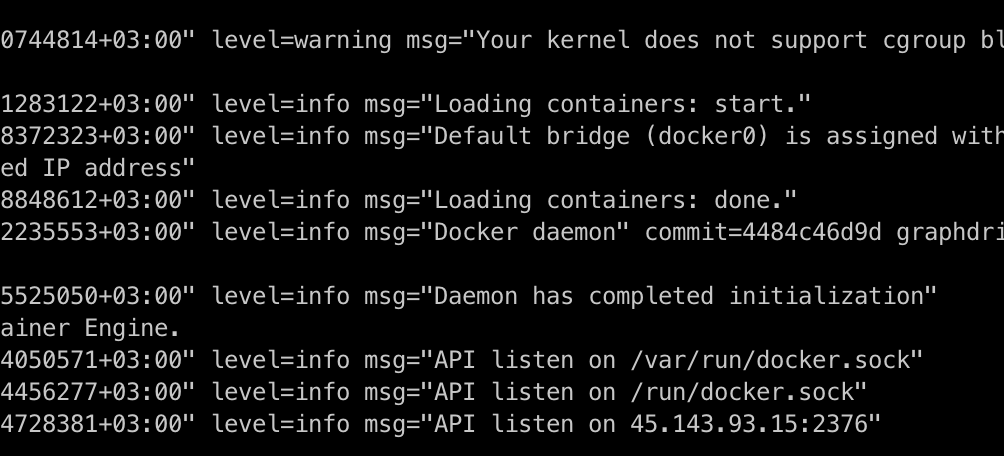
5. Let's try to connect via tls:
export DOCKER_HOST=tcp://YOUR_IP:2376
export DOCKER_TLS_VERIFY=1
export DOCKER_CERT_PATH=~/.docker
docker info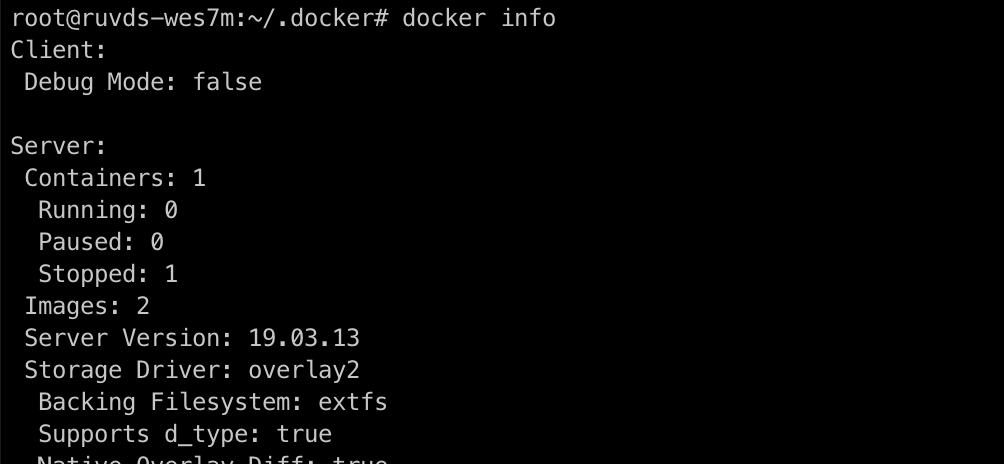
Working!
Configuring on the client
Before you start configuring clients, you need to download the certificates folder to your computer. You can do it in any convenient way. For example, via `scp`:
On a remote machine:
mkdir /tmp/cert-for-docker && cp -v ~/.docker/{ca,cert,key}.pem /tmp/cert-for-dockerOn the local machine:
scp -r root@YOUR_IP:/tmp/cert-for-docker ~/.dockerNext, use this folder to configure your docker client.
Mac OS CLI
Here, the setup comes down to the fact that you need to register variables in your environment and everything will work. However, the question arises: “Where can I get a naked client? We don't need the official 2GB heavyweight client that ships with the Docker Engine, do we? "
There is a solution! Modern Docker has long been divided into client and server parts. You can download separate client binaries compiled for macos. The official instructions are here , but I will give a brief summary here:
1. Download the latest binaries or the ones corresponding to your server (you can pull them out with the command
docker info) from the link and unpack
2. Copy the binaries to the folder
/usr/local/bin/to work globally:
sudo cp docker/docker /usr/local/bin/3. We register in
~/.bashrcor the ~/.zshrcnecessary environment variables. Don't forget to insert your IP and path to the folder with certificates :
export DOCKER_HOST=tcp://YOUR_IP:2376
export DOCKER_CERT_PATH=PATH_TO_CERT
export DOCKER_TLS_VERIFY=1
4. Restart your computer (Schaub for sure), check:
docker info
docker run hello-world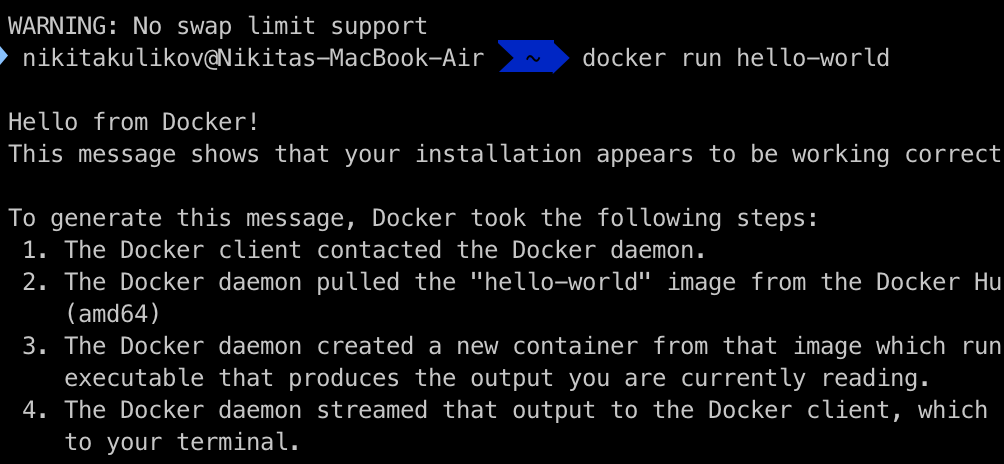
Beauty!
Jetbrains IDEs (PyCharm, IDEA, Android Studio etc)
Jetbrains studios support docker via tls out of the box. This setting is located in
Preference->Build, Execution, Deployment->Docker->+. You need to select TCP socketand enter your details there. However, there is a catch.
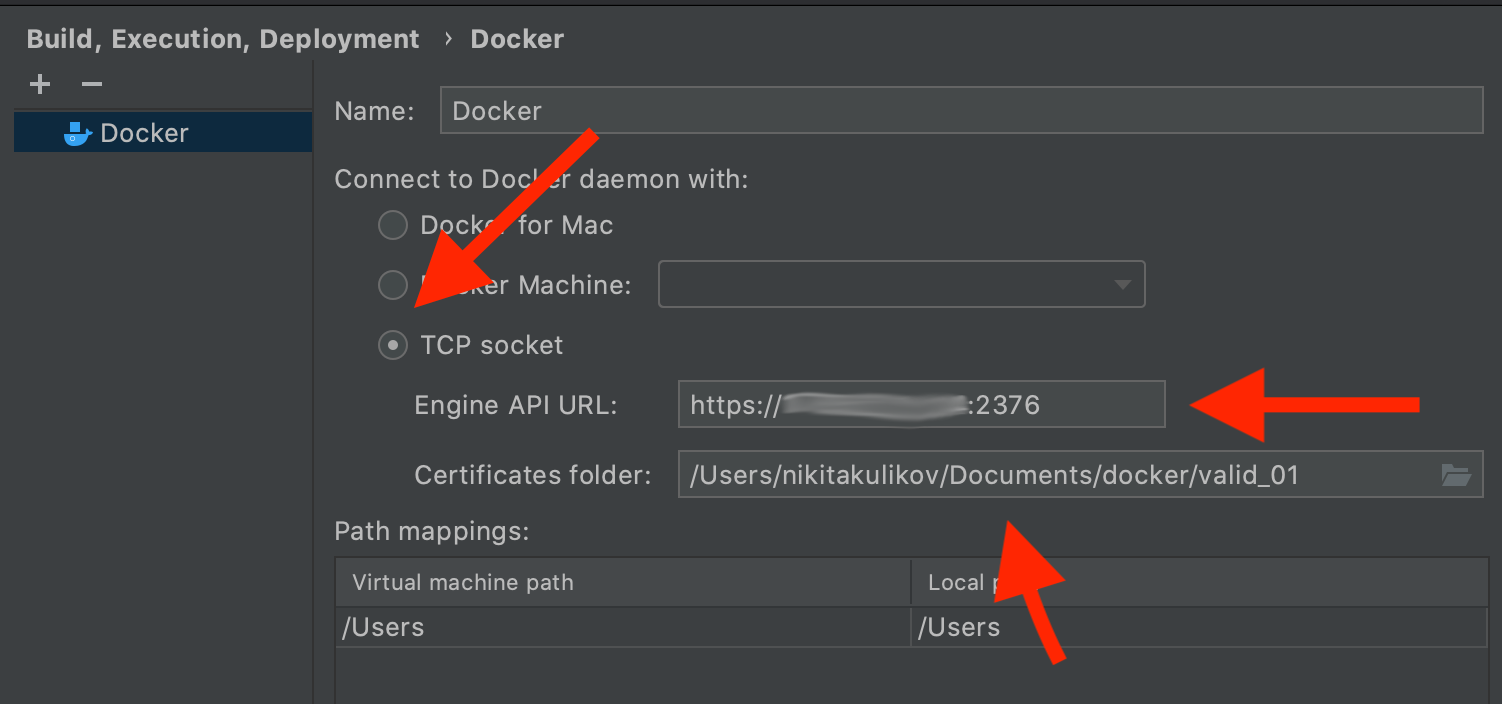
If everything is done as intended, then an error will come out:
Error response from daemon: Client sent an HTTP request to an HTTPS server.Or
errors pretty printing info
Cannot connect: Status 400: Client sent an HTTP request to an HTTPS serverIt is necessary to explicitly prescribe to our studio what protocol we use
https:
YOUR_IP : 2376Everything should work fine afterwards.
Bonus (Portainer)
In order to effectively track running and already used containers, I installed Portainer on this server. It should be placed in two lines:
docker volume create portainer_data
docker run -d -p 8000:8000 -p 9000:9000 --name=portainer --restart=always -v /var/run/docker.sock:/var/run/docker.sock -v portainer_data:/data portainer/portainer-ce
After that, a
YOUR_IP:9000beautiful web interface will hang on and you can see the running and killed containers. Remember how we started hello-world? It is here and you can clean it right from the interface.
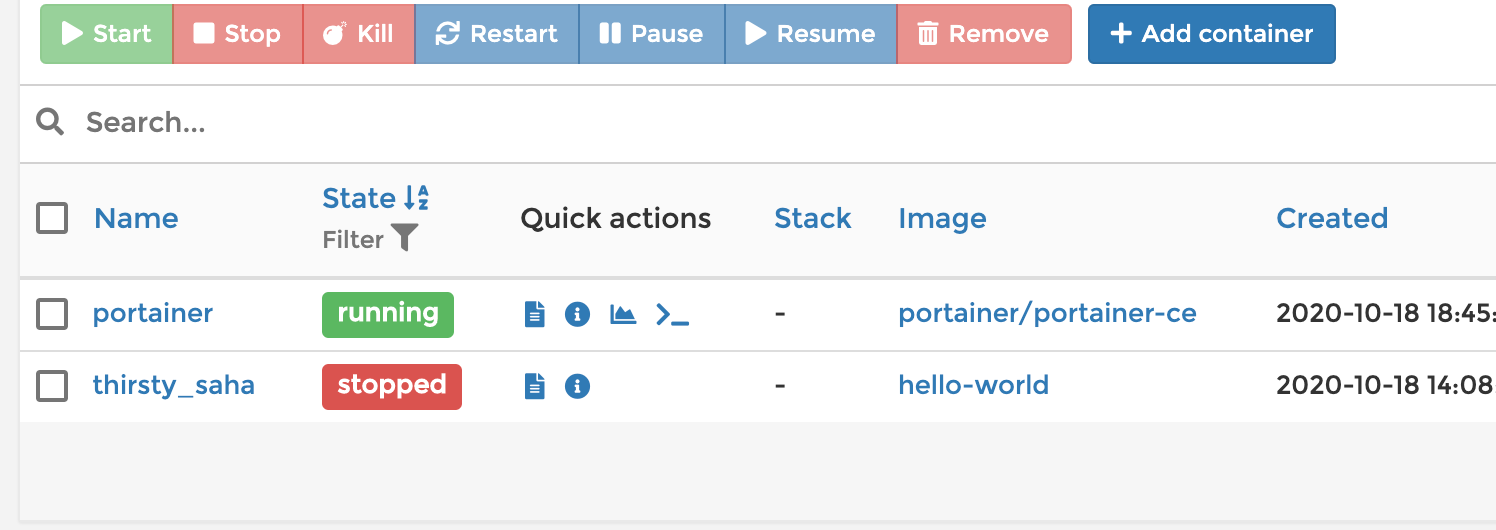
Portainer itself can be connected to any Docker machine and manage the docker containers of all your machines from one place. The metric (Grafana + Prometheus + Alerts) can be set just as easily with two commands (do not forget to install
gi and docker-compose):
git clone https://github.com/stefanprodan/dockprom && cd dockprom
ADMIN_USER=admin ADMIN_PASSWORD=admin docker-compose up -d

Only for Storage you need to change
sum(node_filesystem_free_bytes{fstype="aufs"})tosum(node_filesystem_free_bytes{fstype="ext4"})

Conclusion
When I bought a laptop, I did not indulge myself in the hope that it would be enough for me for any task, especially since it would be enough for me for Java / Android development. But I was pleasantly surprised, so far all my projects, personal and just open-source, fly in the IDE. However, I realized that for all my love for this typewriter, it would not take out Docker. I was very happy to configure it once on a remote docker server. During the development process, it is absolutely imperceptible that the server is not local. I don’t feel any restrictions, it’s all the same to run Docker without the Internet before it made little sense. In general, I am very satisfied. -1 reason to buy a powerful and heavy laptop.
In addition, the Docker overhead for Linux is minimal, so you can rent a car for 240 rubles per month from RuVDS in the Russian Federation (and with a discount using the HABR promo code-10% and even less) and not worry about ping and the impact of server applications on the UI. Plus there is an external IP (the ability to show clients and keep dev sand), a private VPN and top-class reliability. Overall, I am satisfied.
Resources:
- 2016 article on customization for CoreOS
- Docker Remote API without encryption
- Docker site and all resources linked to in the article itself

