This article is inspired by the popularity of the resource among student programmers, but I will try to tell everything as simply as possible for very novice programmers. As a result, we will create a simple Echo bot as a template for various modifications.
PS Also, the article is inspired by the lack of a tutorial in Python, there is a good tutorial on Nodejs .
Link to Yandex Cloud Functions
documentation Link to Telegram API documentation .
Step 1 : Registration and login to the Yandex cloud platform
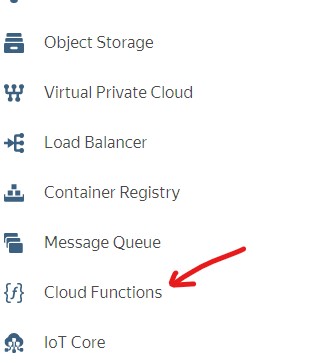
Step 2 : Enter Functions. Here you need to select "Cloud Functions" in the left panel of the "Management Console"
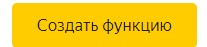
Step 3 : Click the button
 . Then we set a meaningful function name and description.
Advice
< >-<>-<>.
telegram-study-bot, weather-get-api ..
. language=python3.7, lib=telebot
telegram-study-bot, weather-get-api ..
. language=python3.7, lib=telebot
Step 4 : Select the "Editor" tab
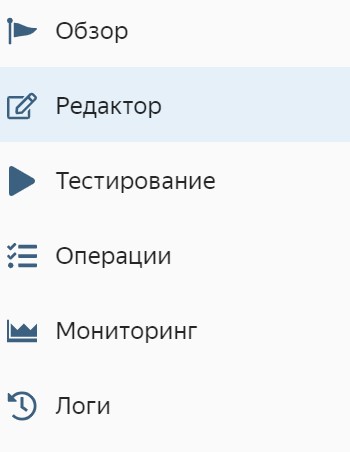
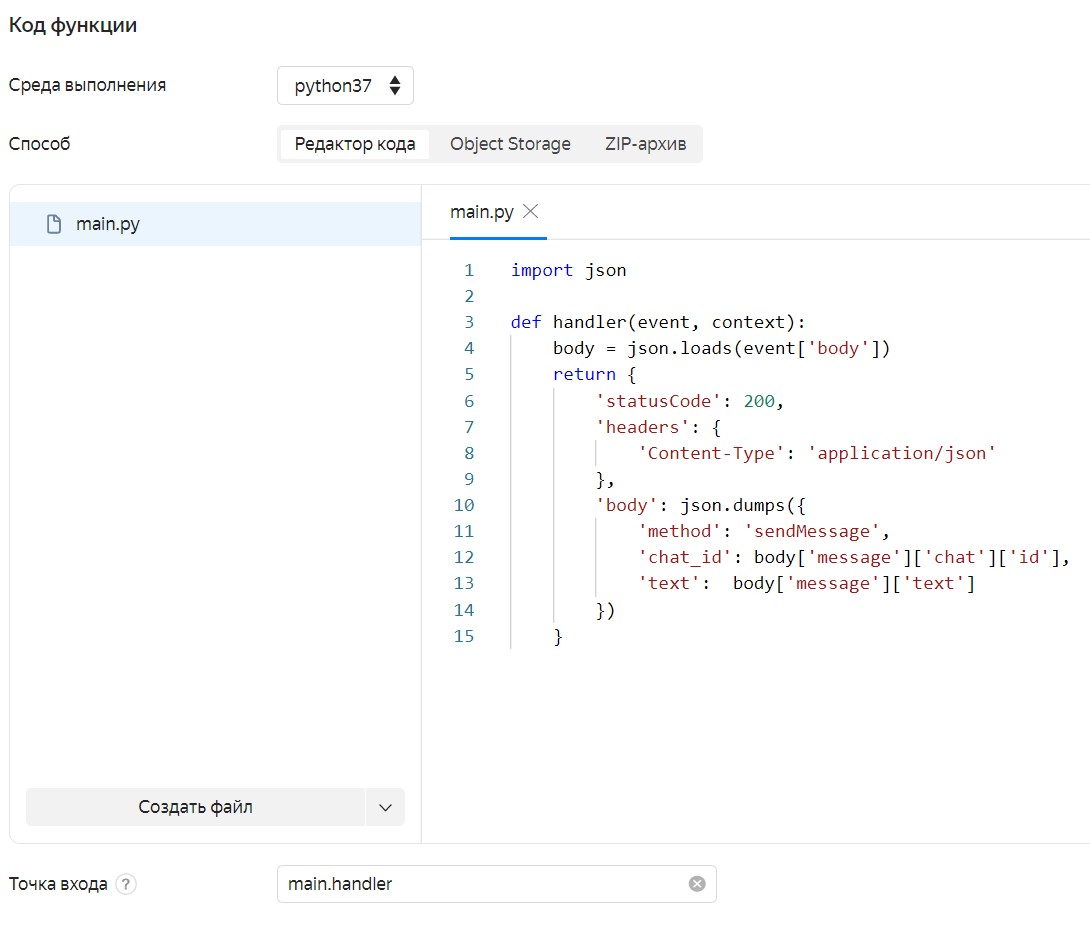
After that we will open a window for managing the code of our function. Here we can choose:
1) "Runtime", in our case it is python3.7
About dependencies
preview , ( 02.10.2020 )
2) "Ways" are responsible for how the code will be passed to the function. In this article we will use the straightforward Code Editor as the simplest example.
3) The "entry point" answers which function will accept the request and will be the start of the action of our function, we will indicate it a little later.
4) Next comes the "Parameters", I suggest leaving them as they are.
If you want to use authorizations
, , .
Step 5 : Make sure that we have the correct "Runtime" and "Method" set.

Then click on "Create file", let's name it main.py.
Step 6 : This will open the code editor where we can create a request handler function. Let's call it handler and insert this code:
import json

def handler(event, context):
    body = json.loads(event['body'])
    return {
        'statusCode': 200,
        'headers': {
            'Content-Type': 'application/json'
        },
        'body': json.dumps({
            'method': 'sendMessage',
            'chat_id': body['message']['chat']['id'],
            'text':  body['message']['text']
        }),
        'isBase64Encoded': False
    }
Parse the code
«json», body json- python dict.
handler , , . .
body Python json.loads body .
, webhook telegram , body, json.dumps, .
handler , , . .
body Python json.loads body .
, webhook telegram , body, json.dumps, .
ATTENTION!!!
In the "Entry point" you need to specify this function as the beginning of the script. We write main.handler . It should be like this:
Then we click "Create version" and wait until we are transferred to the "Overview" tab.
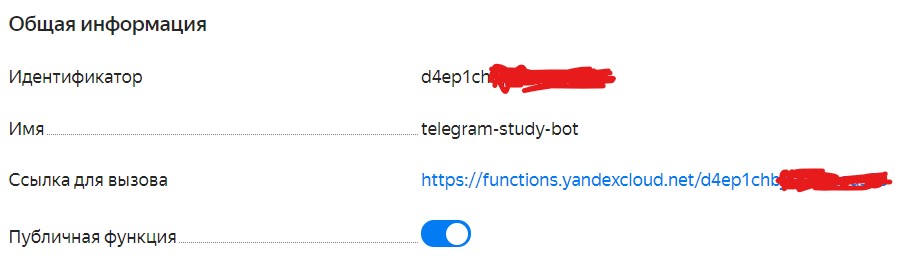
Step 7 : Here we are interested in the "Call link" and the "Public function" switch. We press the switch and remember where the link for the call is.
Step 8 : Create a telegram bot and copy its token. You need to create a query like:
https://api.telegram.org/bot<bot_token>/setWebHook?url=<webhook_url>
Where bot_token is your telegram bot token, and webhook_url is the "Call link" from functions (step 7). This request should be collected and inserted into the browser line.
Request example
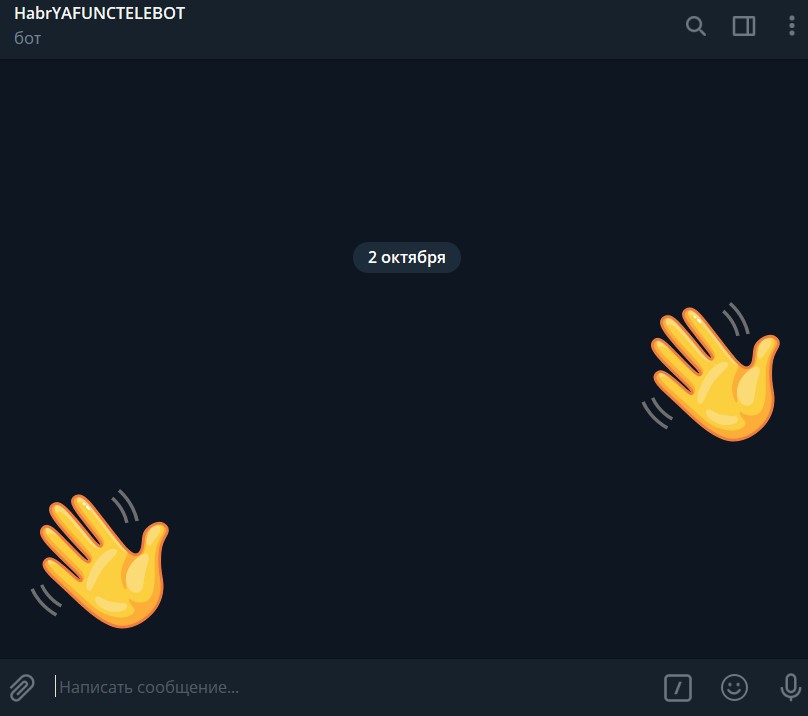
https://api.telegram.org/bot1234567:AAAAAAAAAAAAAAA/setWebHook?url=https://functions.yandexcloud.net/asdjaskjdasdjasdStep 9 : Send "hello" to the bot and see what we got in the end.
Thank you for attention! If you have read this article, then I will be happy with various suggestions for improving / adding / commenting on this article.