
Hello dear friends! Today I will tell you about splitting - one of the types of bone grafting. The essence of this method is to restore the width of the bone tissue, which was lost for one reason or another.
ATTENTION! -Uwaga! -Pažnju! -Attention! -Achtung! -Attenzione! -WARNING! -Uwaga! -Pažnju!
Photos taken during the operation will be presented below! With types of teeth, gums, blood anddissection. For the faint of heart, please refuse to read this article.
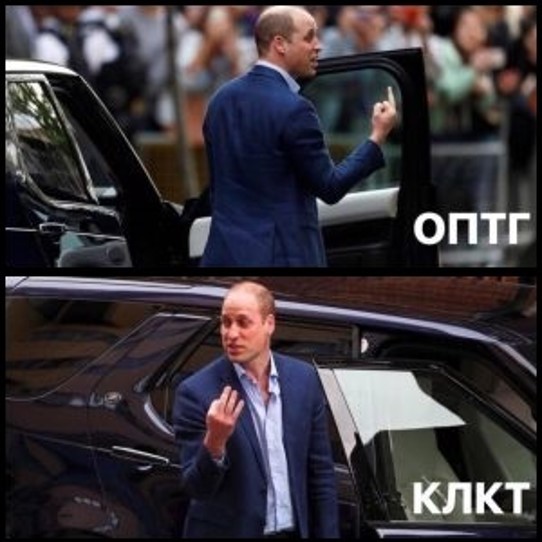
In addition to visual examination, an X-ray of the jaws must be taken. In this case, a simple OPTG (panoramic dental image) will not be enough. It needs CBCT (cone-beam computed tomography).
What is the difference?
OPTG (Orthopantomogram) - an overview of the dentition. It is planar, which means that each detail of the image is superimposed layer by layer on top of each other. Therefore, it is impossible to consider the object of research (in particular, the place of the planned operation) in all planes, at a different angle or other projection.
CBCT (Cone Beam Computed Tomography) - a 3D volumetric image, on the contrary, gives us this opportunity.
The patient has no chewing teeth in the lower jaw. (some photos were taken with mirrors, so the angle of view may change):
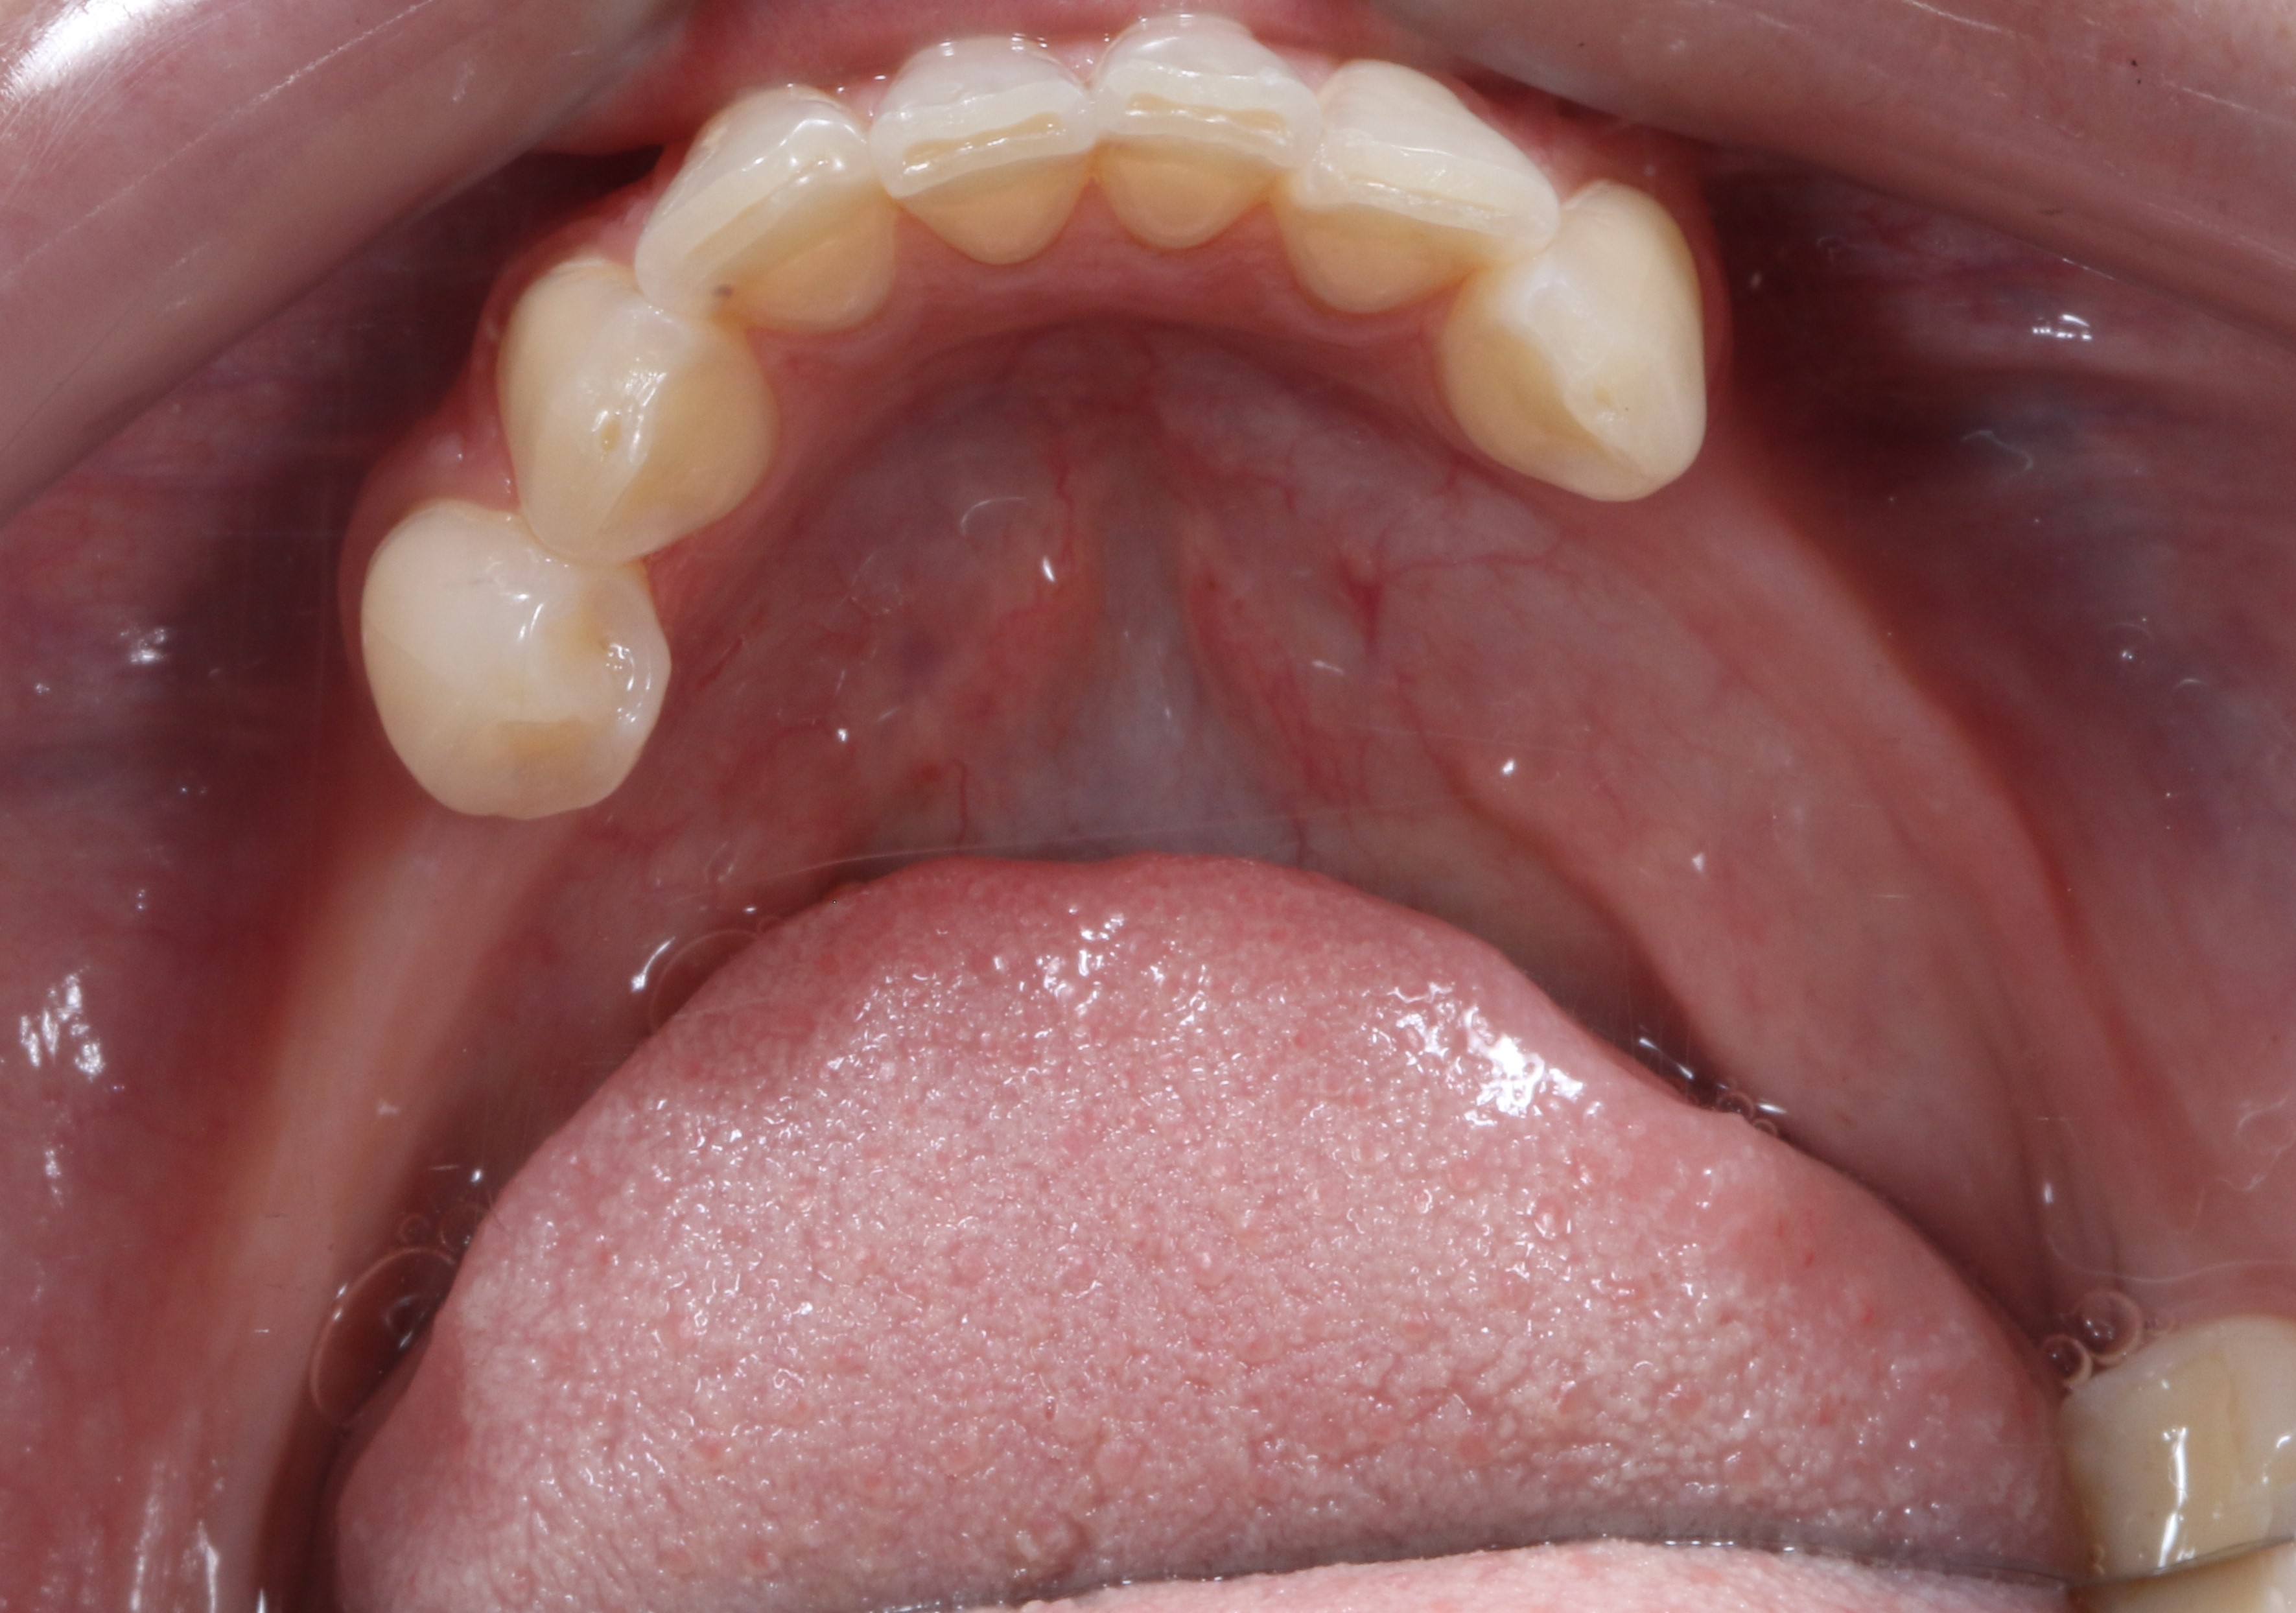
Compare the width of the alveolar part of the lower jaw in the area of the teeth and where they are absent:
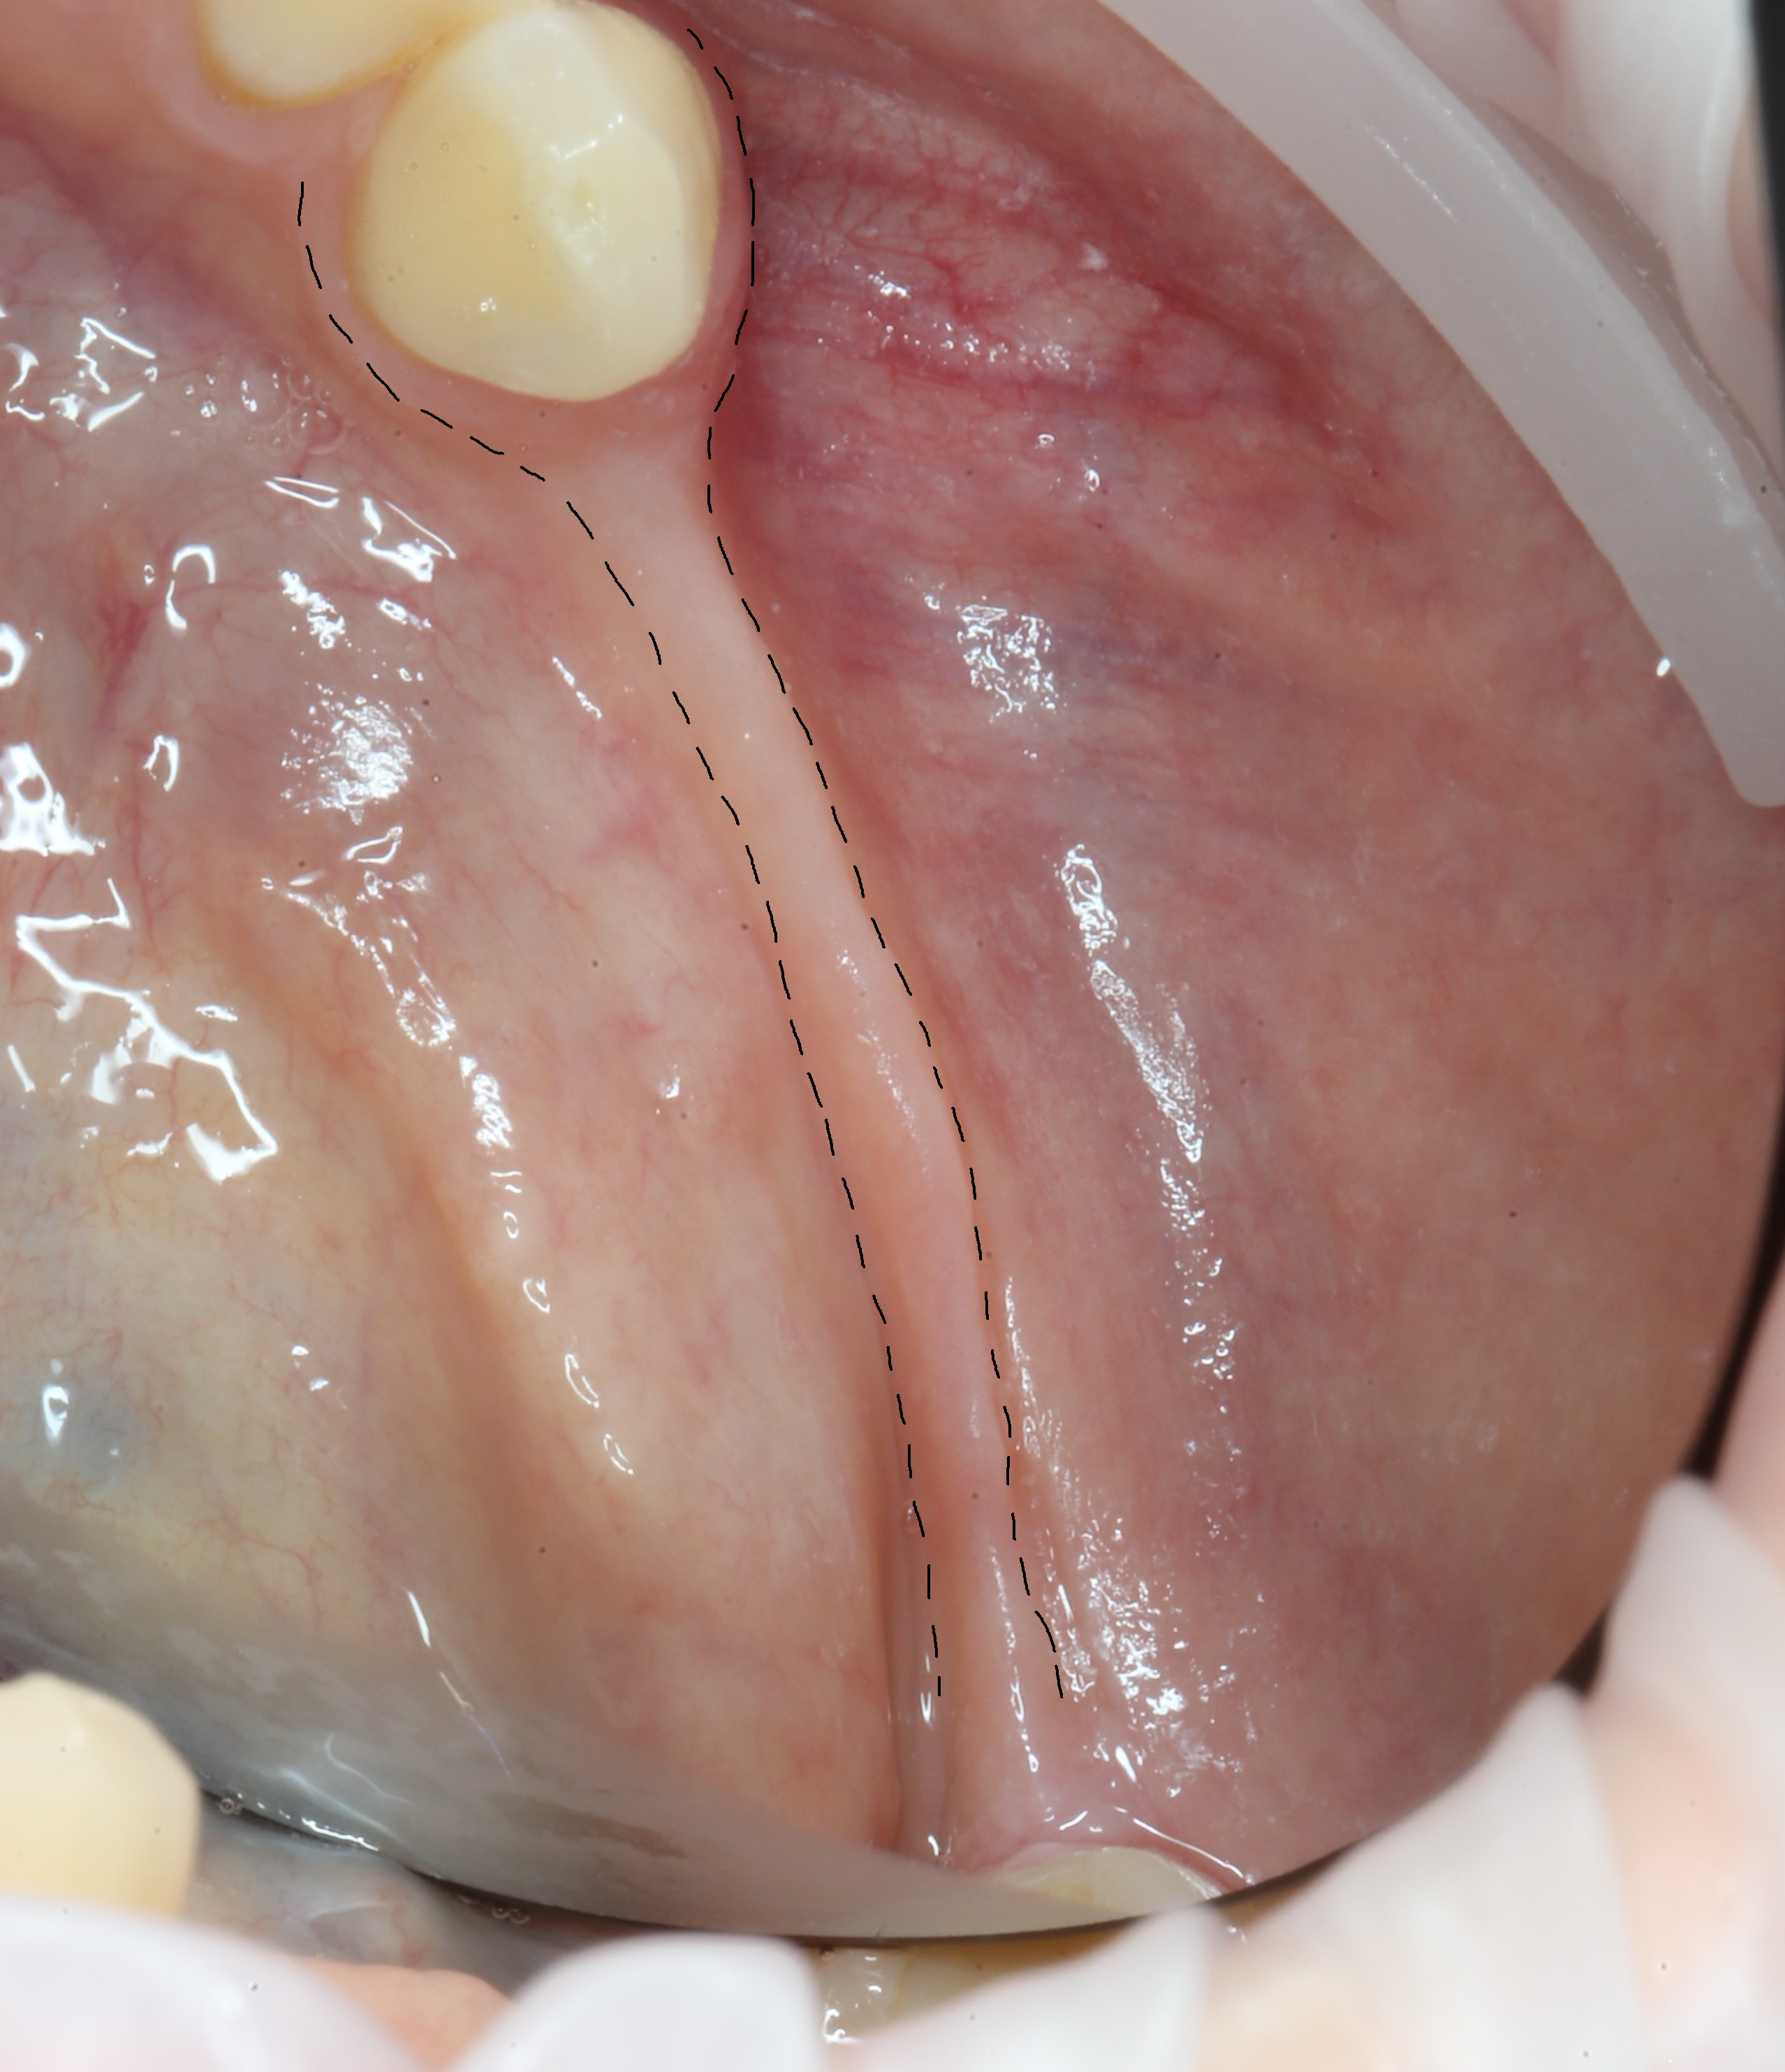
With the naked eye you can see that the area of missing teeth is much narrower than where the teeth are present.
It will be impossible to install an implant of the required diameter under these conditions.
And here is how to create these conditions, I will tell you in this article!
Like any other surgical procedure in the oral cavity, this operation starts with anesthesia. After all, no one wants to experience all the delights of dental pain and anguish.
In order to minimize all the discomfort associated with the injection, the so-calledapplication anesthesia
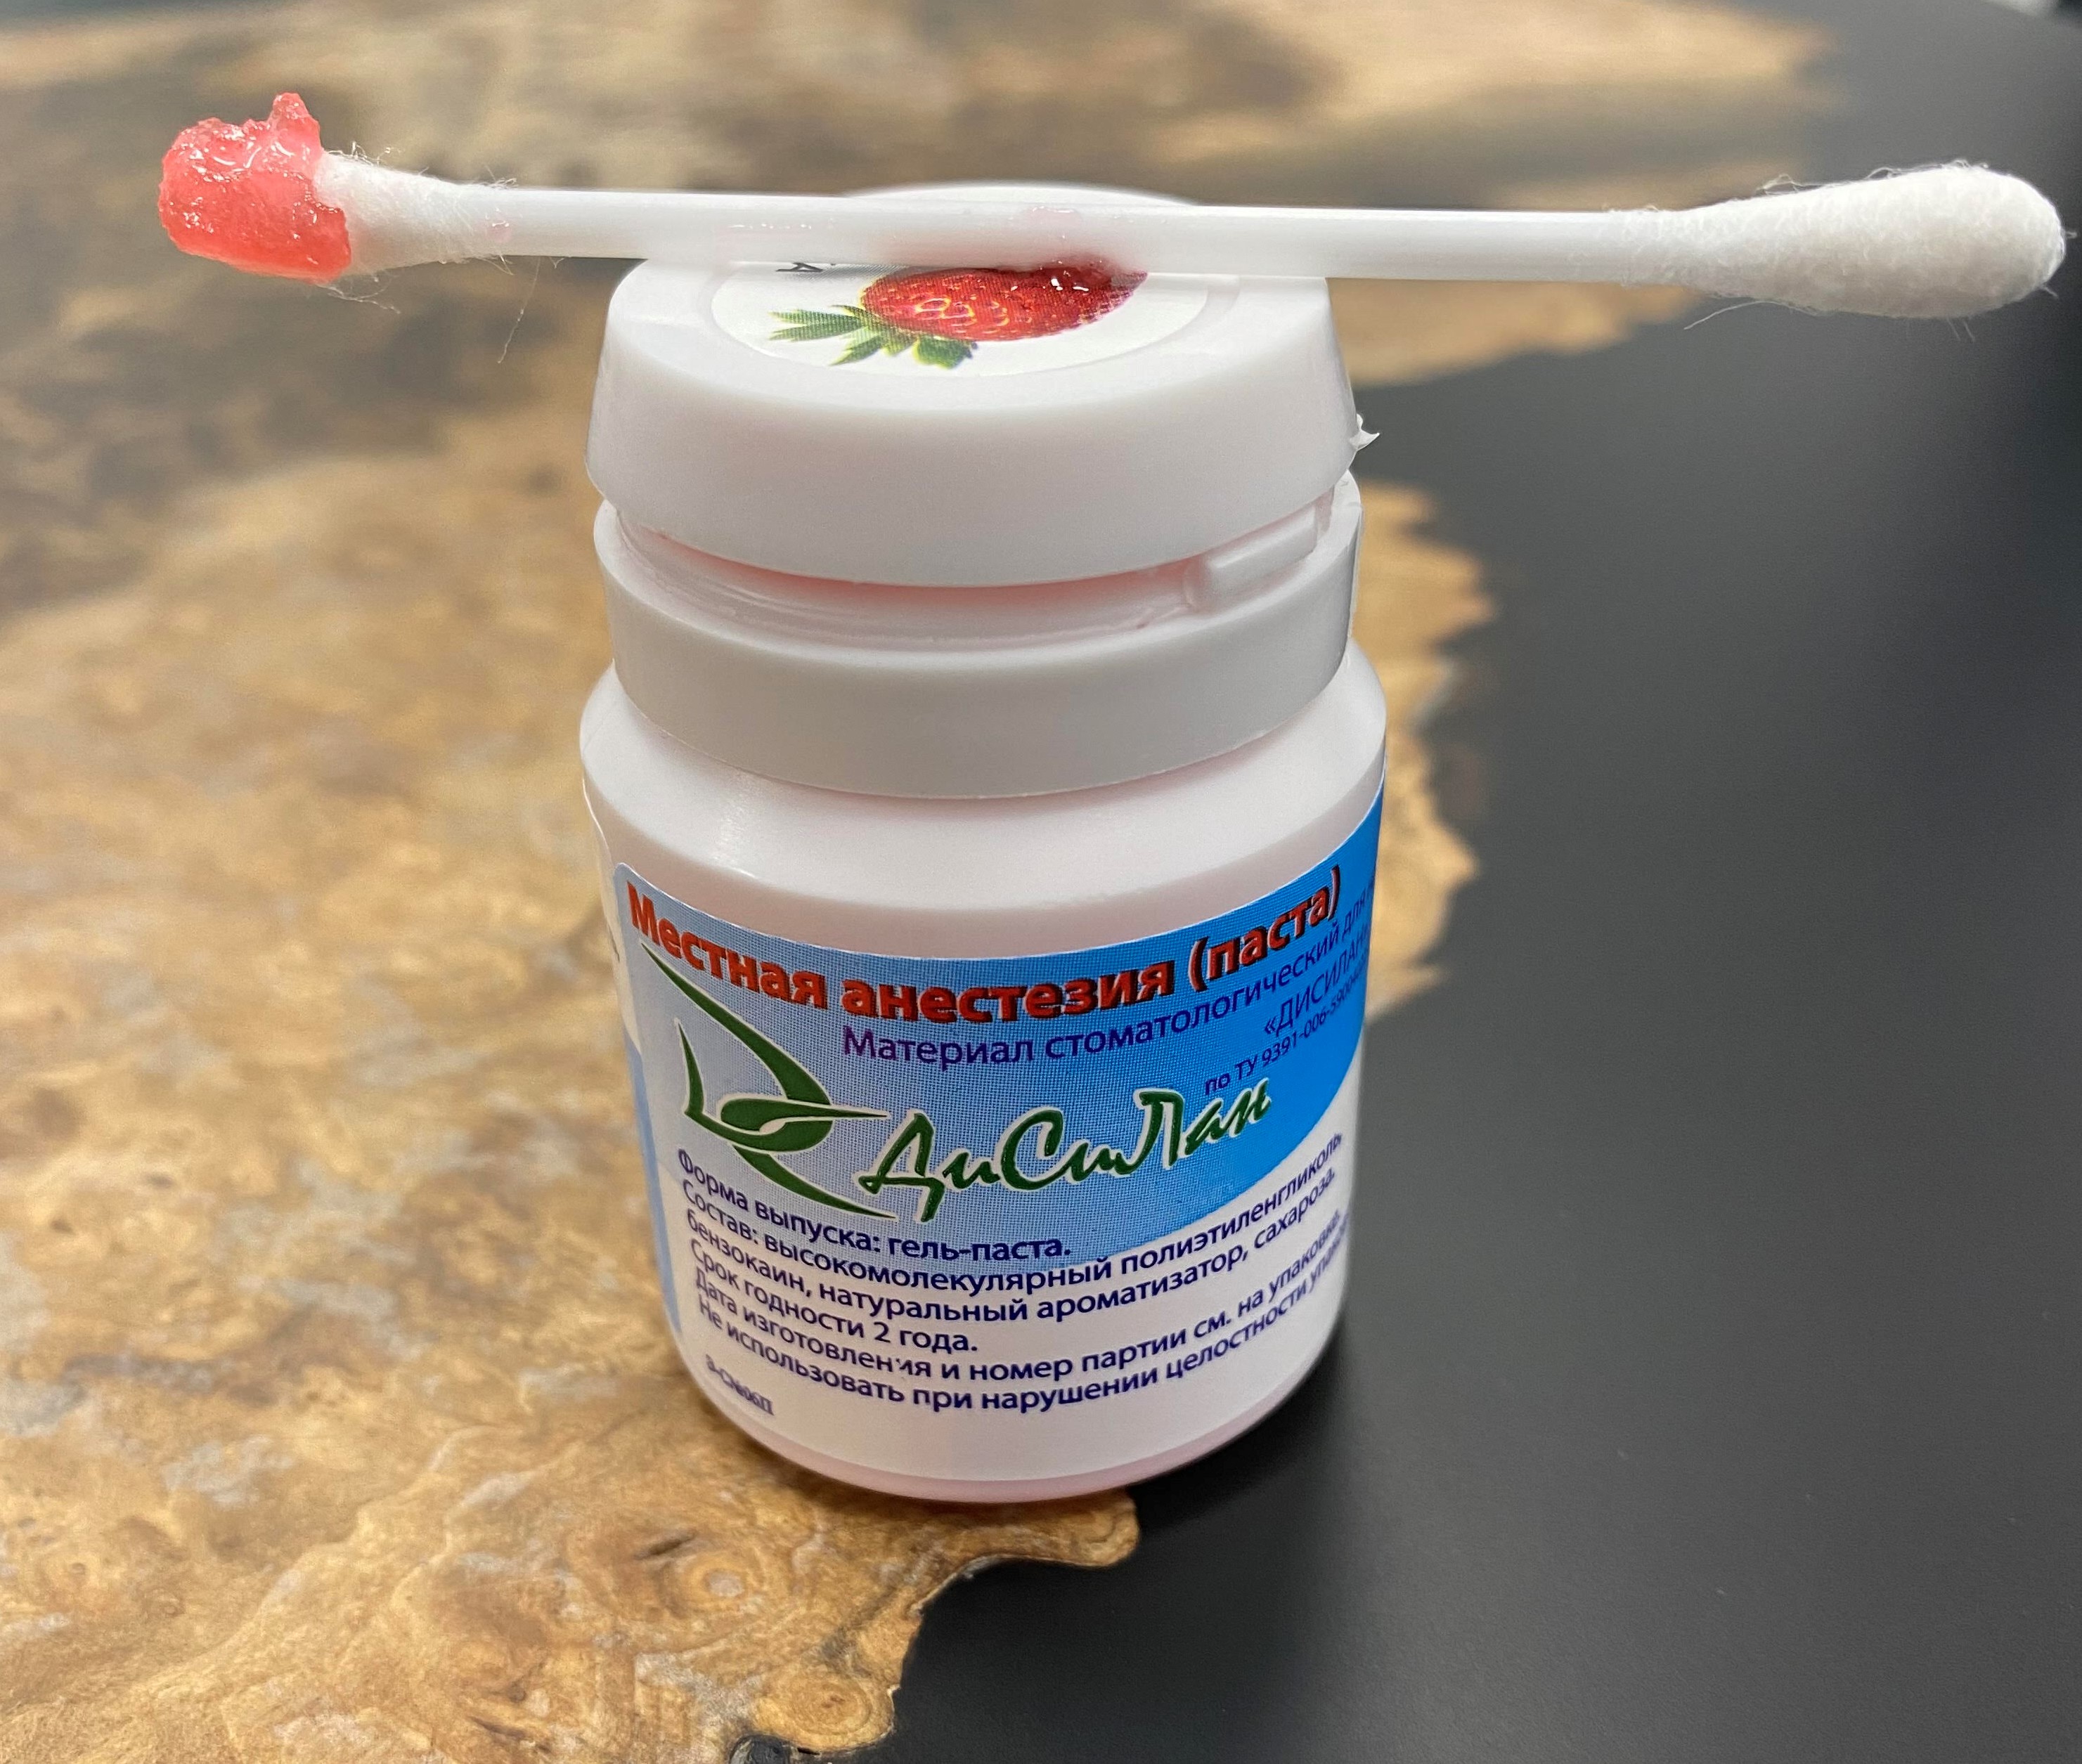
Gel-paste based on polyethylene glycol and benzocaine.
The gums were "lubricated", she was slightly numb. And now you can proceed to the injection ( infiltration anesthesia ).
In modern dentistry, the main active ingredient of the anesthetic is "Articaine" in one concentration or another.
The photo below shows a reusable cartridge syringe, two disposable needles of different lengths and two cartridges with an anesthetic.

In this case, Ultracain is represented. The ratio of adrenaline and active substance (Articaine) in the blue carpool is 1: 100,000 (1 mg of adrenaline per 100 ml), and in the green one - 1: 200,000 (0.5 mg of adrenaline per 100 ml). Consequently, the anesthetic in the blue carpool lasts a little longer than in the green one. I rarely use this dosage - only when a more prolonged effect of anesthesia is needed, or in acute purulent inflammation.
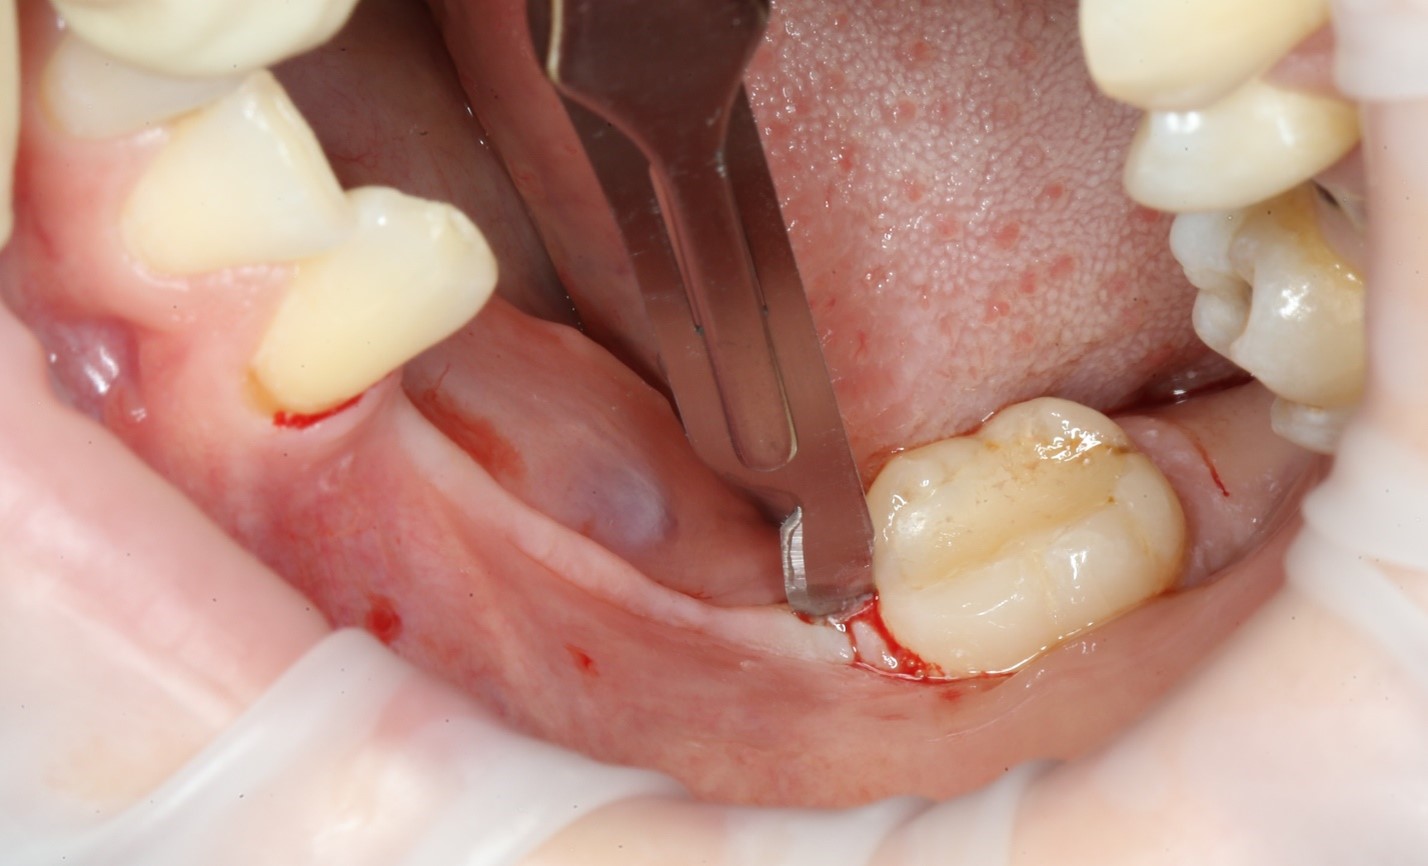
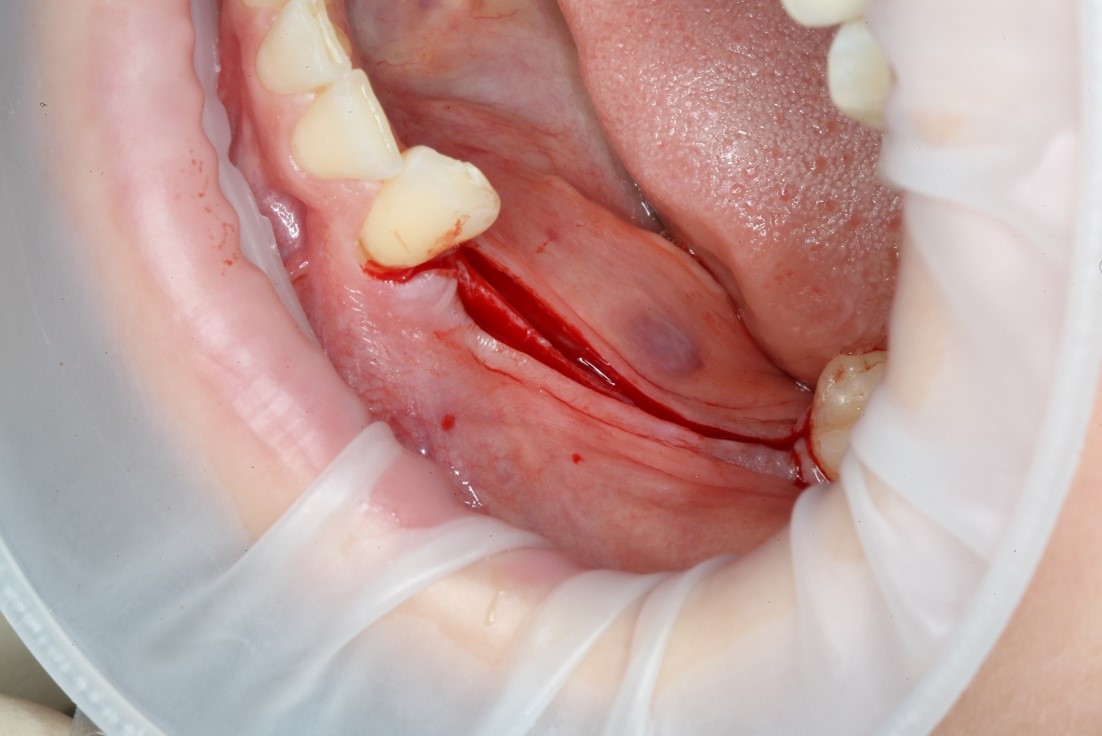
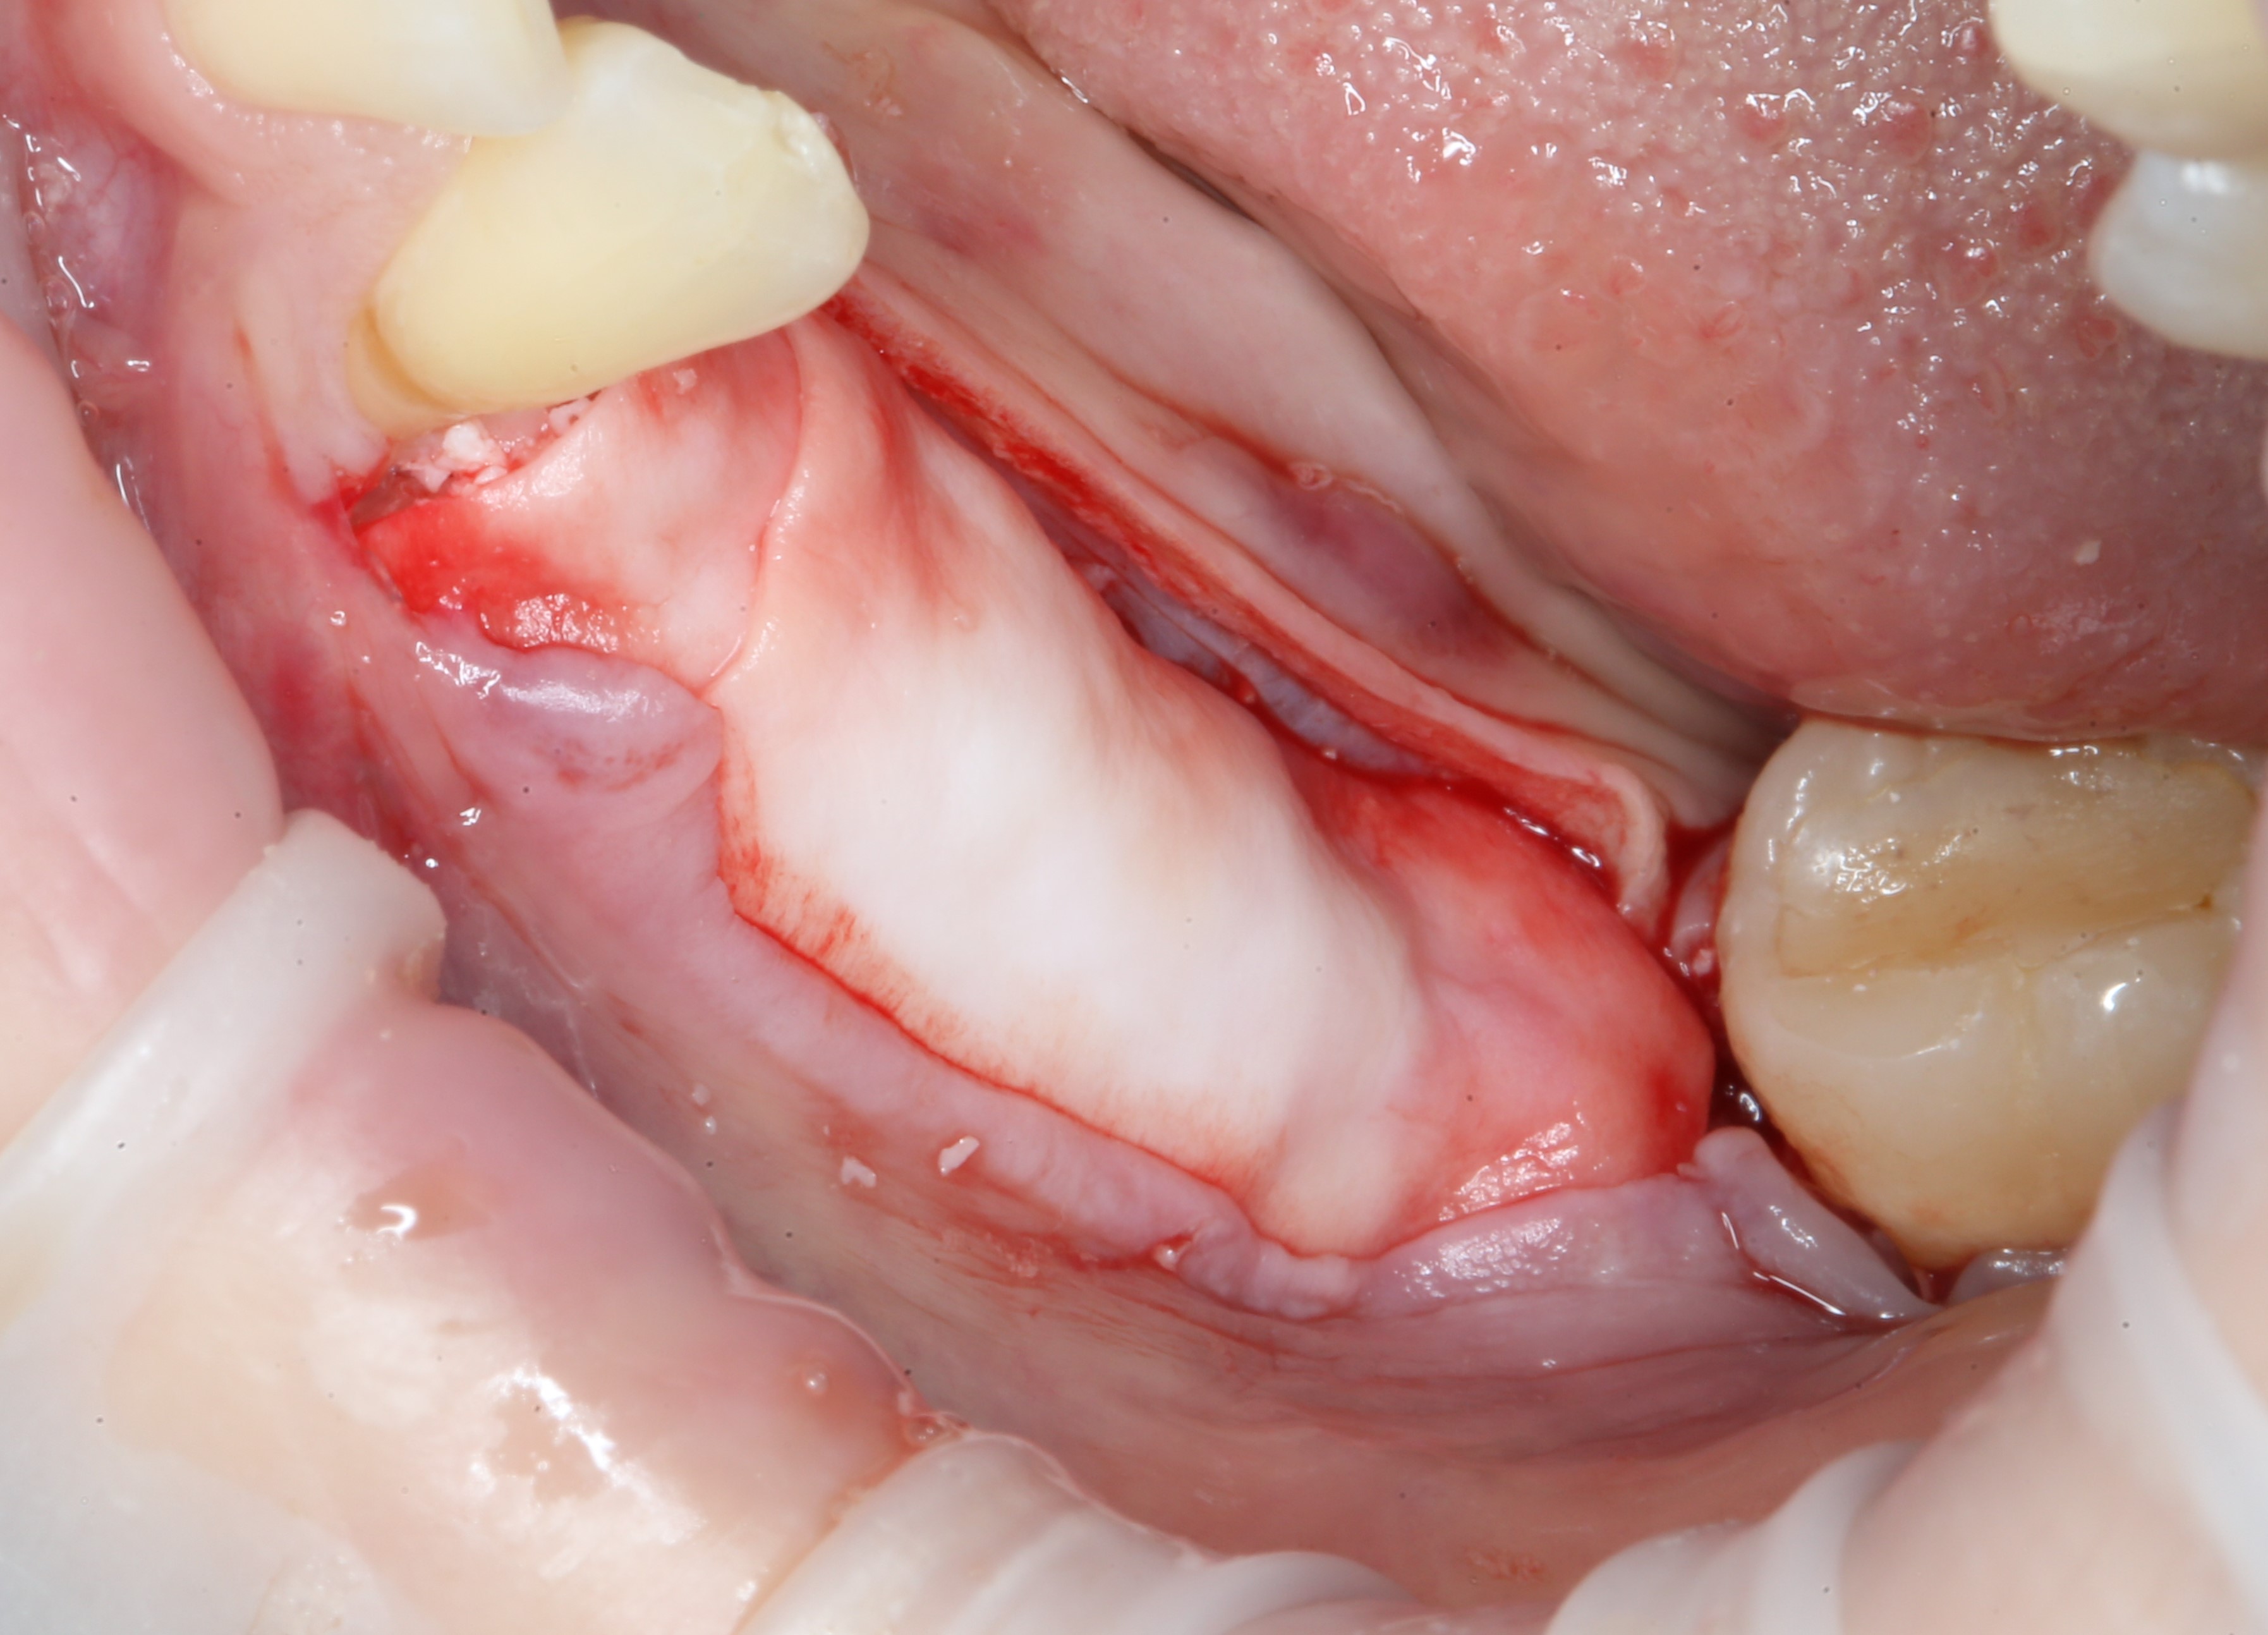
After the anesthesia has worked, an incision is made with a scalpel, and the bone is skeletonized with a raspatory. (separation of the periosteum from the compact bone substance).

Incision:
Skeletonization:
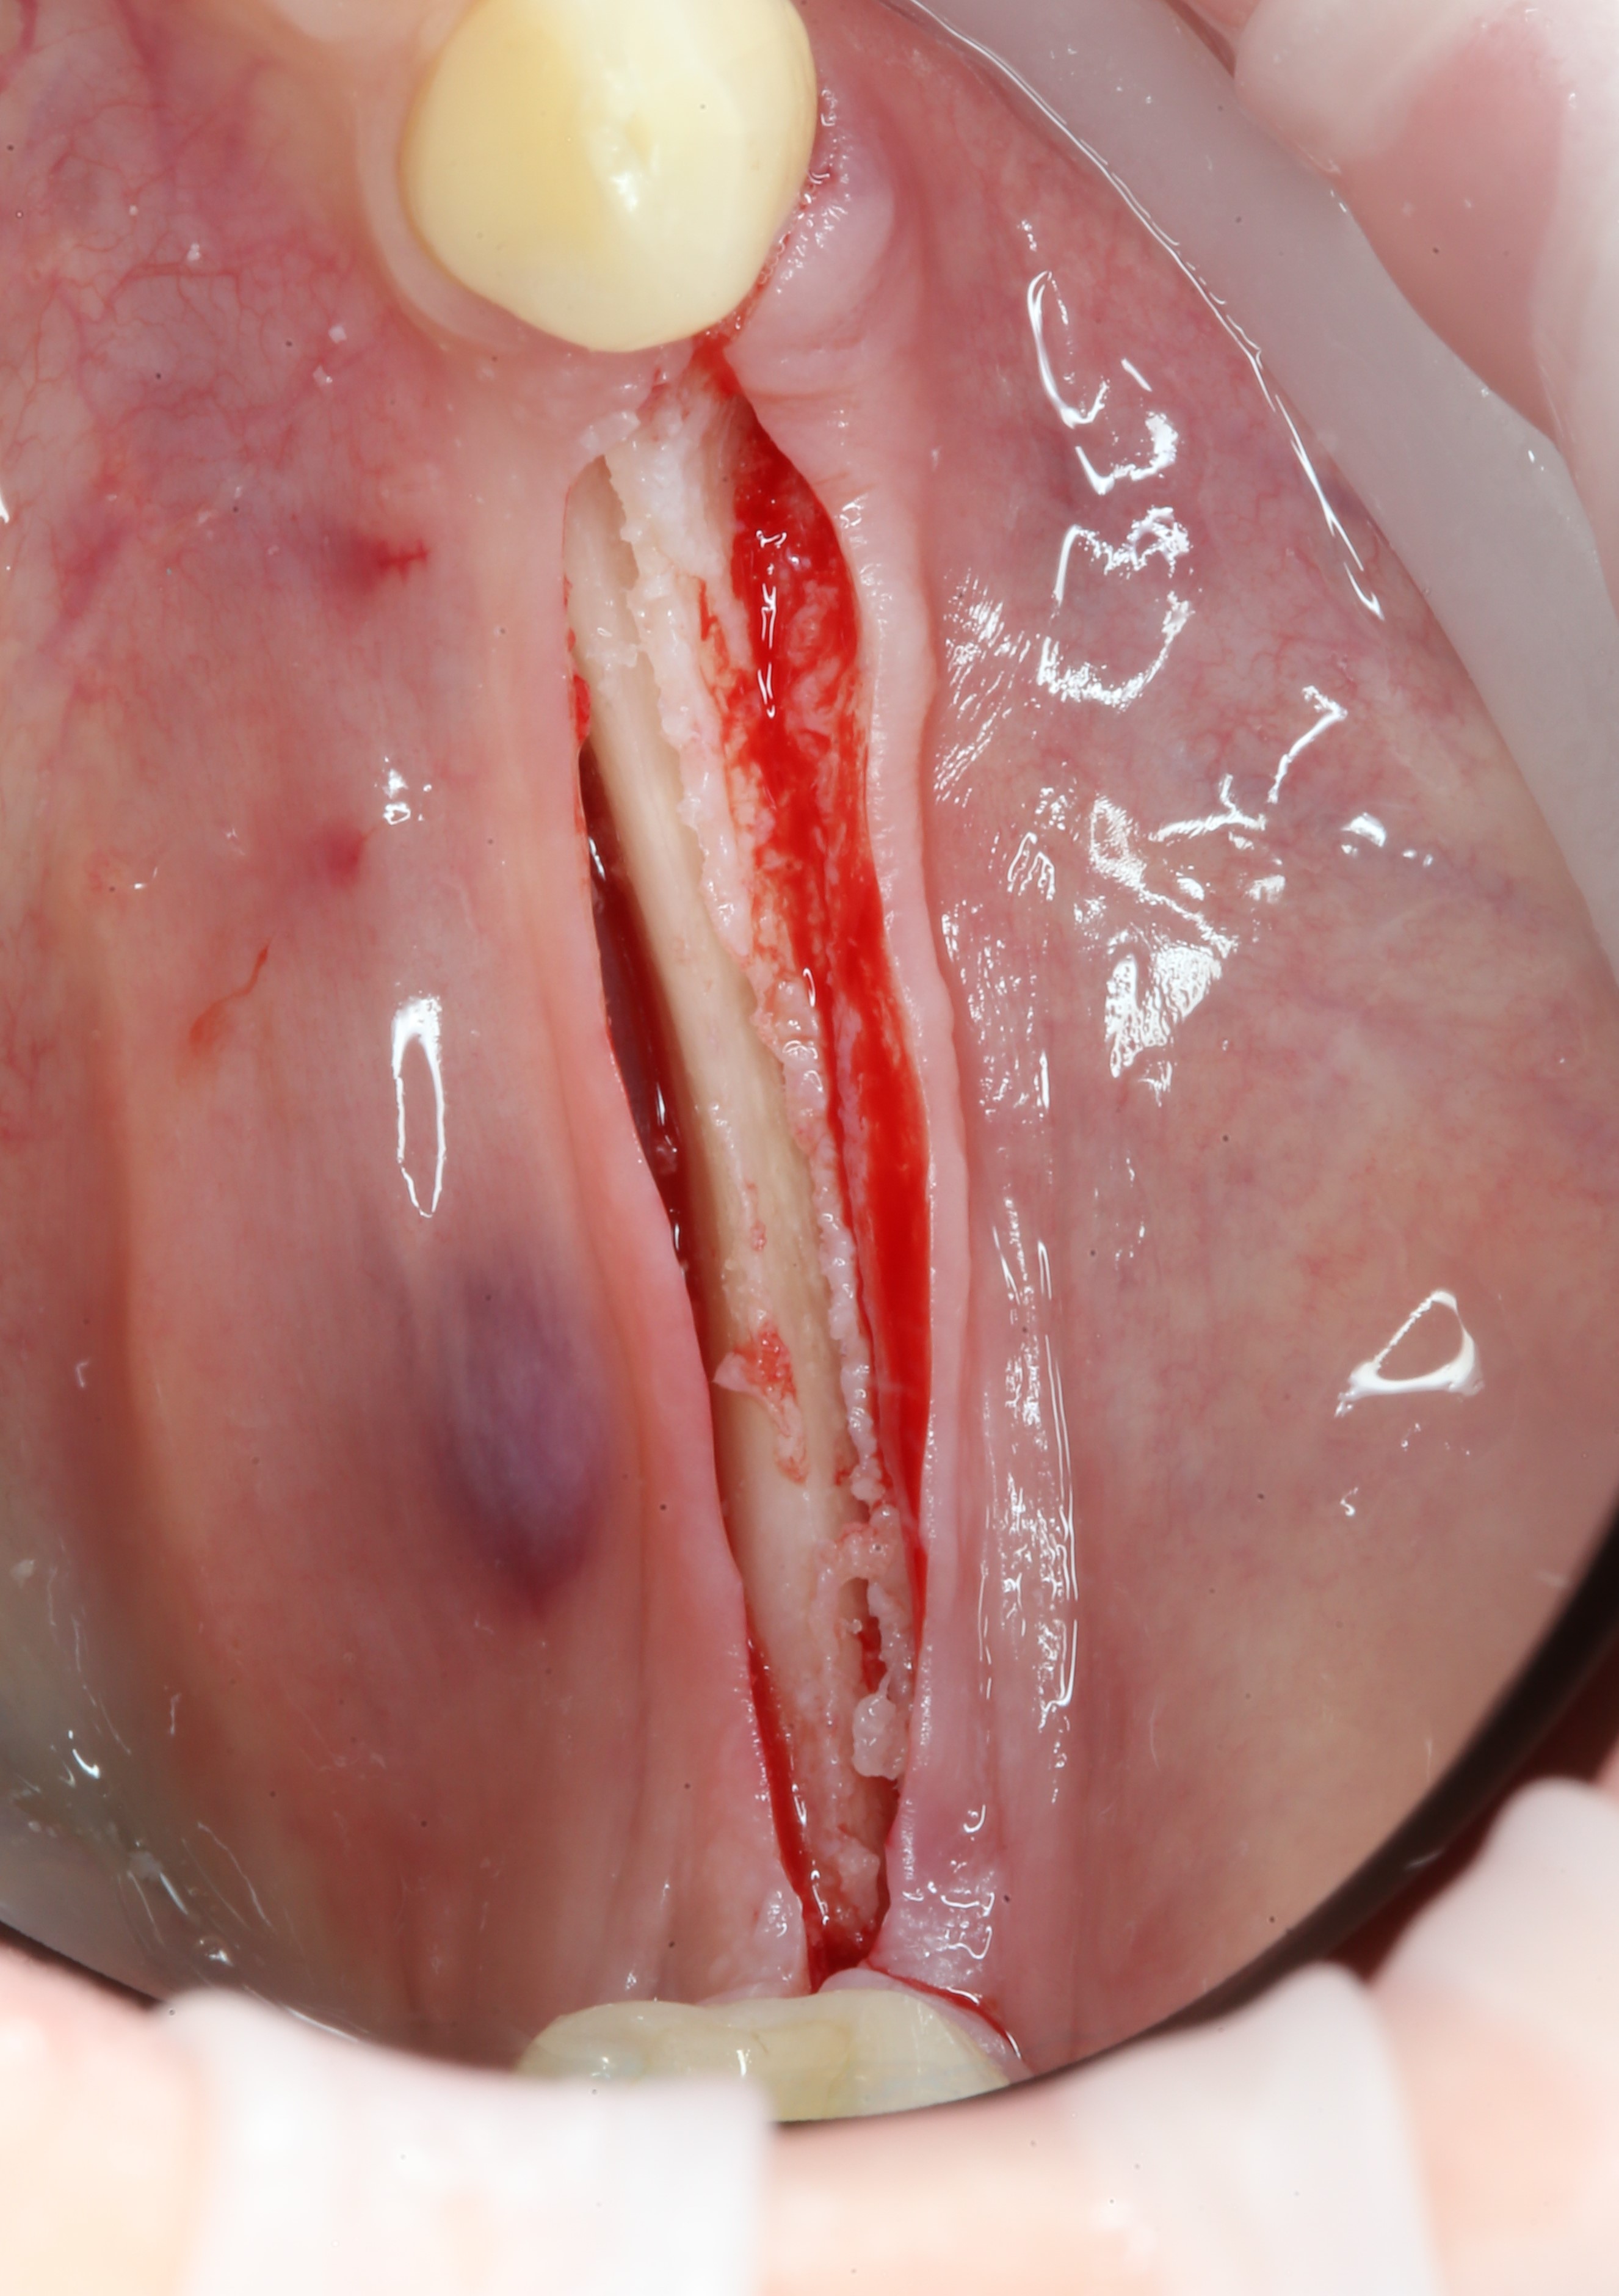
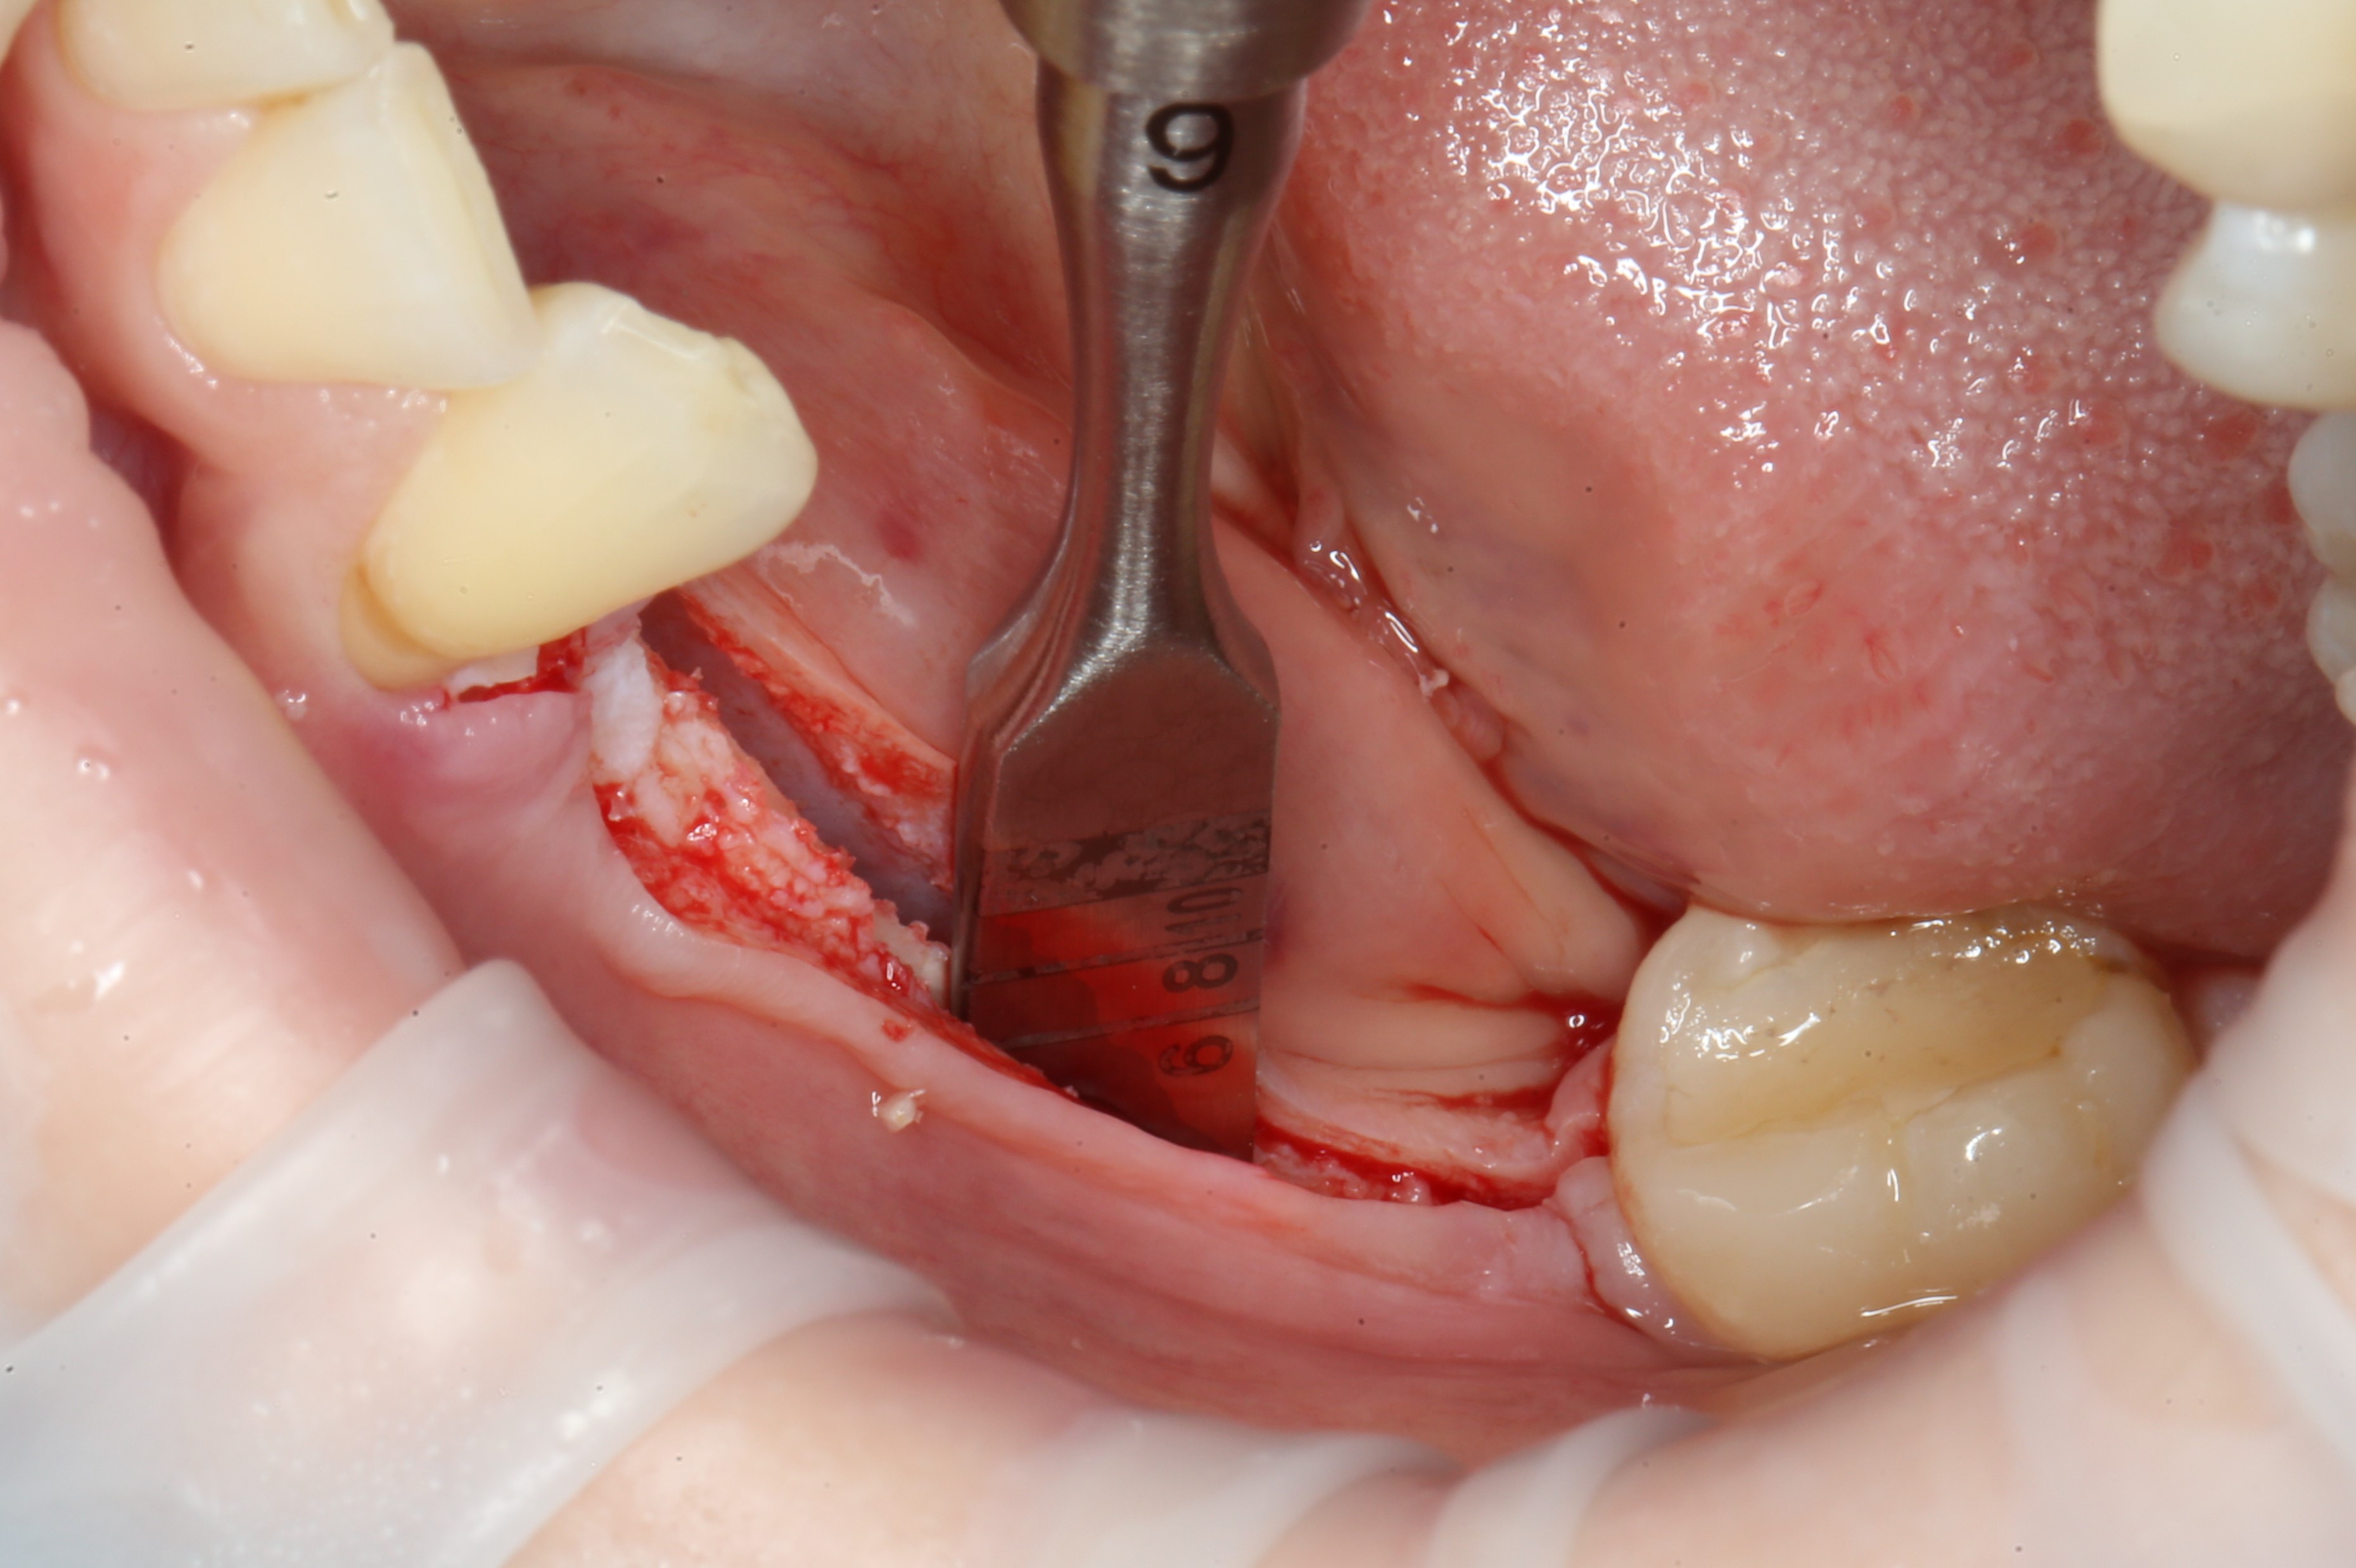
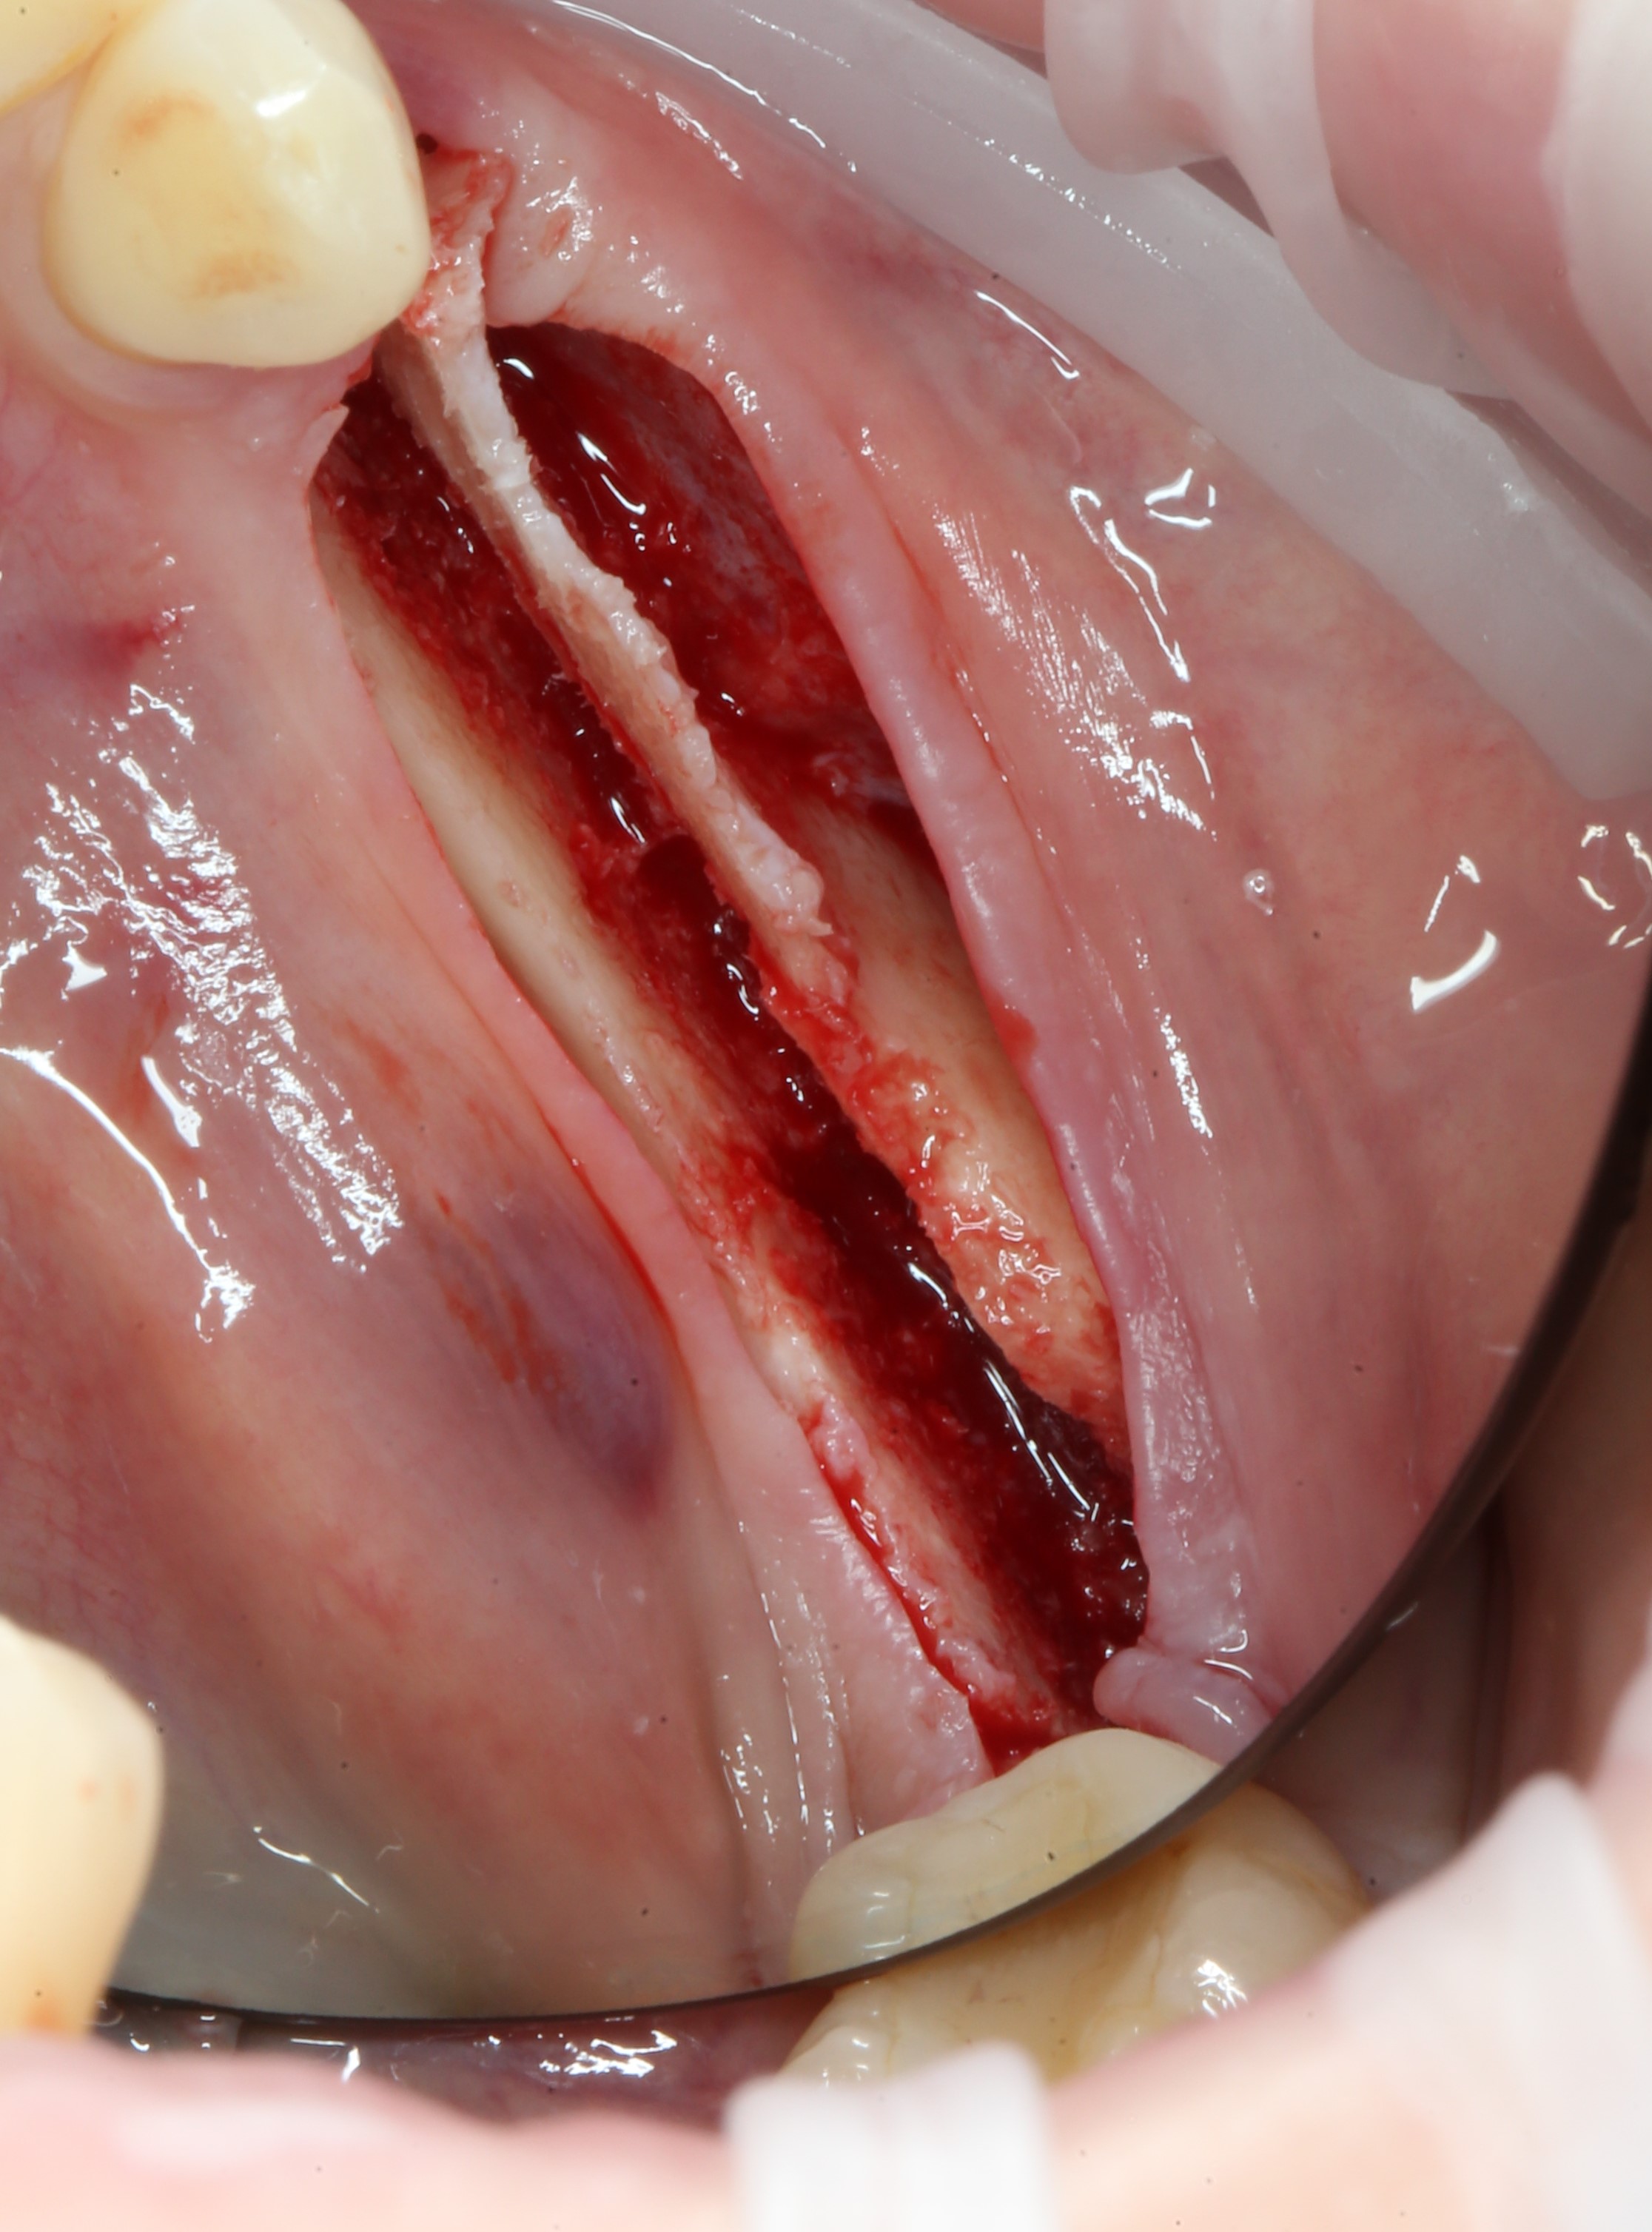
The same piezo-surgical (ultrasound) apparatus is used to perform splitting as for sinus lift: The

ultrasonic tip is positioned perpendicular to the bone, resulting in a "trench" along the missing teeth. The depth of this trench is 10 mm.

Top view:
With the help of special osteotomes
, the "wedging" of the bone fragments is performed in the most accurate way. Why neat? But because the bone wall can be broken off, and the whole operation can go along the beard.
The bone was split:
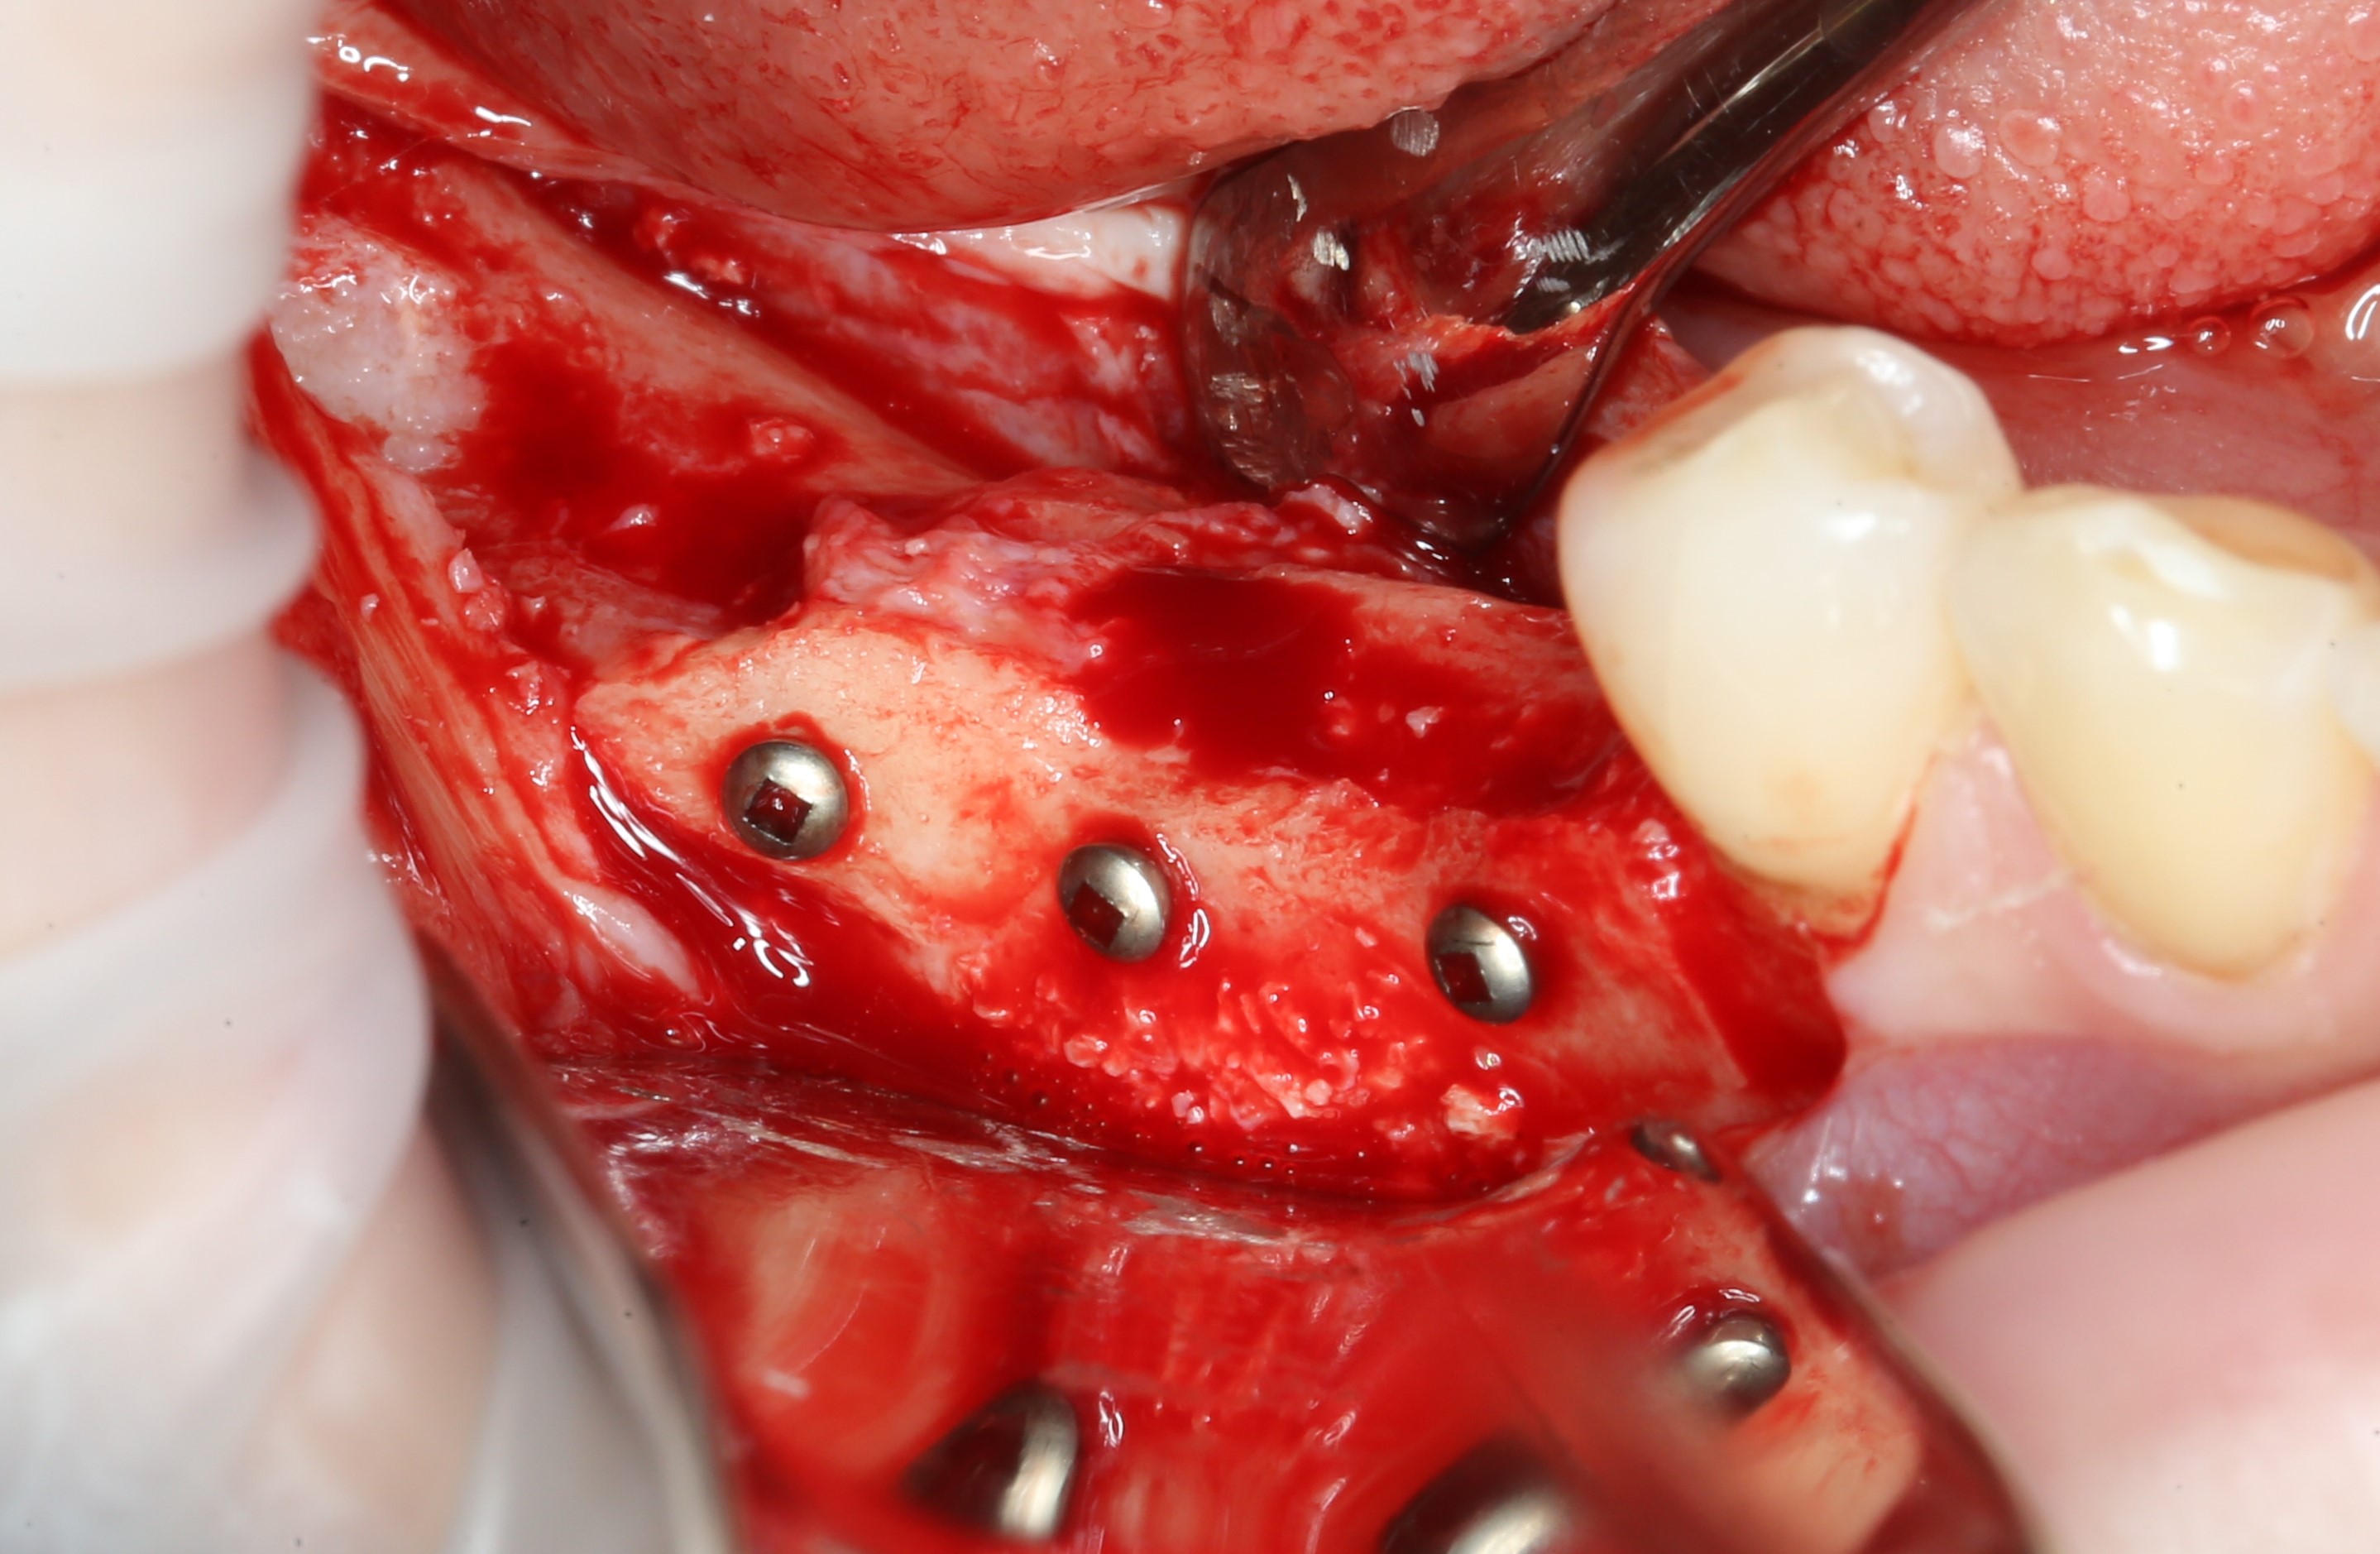
To fix the bone fragment, so that it does not fall off in the future, special screws are used.
They are brought to the clinic in craft bags:

But for the convenience of storage, sterilization and use of these screws, there is a metal case.
It looks like this:
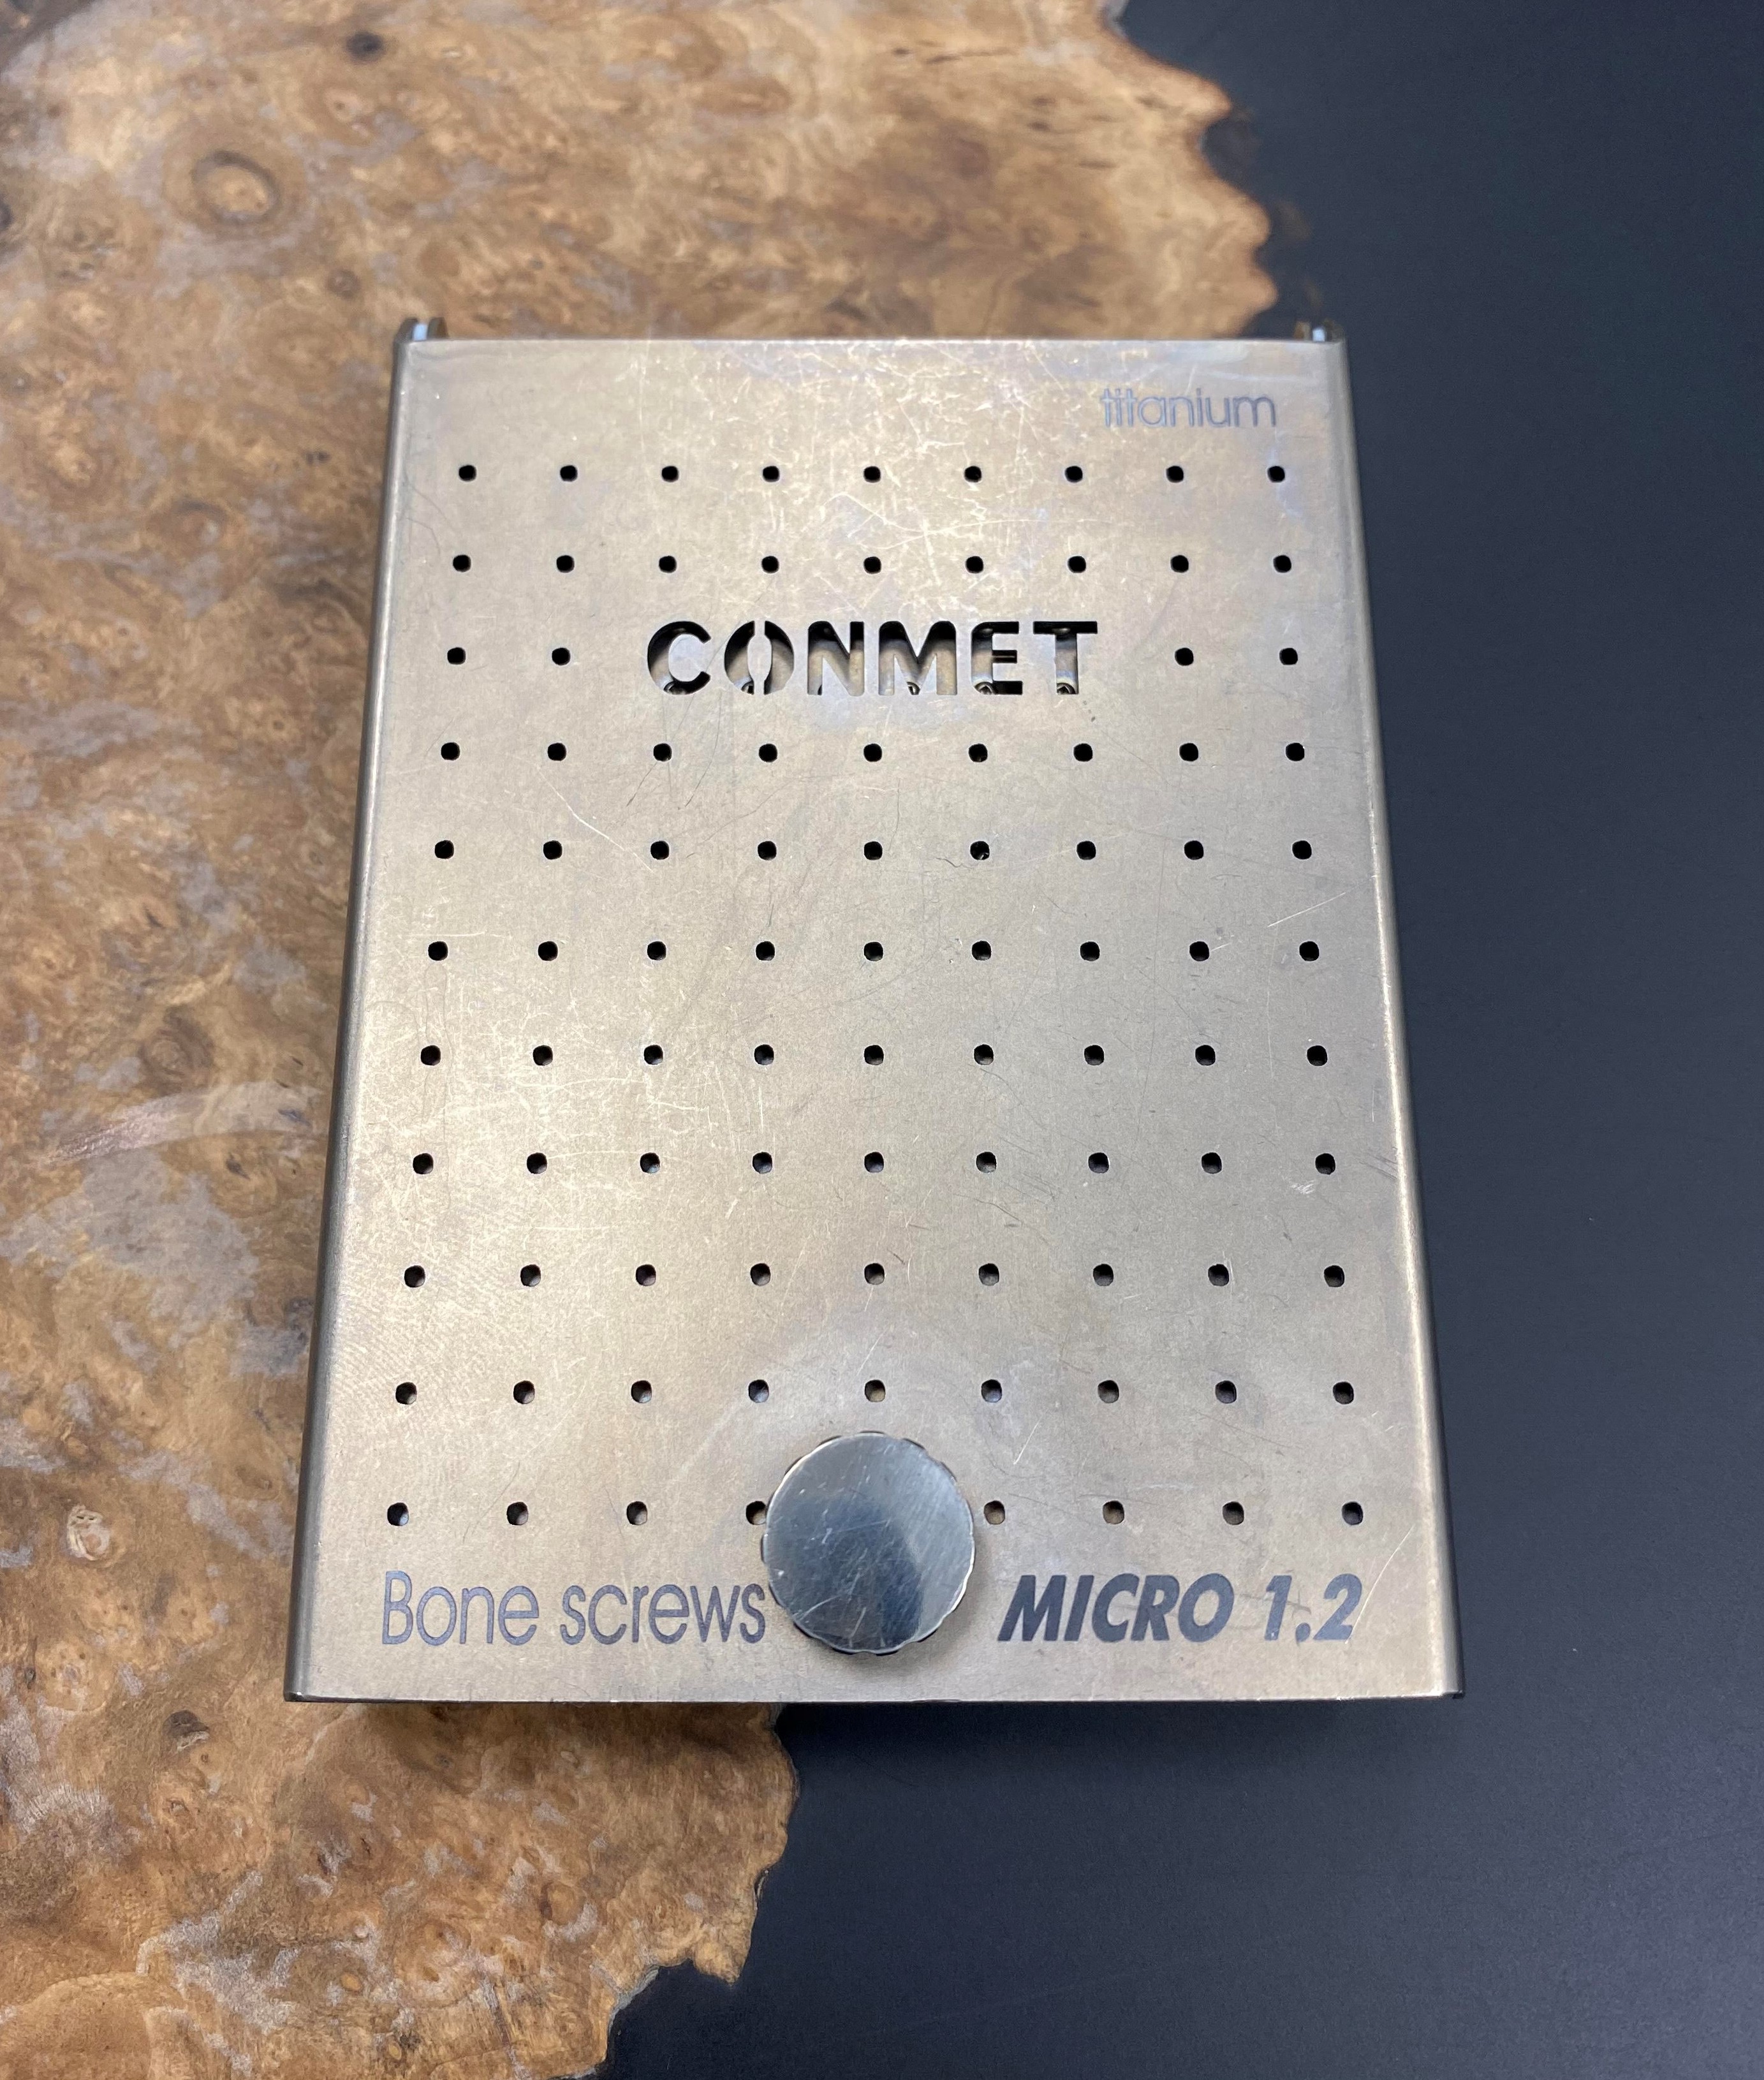
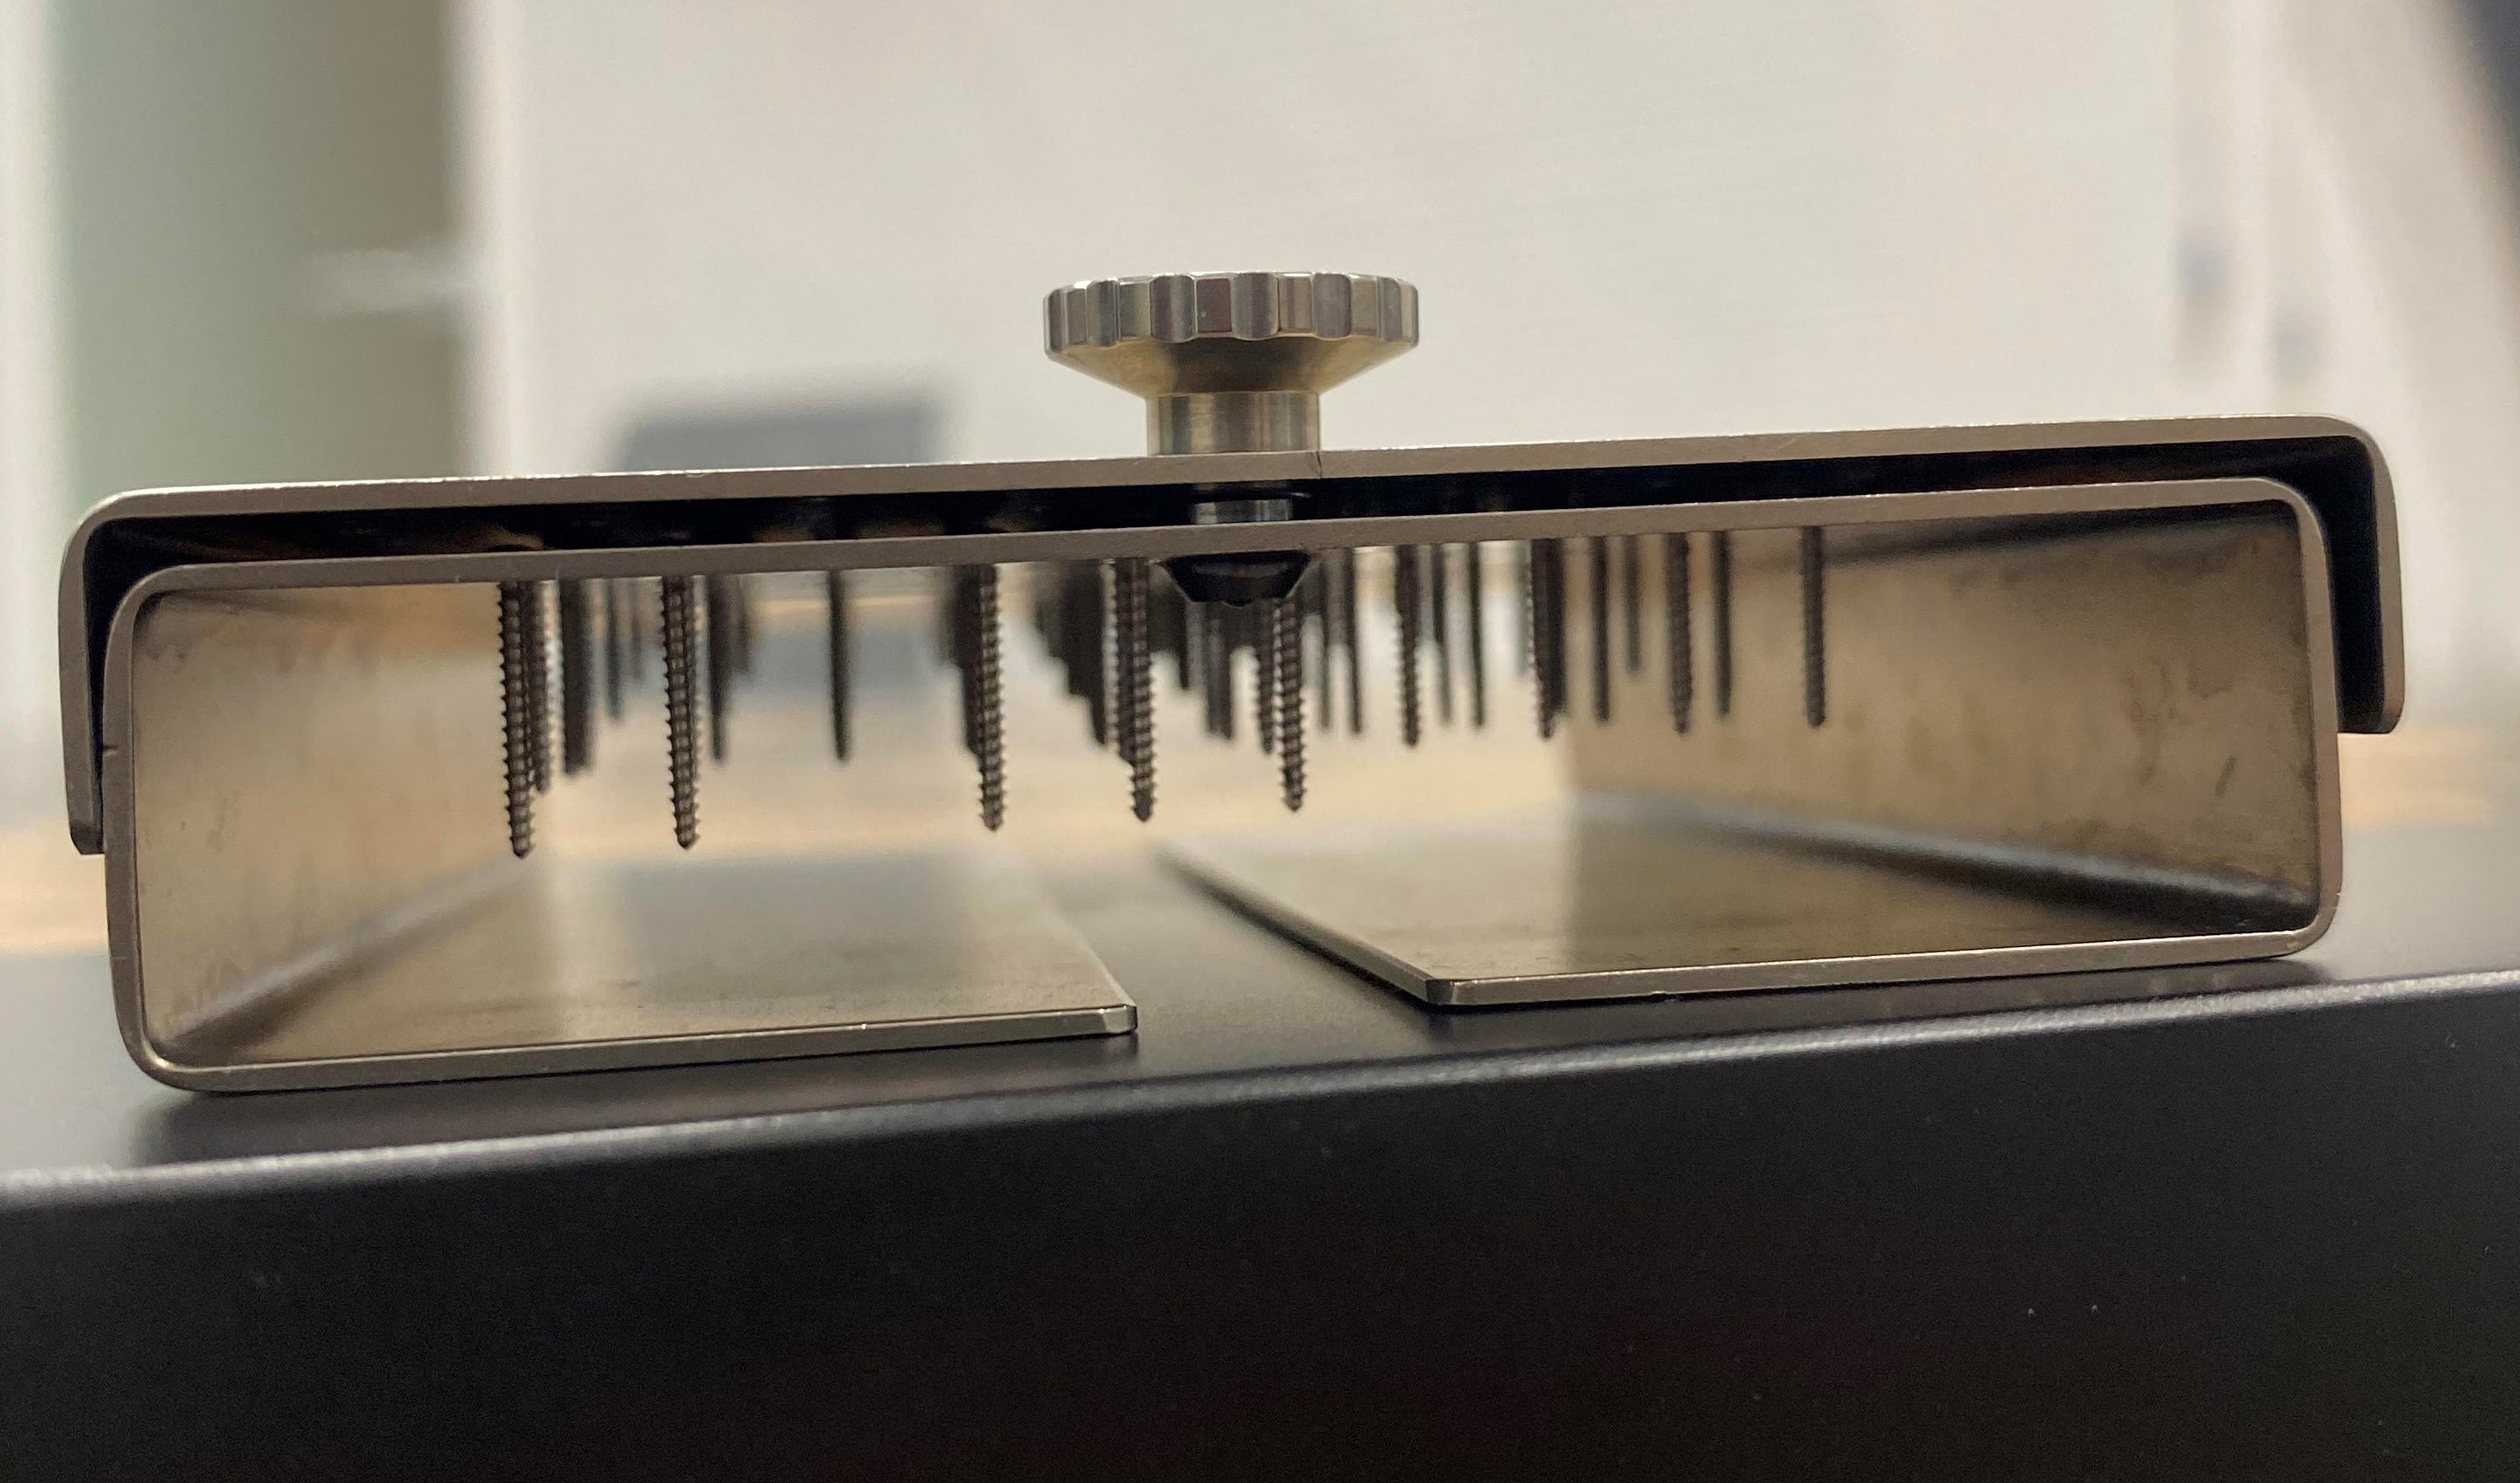
Opening it, you can see a large number of screws of different lengths:

These screws are "charged" into the cassette as they run out (CEP).
A trifle, but convenient.
Considering that these are not self-tapping screws, first you need to make holes in the bone:

To do this, use a straight tip and cutters of different diameters (cooling is done with a saline solution that is fed through a tube): The

tip is connected to a special device:

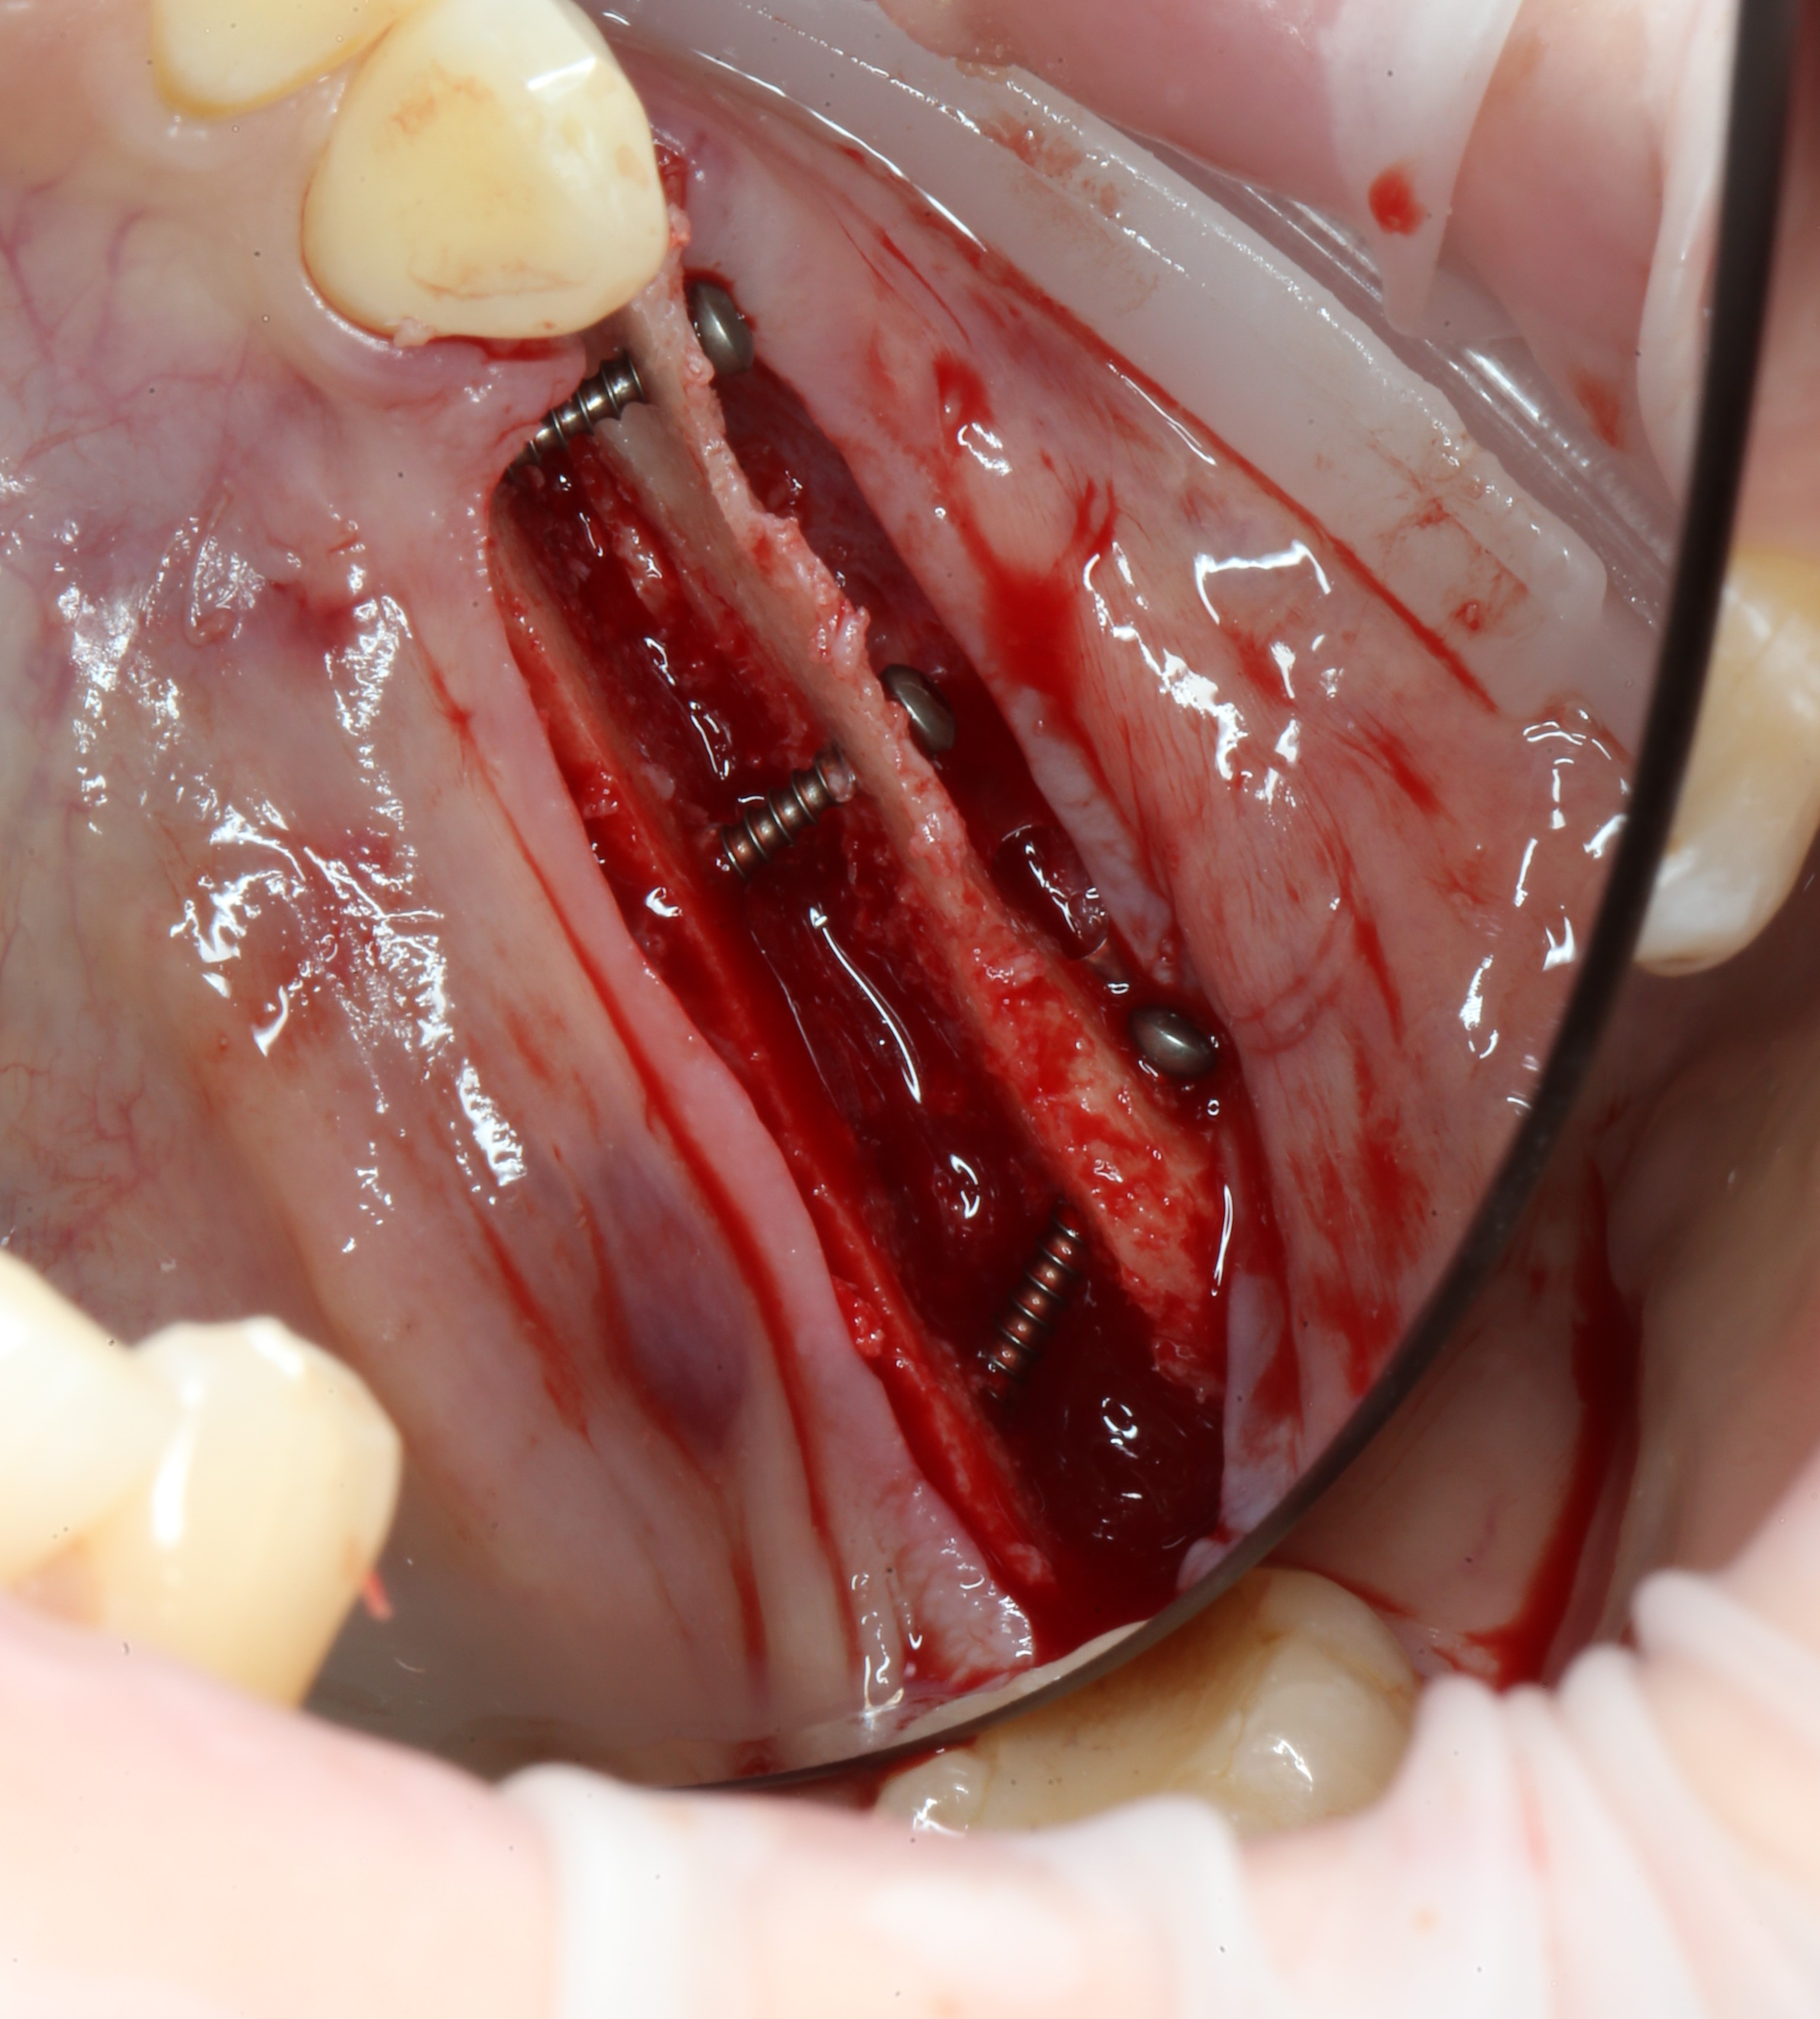
Take a screwdriver and screw in the screws:

Option of the screwdriver:

"Stings" are removable and come in different diameters.
We get such a box:
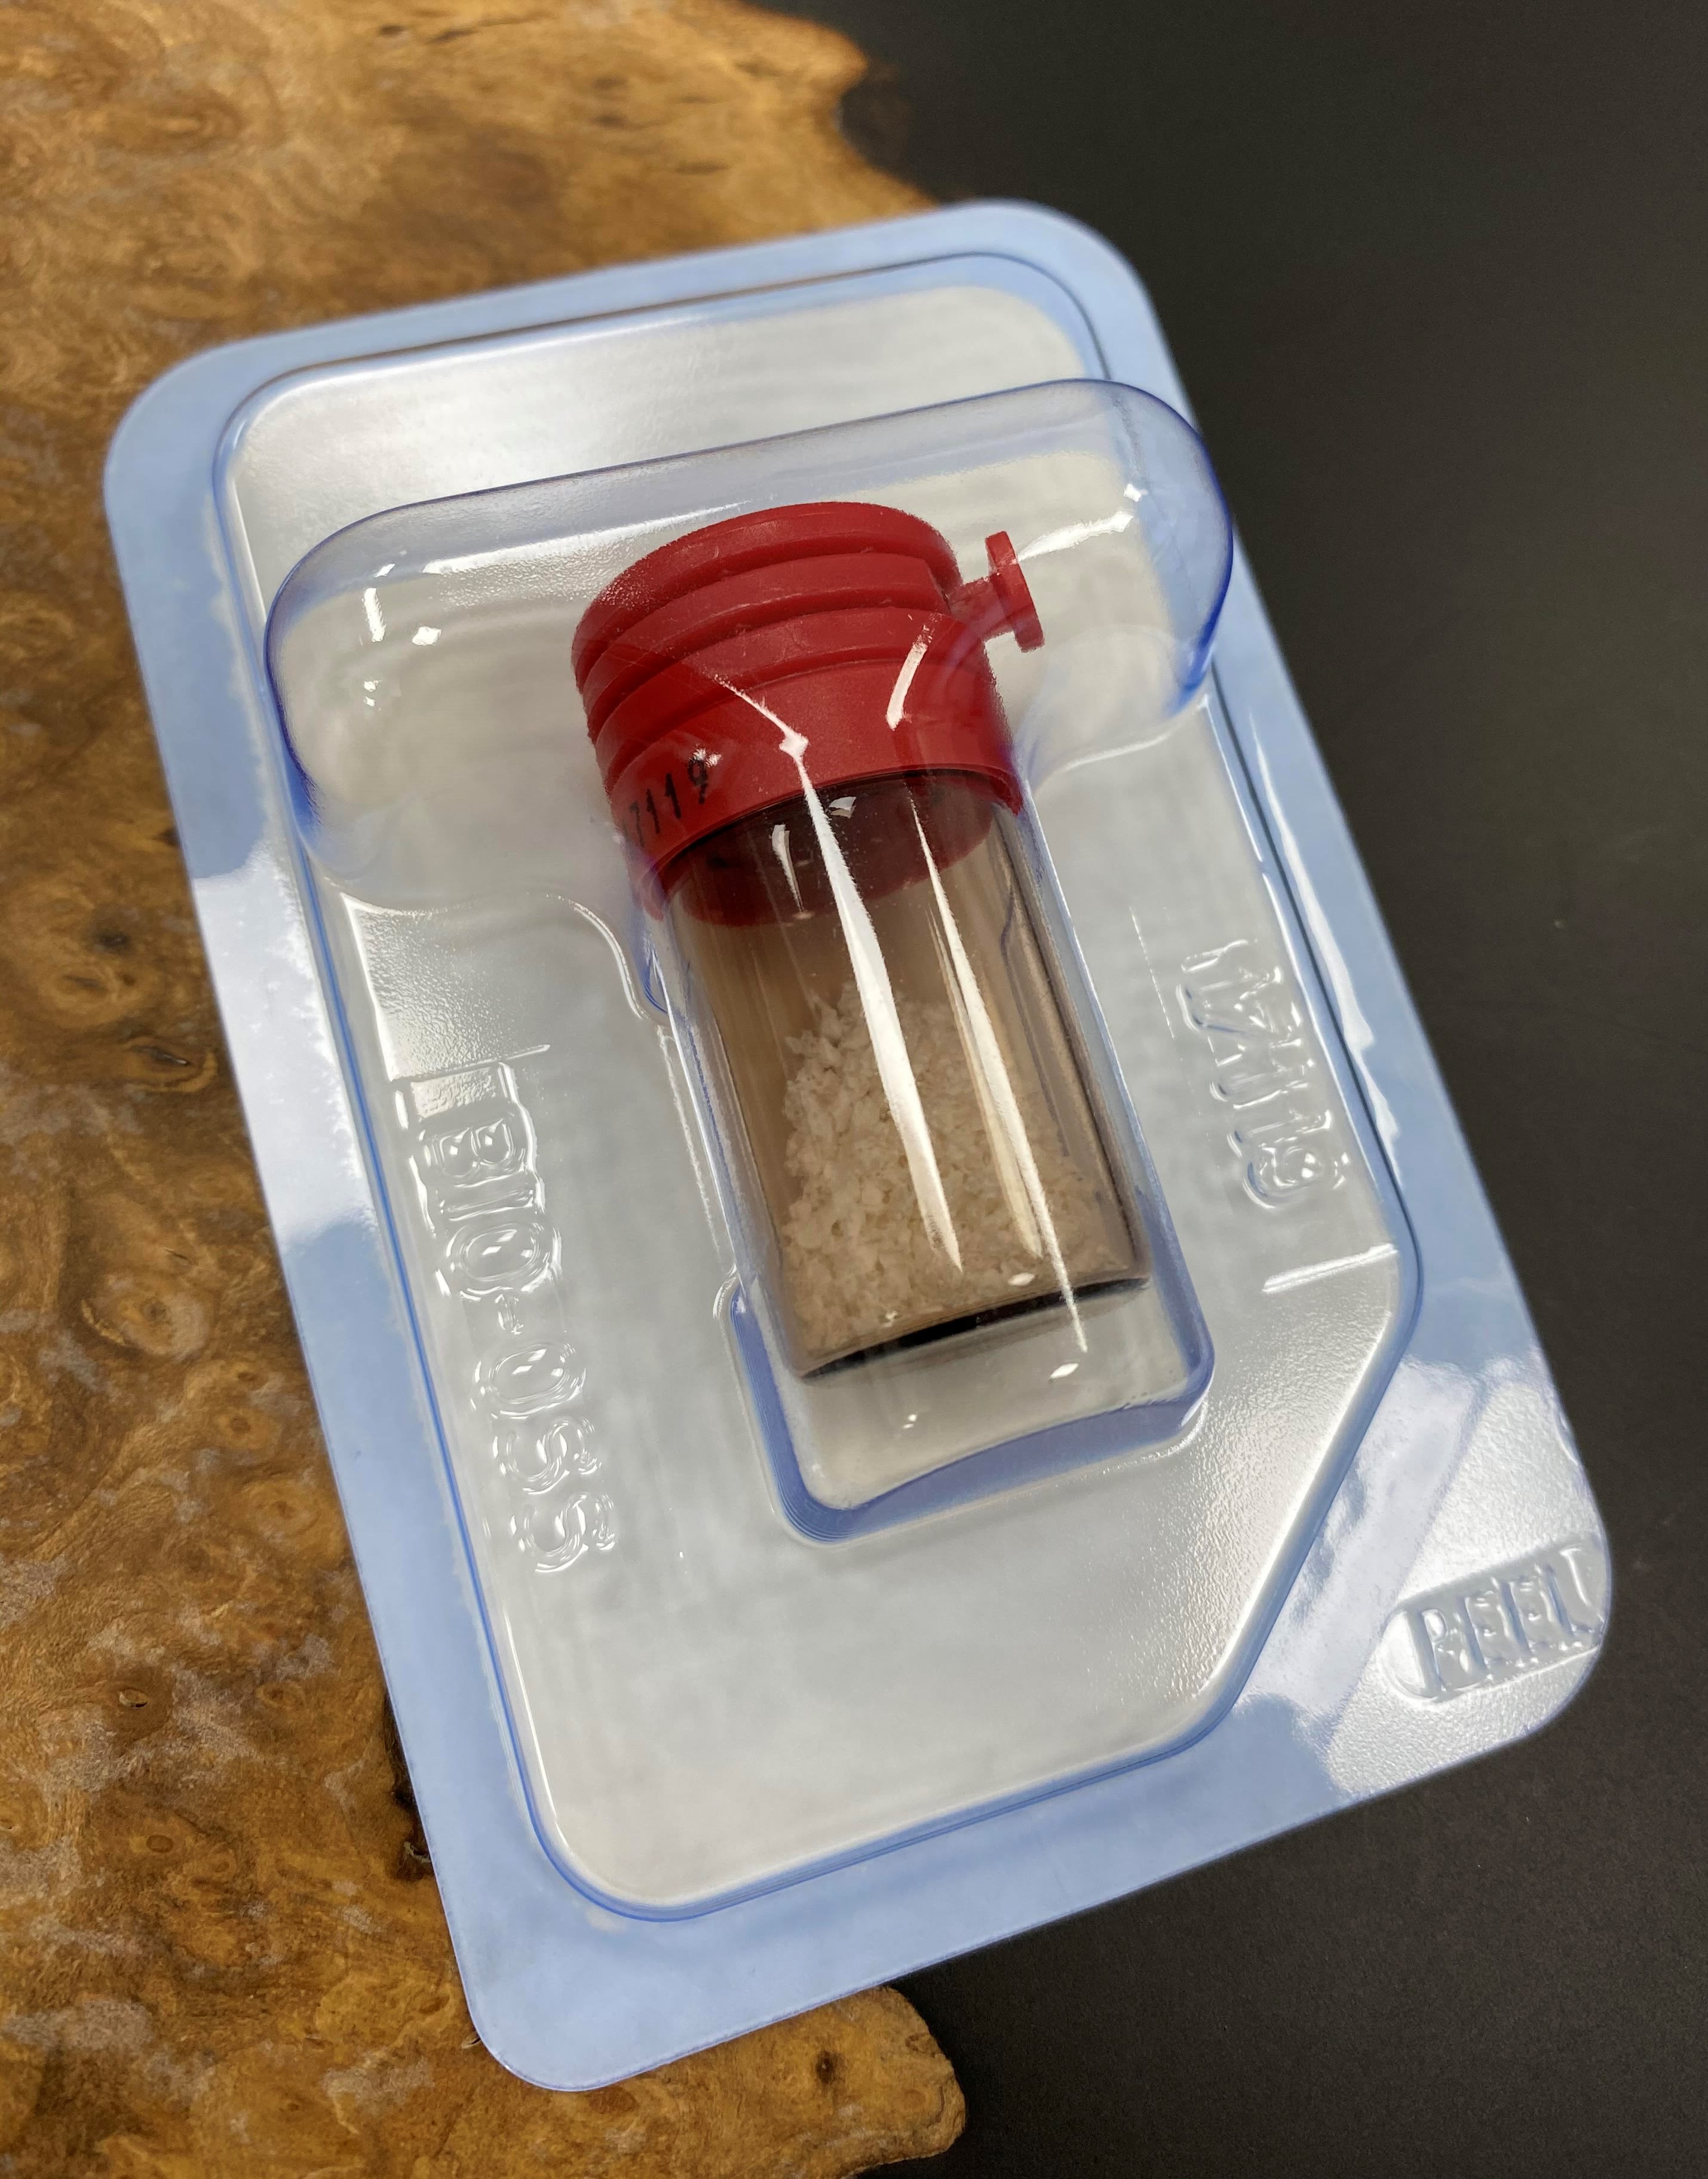
Next, you need to fill the gap between the two fragments with bone material.
In this case, the artificial will be enough: The
contents of the jar are poured into the "bowl" and the physical is moistened. solution:
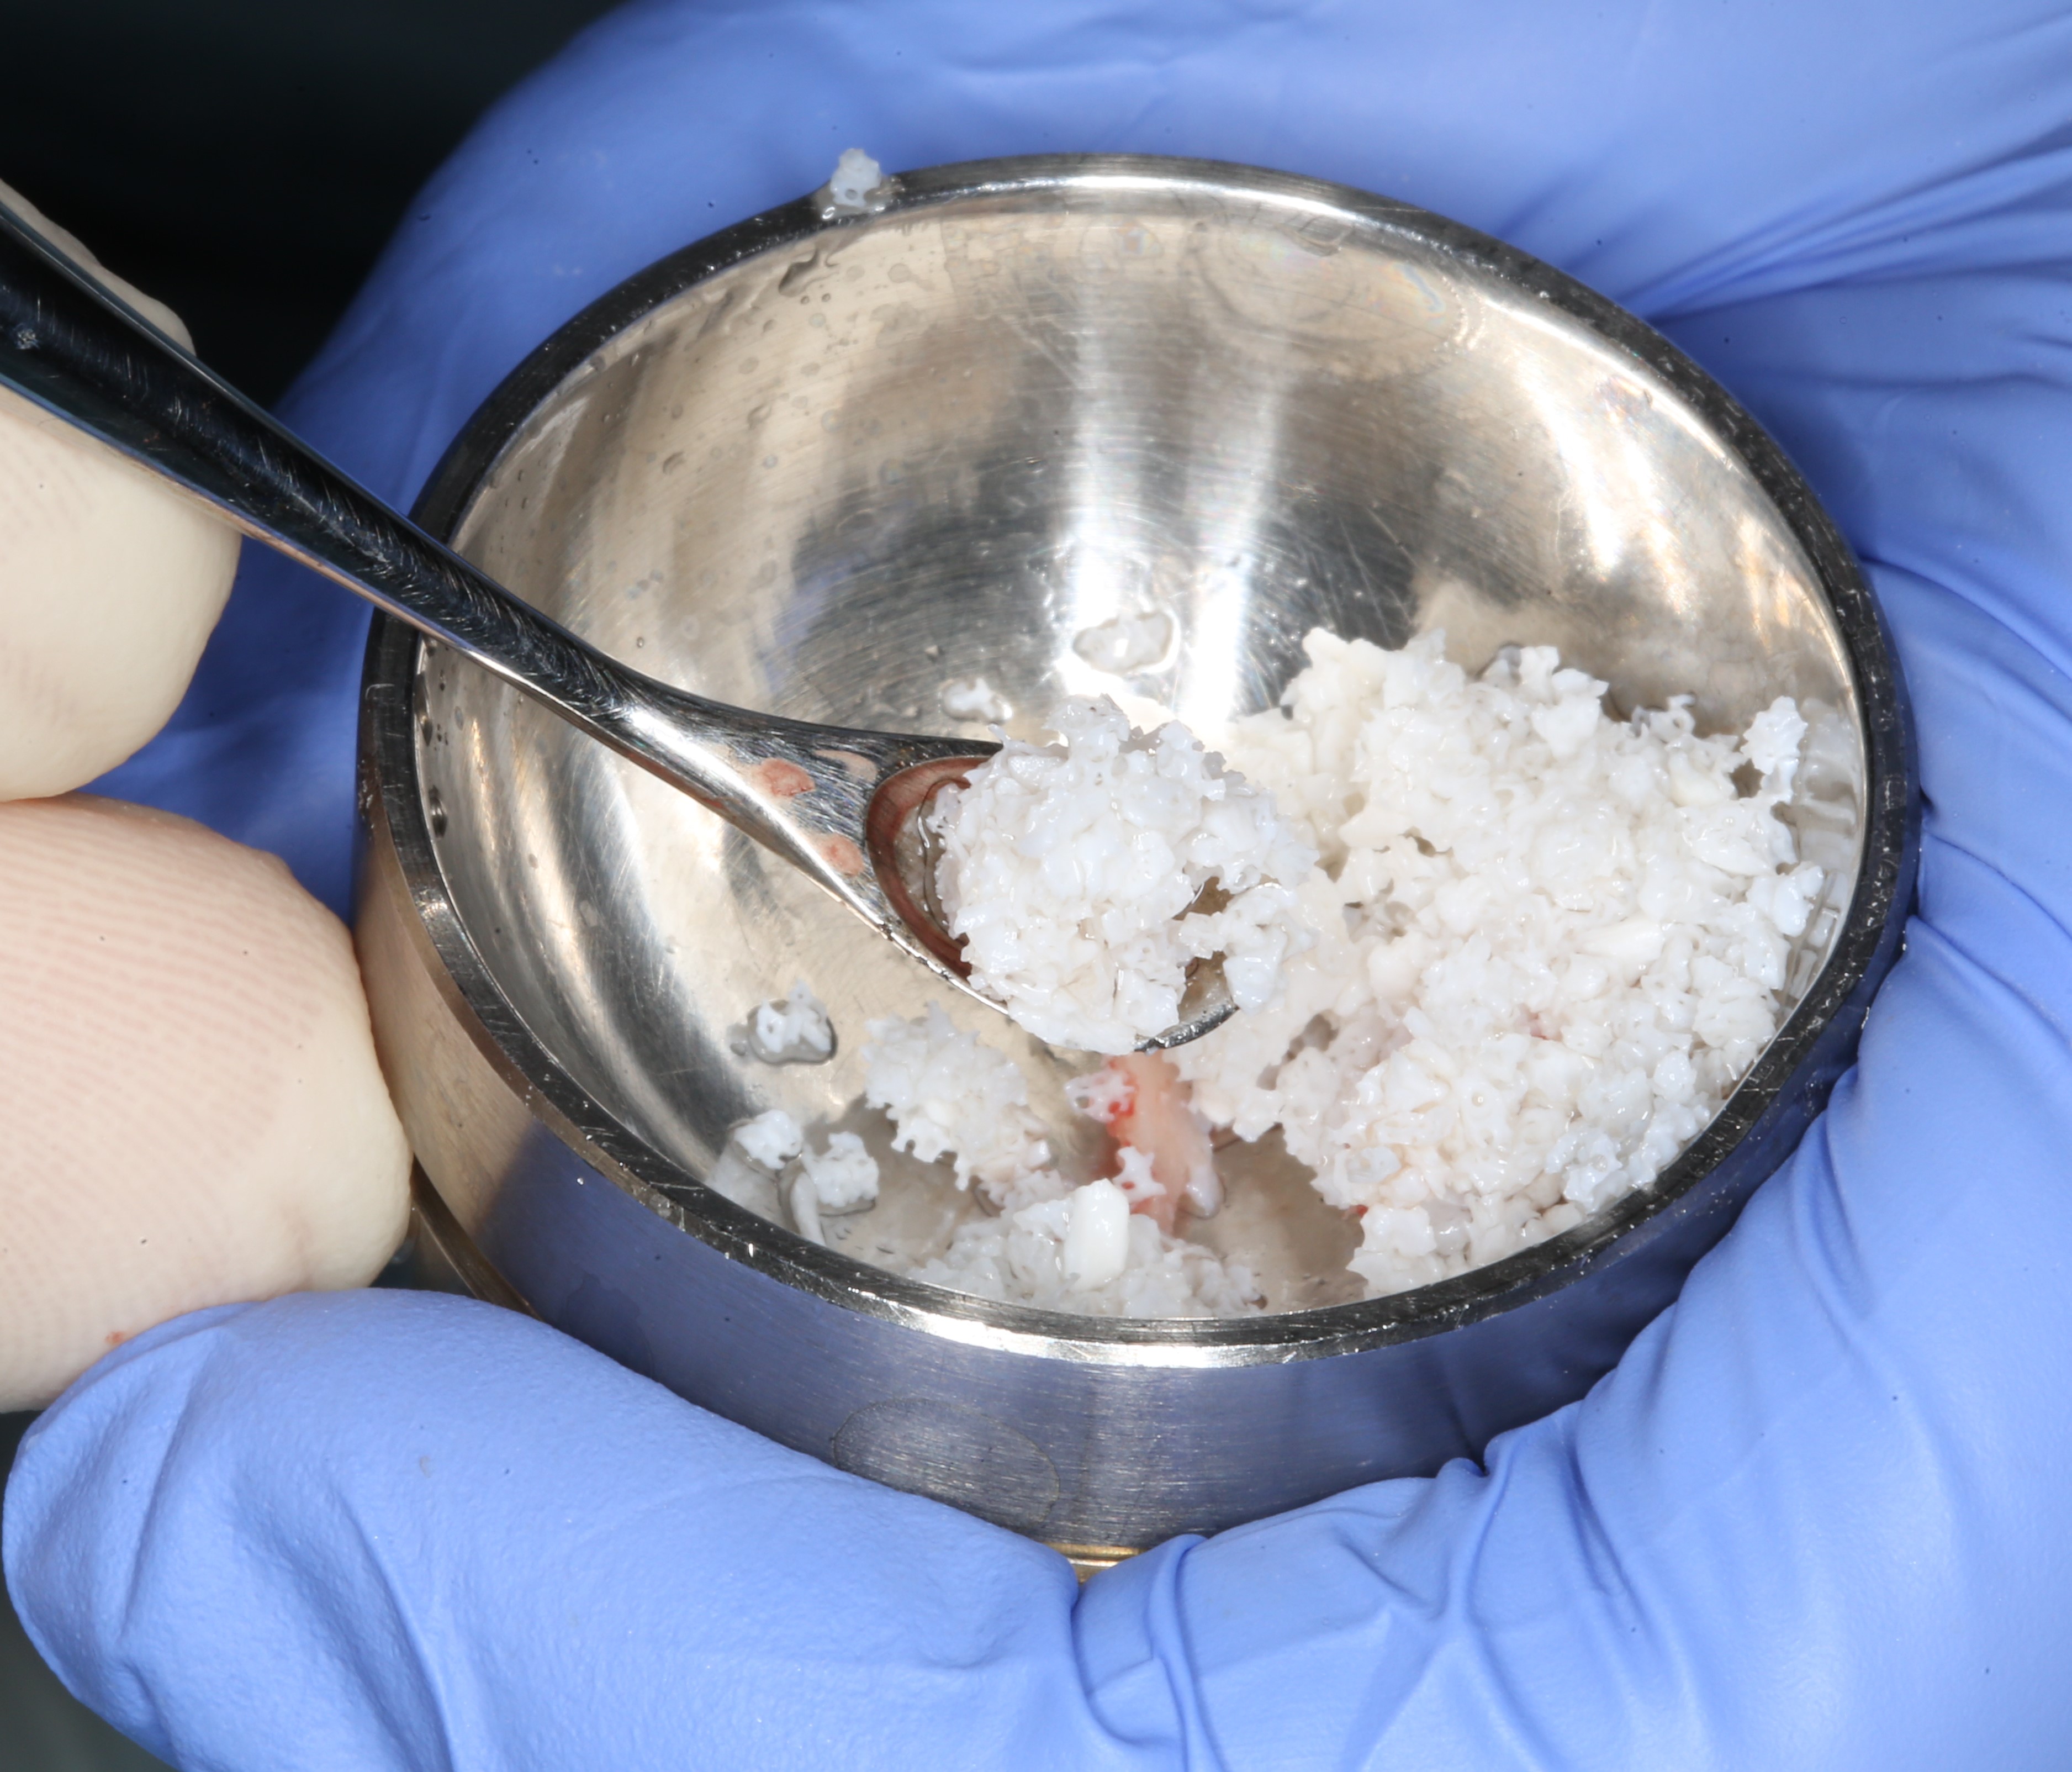
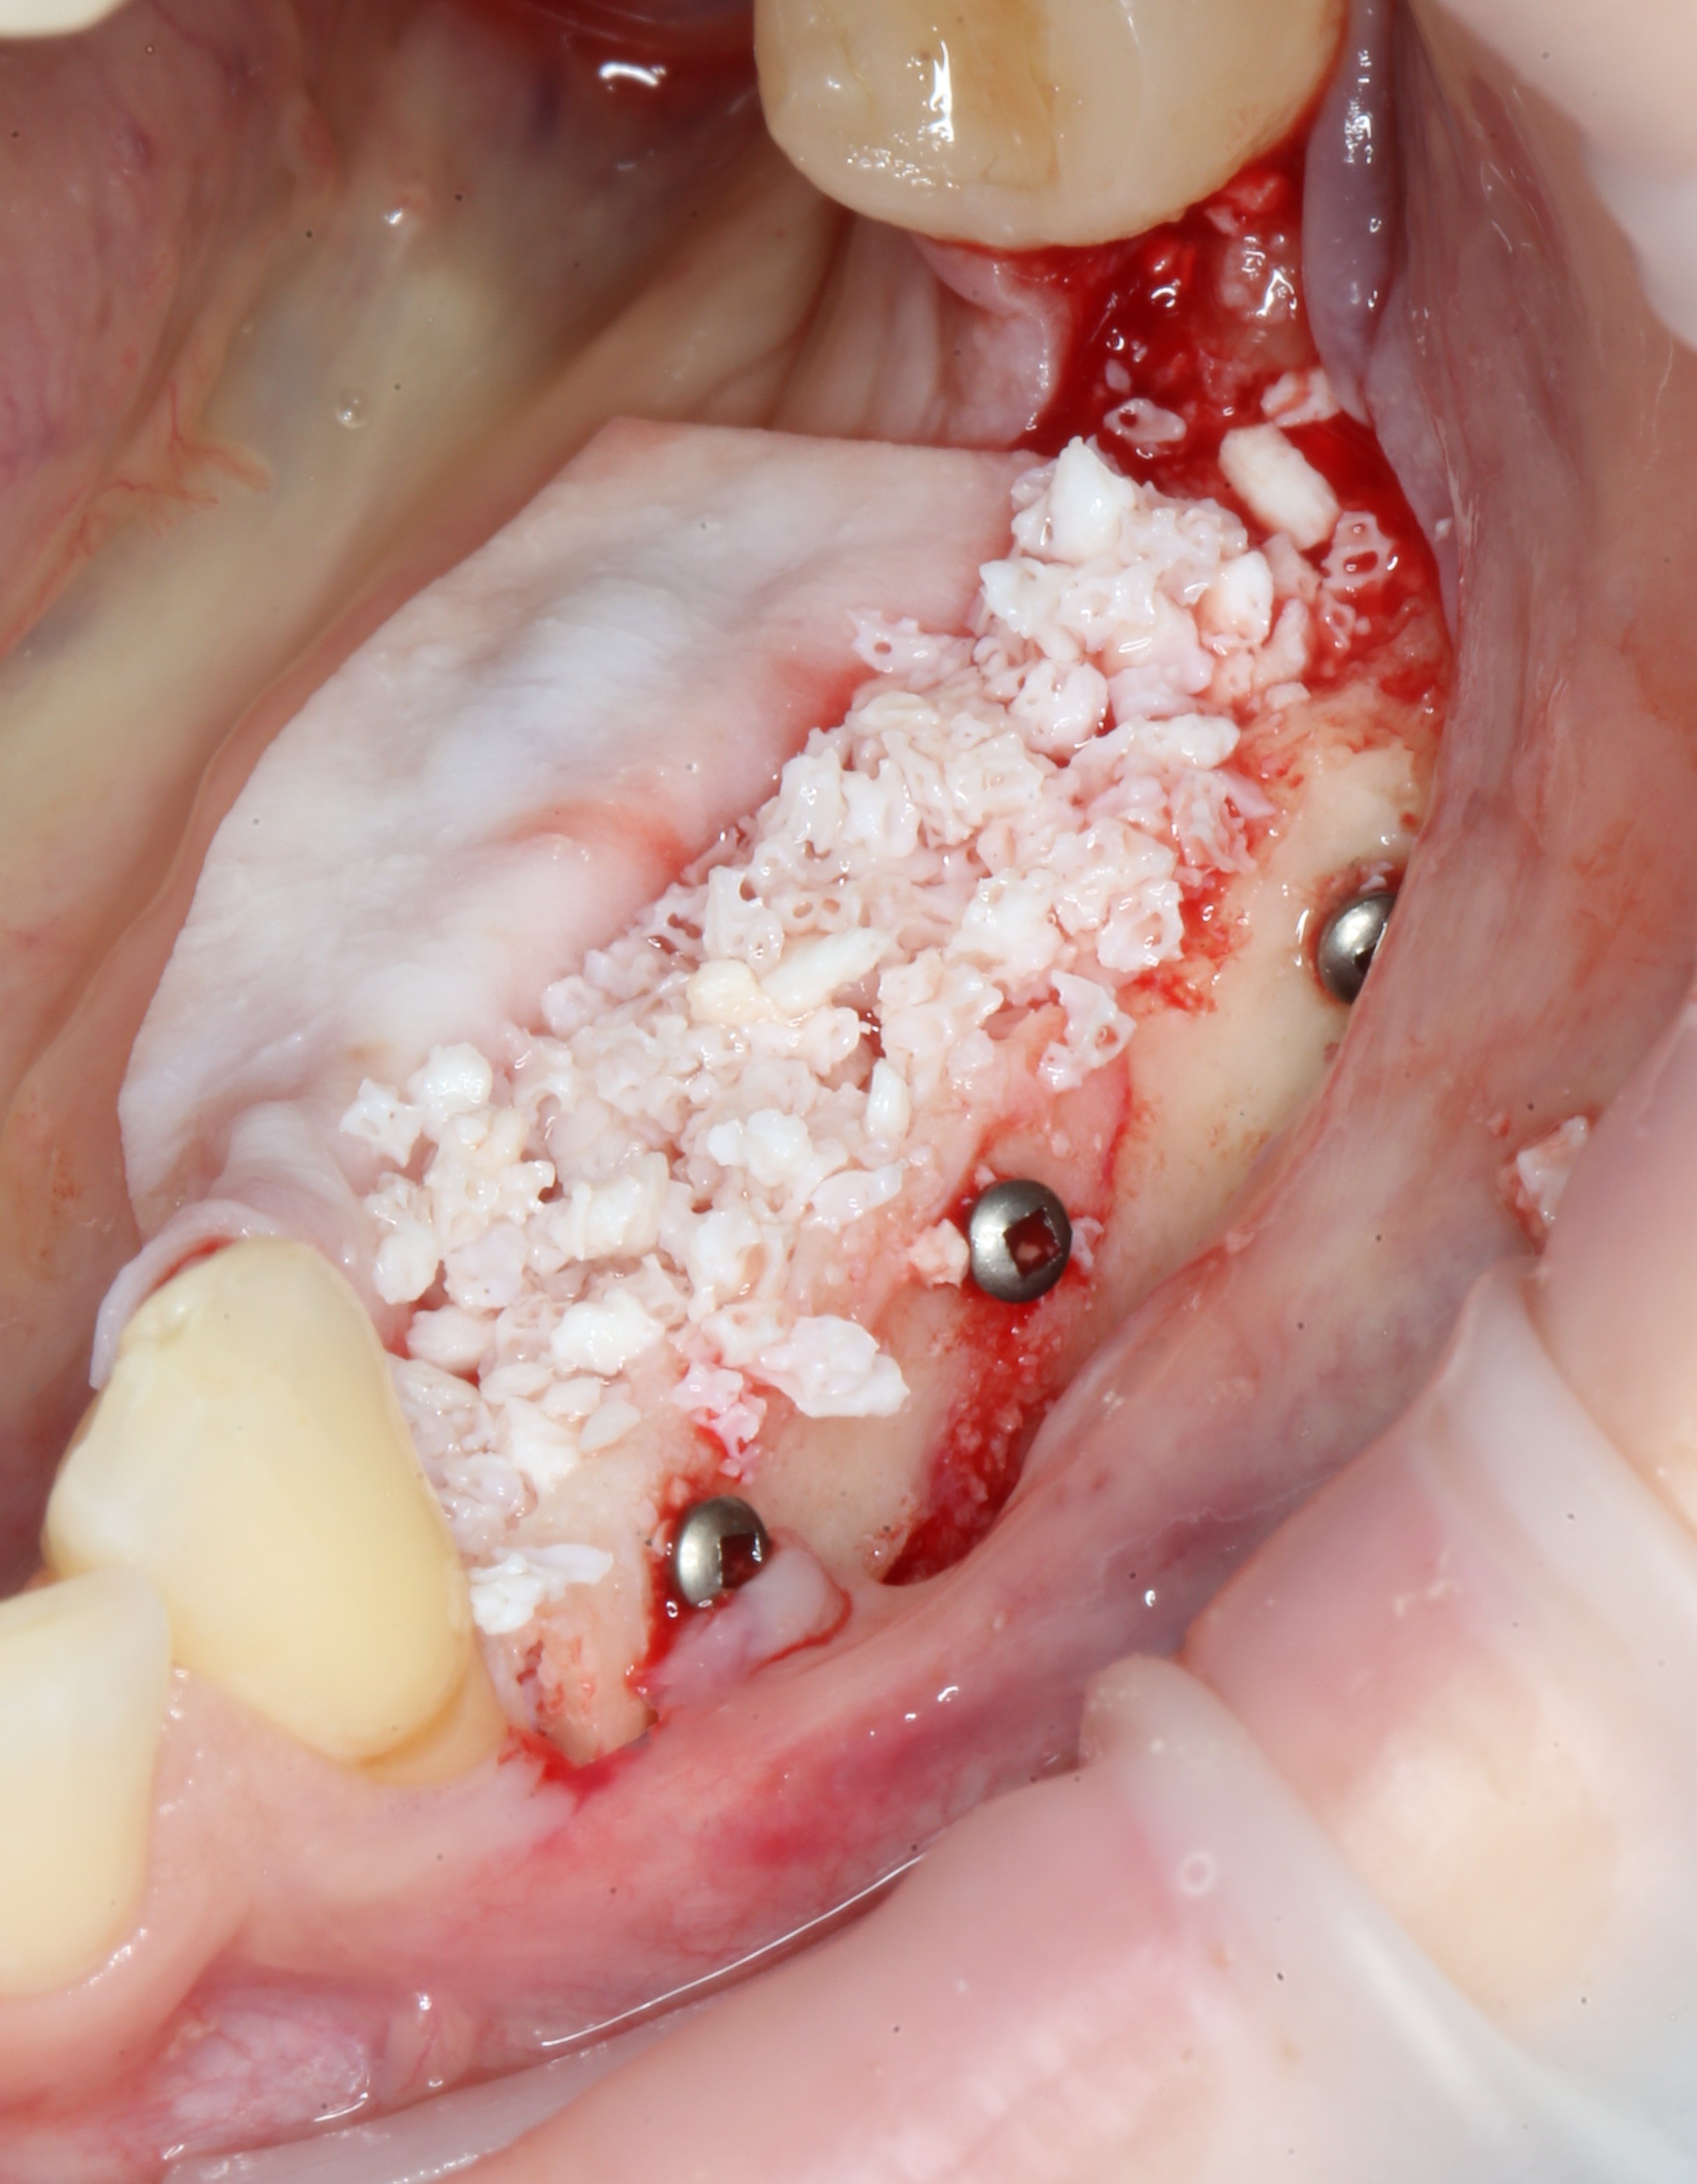
Then we distribute bone material:

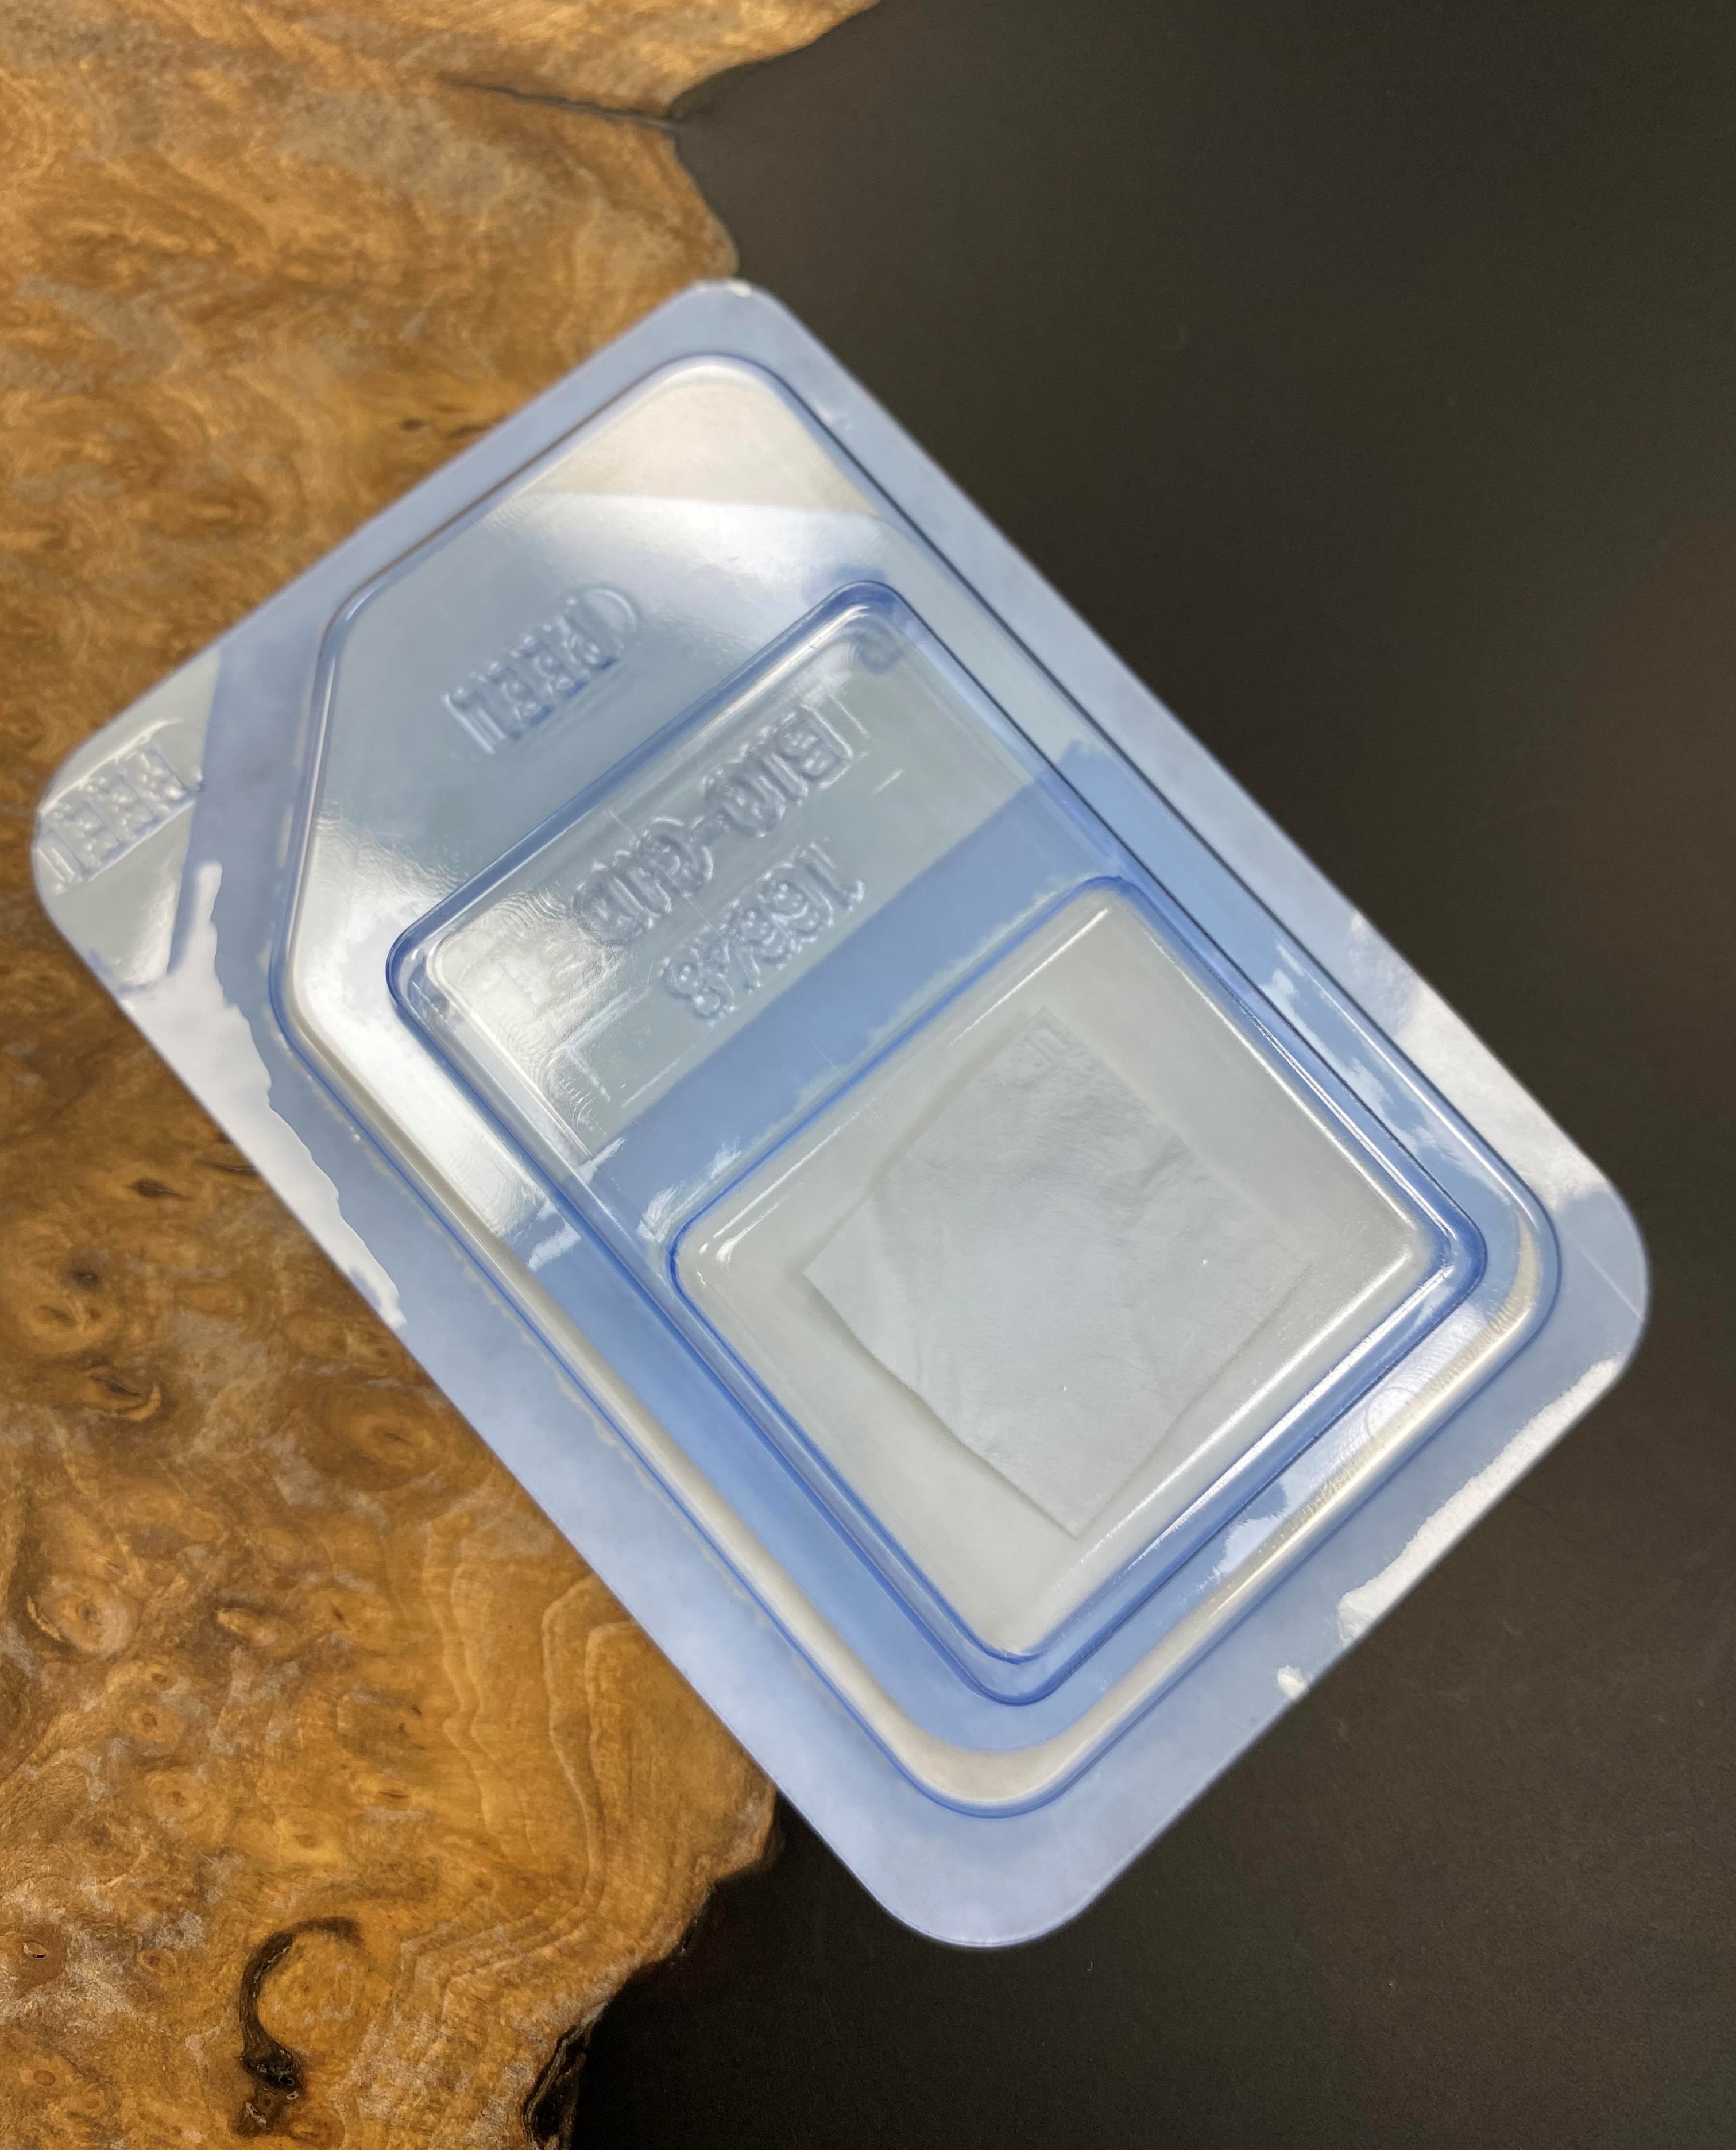
Soft tissue regenerates much faster than bone. In order to prevent the gum from growing through the bone material, it must be covered with a special absorbable membrane:
The membrane is placed between the gum and the bone, the remains of bone chips are added:
And this whole sandwich is covered with it, like a blanket:
Time to suture (scissors and a needle holder):
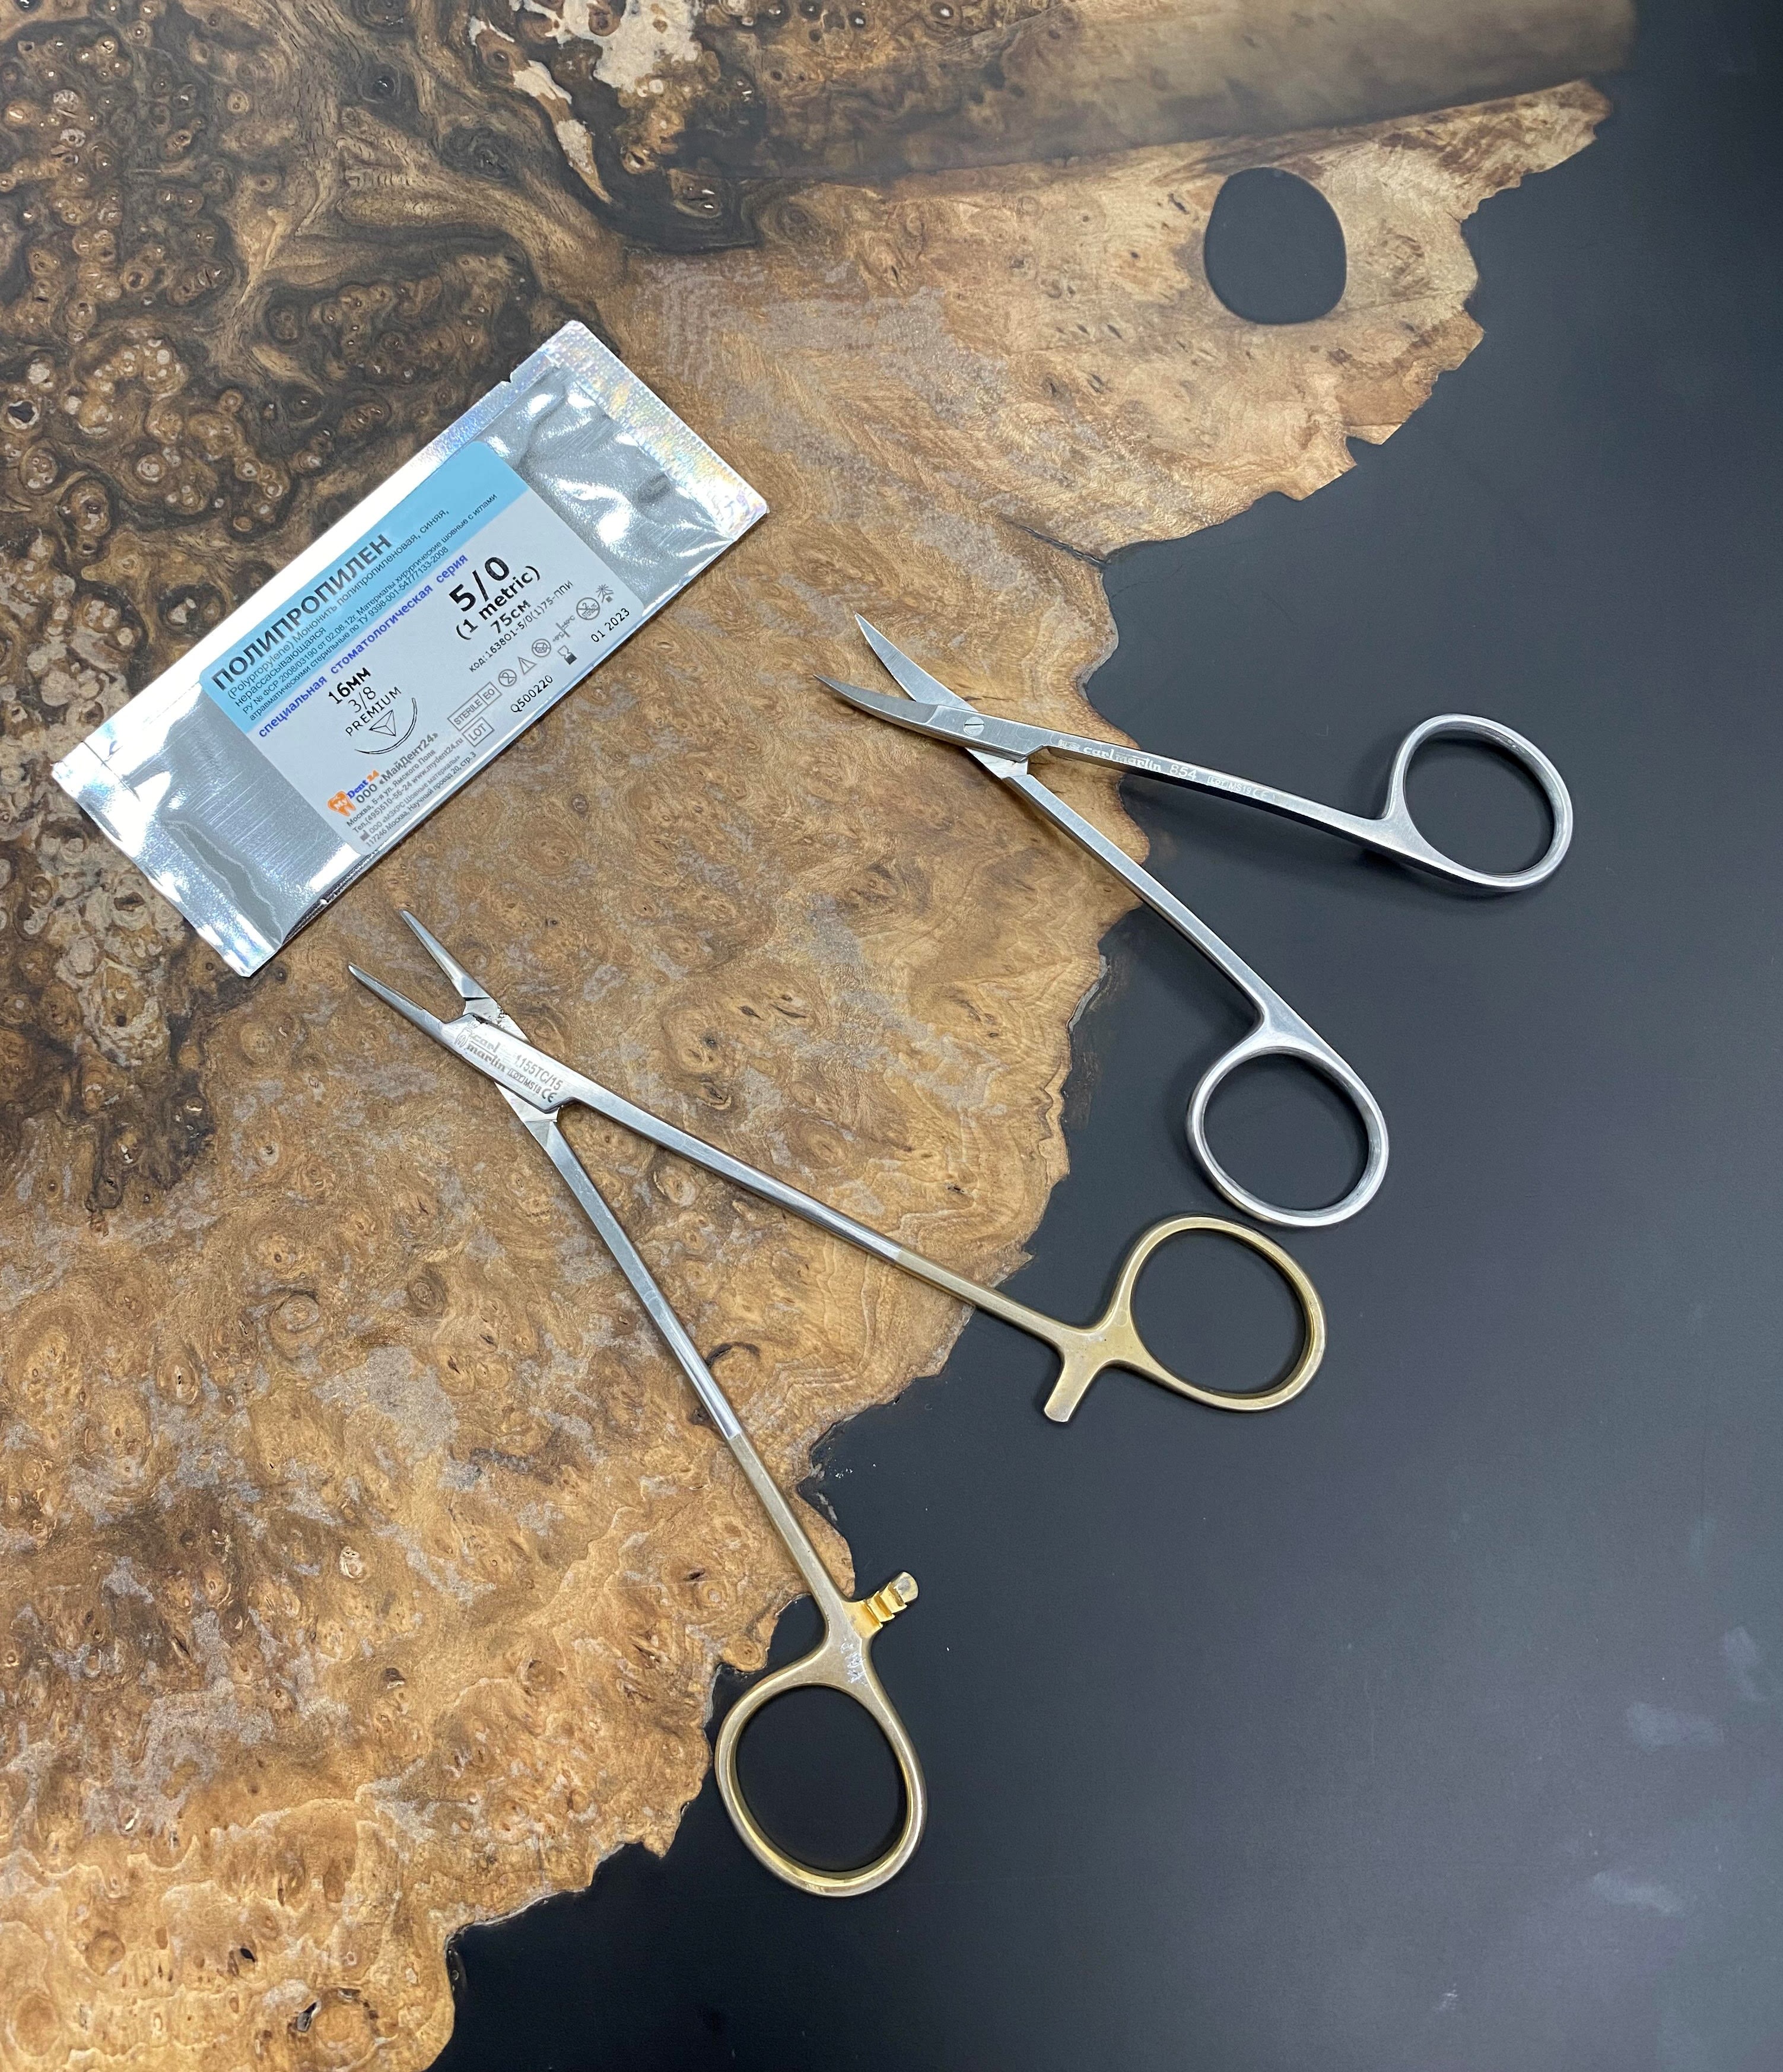
Used suture material - monofilament. Non-absorbable thread, like a fishing line. Unlike absorbable sutures, this thread does not accumulate plaque and food debris, which is especially important in the case of operations.

Surgery completed:

Postoperative X-ray (splitting was performed on both sides):
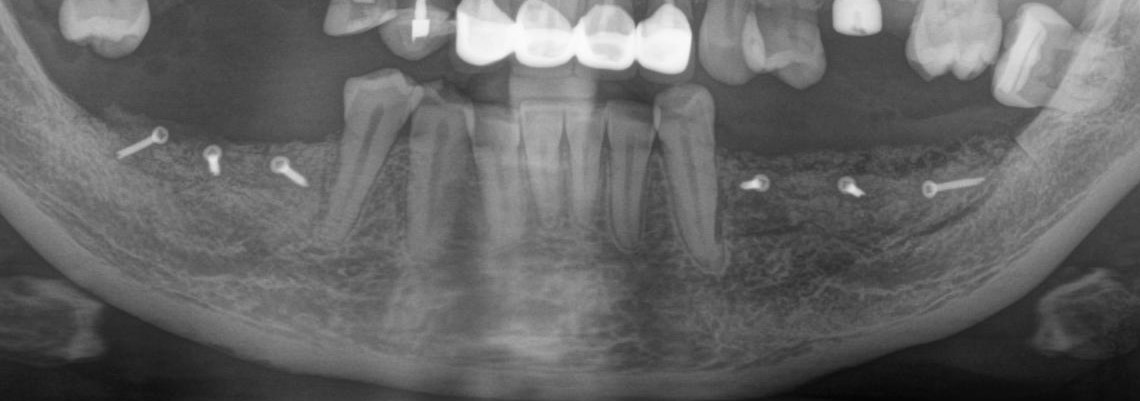
Image taken 5 months after surgery:
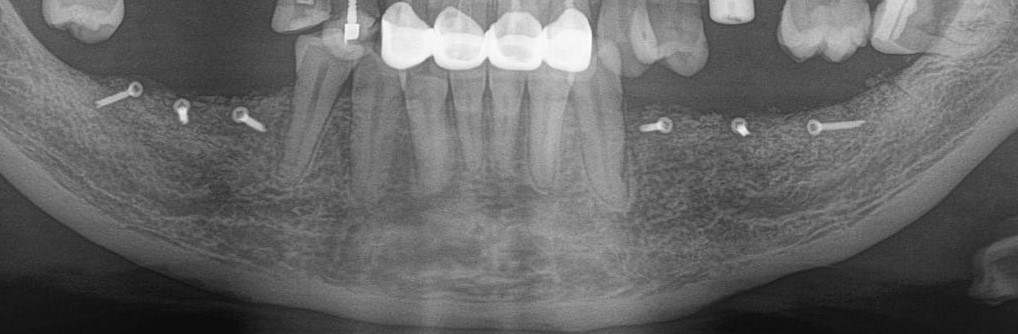
Notice how the bone color has changed. She fully recovered. This area has become whiter in the picture.
That's the whole operation.
I could end on this note, but I decided to show you how I placed the implants after the bone grafting.
All by the example of one of the parties.
So, 5 months behind: The

same incision and skeletonization of the bone:
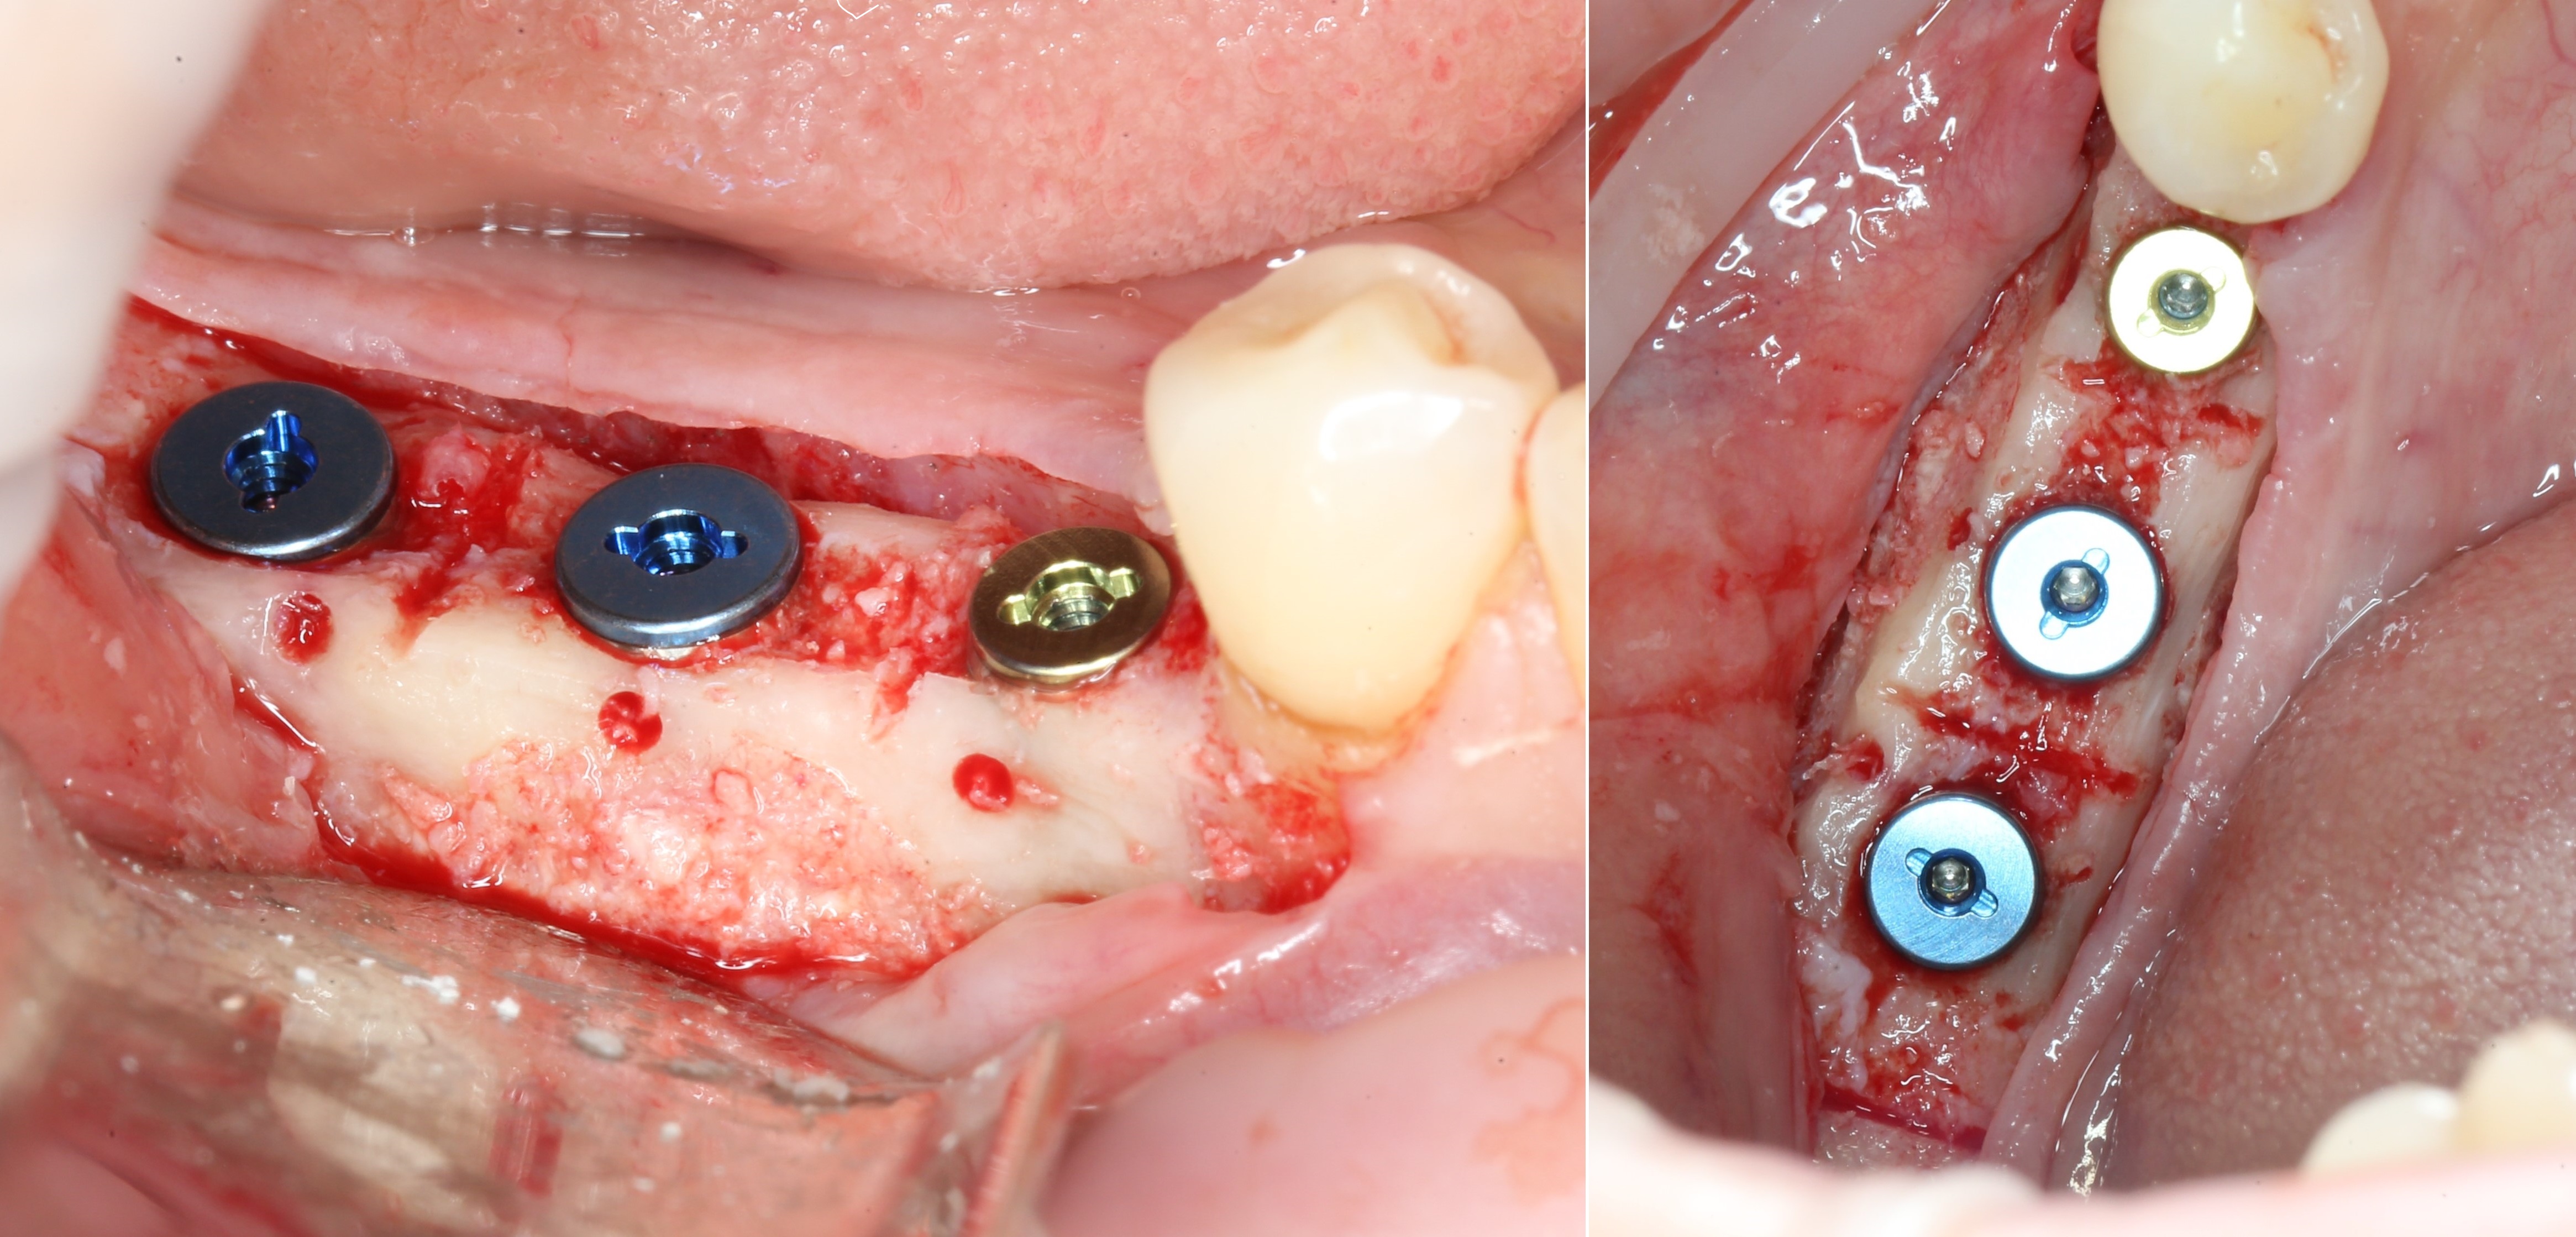
We no longer need fixing screws. Uneven bone margins are ground off using the same straight handpiece, but now with tungsten carbide ball burs:
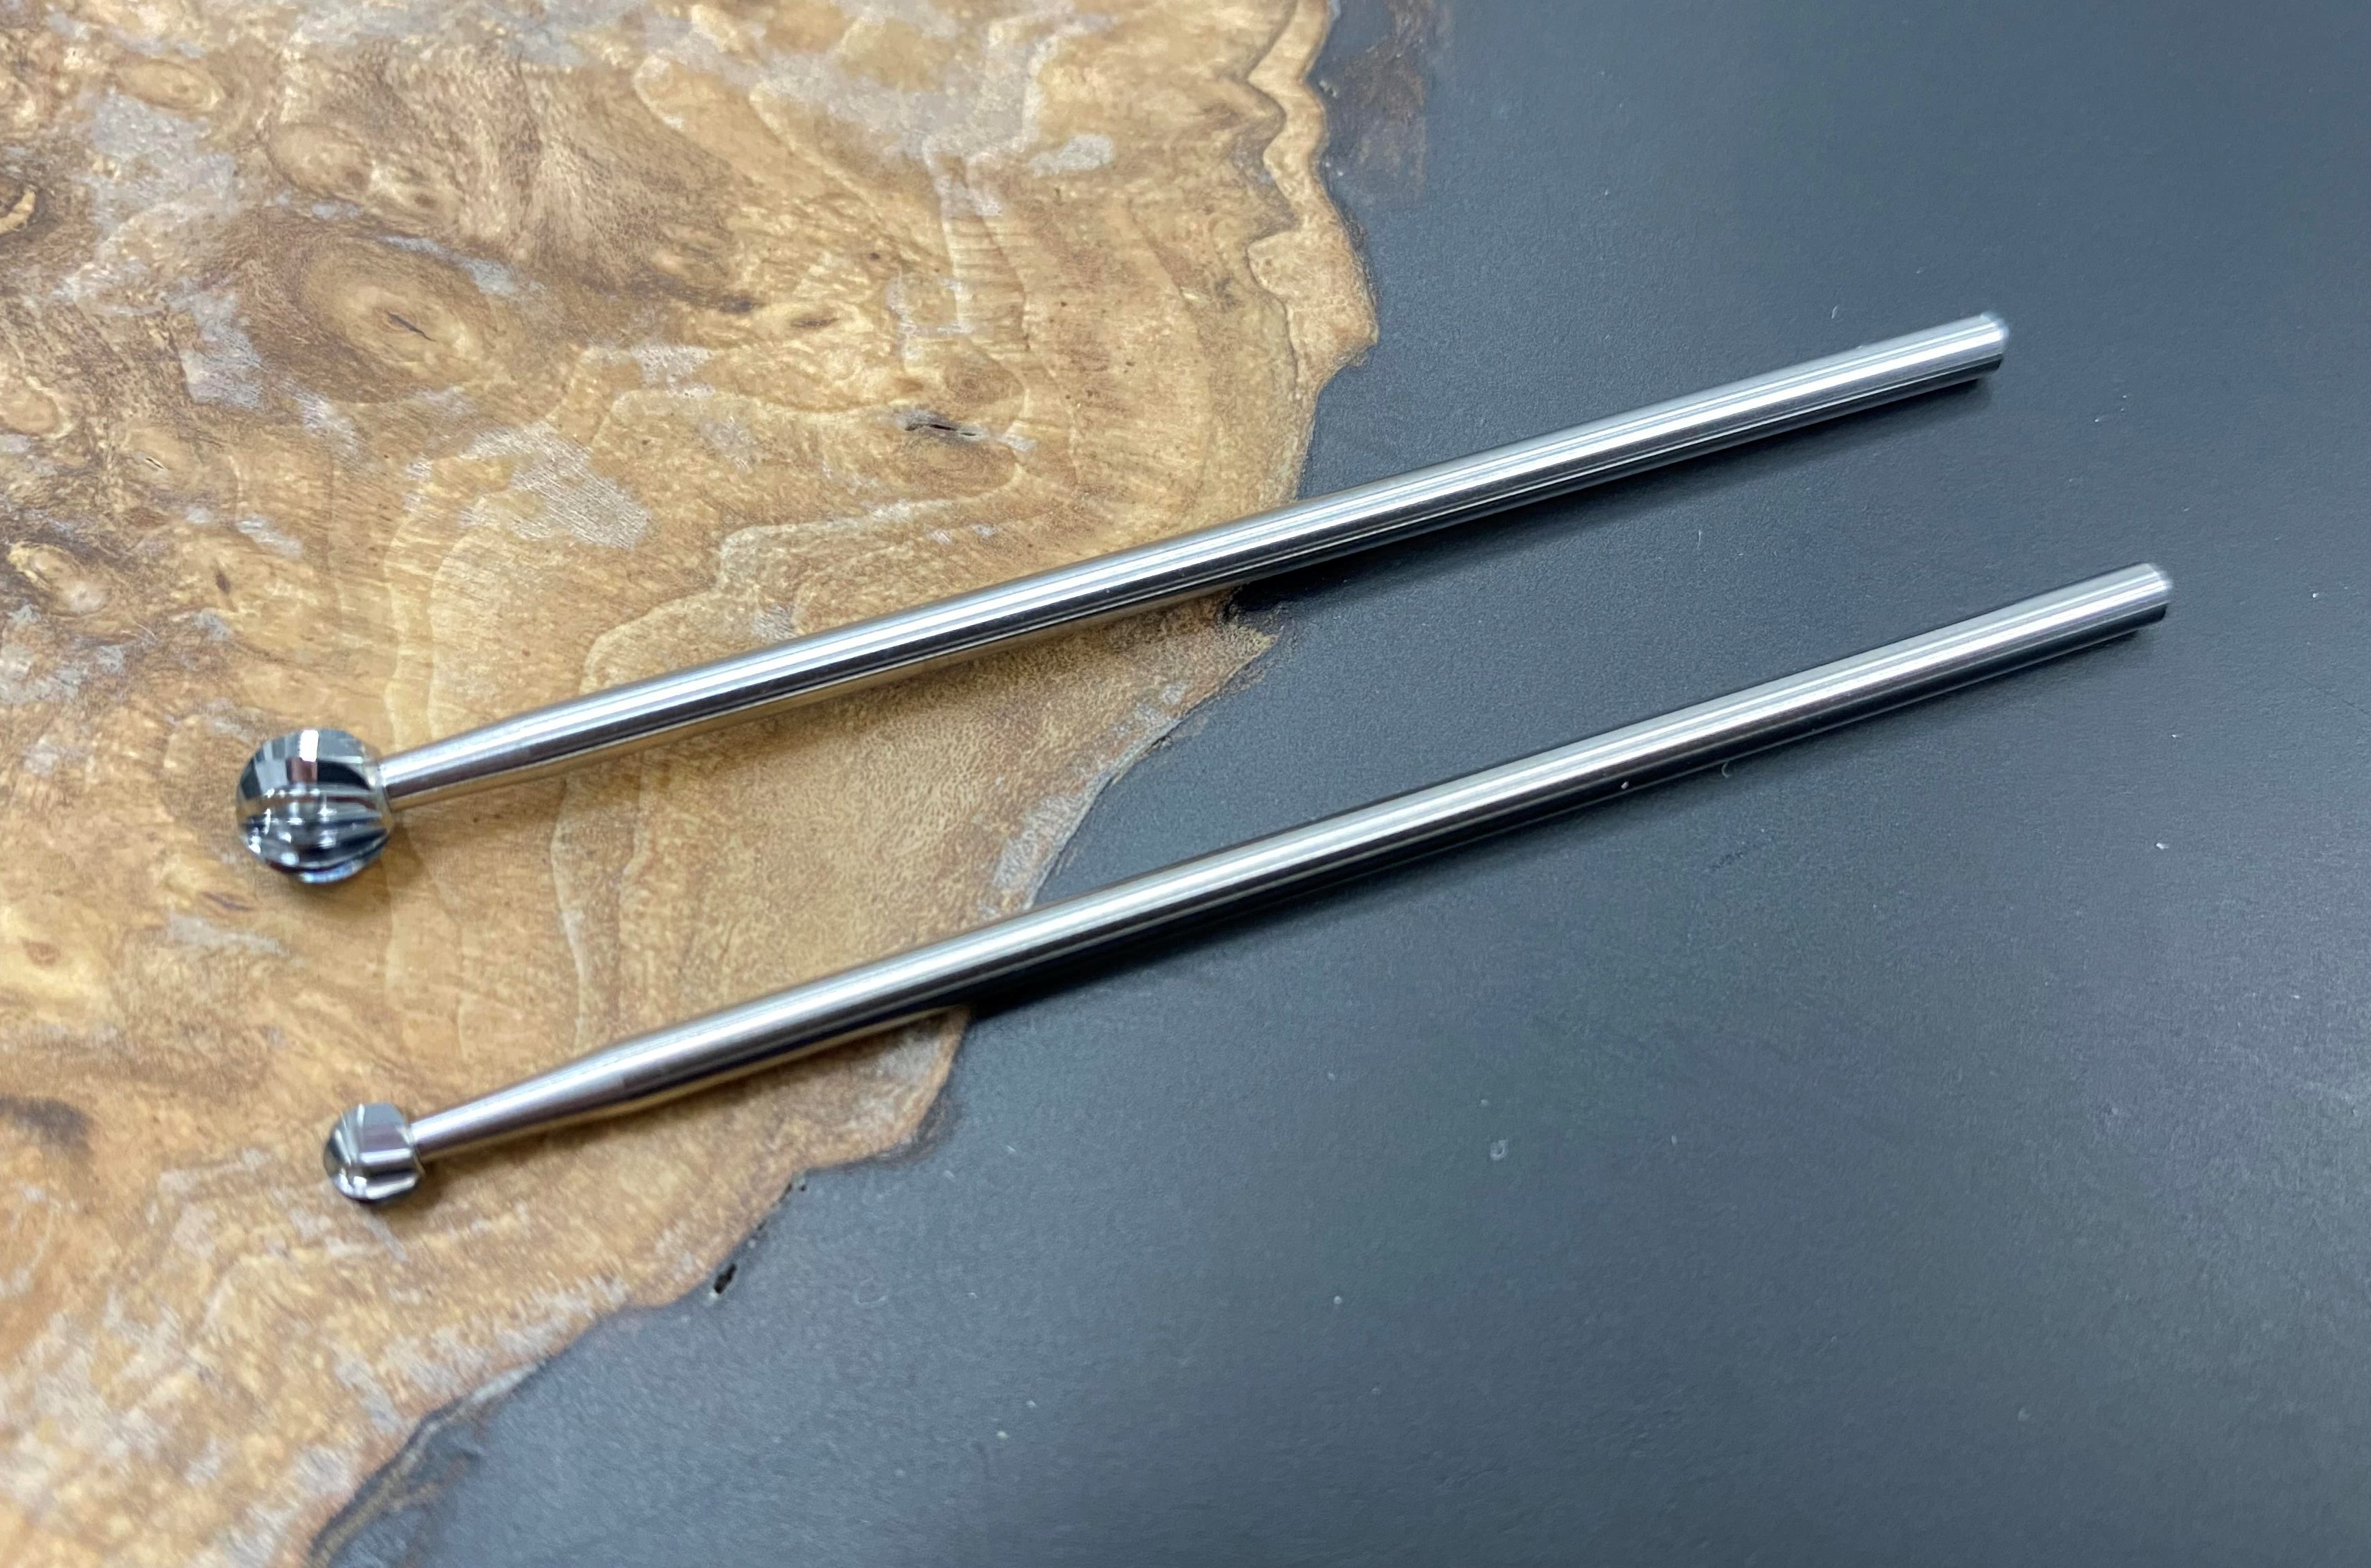
It looks like this:

Markings for implants:

Here is the implant itself: You
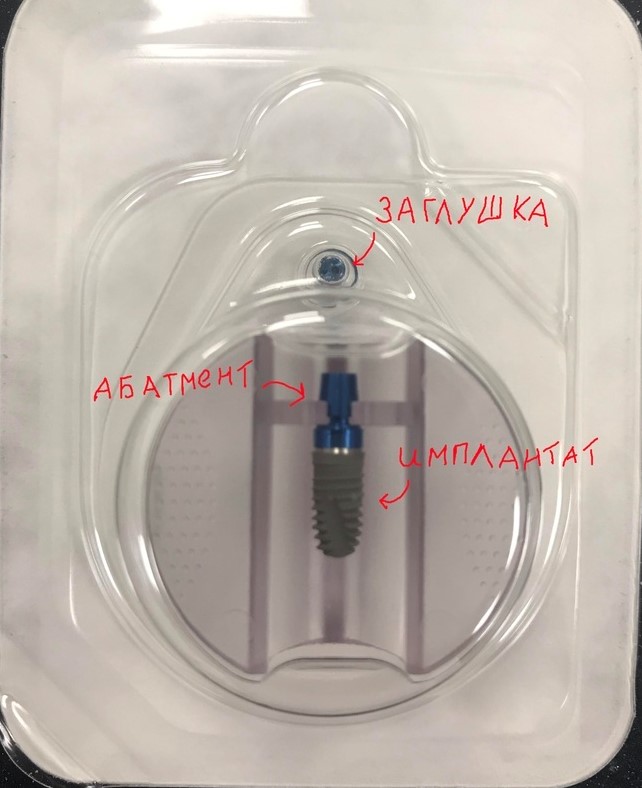
can read about the stages of installation in the article - “ Installing an implant: how is it done? ".
Briefly, using the pins, the parallelism is checked: The
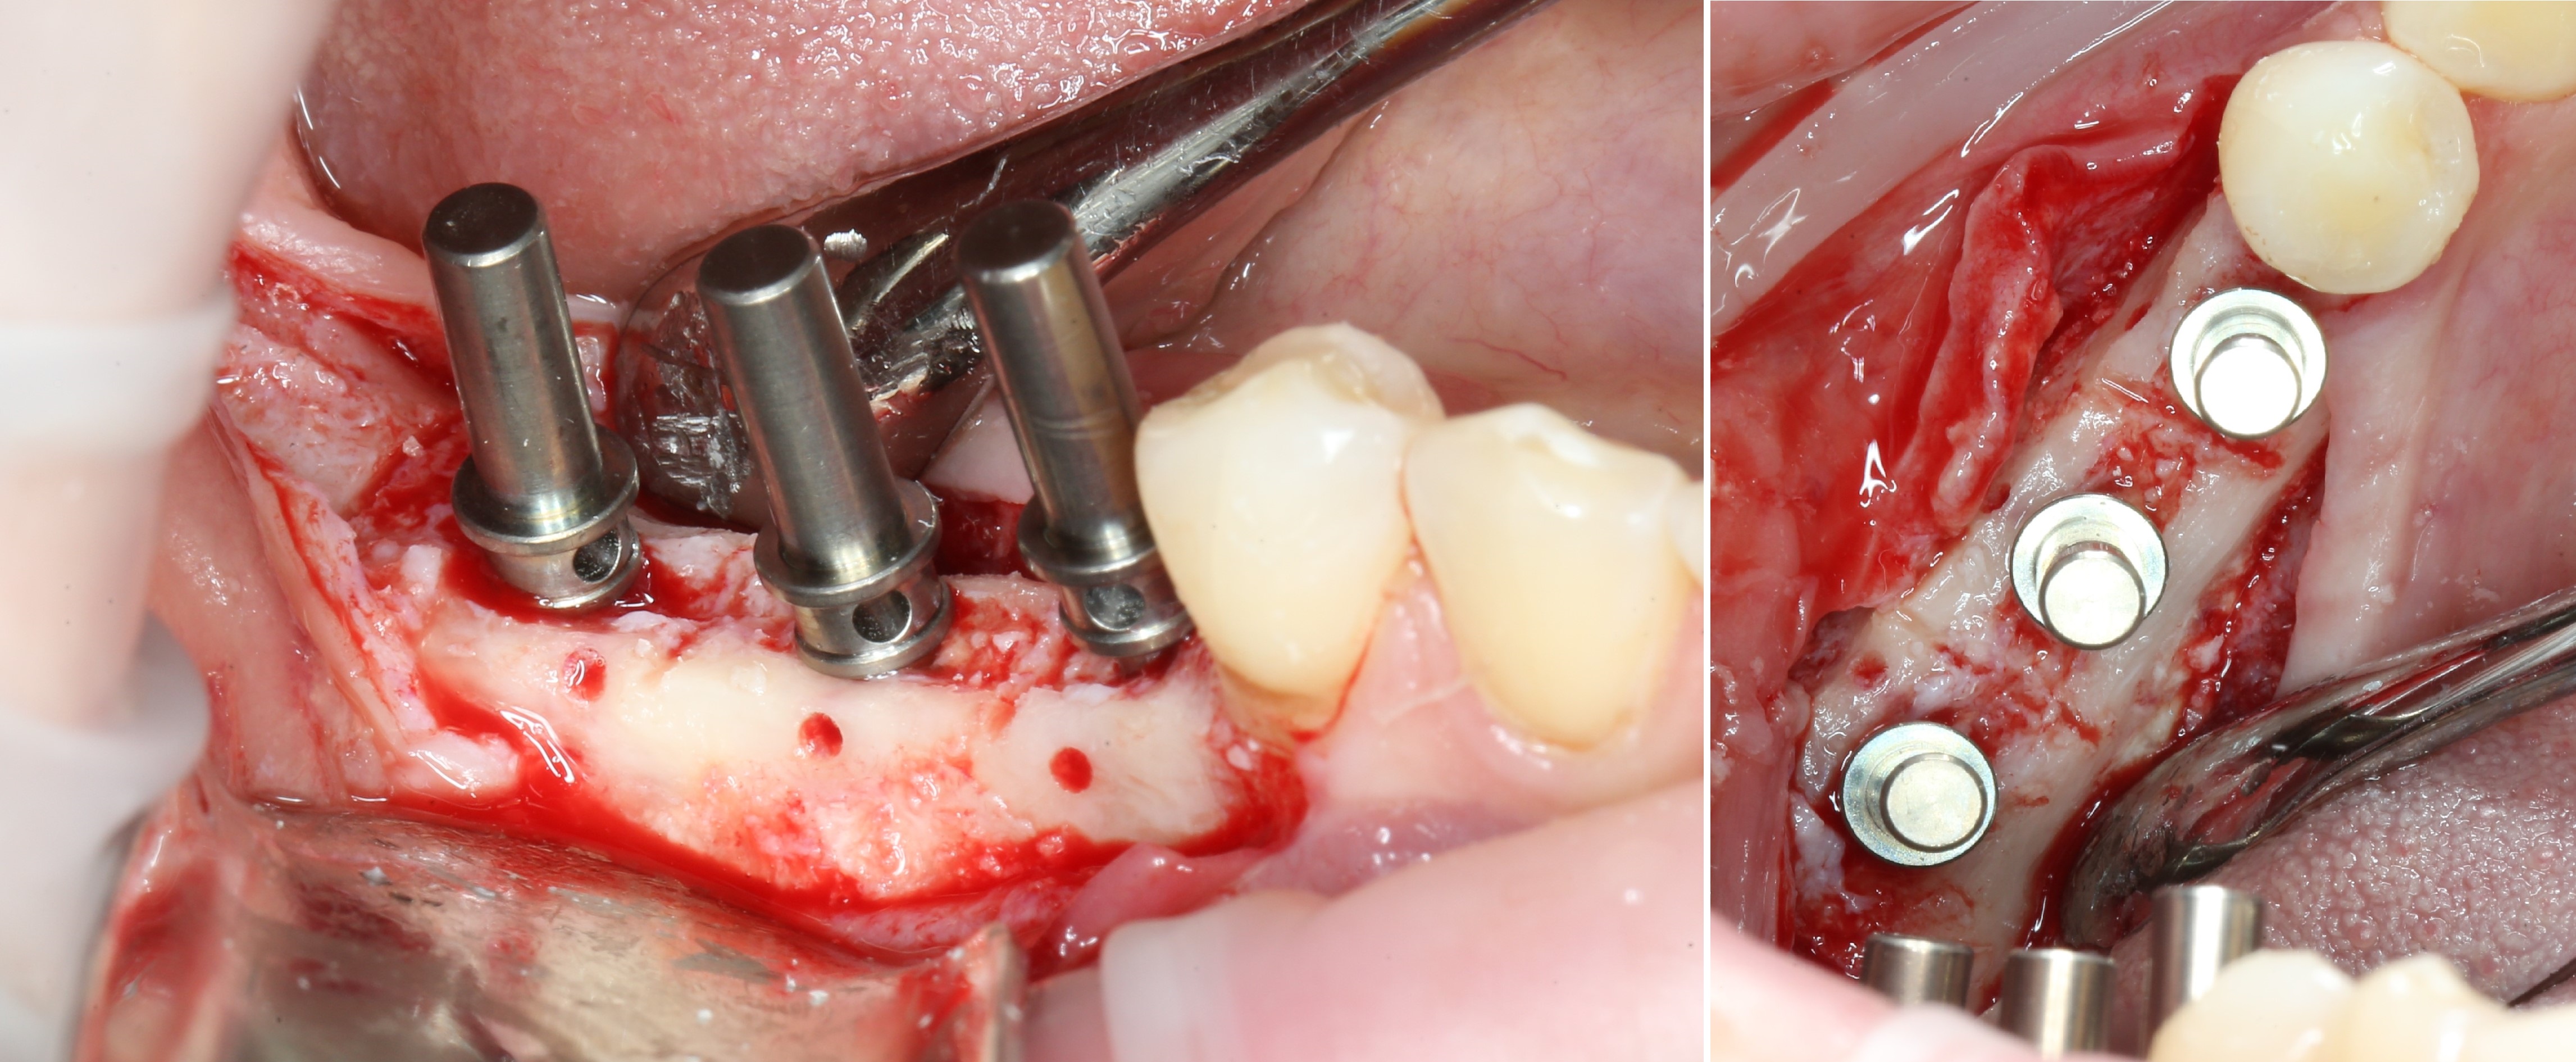
implants are installed:

And "damped": The
operation, classically, ends with suturing:

X-ray after implantation:
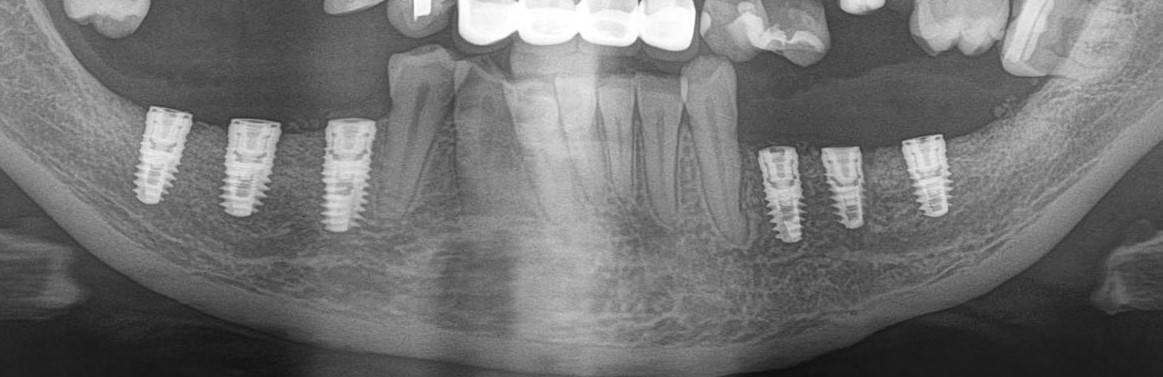
And after 3.5 months at the stage of temporary crowns (crowns are not visible because the material from which they manufactured, not radiopaque):

Py. Sy.
The friend in the face of a horizontal wisdom tooth (pictured on the right) was successfully removed.
Well, that's it for today. There remains one more main article on the topic of bone grafting - bone block transplantation. I will talk about it next time.
Best regards, Andrey Dashkov
Your insider in the world of dentistry.
Stay Tuned!
What else to read?
About dental implantation:
- Implant placement: how is it done?
- Sinus lift: how is it done?
- Sinus lift and one-stage implantation
- Implantation in the absence of teeth, as a result of untimely access to the dentist
About wisdom teeth and their removal:
- Wisdom teeth: cannot be removed
- Are you still dragging out the removal of your wisdom teeth because it “doesn't hurt”? Oh well...
- Removal of wisdom teeth. How it's done?
- ChLH or not ChLH? That's the question…
- Wisdom Teeth: Pull-Pull!
About professional oral hygiene:
- Professional oral hygiene. Part II: How is it done?
And of course:
- Dentistry: expectation and reality
- Recommendations after the appointment of a dental surgeon
- The naked truth (article on the formation of the cost of treatment in a dental clinic)
- Total prosthetics on implants