The first version of the device was made on the atmega328 microcontroller and the nRF24L01 radio module. It quickly became clear that there was not enough memory to work with the e-ink display, and the device's power consumption was quite large.
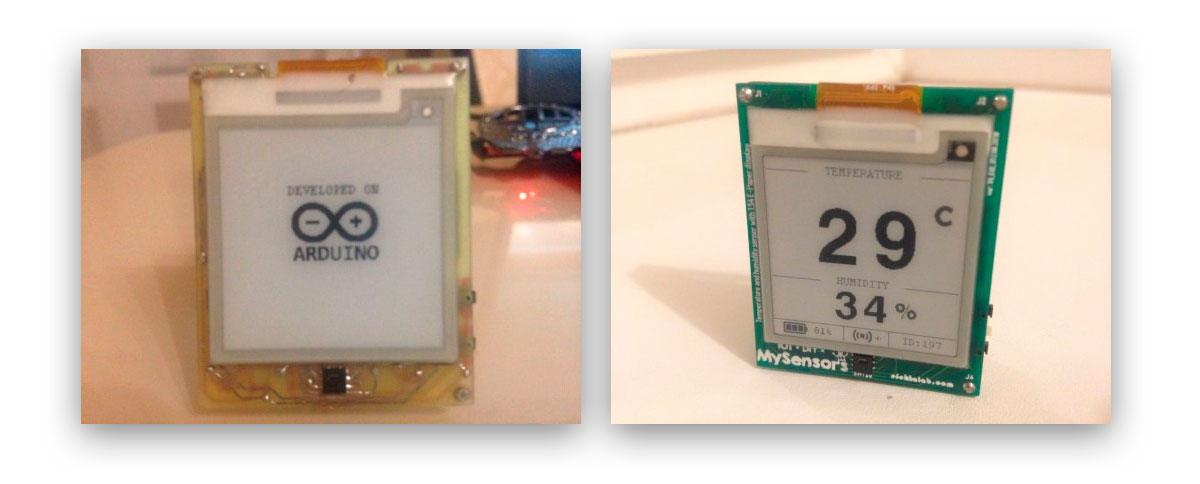
Test of the first version of the device:
An SHT20 temperature and humidity sensor is used. Powered by two CR2430 (6V) batteries via a step down converter.
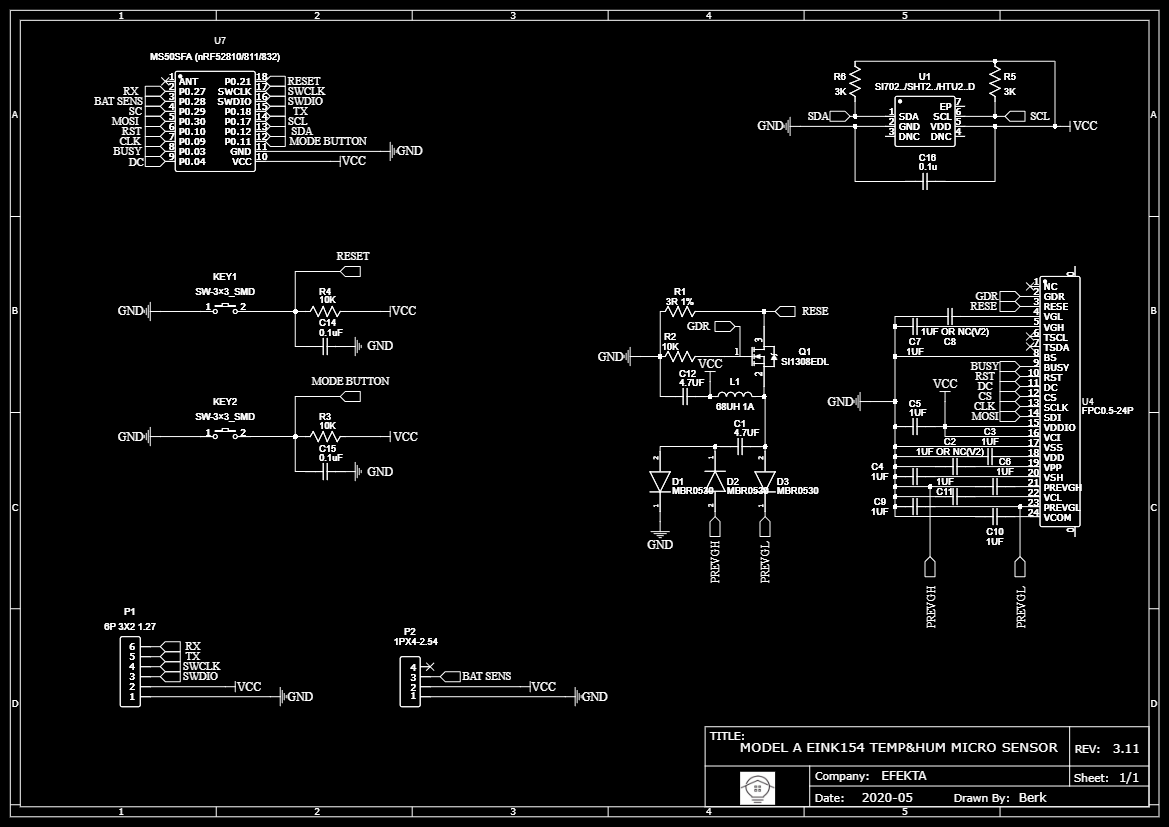
The next version of the device was developed on the nRF52832. For this version, a radio module from Holyiot YJ-16048 was chosen. Radio chip specifications: ARM Cortex-M4F with 512kb 64kb RAM. Built-in 2.4GHz transceiver, support BLE, ANT, ESB (compatible with nRF24L01). Read more about this version here .
In this version, there were no problems with storing a large amount of data in the microcontroller's memory. The presence in the nRF52 of the DC-DC mode, for operating the radio in a mode with power optimization (saving up to 40%), has reduced the maximum peak consumption to 7-8mA. The second version of the sensor, like the first, was planned as a module for development, so the question of choosing a case was not raised.
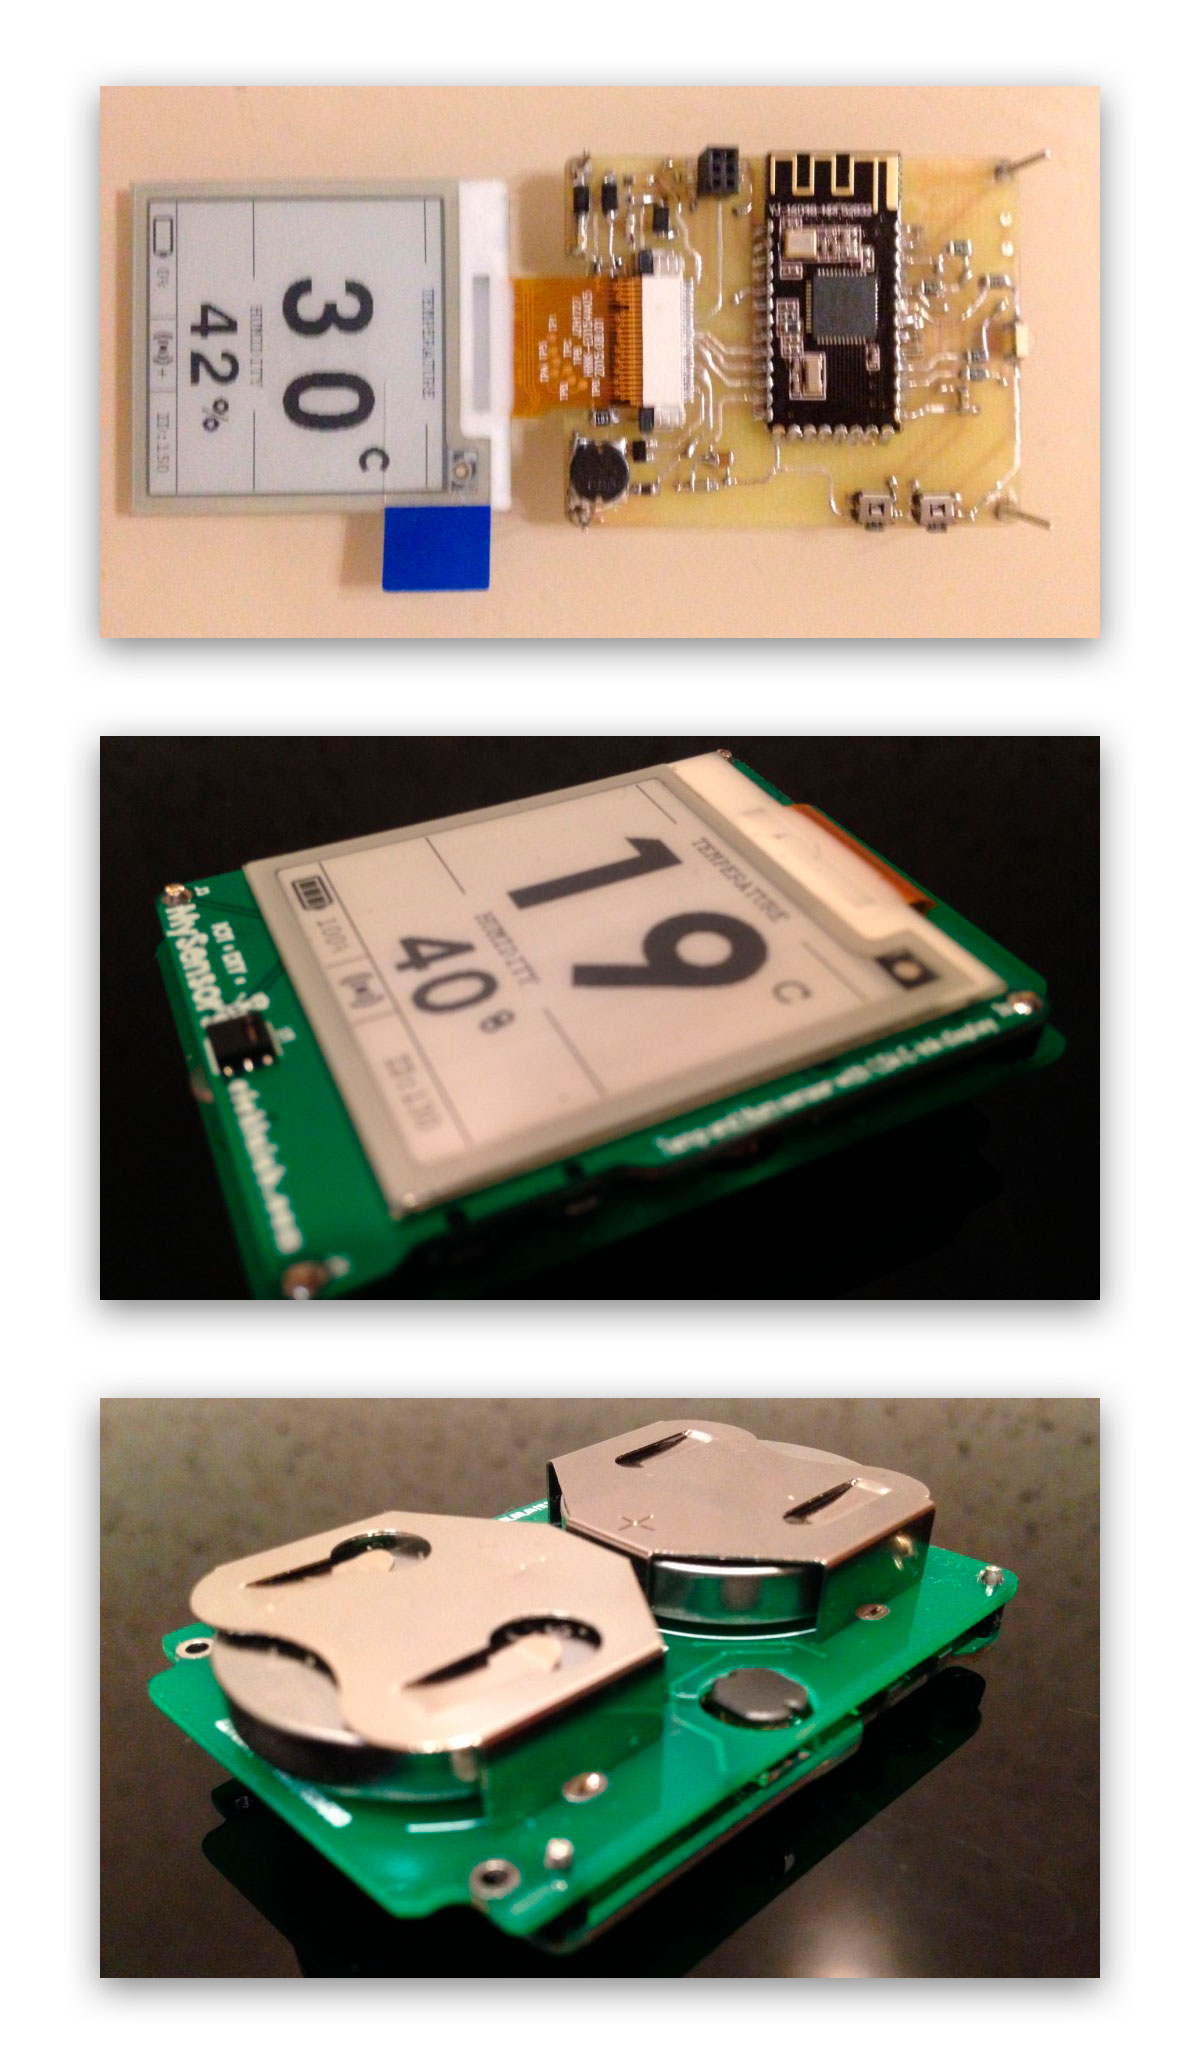
Test of the prototype of the second version.
The SHT20 temperature and humidity sensor is also used. Powered by two CR2450 batteries through a low power TPS62745DSSR step down converter.
The second version of the sensor showed good results: low consumption, long operating time on one set of batteries, the ability to store and display "heavy" graphics.
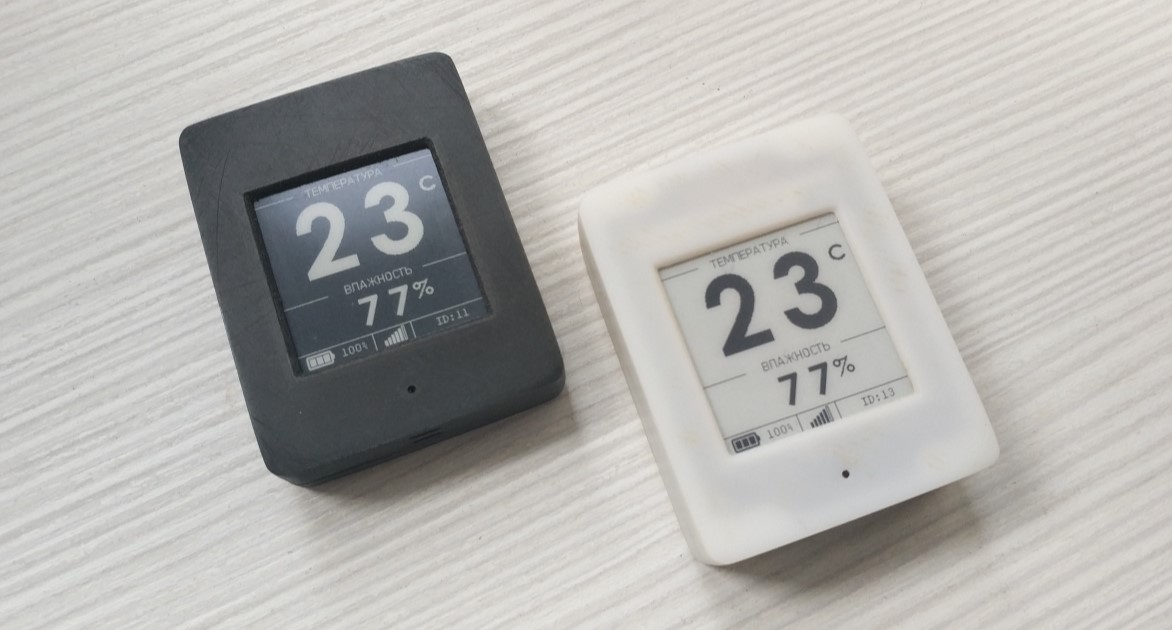
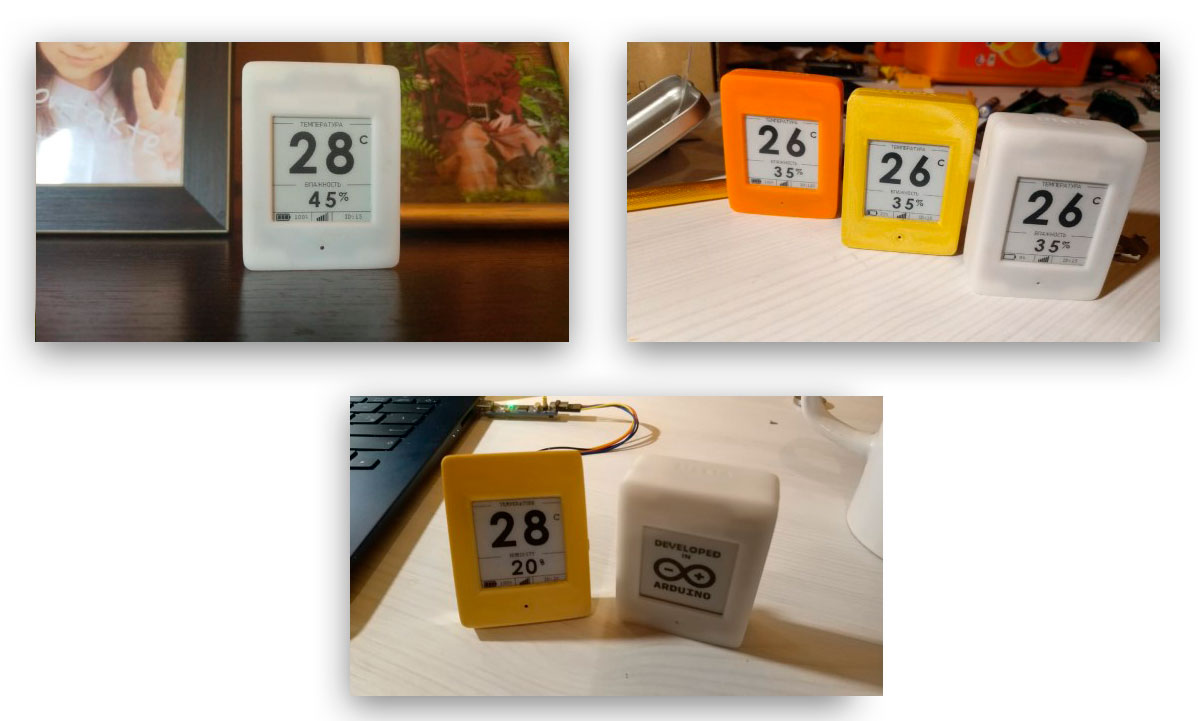
Naturally, I wanted to bring the project to the state of a finished device. Therefore, the first stage was the corps. The design of the board has been redesigned to allow installation in the case. The hull model was developed in SolidWorks software. I printed the first cases on the Anycubic Foton consumer SLA printer. The advantages were high printing accuracy and ease of post-processing of the case (polishing). Of the minuses (at that time) of printing the case with polymer resin - there was fragility. It's not that the printed model falls apart in the hands, but if you drop the assembled device (with batteries), then most likely the case will crack (which happened once).
Also due to this property of the material, there were problems with tightening the screws to connect the two parts of the case. After several dozen screw-in - screw unscrewing in the holes for the thread, the material of the walls developed and the screws began to turn. Above, in parentheses, I wrote - "at that time", so now things are much better. Resins began to appear on the market, at a very reasonable price and with excellent strength characteristics.
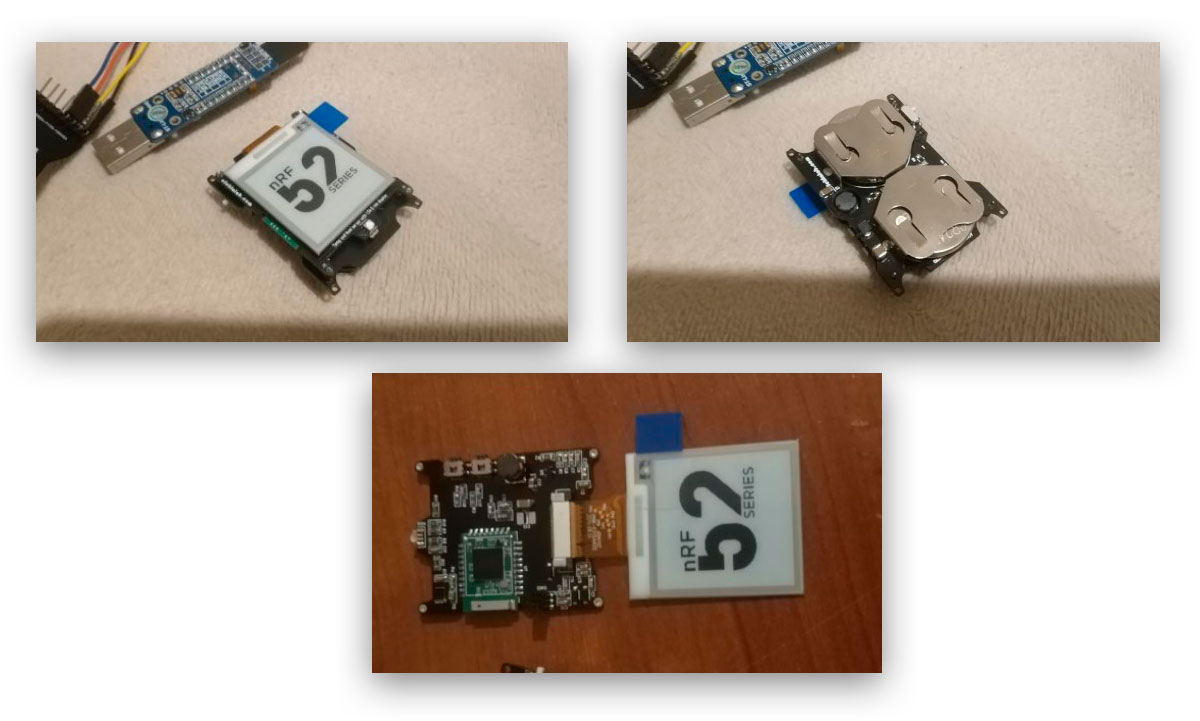
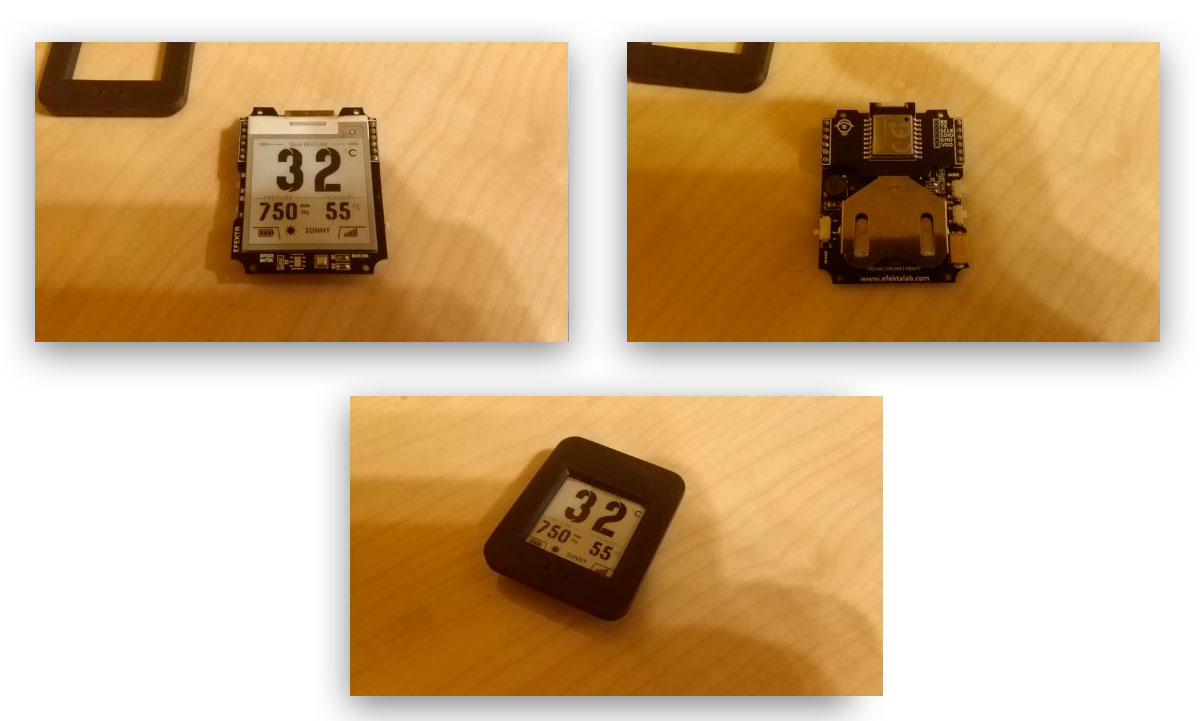
Test of the prototype of the third version:
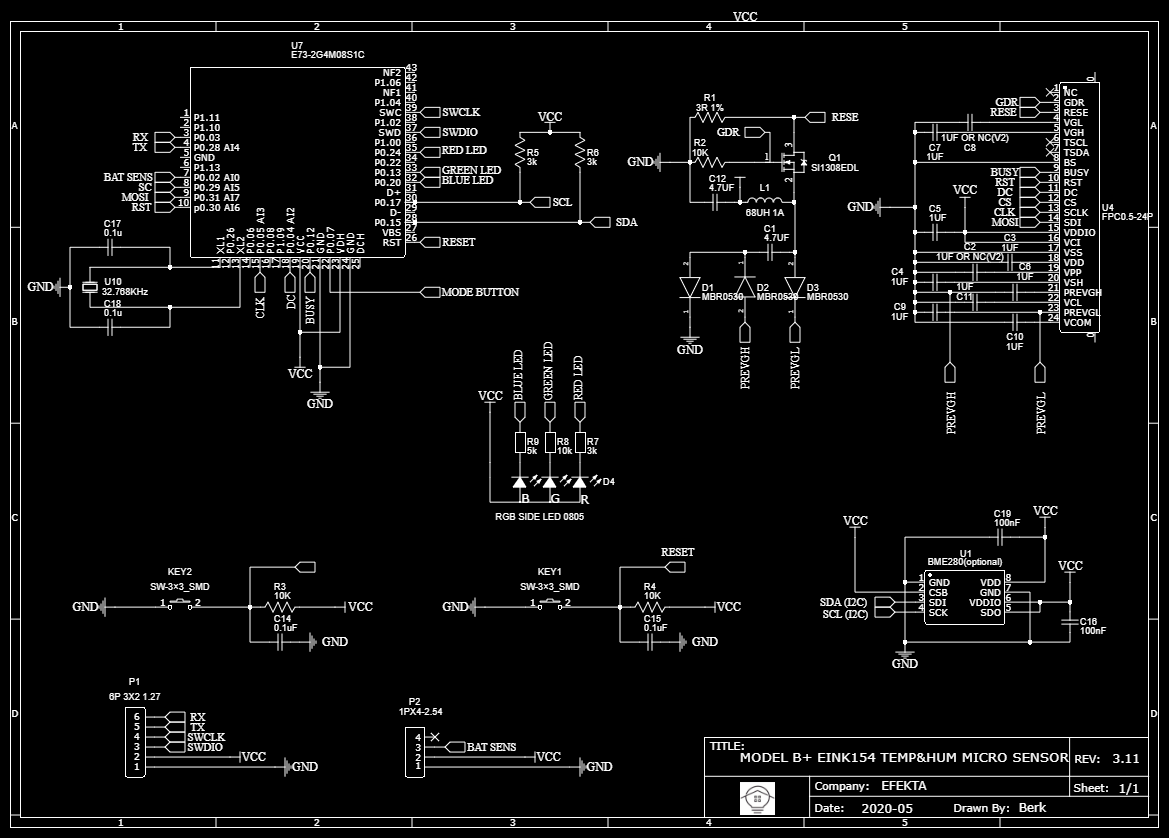
In this version, the list of sensors has been expanded. In addition to SHT20, the software can work with si7021, HTU21D sensors, as well as BME280 (separate version of the board).
Starting from this version, the device can be operated from one battery. Operation via a step down converter or directly from batteries, set by jumpers. Also, with the help of jumpers, the sequence of connecting two batteries is established: serial or parallel. In addition, the list of radio modules has been expanded and versions of boards have been developed for EBYTE and MINEW radio modules.
To work in a more economical mode, support for the nRF52810 and nRF52811 chips has been added, which has reduced the consumption in sleep mode to 1.7 - 2 μA.
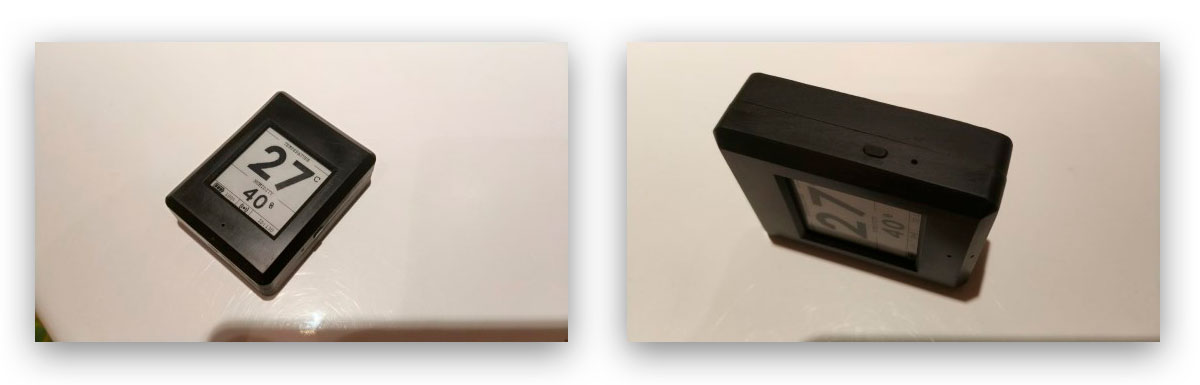
To give the case more strength, it was decided to develop a model of the case for printing on an FDM printer. The model itself has been simplified and edges have been removed from the design.
Due to the fact that the strength of materials for FDM printing is higher, the wall thickness has been reduced, and all the gaps between the case and the board have been minimized.
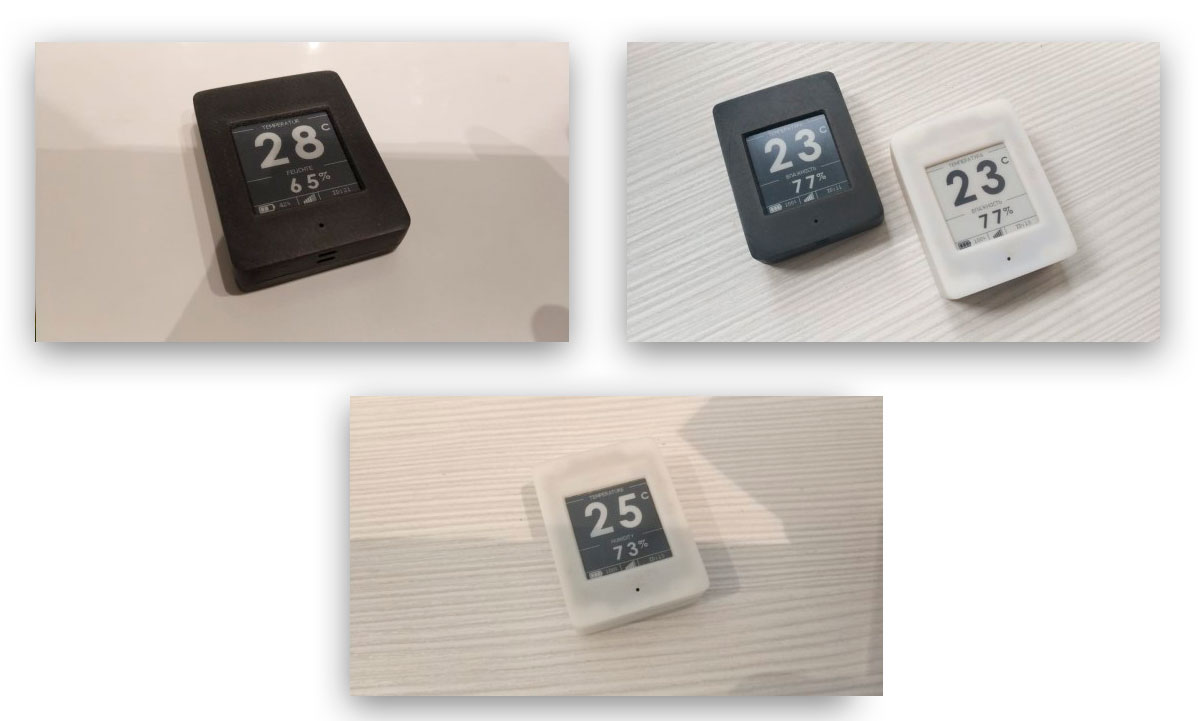
At the moment, 3 versions of the case have been developed, for different batteries. From the thinnest one for SK2430 batteries to the most durable one for two CR2477 batteries. All body model options are available on the project's GitHub.

The software was also redesigned, the function of configuring the device through the Smart Home system was added, which eliminated the need to reflash the device.
At the moment, you can customize:
- temperature and humidity sensor polling intervals
- battery level reading intervals
- binding to other devices for data transfer
- enabling autonomous operation without integration into a smart home.
- Also, the interface has been added support for multiple languages and the ability to invert the screen color.

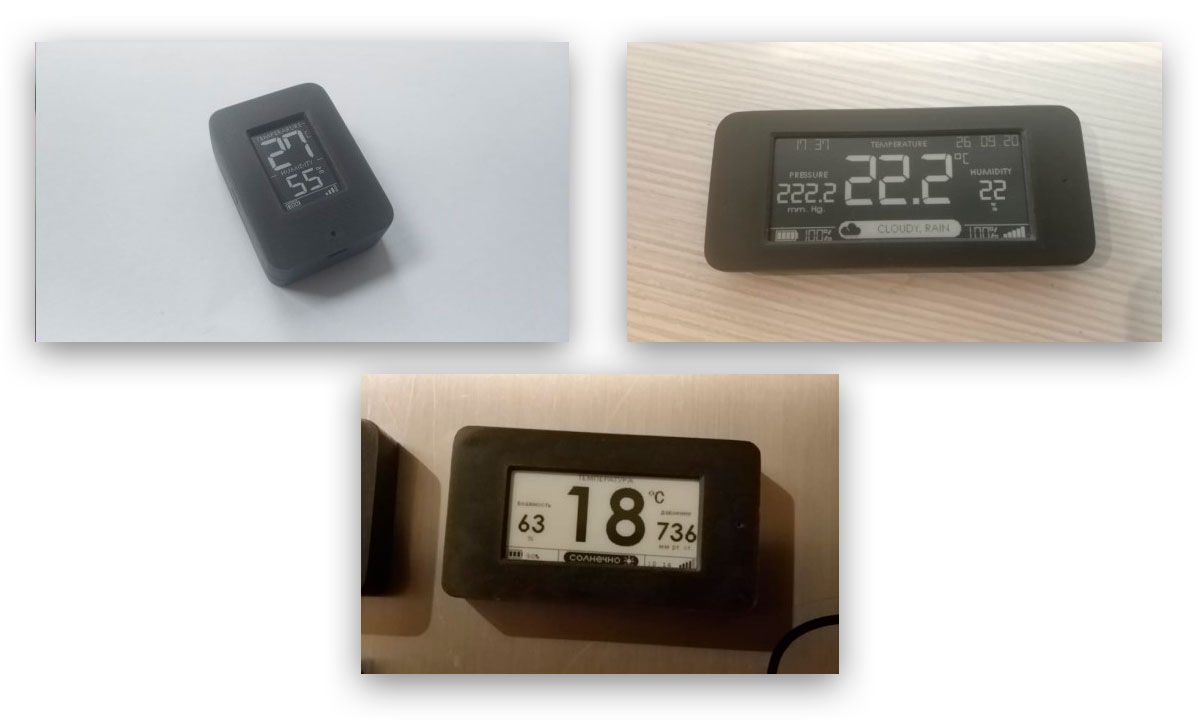
Test of the updated third version.
The video demonstrates how the device works with the MySensors radio network and how the device is configured by sending parameters from the smart home system.
This project continues to develop actively now. There is already a prototype of the fourth version, more precisely, probably this is already a branch, since the fourth version is significantly reworked in terms of hardware. Also, on the basis of this project, several more similar projects were born for other screen sizes.
Information on this project can be found on GitHub . The project is open, files for manufacturing boards, circuits, case models and program code are available on the github.
As soon as my projects are ready, I will definitely talk about them.
If you are interested in everything related to DIY, you are a DIY developer or just want to start, you are interested in using DIY devices, I invite everyone interested in telegram chat - DIYDEV .
For everyone who wants to make devices, start building automation of their home, I suggest that they familiarize themselves with the easy-to-learn Mysensors protocol - telegram chat MySensors
And for those who are looking for mature enough solutions for home automation, I invite you to the Open Thread telegram chat . ( What is Thread? )
Everyone, as always, is kind!