In this tutorial, we will take a look at the Web Cryptography API : a client-side data encryption interface. This tutorial is based on this article . It is assumed that you are somewhat familiar with encryption.
What exactly are we going to do? We will write a simple server that will accept encrypted data from the client and return it on request. The data itself will be processed on the client side.
The server will be implemented in Node.js using Express, the client in JavaScript. Bootstrap will be used for styling.
The project code is here .
If you are interested, please follow me.
Training
Create a directory
crypto-tut:
mkdir crypto-tut
We go into it and initialize the project:
cd crypto-tut

npm init -y
Install
express:
npm i express
Install
nodemon:
npm i -D nodemon
Editing
package.json:
"main": "server.js",
"scripts": {
    "start": "nodemon"
},
Project structure:
crypto-tut
    --node_modules
    --src
        --client.js
        --index.html
        --style.css
    --package-lock.json
    --package.json
    --server.js
Contents
index.html:
<head>
    <!-- Bootstrap CSS -->
    <link rel="stylesheet" href="https://stackpath.bootstrapcdn.com/bootstrap/4.5.2/css/bootstrap.min.css" integrity="sha384-JcKb8q3iqJ61gNV9KGb8thSsNjpSL0n8PARn9HuZOnIxN0hoP+VmmDGMN5t9UJ0Z" crossorigin="anonymous">
    <link rel="stylesheet" href="style.css">
    <script src="client.js" defer></source>
</head>

<body>
    <div class="container">
        <h3>Web Cryptography API Tutorial</h3>
        <input type="text" value="Hello, World!" class="form-control">
        <div class="btn-box">
            <button class="btn btn-primary btn-send">Send message</button>
            <button class="btn btn-success btn-get" disabled>Get message</button>
        </div>
        <output></output>
    </div>
</body>
Contents
style.css:
h3,
.btn-box {
    margin: .5em;
    text-align: center;
}

input,
output {
    display: block;
    margin: 1em auto;
    text-align: center;
}

output span {
    color: green;
}
Server
Let's start creating a server.
We open
server.js.
We connect express and create instances of the application and router:
const express = require('express')
const app = express()
const router = express.Router()
We connect middleware (intermediate layer between request and response):
//
app.use(express.json({
    type: ['application/json', 'text/plain']
}))
//
app.use(router)
//
app.use(express.static('src'))
We create a variable to store data:
let data
We process receiving data from the client:
router.post('/secure-api', (req, res) => {
    //
    data = req.body
    //
    console.log(data)
    //
    res.end()
})
We process the sending of data to the client:
router.get('/secure-api', (req, res) => {
    //     JSON,
    //
    res.json(data)
})
We start the server:
app.listen(3000, () => console.log('Server ready'))
We execute the command
npm start. The terminal displays the message "Server ready". Opening http://localhost:3000:
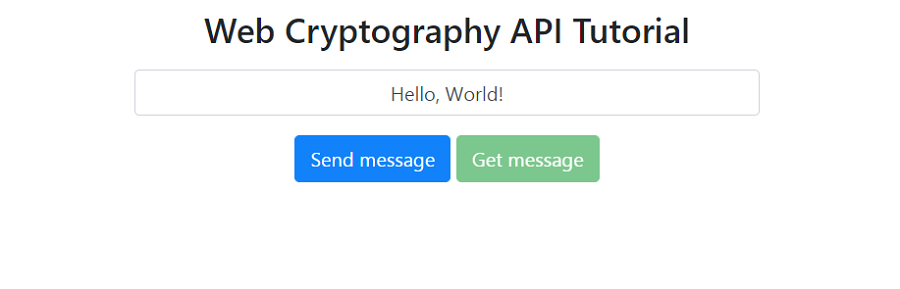
This is where we are done with the server, go to the client side of the application.
Client
This is where the fun begins.
Open the file
client.js.
AES-GCM symmetric algorithm will be used for data encryption. Such algorithms allow the use of the same key for encryption and decryption.
Create a symmetric key generation function:
// https://developer.mozilla.org/en-US/docs/Web/API/SubtleCrypto/generateKey
const generateKey = async () =>
    window.crypto.subtle.generateKey({
        name: 'AES-GCM',
        length: 256,
    }, true, ['encrypt', 'decrypt'])
The data must be encoded into a byte stream before encryption. This is easily done with the TextEncoder class:
// https://developer.mozilla.org/en-US/docs/Web/API/TextEncoder
const encode = data => {
    const encoder = new TextEncoder()

    return encoder.encode(data)
}
Next, we need an execution vector (initialization vector, IV), which is a random or pseudo-random sequence of characters that is added to the encryption key to increase its security:
// https://developer.mozilla.org/en-US/docs/Web/API/Crypto/getRandomValues
const generateIv = () =>
    // https://developer.mozilla.org/en-US/docs/Web/API/AesGcmParams
    window.crypto.getRandomValues(new Uint8Array(12))
After creating the helper functions, we can implement the encryption function. This function must return a cipher and an IV so that the cipher can be subsequently decoded:
const encrypt = async (data, key) => {
    const encoded = encode(data)
    const iv = generateIv()
    const cipher = await window.crypto.subtle.encrypt({
        name: 'AES-GCM',
        iv
    }, key, encoded)

    return {
            cipher,
            iv
        }
}
After encrypting the data with SubtleCrypto , they are buffers of raw binary data. This is not the best format for transmission and storage. Let's fix this.
The data is usually sent in JSON format and stored in a database. Therefore, it makes sense to pack the data into a portable format. One way to do this is to convert the data to base64 strings:
// https://developers.google.com/web/updates/2012/06/How-to-convert-ArrayBuffer-to-and-from-String
const pack = buffer => window.btoa(
    String.fromCharCode.apply(null, new Uint8Array(buffer))
)
After receiving the data, it is necessary to perform the reverse process, i.e. convert base64 encoded strings to raw binary buffers:
// https://developers.google.com/web/updates/2012/06/How-to-convert-ArrayBuffer-to-and-from-String
const unpack = packed => {
    const string = window.atob(packed)
    const buffer = new ArrayBuffer(string.length)
    const bufferView = new Uint8Array(buffer)

    for (let i = 0; i < string.length; i++) {
        bufferView[i] = string.charCodeAt(i)
    }

    return buffer
}
It remains to decipher the received data. However, after decryption, we need to decode the byte stream into its original format. This can be done using the TextDecoder class:
// https://developer.mozilla.org/en-US/docs/Web/API/TextDecoder
const decode = byteStream => {
    const decoder = new TextDecoder()

    return decoder.decode(byteStream)
}
The decryption function is the inverse of the encryption function:
// https://developer.mozilla.org/en-US/docs/Web/API/SubtleCrypto/decrypt
const decrypt = async (cipher, key, iv) => {
    const encoded = await window.crypto.subtle.decrypt({
        name: 'AES-GCM',
        iv
    }, key, cipher)

    return decode(encoded)
}
At this stage, the content
client.jslooks like this:
const generateKey = async () =>
    window.crypto.subtle.generateKey({
        name: 'AES-GCM',
        length: 256,
    }, true, ['encrypt', 'decrypt'])

const encode = data => {
    const encoder = new TextEncoder()

    return encoder.encode(data)
}

const generateIv = () =>
    window.crypto.getRandomValues(new Uint8Array(12))

const encrypt = async (data, key) => {
    const encoded = encode(data)
    const iv = generateIv()
    const cipher = await window.crypto.subtle.encrypt({
        name: 'AES-GCM',
        iv
    }, key, encoded)

    return {
        cipher,
        iv
    }
}

const pack = buffer => window.btoa(
    String.fromCharCode.apply(null, new Uint8Array(buffer))
)

const unpack = packed => {
    const string = window.atob(packed)
    const buffer = new ArrayBuffer(string.length)
    const bufferView = new Uint8Array(buffer)

    for (let i = 0; i < string.length; i++) {
        bufferView[i] = string.charCodeAt(i)
    }

    return buffer
}

const decode = byteStream => {
    const decoder = new TextDecoder()

    return decoder.decode(byteStream)
}

const decrypt = async (cipher, key, iv) => {
    const encoded = await window.crypto.subtle.decrypt({
        name: 'AES-GCM',
        iv
    }, key, cipher)

    return decode(encoded)
}
Now let's implement sending and receiving data.
We create variables:
//    ,
const input = document.querySelector('input')
//
const output = document.querySelector('output')

//
let key
Data encryption and sending:
const encryptAndSendMsg = async () => {
    const msg = input.value

     //
    key = await generateKey()

    const {
        cipher,
        iv
    } = await encrypt(msg, key)

    //
    await fetch('http://localhost:3000/secure-api', {
        method: 'POST',
        body: JSON.stringify({
            cipher: pack(cipher),
            iv: pack(iv)
        })
    })

    output.innerHTML = ` <span>"${msg}"</span> .<br>   .`
}
Receiving and decrypting data:
const getAndDecryptMsg = async () => {
    const res = await fetch('http://localhost:3000/secure-api')

    const data = await res.json()

    //
    console.log(data)

    //
    const msg = await decrypt(unpack(data.cipher), key, unpack(data.iv))

    output.innerHTML = `   .<br> <span>"${msg}"</span> .`
}
Handling button clicks:
document.querySelector('.btn-box').addEventListener('click', e => {
    if (e.target.classList.contains('btn-send')) {
        encryptAndSendMsg()

        e.target.nextElementSibling.removeAttribute('disabled')
    } else if (e.target.classList.contains('btn-get')) {
        getAndDecryptMsg()
    }
})
Restart the server just in case. We open
http://localhost:3000. Click on the "Send message" button:
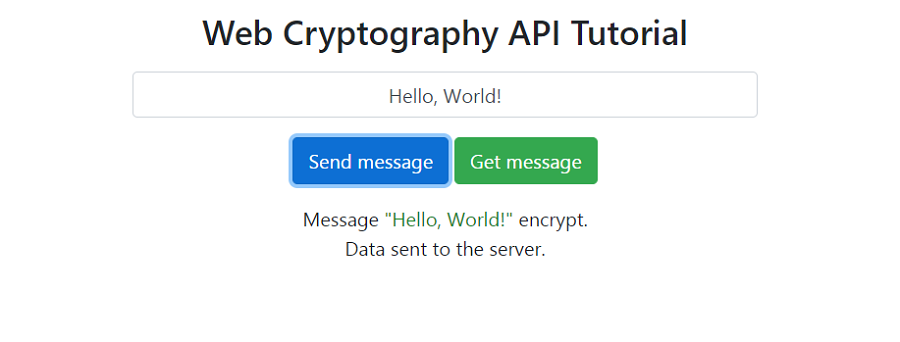
We see the data received by the server in the terminal:
{
  cipher: 'j8XqWlLIrFxyfA2easXkJTLLIt9x8zLHei/tTKI=',
  iv: 'F8doVULJzbEQs3M1'
}
Click on the "Get message" button:
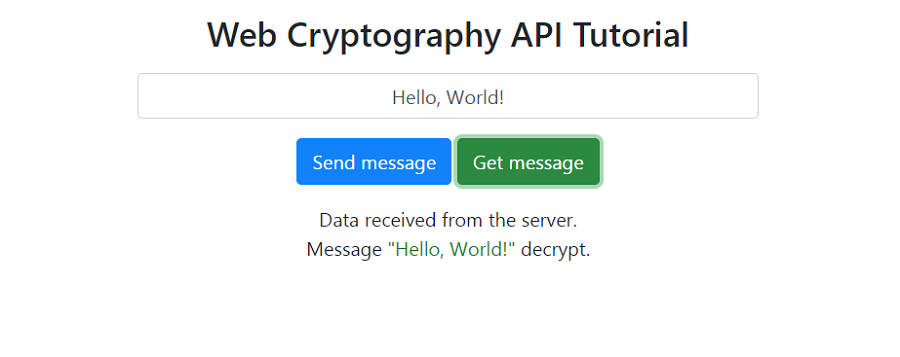
We see the same data received by the client in the console:
{
  cipher: 'j8XqWlLIrFxyfA2easXkJTLLIt9x8zLHei/tTKI=',
  iv: 'F8doVULJzbEQs3M1'
}
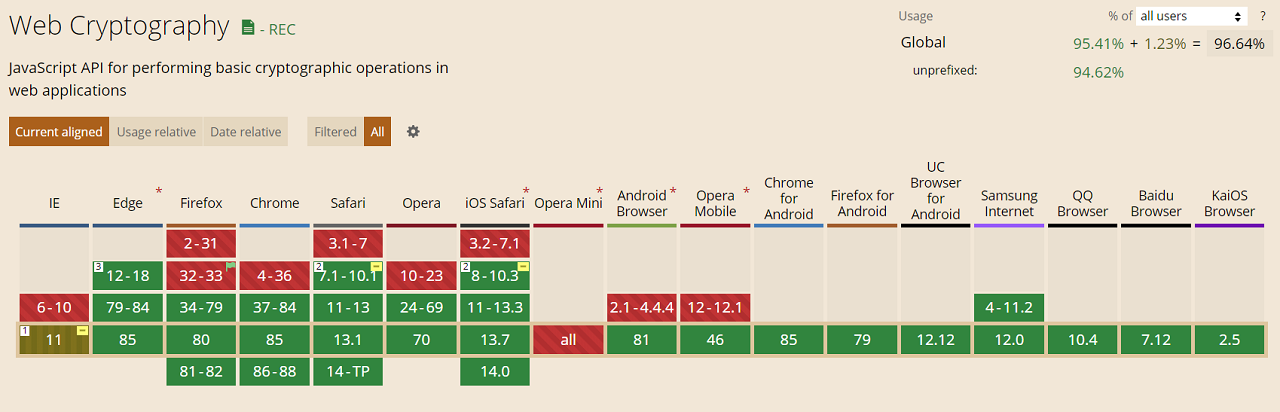
Web Cryptography API opens up interesting opportunities for us to protect confidential information on the client side. Another step towards serverless web development.
Support for this technology is currently 96%:
I hope you enjoyed the article. Thank you for attention.