
Static HTML is almost a thing of the past. Sites are now database-related applications that dynamically respond to user requests. However, this also has its drawbacks: higher requirements for computing resources and numerous vulnerabilities in the CMS. Today we are going to tell you how to make your simple blog on Jekyll - a generator of static sites, the content of which is taken straight from GitHub.
Step 1. Hosting: take the cheapest one on the market
For static sites, inexpensive shared hosting is enough. At the same time, the content will be generated on the side: on a local machine or, directly using the hosting GitHub Pages , if the user needs a version control system. The latter, by the way, launches the same Jekyll to create pages, but the possibilities for configuring the program manually are very limited. VPS is much more interesting than shared hosting, but it costs a little more.
Today we at RUVDS are again opening the PROMO tariff for 30 rubles , which allows you to rent a virtual machine on Debian, Ubuntu or CentOS. There are restrictions on the tariff , but for ridiculous money you will get one computing core, 512 MB of RAM, a 10 GB SSD, 1 IP and the ability to run any applications.
Let's use it and deploy our Jekyll blog.

After starting the VPS, you need to log into it via SSH and configure the necessary software: web server, FTP server, mail server, etc. At the same time, the user does not have to install Jekyll on his own computer or endure the limitations of hosting GitHub Pages, although the source code of the site can be kept in the GitHub repository.
Step 2. Installing Jekyll
In short, Jekyll is a simple static site generator that was originally designed to create blogs and host them on GitHub Pages. The idea is to split content and design it using the Liquid templating system : a directory with text files in Markdown or Textile format is processed by the Liquid converter and renderer, and the output is a set of linked HTML pages. You can place them on any server, for this you do not need a CMS or access to a DBMS - everything is simple and safe.
Since Jekyll is a Ruby gem, it is easy to install . To do this, the system must have Ruby version 2.5.0 or higher, RubyGems , GCC and Make installed :
gem install bundler jekyll # Use sudo if necessary.
As you can see, everything is very simple.
Step 3. Creating a blog
To create a new site in the ./mysite subdirectory, run the command:
jekyll new mysiteLet's go to it and see the contents
cd mysite
ls -l
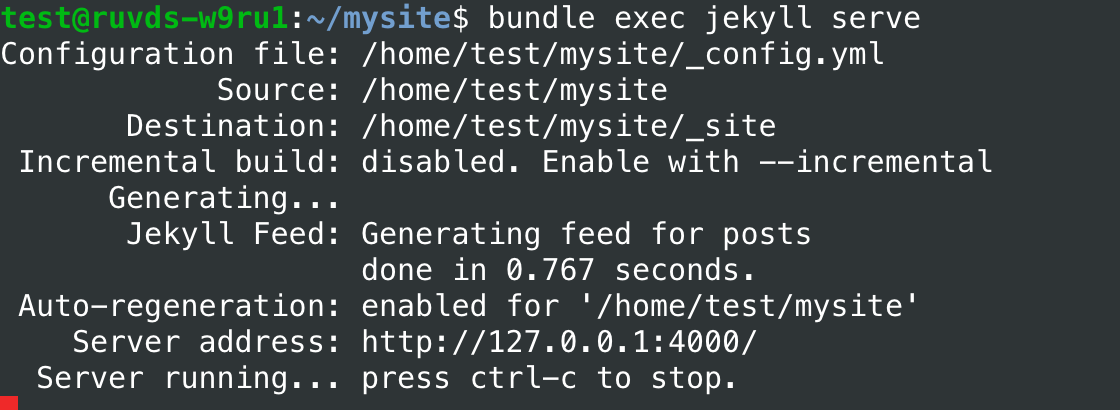
Jekyll has its own server, which can be started with the following command:
bundle exec jekyll serveIt monitors for content changes and listens on port 4000 on localhost ( http: // localhost: 4000 / ) - this option can come in handy if Jekyll is deployed on a local machine.
In our case, it is worth generating a site and setting up a web server to view it (or upload files to a third-party hosting):
jekyll buildThe generated files are located in the _site subdirectory of the mysite directory.

We have not covered all the tricks of Jekyll. Thanks to its layout and syntax highlighting capabilities, this content generator is most suitable for creating developer blogs, but based on the templates available on the web, it can be used to create a variety of static sites. There are plugins for Jekyll that allow you to change the HTML generation process itself. If you need version control, content files can be placed in a repository on GitHub (then you will have to install Git on the VPS).
The most important thing is that the user does not need expensive tariffs for this. Everything will work even on the very same 30-ruble VPS.