
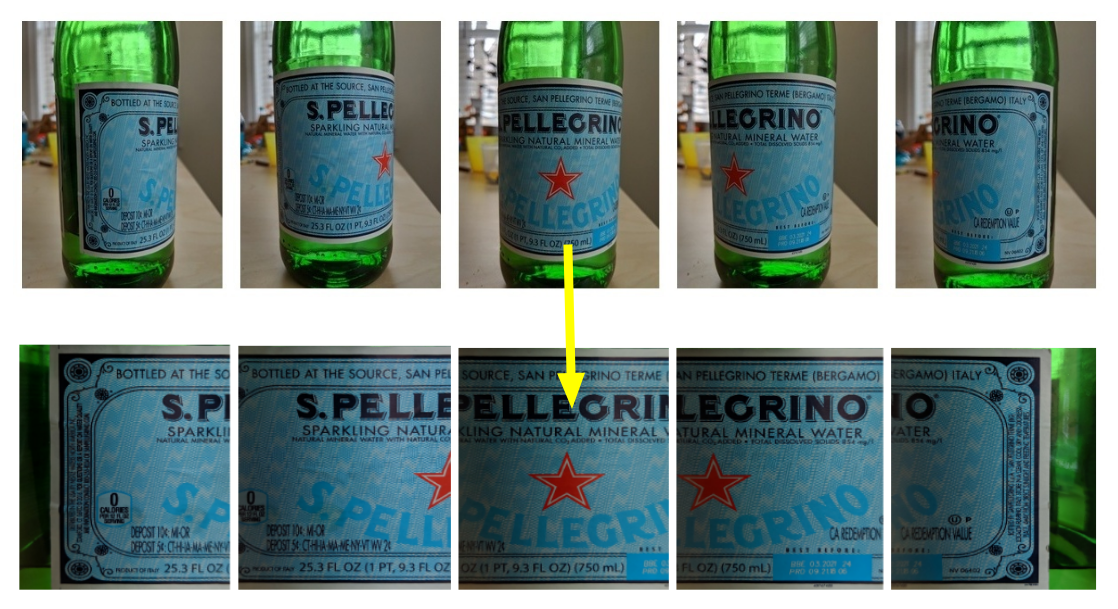
The labels are pre-segmented and deployed by the neural network described in the previous article.
How does gluing generally work? You need to take two overlapping pictures, calculate the mutual shift and superimpose one on top of the other. Sounds pretty simple, but let's go over each of the steps.
To calculate the mutual shift, you need to find some objects that are present in both images and somehow calculate the transformation of points from one image to another. This shift can be represented by a transformation matrix, where the elements of the matrix encode several transformations at once - scaling, translation, and rotation.
There is an excellent table on wikipedia that shows how and which elements affect the transformation.
As you can see in the picture below, there are quite enough common objects:
But there is a problem with the selected objects - they are difficult to detect algorithmically. Instead, it is customary to look for simpler objects - the so-called "corners", they are also descriptors ("descriptors", "features").
There is a great article in the OpenCV documentation about why corners - in short, defining a line is easy, but it only gives you one coordinate. Therefore, it is also necessary to detect the second (not parallel) line. If they converge at a point, then this place is ideal for finding a descriptor, it is also a corner (although real descriptors are not corners in the geometric sense of the word).
One of the algorithms for finding descriptors is SIFT (Scale-Invariant Feature Transform). Despite the fact that it was invented in 1999, it is quite popular due to its simplicity and reliability. This algorithm has been patented, but the patent expired this spring (2020). However, they did not manage to transfer it to the main OpenCV build, so you need to use a special non-free build.
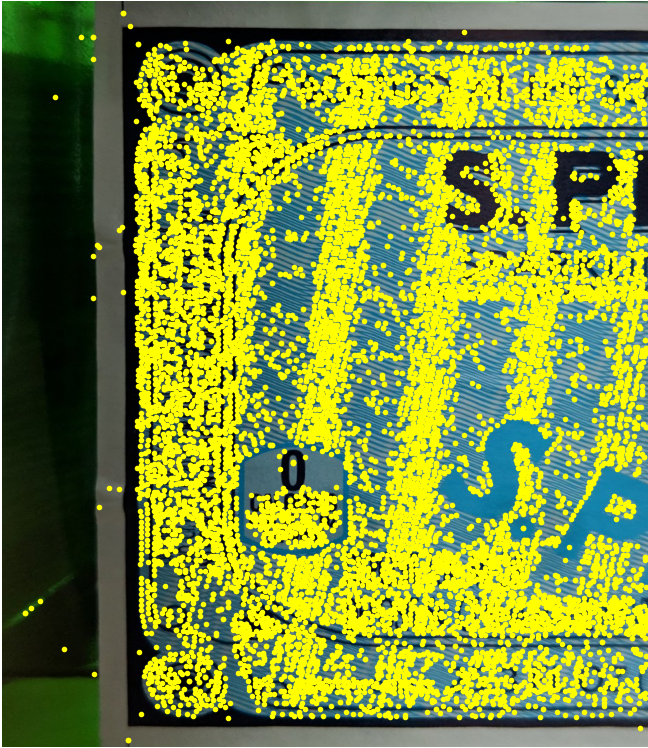
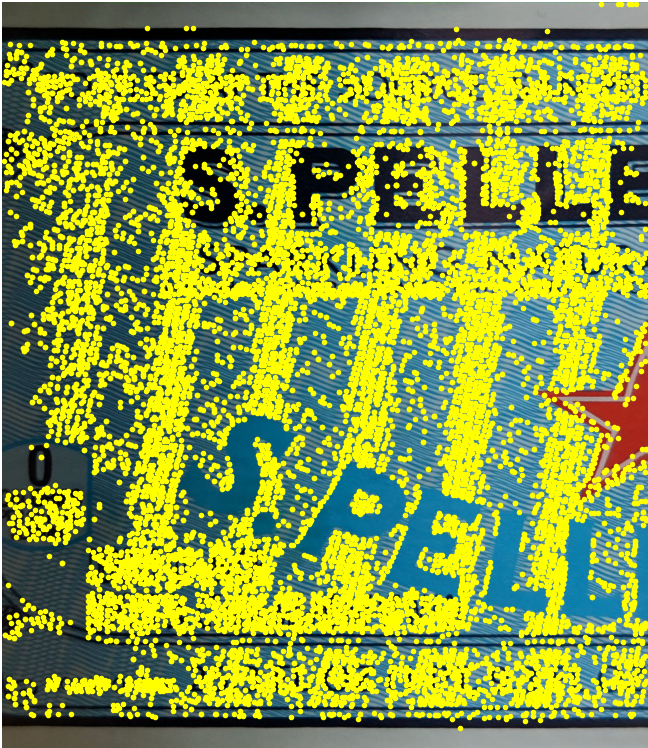
So let's find similar corners in both images:
sift = cv2.xfeatures2d.SIFT_create()
features_left = sift.detectAndCompute(left_image, None)
features_right = sift.detectAndCompute(left_image, None)
Let's use the Flann matcher - it has good performance even if the number of descriptors is large.
KNN = 2
LOWE = 0.7
TREES = 5
CHECKS = 50

matcher = cv2.FlannBasedMatcher({'algorithm': 0, 'trees': TREES}, {'checks': CHECKS})
matches = matcher.knnMatch(left_descriptors, right_descriptors, k=KNN)

logging.debug("filtering matches with lowe test")

positive = []
for left_match, right_match in matches:
    if left_match.distance < LOWE * right_match.distance:
        positive.append(left_match)
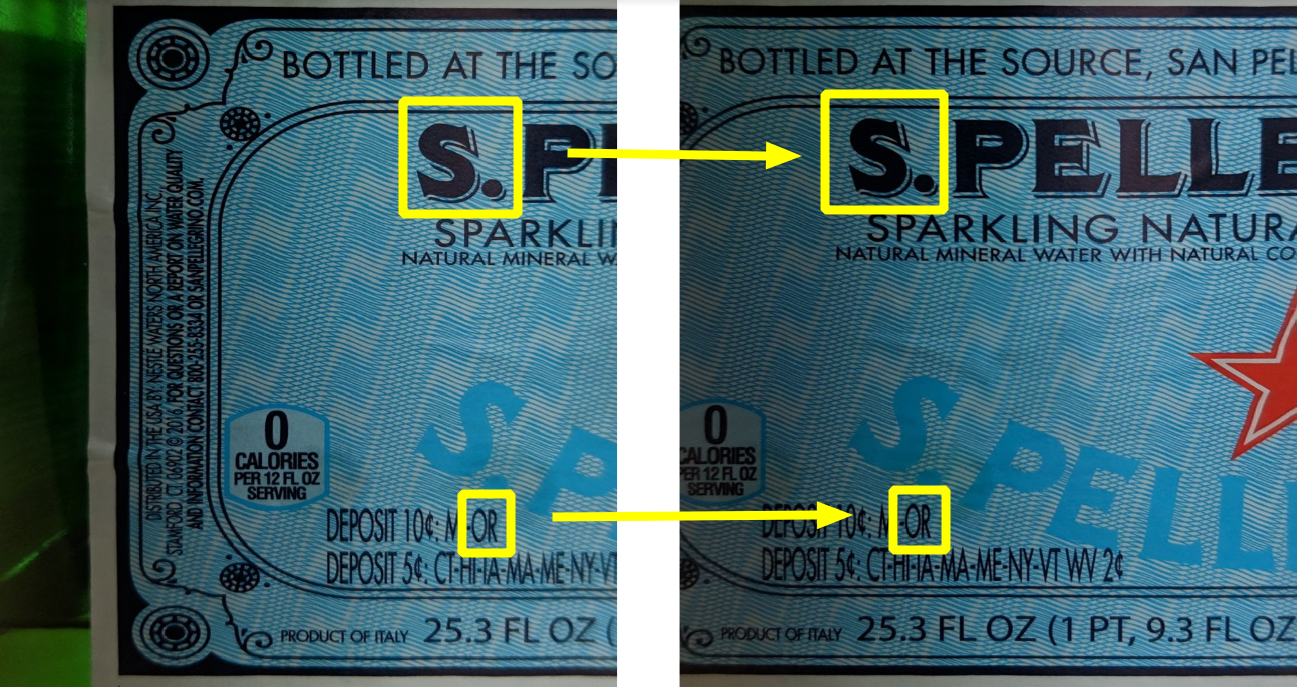
The yellow lines show how the matcher found matches.
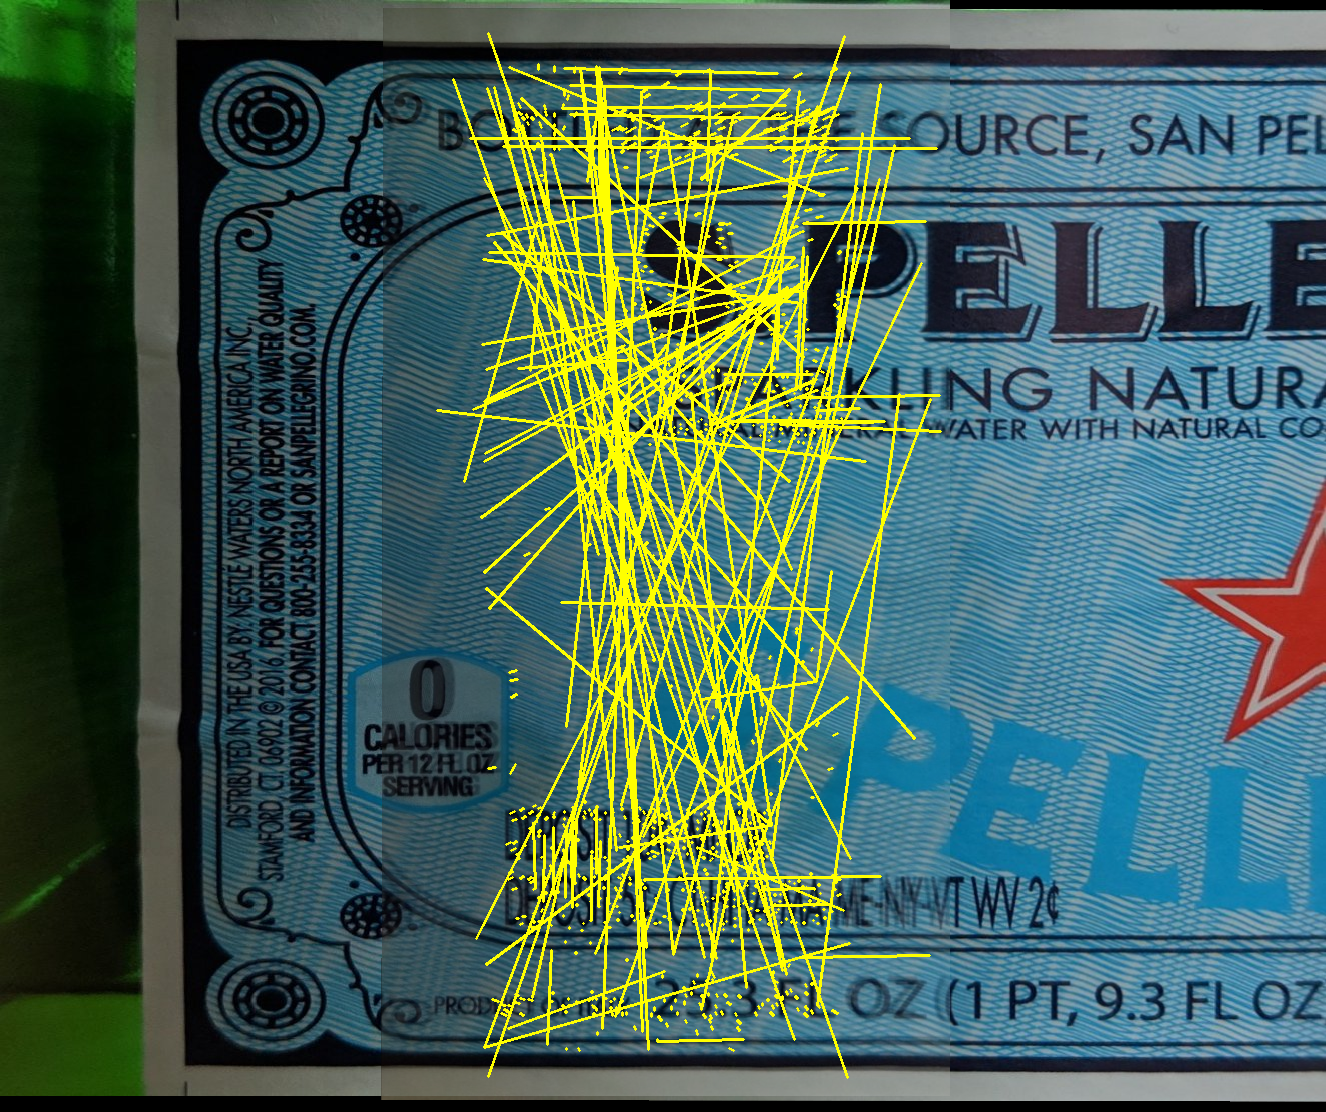
As you can clearly see, there are only about half of the correct matches. However, if correct matches always give the same transformation, then incorrect ones show a chaotically new direction. Those. theoretically, they can be somehow separated from each other:

One of the algorithms to find the correct transformation is RANSAC. This algorithm works great when you want to separate good values from noise - this is exactly the case.
Fortunately, OpenCV already has functions that will find the transformation matrix by matches using RANSAC, i.e. in fact, you don't have to write anything.
Let's use the estimateAffinePartial2D function which looks for the following transformations: rotation, scaling and translation (4 degrees of freedom).
H, _ = cv2.estimateAffinePartial2D(right_matches, left_matches, False)
When the transformation matrix is found, we can transform the right image for gluing.
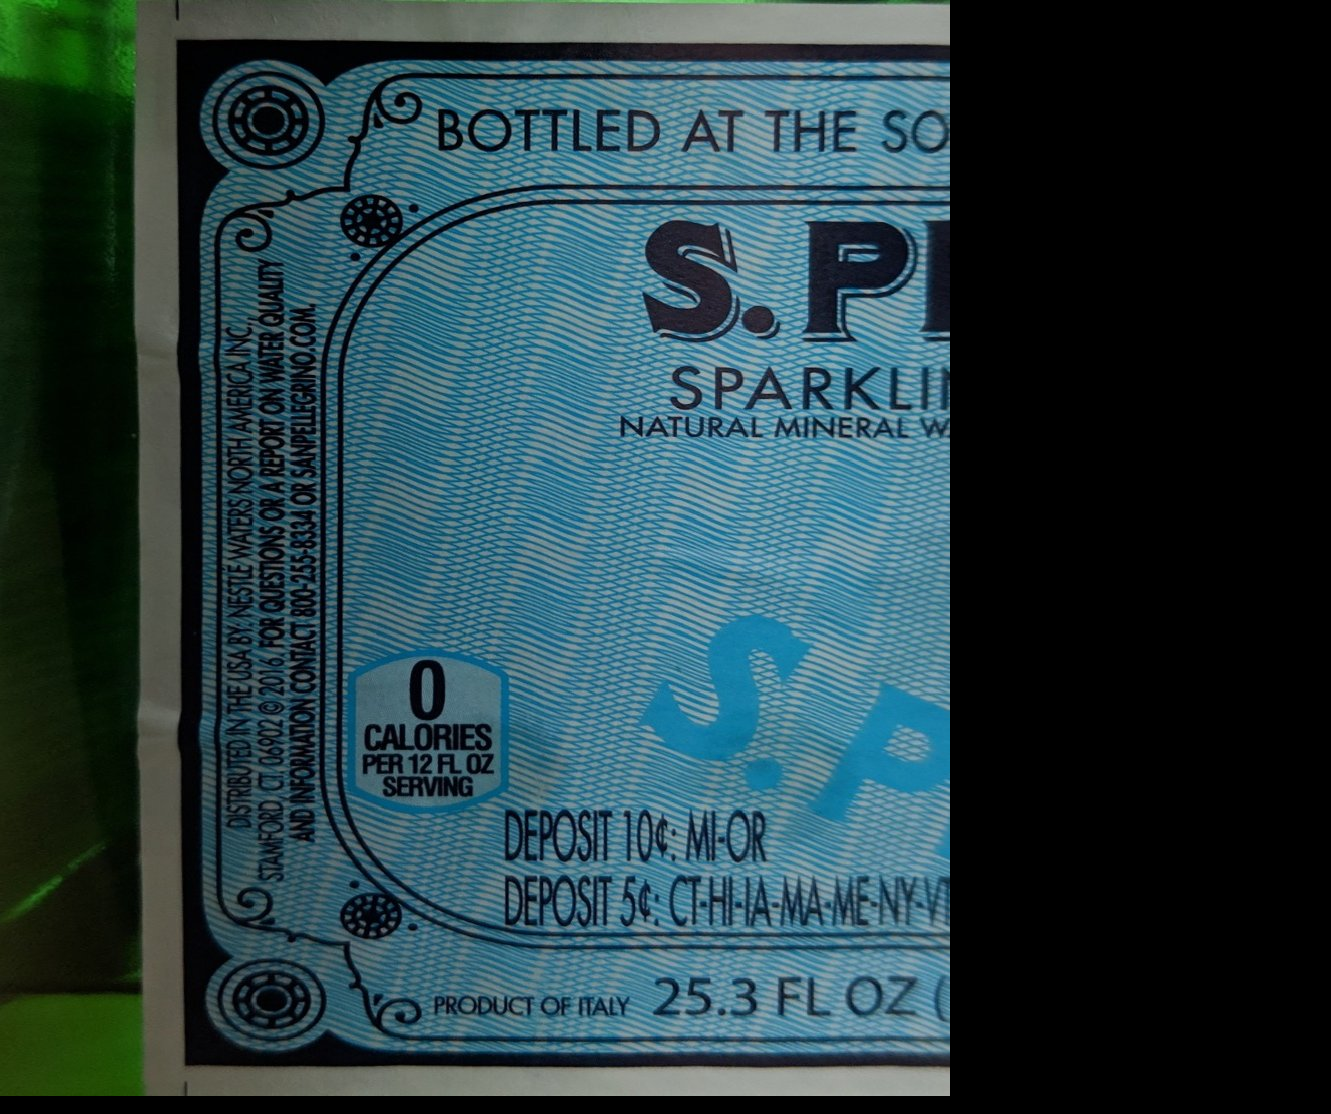
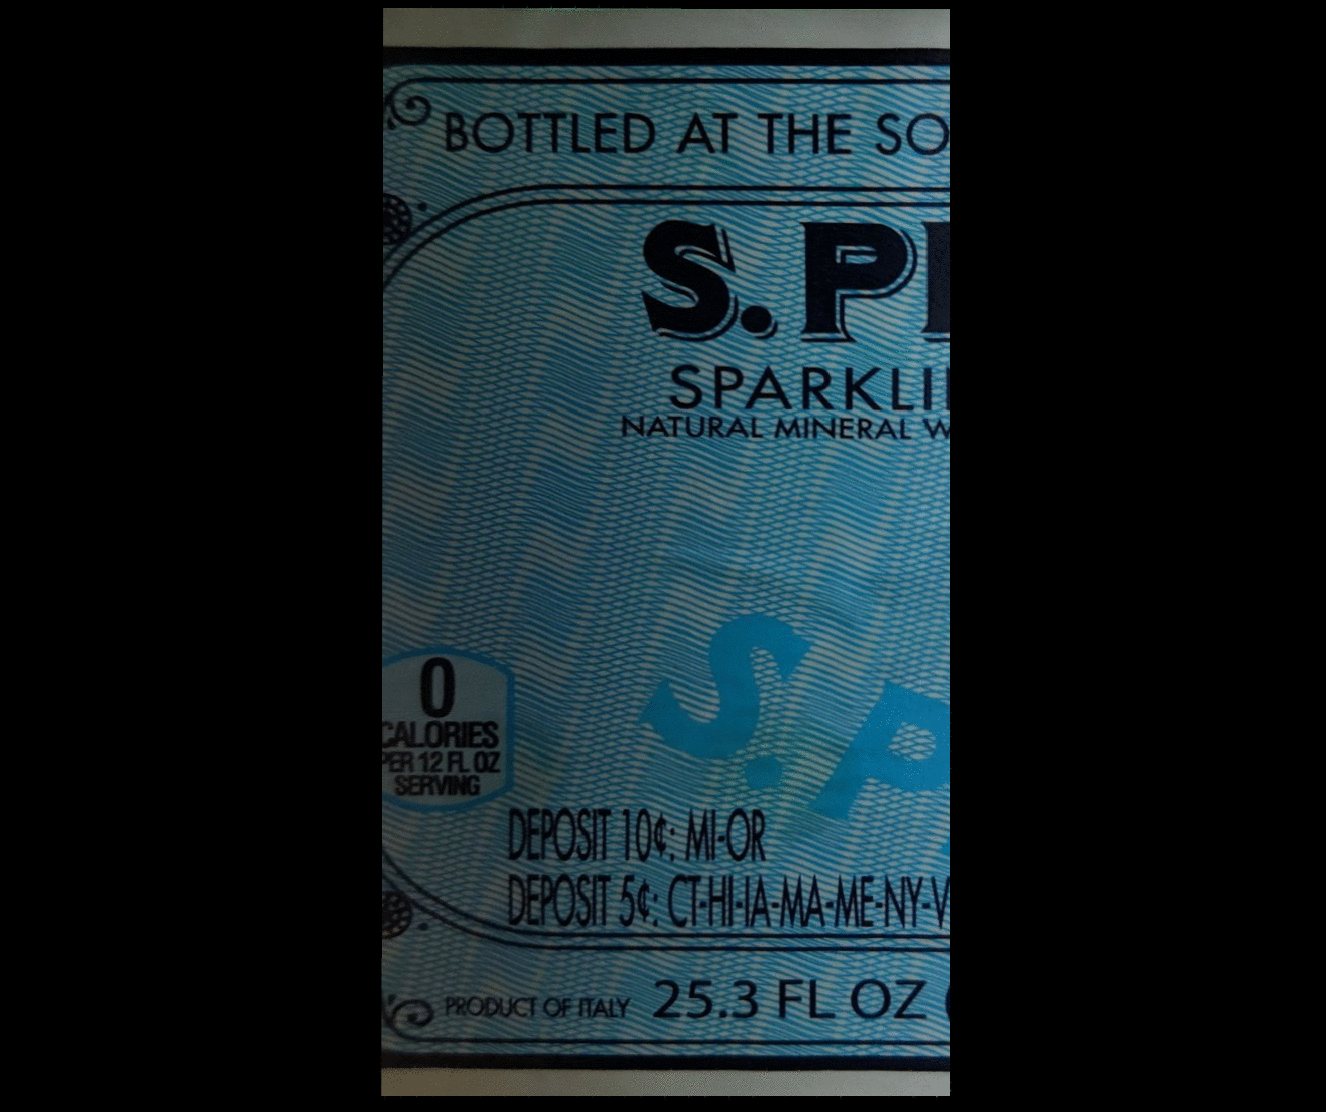
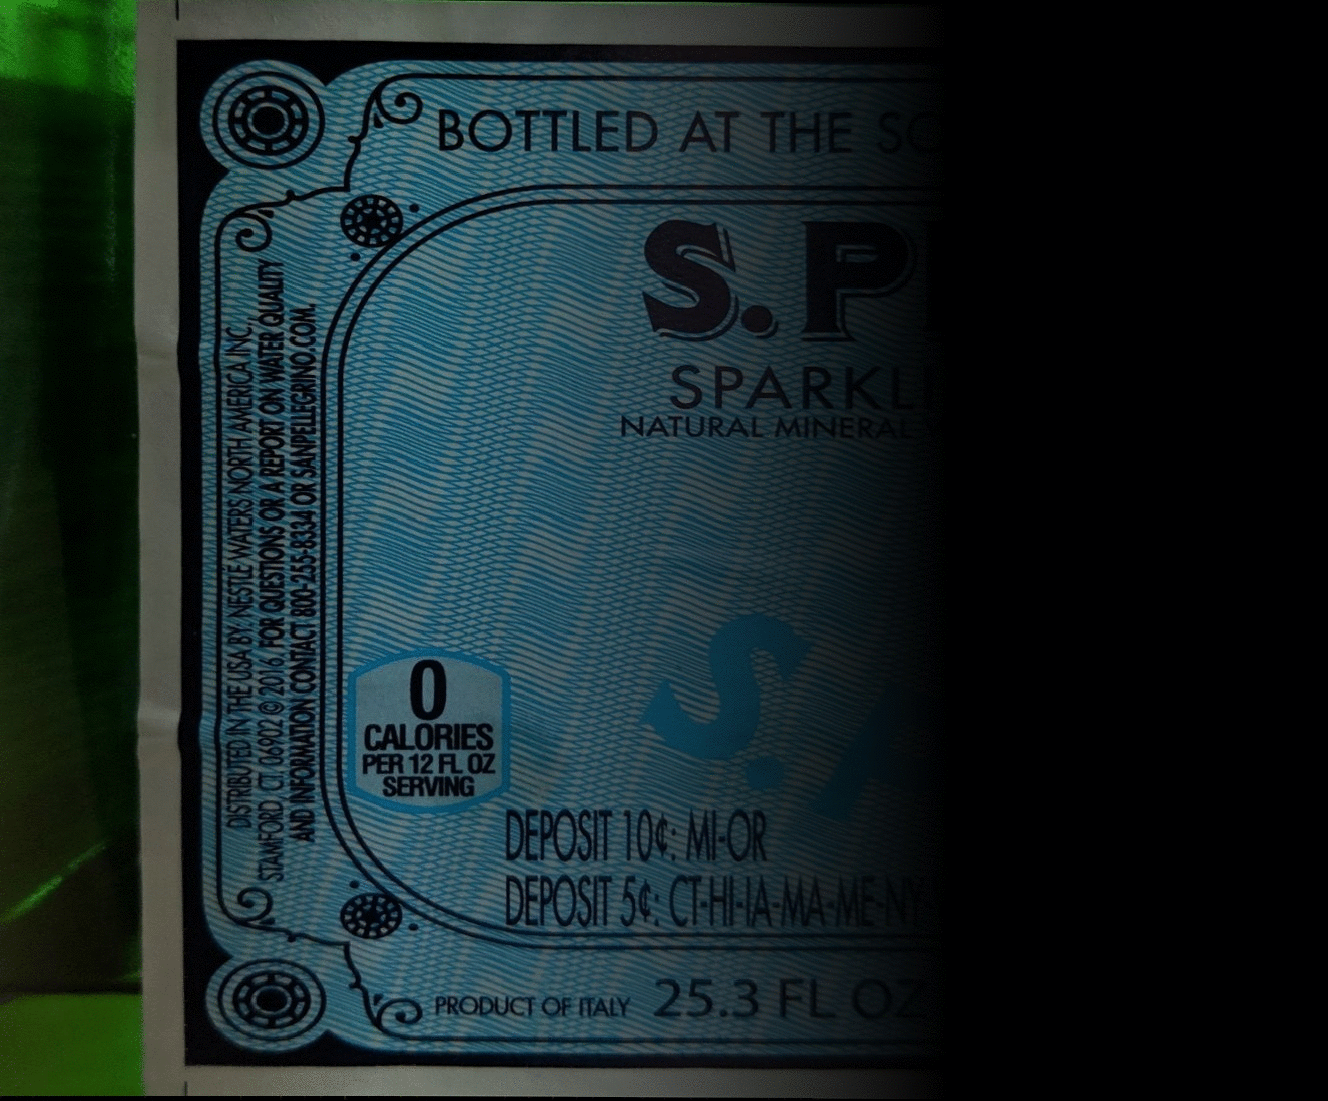
Left Fragment:
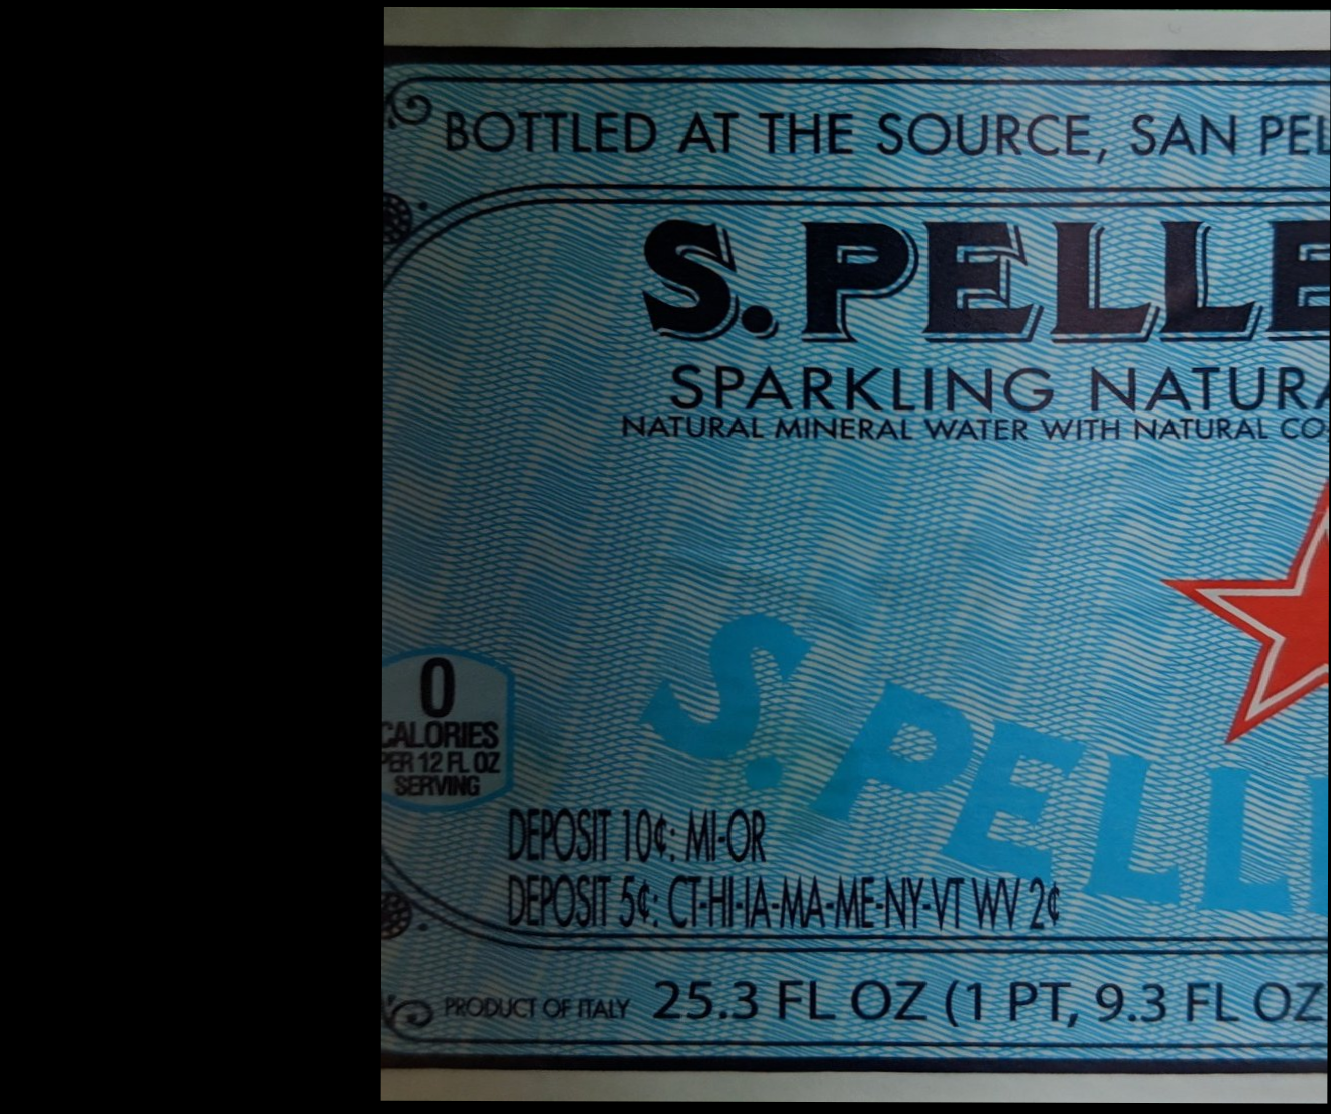
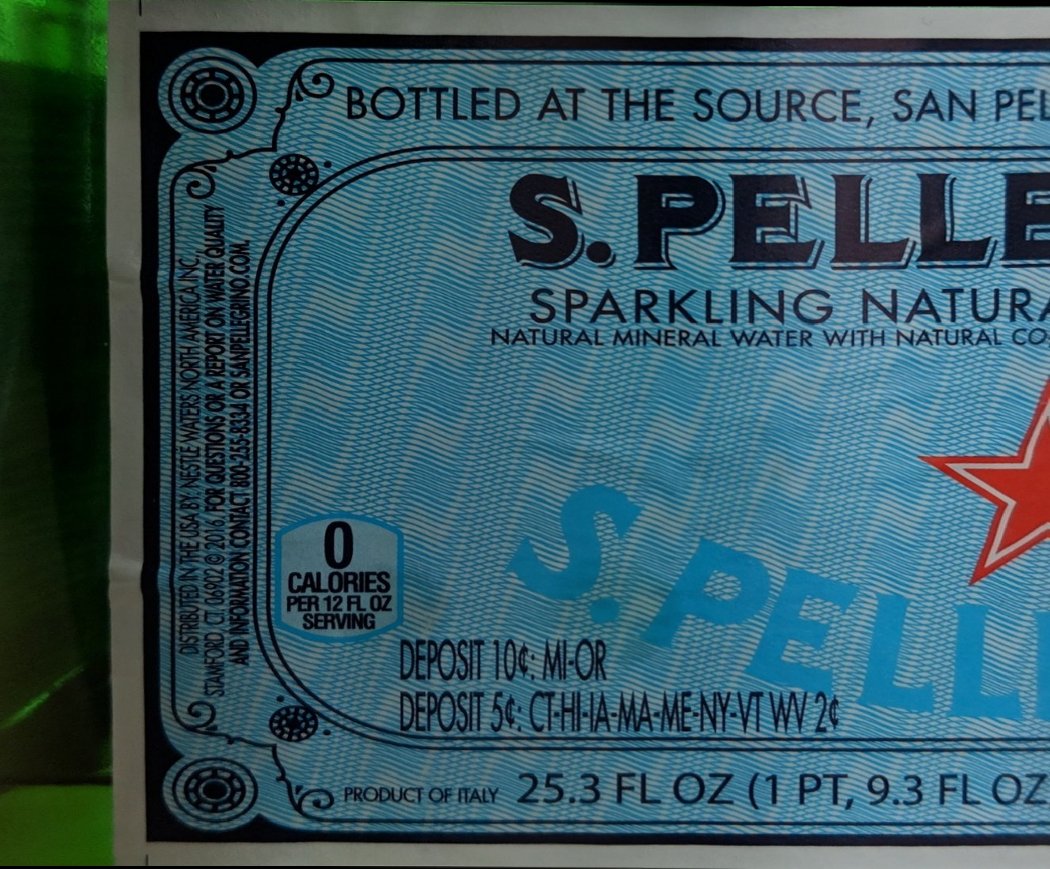
Right Fragment:
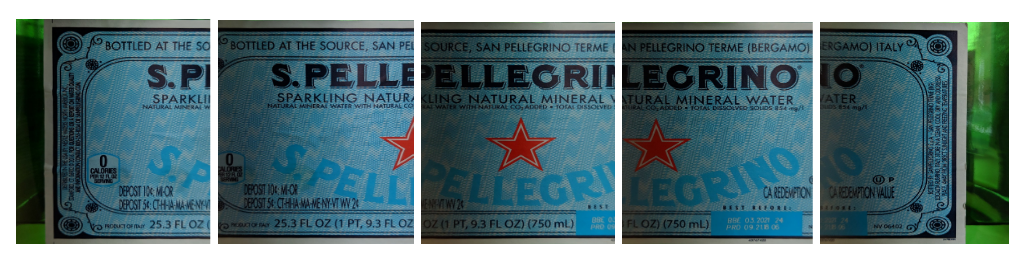
First, let's use the simplest way of gluing fragments together, when each pixel of their intersection is calculated as an average. Unfortunately, the result is so-so - the image doubles noticeably, especially near the gluing line.
In the animation, the difference between the two frames is more clearly visible:
This is not surprising - the photos were taken from different angles, the neural network also turned them slightly differently, and as a result, there were small discrepancies.
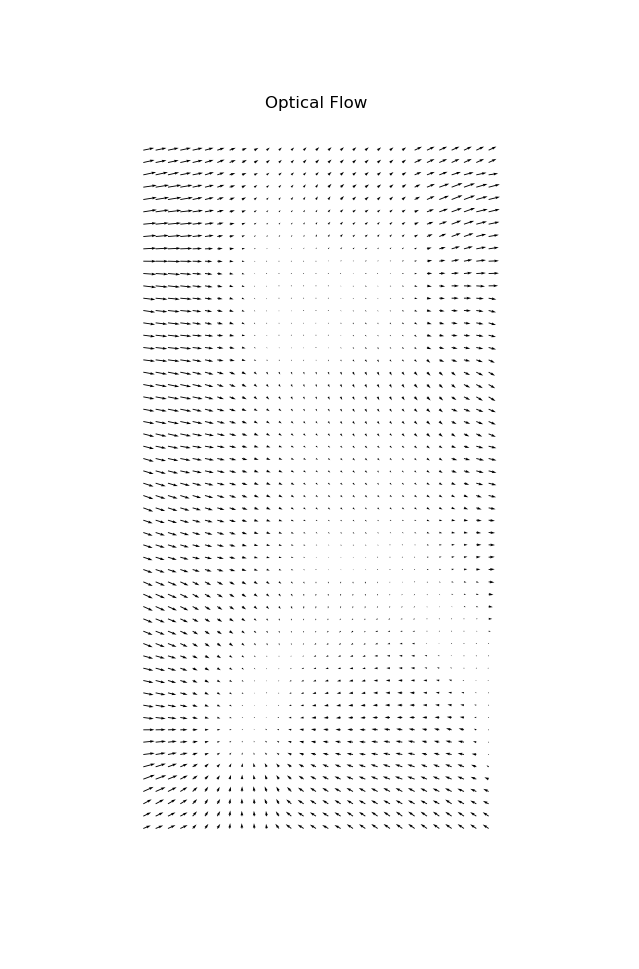
For seamless gluing, it is necessary to compensate for non-linear distortion. The distortion can be represented as a vector field of the same resolution as the original image, only instead of color, a shift will be encoded in each pixel. This vector field is called “optical flow”.
In general, there are different methods for calculating the optical flow - some of them are built directly into OpenCV, and there are also special neural networks.
In our case, I will omit the specific technique, but I will publish the result:
But compensation must be carried out in proportion to both fragments. To do this, we will divide it into two matrices: The
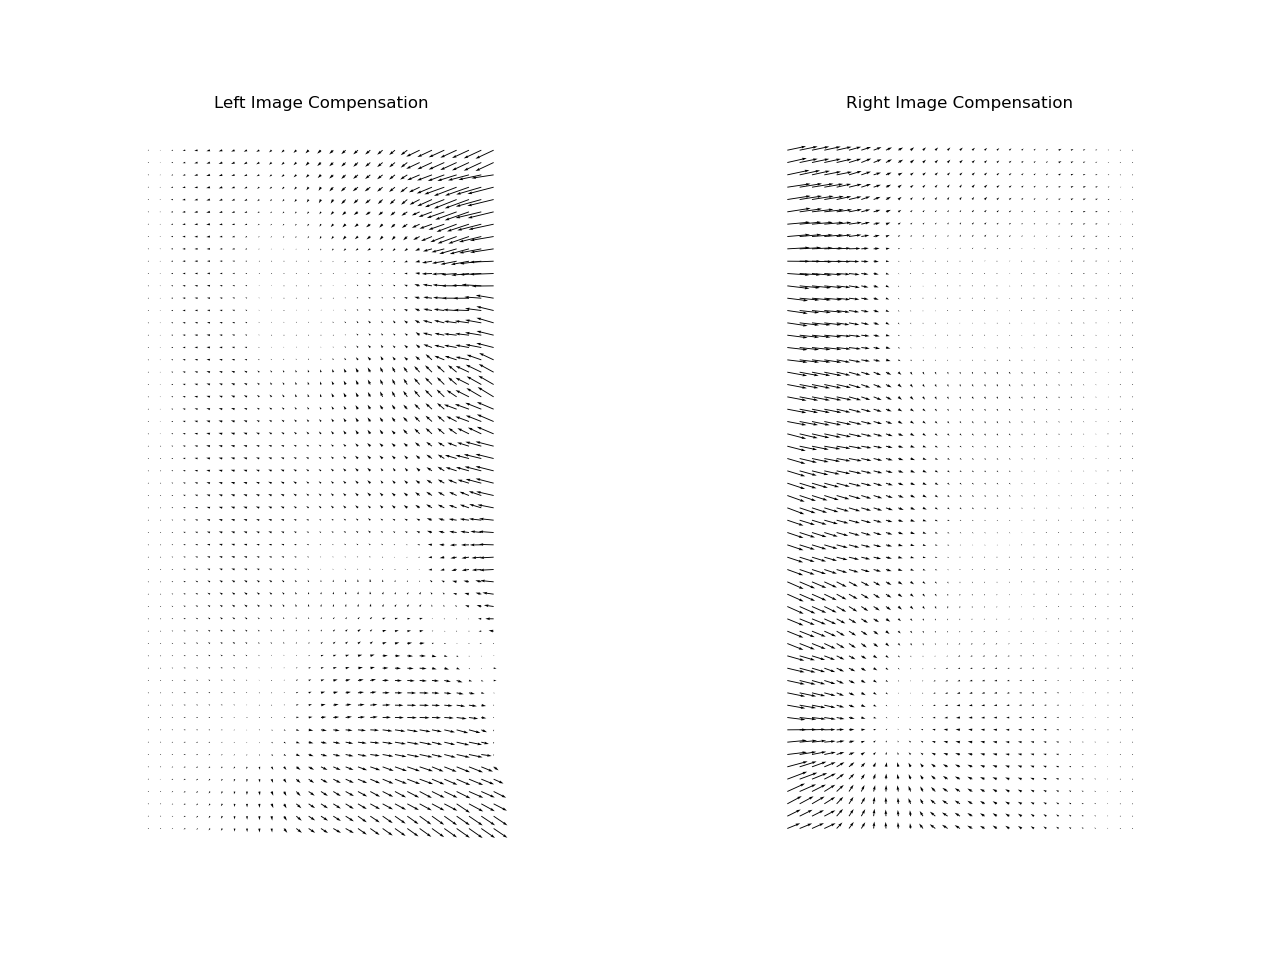
left fragment will be compensated from left to right in an increasing way, while the right one - vice versa.
Now both fragments overlap one another almost perfectly:
Now the overlay is geometrically correct, but we see a very noticeable jump in brightness at the seams:

This problem can be easily corrected if instead of average values, they are overlaid with a gradient:
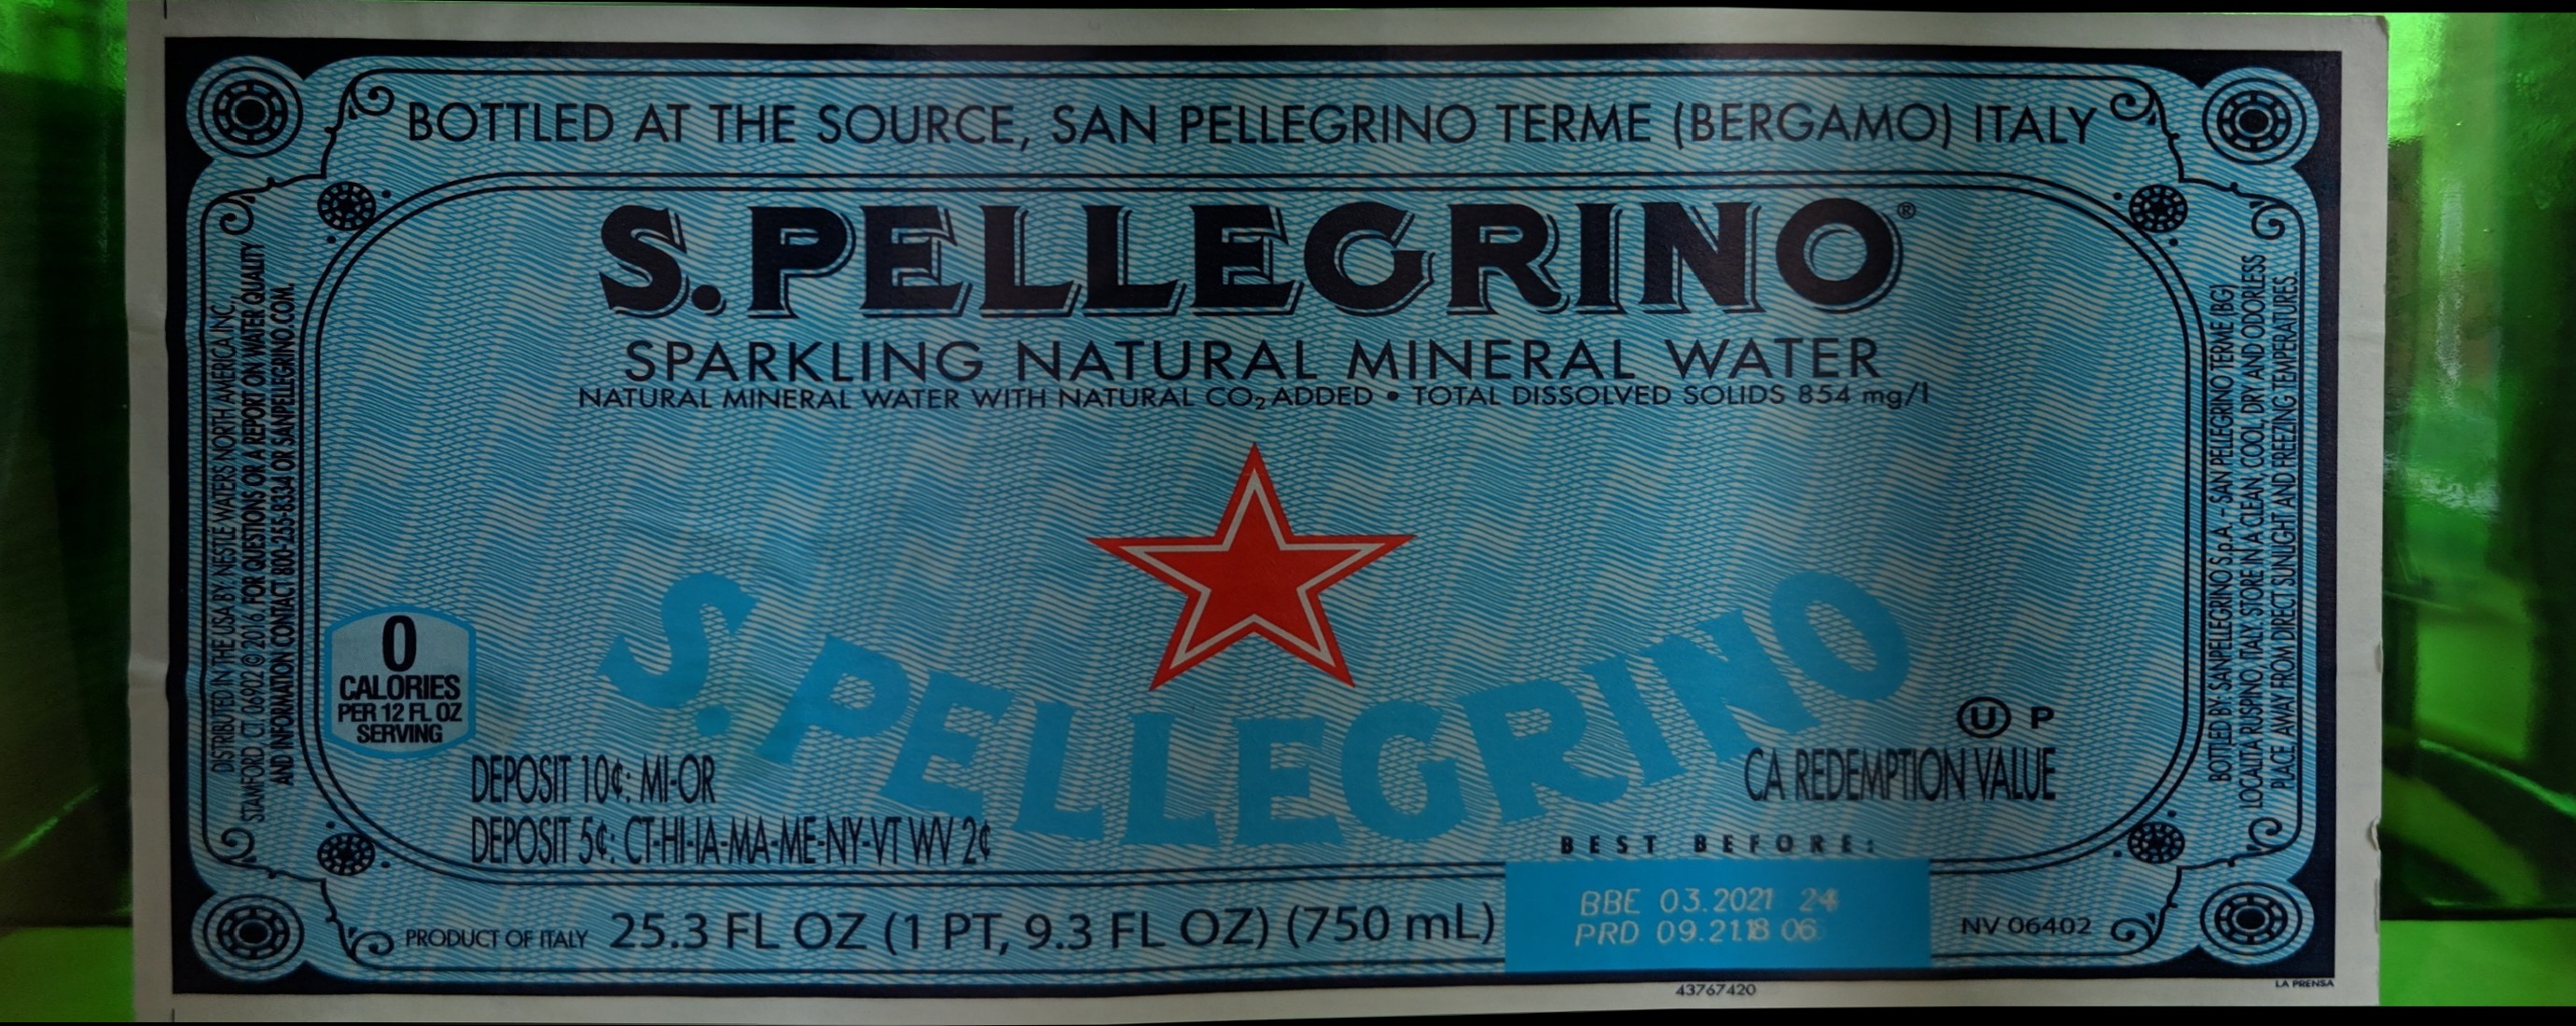
With this approach, the seam is not visible at all:
In principle, there are also other gluing techniques, for example , multiband blending, which are used for stitching panoramas, but they do not work well with text - only optical flow compensation can completely remove ghosting on the text.
Now we glue the full image:
Final version:
Further improvements could be compensation for the shadow effect (right side of the image), or even more post-processing of color and contrast. You can also see that the global geometry has slightly suffered - the lines on the right have slightly crept up. Theoretically, this problem can also be fixed by adding a global scaling correction, but this is also not a completely trivial task.
We examined how gluing works, a ready-made solution is available here in the form of a REST API, I also recommend looking at the following links:
- SIFT explained
- OpenCV homography explained
- Panorama Autostitching
- OpenPano
- Google Photo Scanner