In one of the comments, they dubbed this August the month of DIY watches, and decided to also talk about my craft.
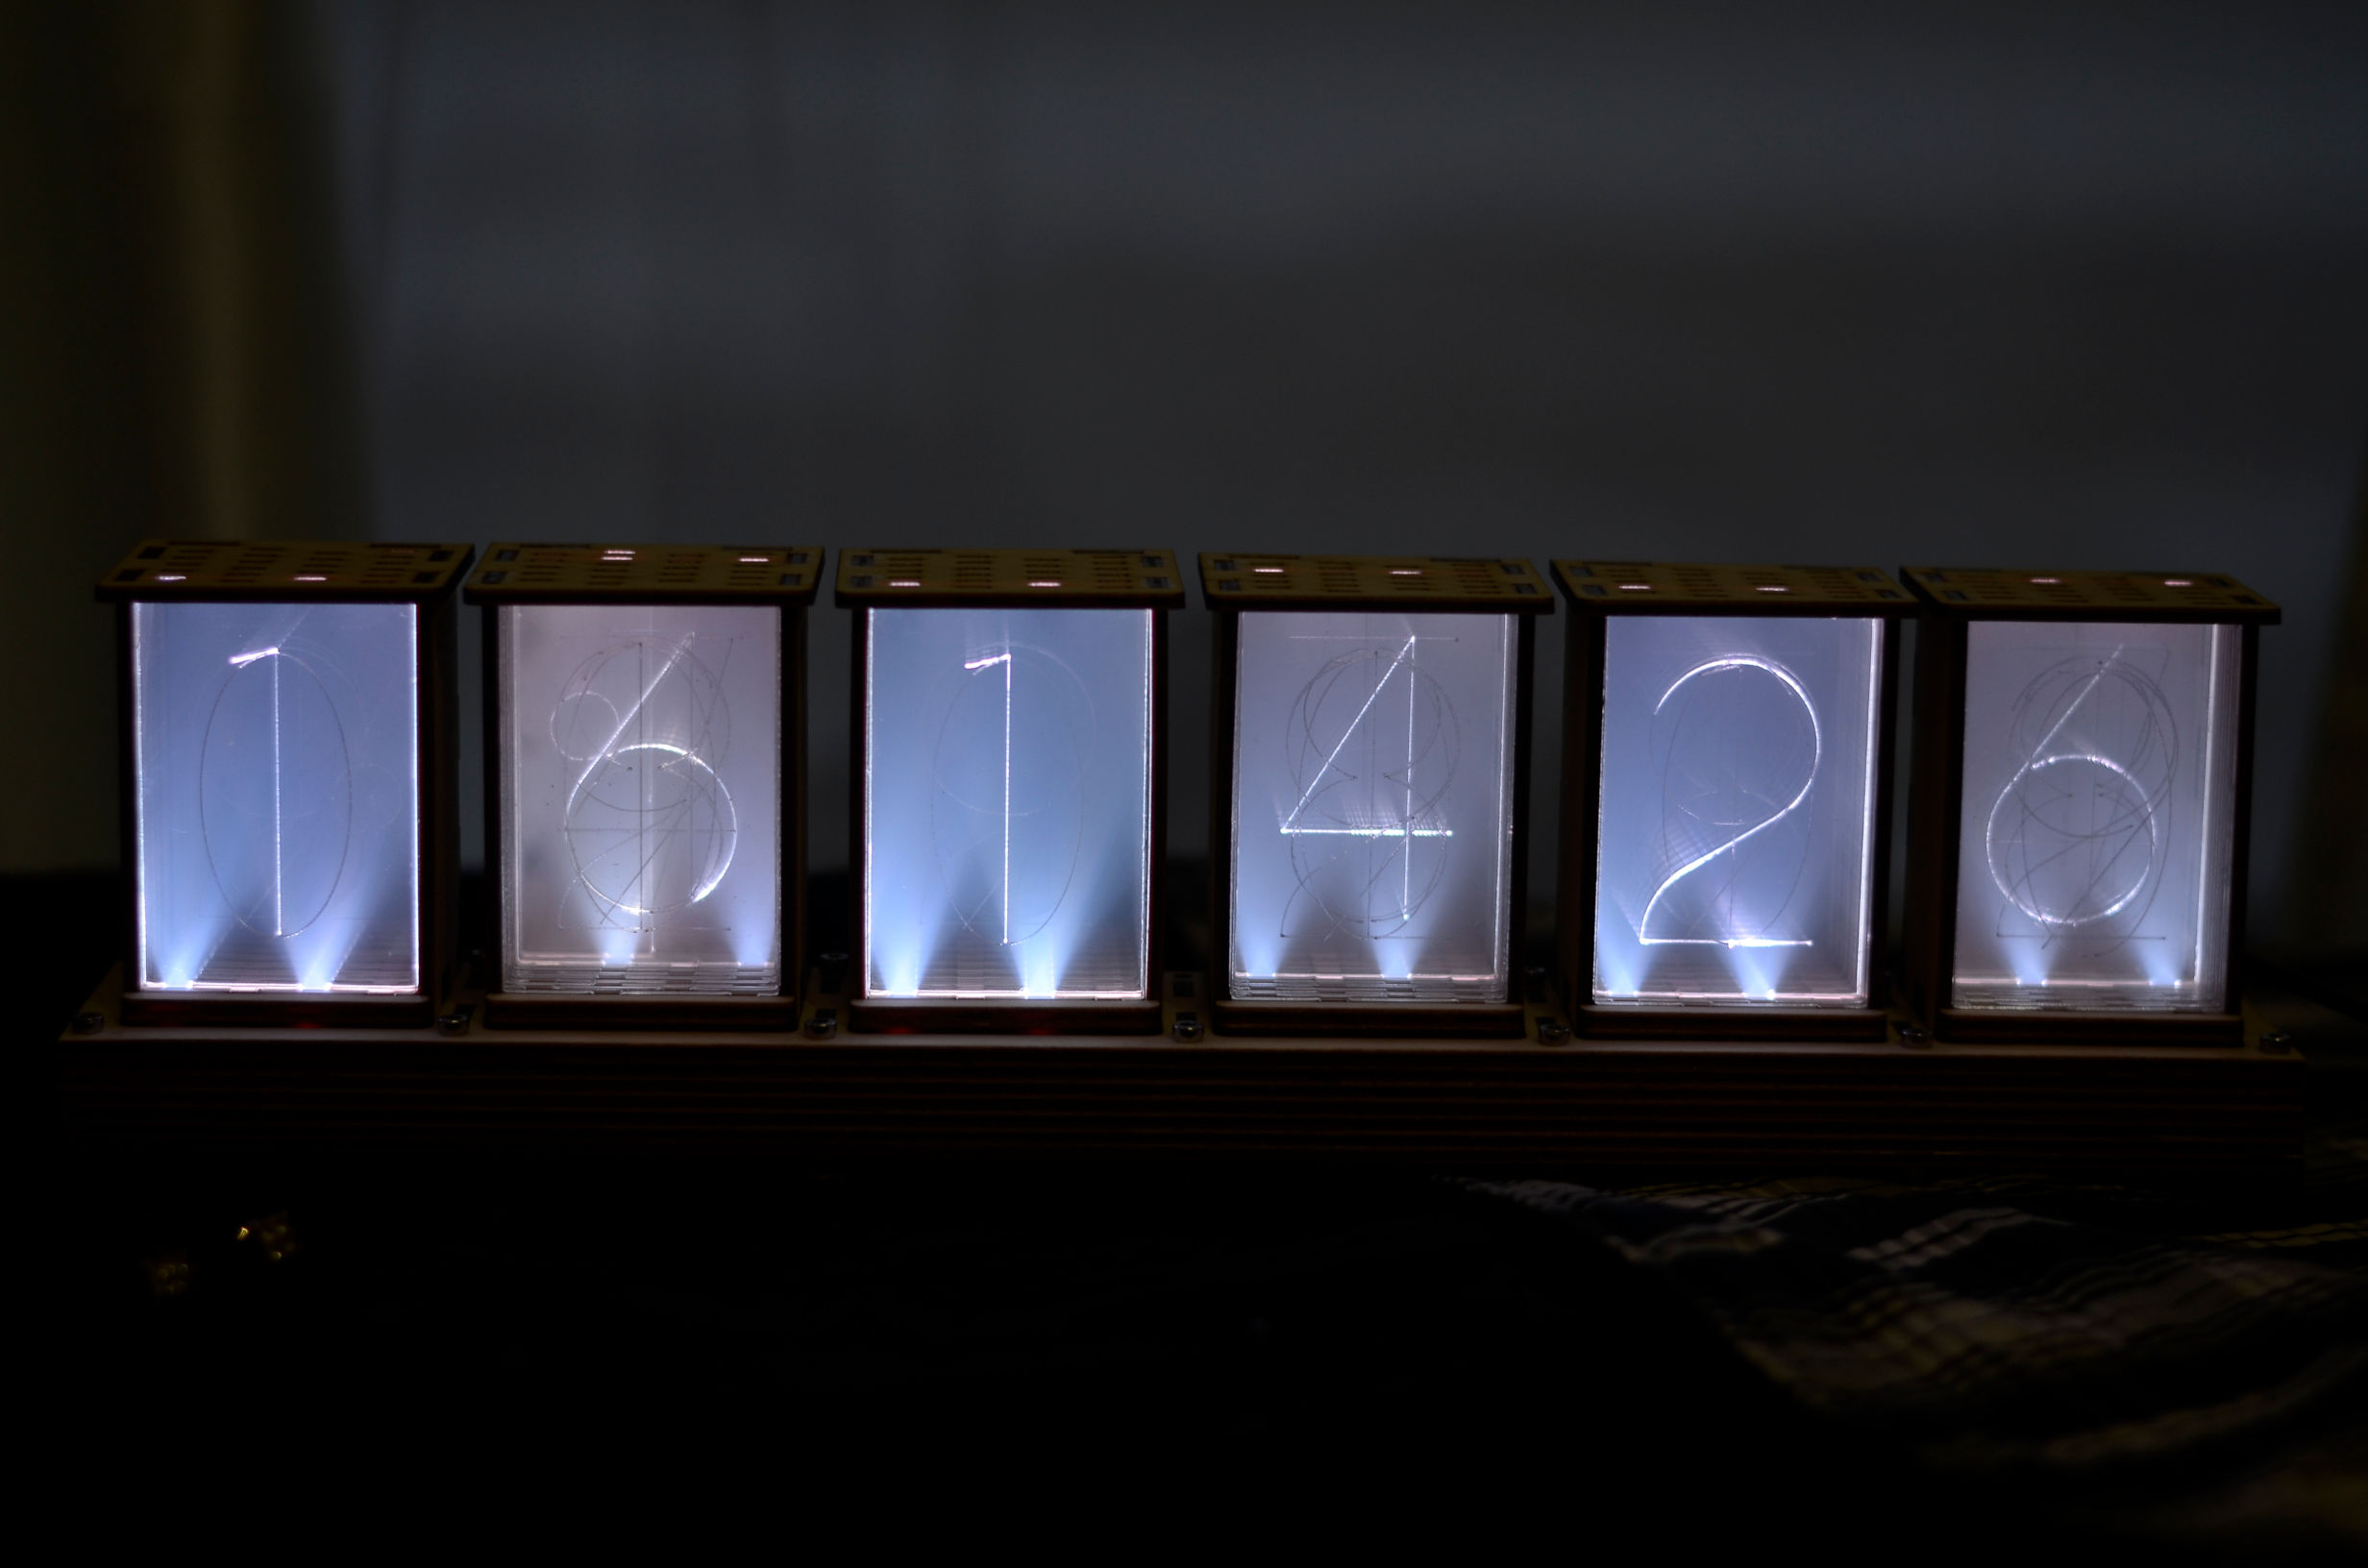
Idea
The topic itself is not new at all, I have come across similar projects for a long time, but I didn’t have enough resources to repeat them: time, knowledge, skills, until ...
I don’t remember on which resource I saw such a device, and the desire to do something similar sat down very strongly.
Before starting work, I had zero practical experience with vector 2D and 3D graphics and CNC, and I am still too lazy to install Windows. It was the 4th month of unemployment amid severe burnout.
The starting point was the following "drawing" in the CDR:

© Folker Stange // thingiverse.com
It is suggested to use 3mm acrylic and tape WS2812b 144 diodes / meter, this is a cell with one SMD diode 12 x 6.9 mm- all subsequent geometry is based on these metrics when creating a drawing.
It seems that everything is simple!

© X-film // ATM, Lave, rope.
But I couldn't go with this to the machine or to the machine operator and say “I want it like this!”, I had to prepare my own model. After trying to make a convertible drawing, IncScape, LibreCAD, FreeCAD were marked as inappropriate; AutoCAD and CorelDraw under Wine are not an option, and then I came across BricsCAD - a native DWG compatible CAD system , in which I still work.

At the same time, it was necessary to find the machine itself and access to it, and there are not so many of them in the capital of villages.
Friends suggested contacting the FabLab of the University of Civil Engineering, mentioning that there they can help me with the development of the mechanical part. I wrote to several organizations, and most willingly went to the FabLab of Tyumen State University , and stayed there. I chose plywood as a material, because it is cheap and strong enough for such a product.

The contours of the numbers are taken here from the models of the GRI (since he did not know the KAD very well yet).

In the meantime, he was dealing with the drawing and printing, a roll of tape and fashionable bolts with Ali arrived .

When the plexiglass was being cut, a technician from a neighboring department came in:
- Do you cut so much from plexiglass? It's expensive!
- Beauty requires sacrifice...
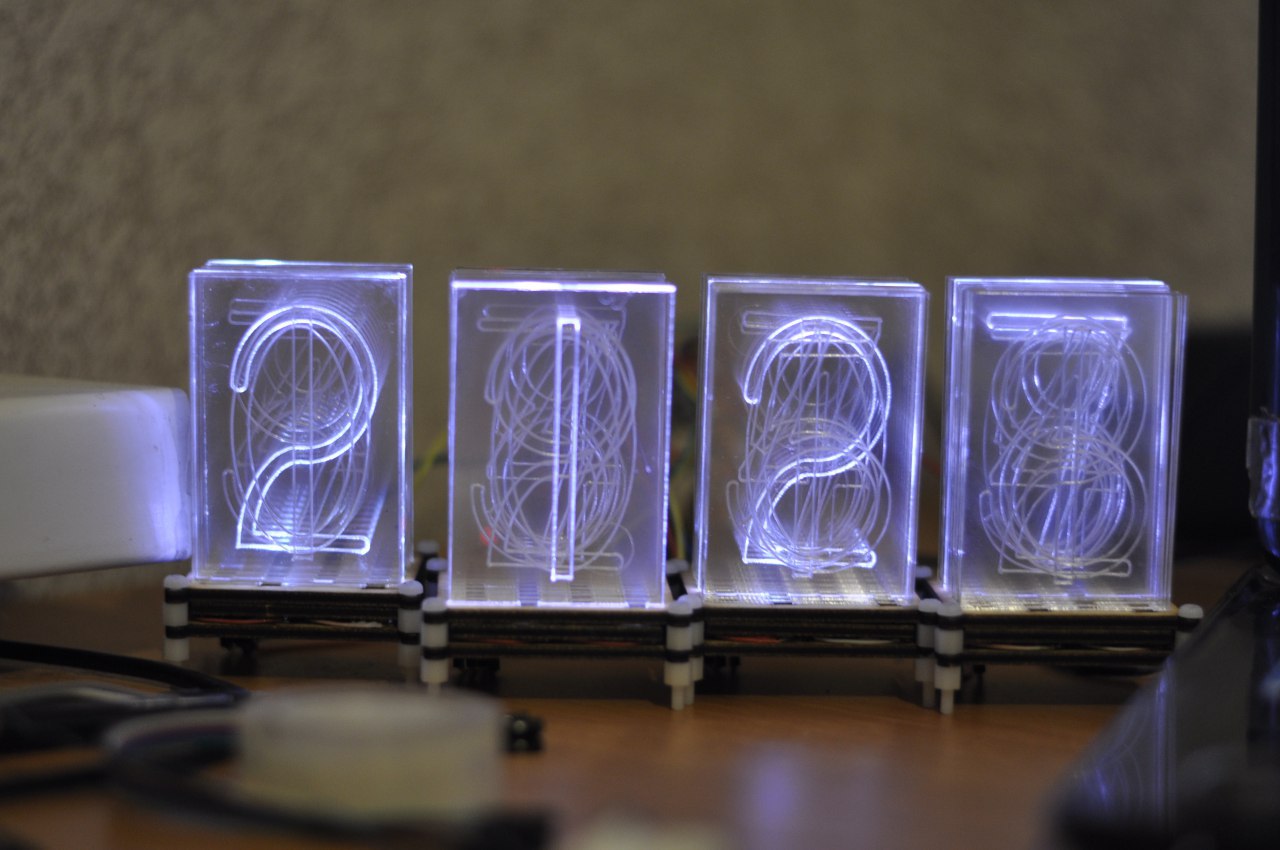
As a result, the zero assembly initially consisted of platforms clumsily standing on four legs with glass pieces swinging on them, trying to fall out. / * plexiglass 3mm as in the instructions * /
The first weak point is the eyelets for fastening, they were too thin and broke.
The second is vertical installation on the base. I have not found any other way to quickly connect one to the other, except with a pin plug with a pitch of 2.54 mm (DIP) - fortunately, there are such in every radio store. The turrets swayed a lot, and they had to be screwed tightly to the base, so that the structure became electrically non-separable (with falling out glass).
The device was presented to an old friend on the eve of his wedding and probably continues to delight to this day.
Build # 1
FabLab's condition for cooperation was the creation of a second copy in favor of the university. I took into account the mistakes, rewrote the code, and in this and subsequent assemblies, the installation of the lamps became horizontal, a la sled.


Everyone liked the mechanism, and the layout was printed, the contours of the numbers here were already drawn by me.

Assembled:
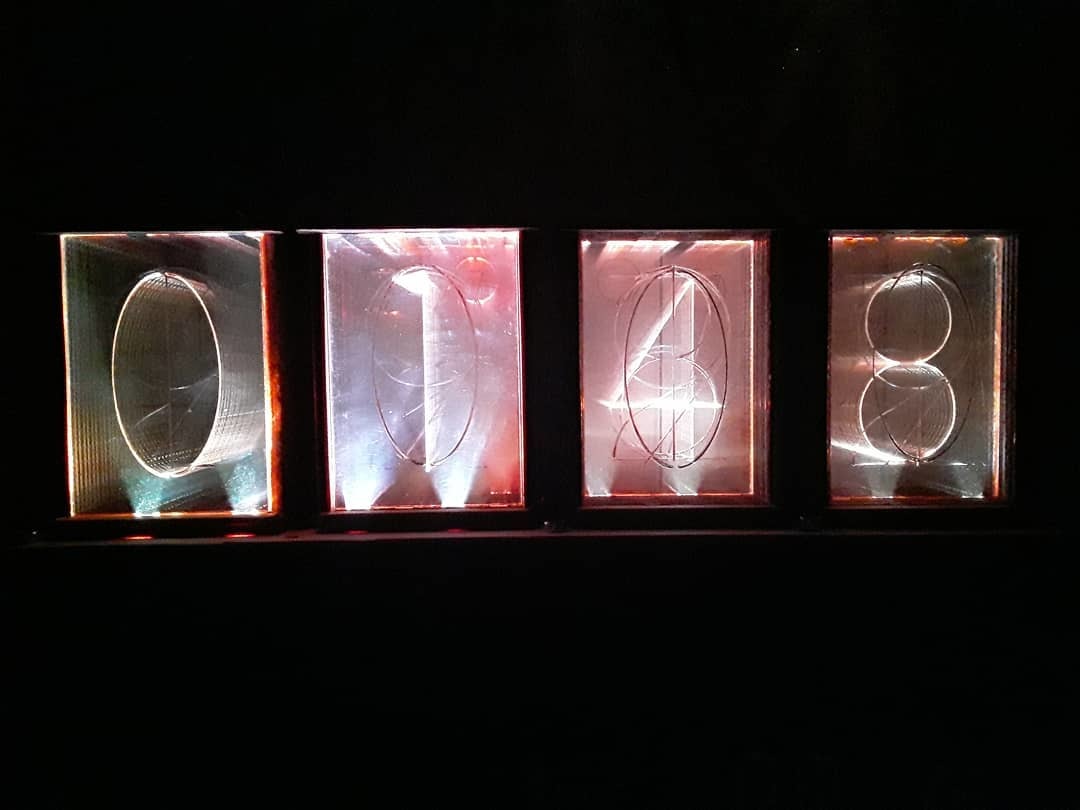

The photo shows burnt lines : then I did not yet know what polycarbonate is, that it is poisonous, and that it cannot be cut with a laser, because it burns when heated. But - the result was made and decorates the corridor of the university FL.
Figures: if the cut is deep , then the front contours overlap the glow of the back layers, and the technician needs to put a bold emphasis in the commentary on the fact that it should be an engraving, not a cut.
Subsequent iterations I ordered in a laser workshop, glass from PET, the sides and back wall in the latest edition are also made of transparent material (with reflective film).
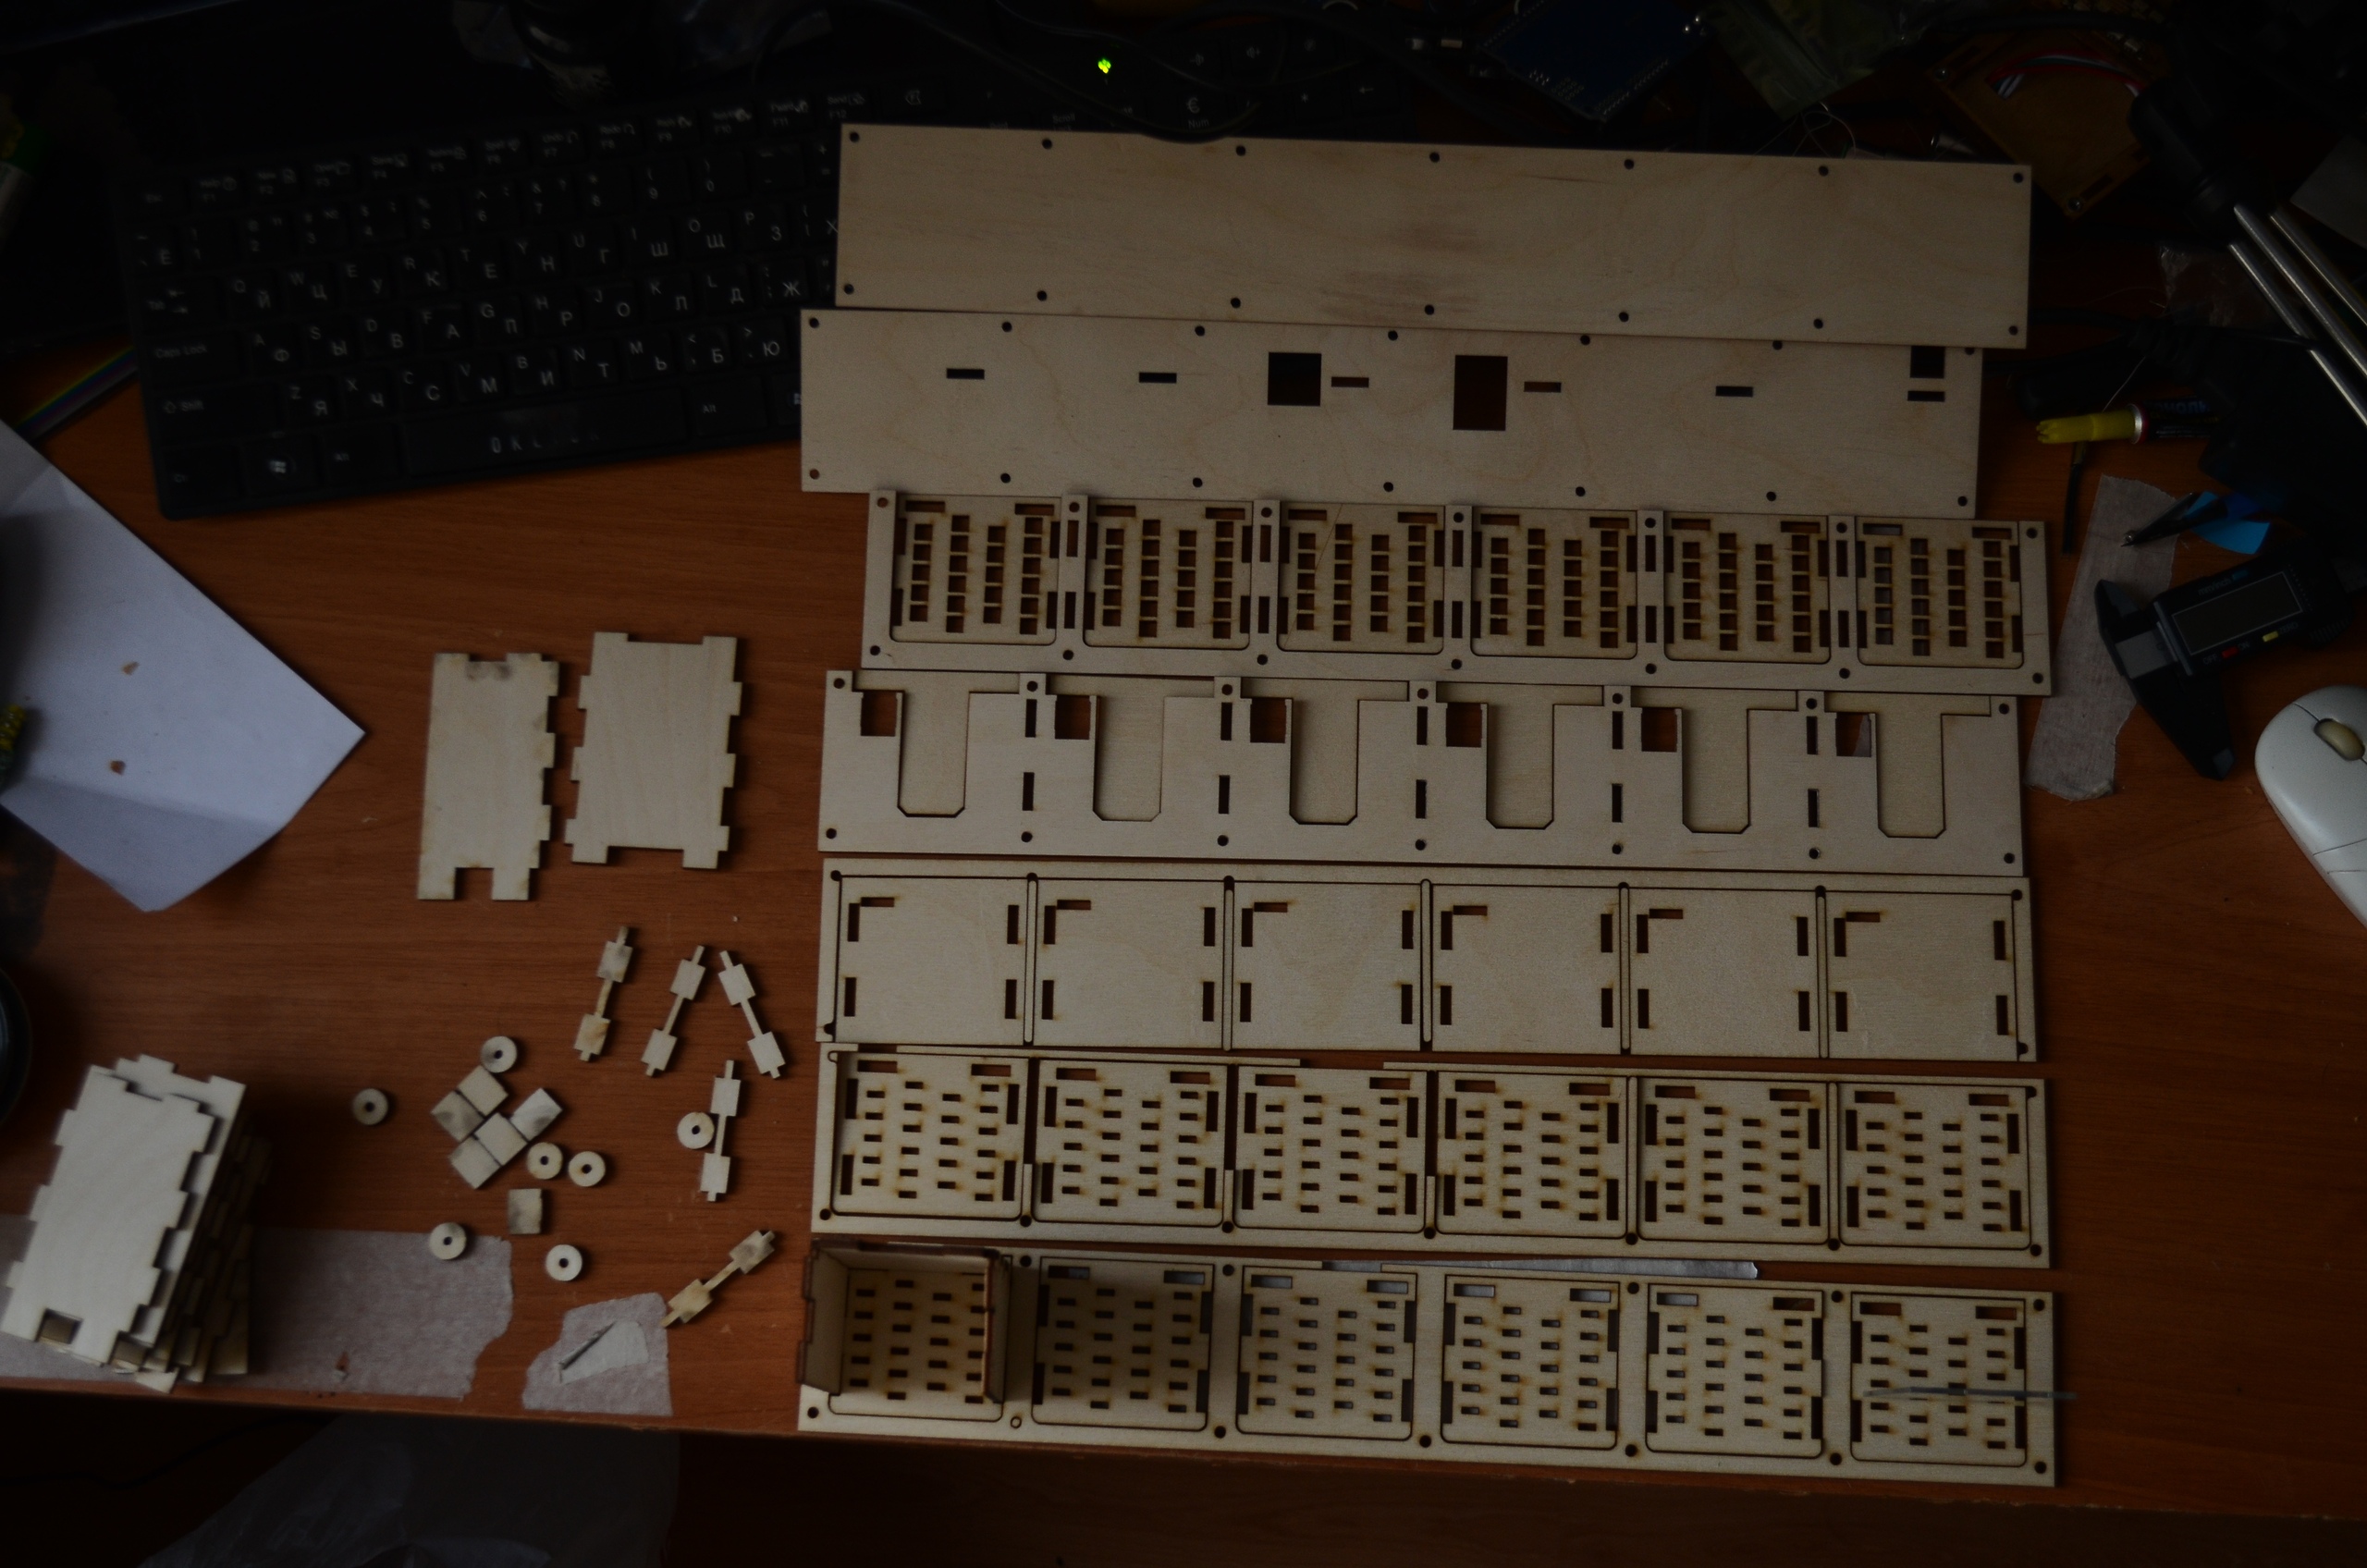


Iron

ESP8266 was chosen because it is convenient for me to compile the configuration tool as a WEB application. Also, there is a library Ticker for it - which allows you to perform functions on a schedule and get rid of loop ();
The connection diagram is actually simple.
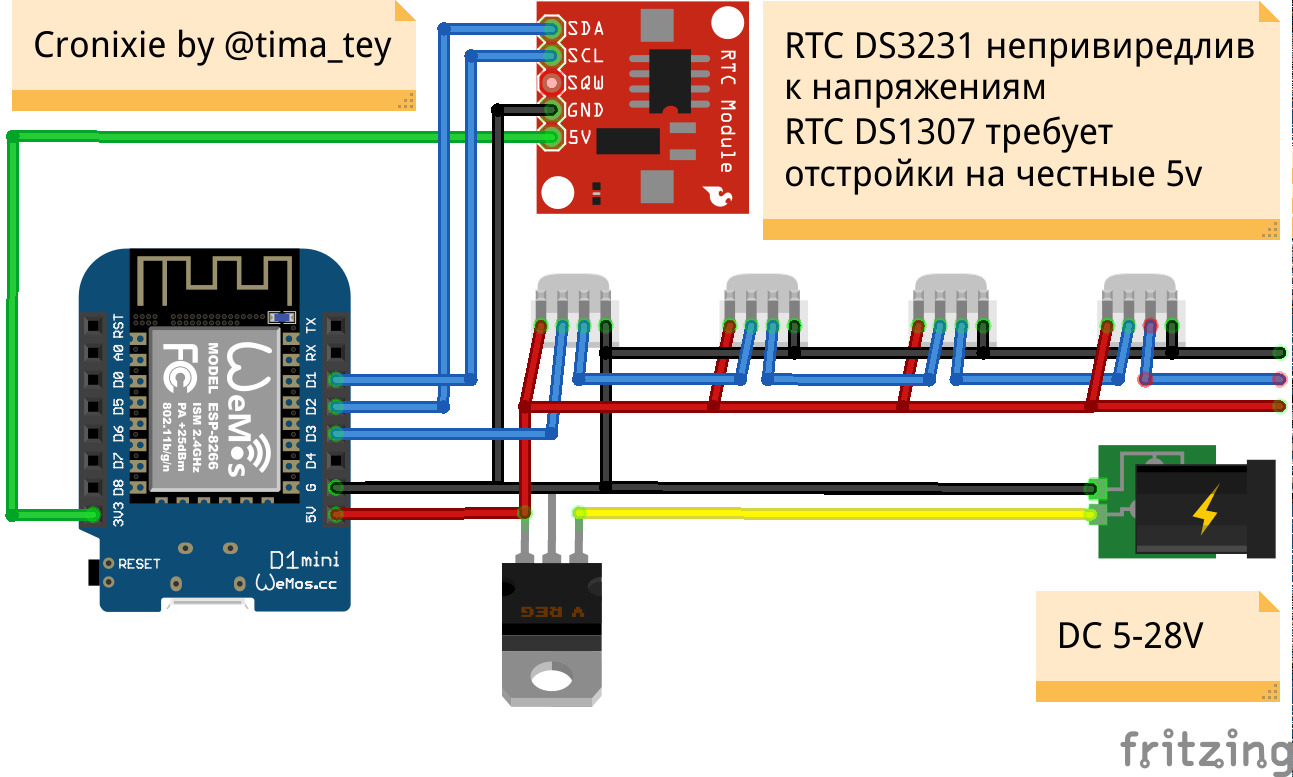
Behind each 4-pin socket is a "lamp".
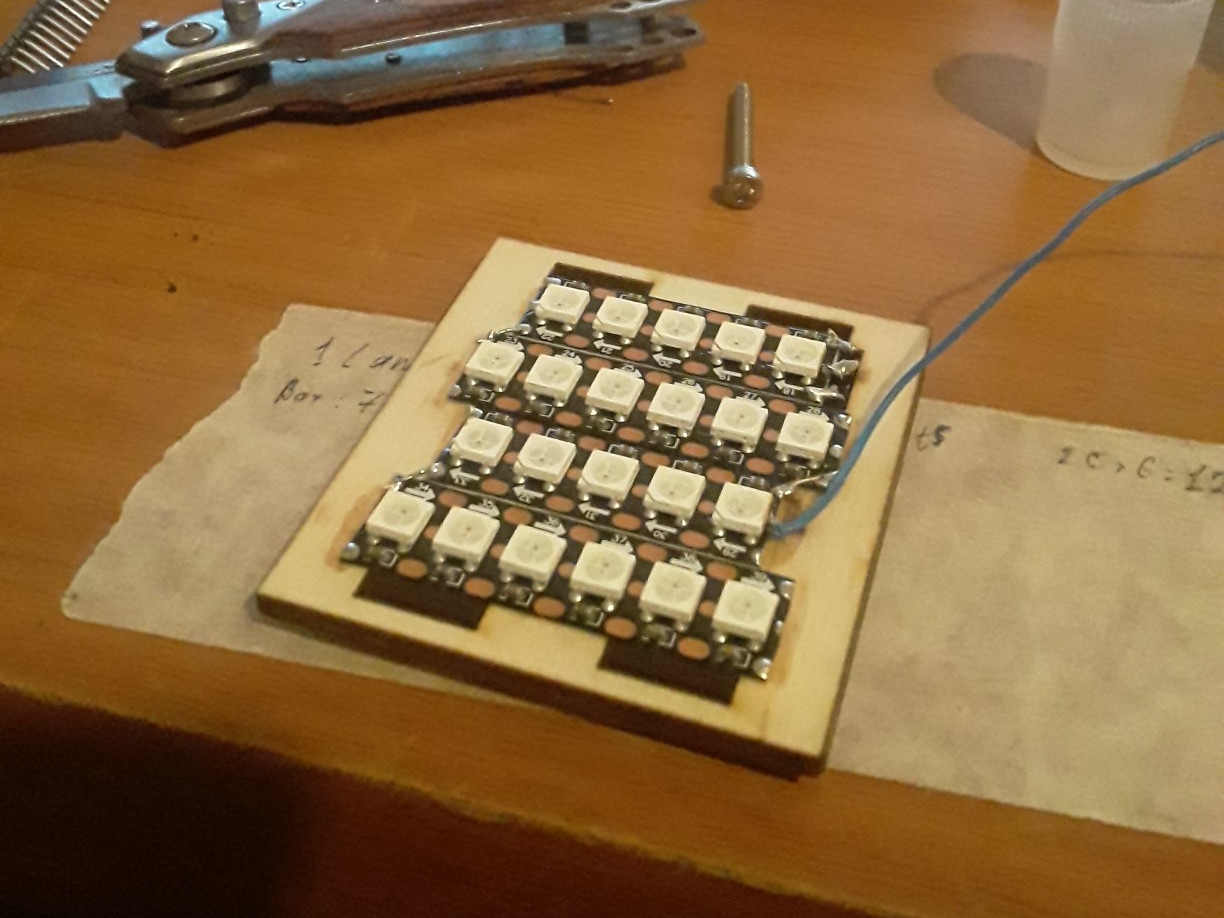
A similar connection scheme is described by AlexGyver in the pixel backpack project , only here the density is different.
BY
Arduino IDE
There is good basic Russian documentation for the ESP8266 Arduino Core on wikihandbk.com , in the example sketches, and in the sources on the github.
Back-end
HTTP and WebSocket server, FTP, ArduinoOTA (so as not to search for a wire every time), mDNS for OTA and DNSServer to simulate CaptivePortal in access point mode, work with FastLED and RTC module, NTP client, mathematics of RGB effects and smooth transitions ...
Front-end
HTML, JS (React, and a bit of jQueryUI), Bootstrap CSS.
Everything that is more or less static - layout, styles, scripts, WiFi settings, saved presets, something else - via HTTP: it is convenient to pack static settings and presets in JSON and upload as a file at the front, and re-read on the back via ArduinoJSON .
Dynamic values - the current time, as well as shades, intervals, transitions, and other byte parameters that live in the EEPROM object, quick commands - via the web socket.
The page for configuring display and effects looks like this:

Here, Scheduler is a separate class on the front and back parts that applies the saved settings on a schedule.
The project is about a year old.
New chips can be added as long as imagination is enough.
And it's all?
Photos and videos of work at different stages of development are available on vk and instagram social networks .
And while I was in quarantine, I collected "Live Wallpaper" for Android (it did not start on my Samsung).

There is also a web demo version in Vue.JS , which can be downloaded, wrapped in a WebView, and run, for example, as a screen saver (on your favorite platform), rewritten to a countdown timer, or used for any other your needs. There is the same layout, with the same resources as in the android application.
And the source?
Examples of implementations with cuts and firmware can be found on thing iverse , hackaday.io , instructables , they partially overlap with what is visual and sticky, and is searched for on: Yandex . Pictures , Pinterest , Youtube
This is my first
Thanks for reading.
All good, clean, clearly commented and productive code.