Since then, there have been no significant changes in the design of my computer: operation began without completion of the assembly. But there were many small improvements. This time I want to tell you exactly about the little things: about choosing a power supply unit, screwing on a modem, setting up a floppy drive for five-inch floppy disks. In all cases, I faced some difficulties in setting up, which I successfully overcome. This is what will be discussed. This is an important stage in the retro hobby: it is the small tweaks config.sys and autoexec.bat, the study of the AT commands of the modem that turn the hardware set into a computer . They postpone that bright moment when I can say: everything is ready! Well, okay, in this case, the process is more important than the result.
All articles on the topic:
0. 1992 in the computer press
1. Considering the motherboard of the 386th computer
2. Benchmark of the 386th processor and the dashing nineties
3. Difficult choice of sound card for DOS games
4. Features of Sound Blaster Pro 2
5. Roland MT-32, alternative sound for DOS games
6. Ruthless upgrade of the 386th PC
7. Multimedia technologies of the early nineties
8. Setting up a retrocomputer or 386 suffering ← you are here
I keep a diary of a collector of old hardware in Telegram .
Power supply selection
I made my first experiments with 386 hardware using a power supply borrowed from a desktop based on Pentium III. Even then, I made the decision to use a new power supply unit, for one simple reason: I do not trust the old one. Its breakdown can lead to the destruction of already rather rare and in some places expensive equipment. What are the disadvantages of this approach? First: modern power supplies are made according to the ATX standard, old ones (up to and including the first Pentium) - according to the AT standard. An adapter is required, which is not a problem. Second: in all modern blocks there is no -5v power line. It's also a small problem: my motherboard and expansion cards are quite "fresh", and they don't need this line. For older hardware, you can find modified PSUs on eBay or make the modification yourself. Third:the new PSUs give maximum power through the 12v power line. Older PSUs had 100-300 watts of power, but that was equally split between the 12v and 5 / 3.3v lines. As you can see from the table below, these two voltages account for only 100 watts of power out of a total of 500-1000. Some very powerful retrosystem (many processors, many hard drives) may suffer from such a feature, but definitely not mine.

Modern PSUs have many advantages. They are modular: you can only connect the cables you need (for example, I don't need power connectors for SATA devices at all). Over time, you can shorten the power cables for your motherboard and drives so they don't make a mess. They are quiet, with large, smart-mode fans installed. Finally, they have high efficiency, which reduces power consumption.

As a result, a Seasonic GX-550 power supply was purchased, the youngest model in the Focus series. A budget solution for a modern desktop, luxurious for a retro computer. The 12cm fan of this PSU only turns on when it is really needed for cooling. In the 386th desktop, it has not yet turned on even once. In combination with a Compact Flash card instead of a hard disk, and in the absence of active cooling of the processor, I got a completely silent retro PC! What about "historically correct hardware"? I've already received comments that my build is not "real retro". This is my choice: I am assembling a retrocomputer, because I had something similar then , but I am doing it now .

In the mid-nineties, all computers from me and my friends were bought ready-made. Assembly if it was practiced somewhere, it was not in my environment. If I wanted an "authentic" desktop now, I would buy a ready-made retrosystem (by the way, it would be cheaper). But I just wanted to do assembly, select components, and I see no problem using modern hardware where it is convenient. Examples: a power supply (reliable), a Compact Flash adapter instead of a hard disk (it is convenient to transfer data from a modern PC), a modern MIDI interface (the old ones cost crazy money and are very rare).
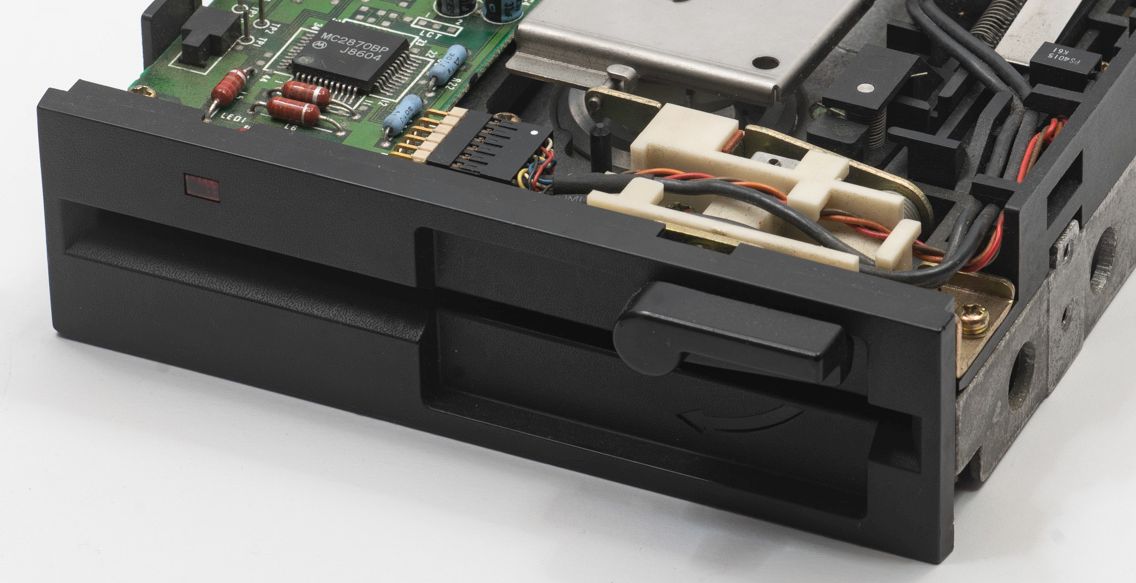
5-inch floppy drive
Perhaps the most impractical element of a retro computer.
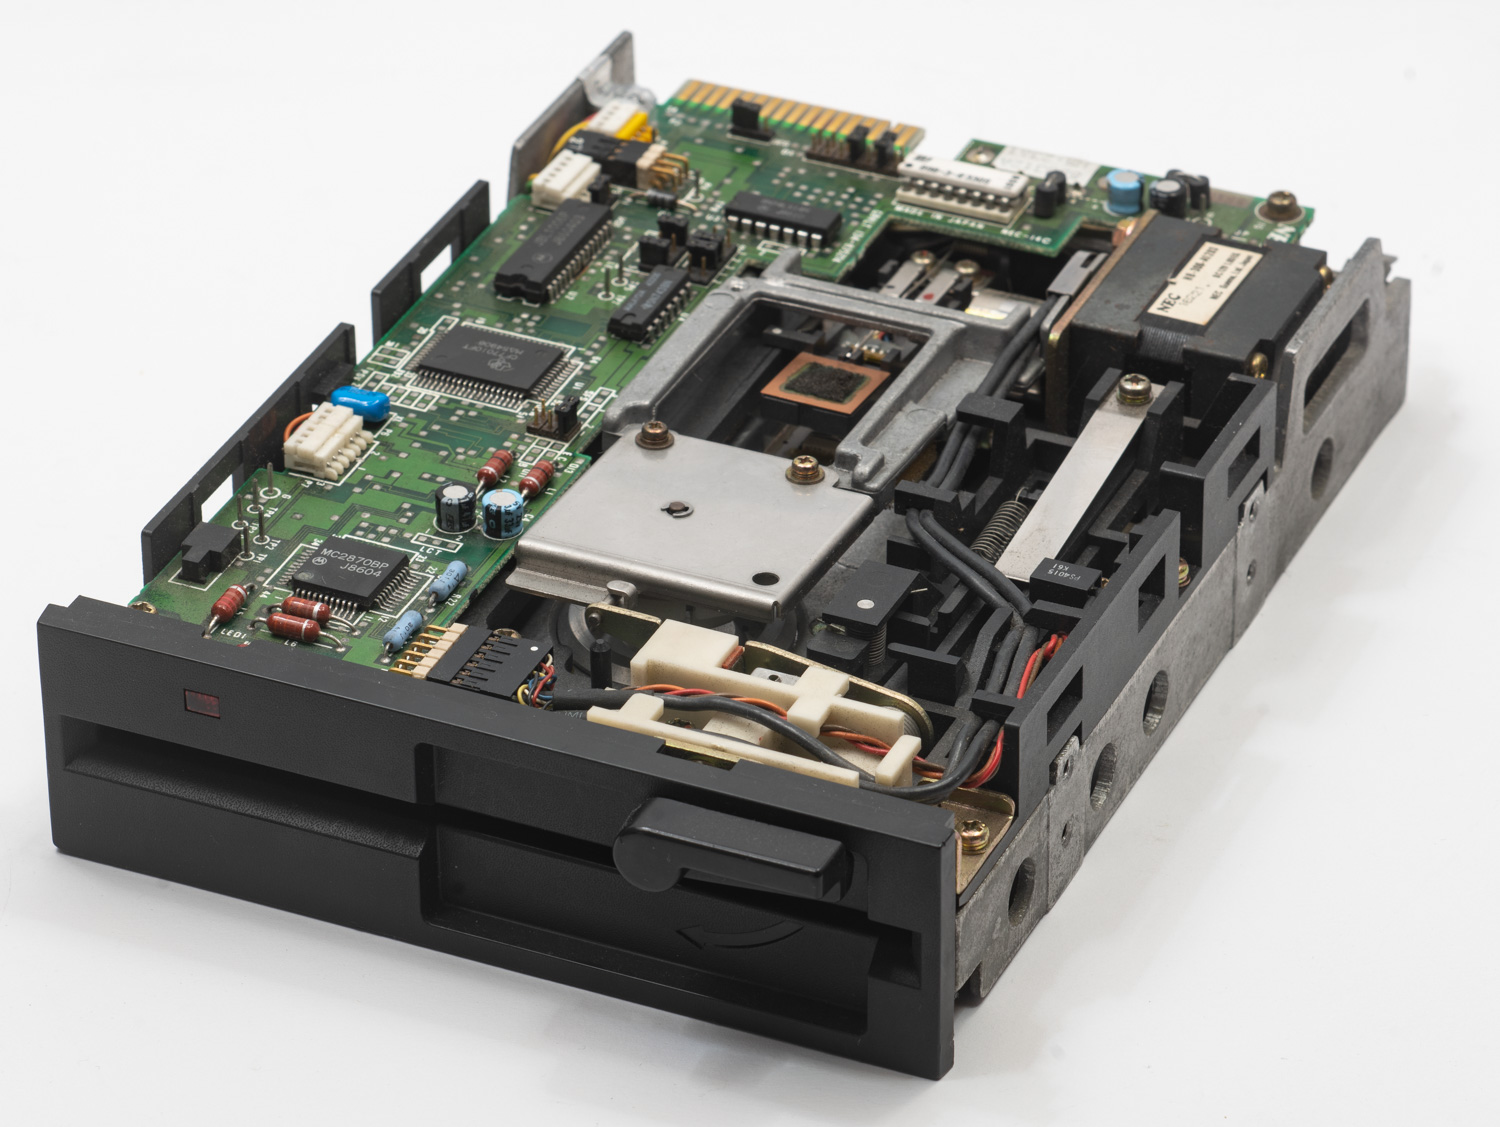
I managed to find a 1986 floppy drive in New Old Stock state - a piece of hardware a little younger than me that I had never used. Model NEC FD1155C - representative of the "old school" of drive engineering, heavy, practically without plastic parts. At the first connection, the drive showed signs of life, but refused to work, either in tandem with a regular 3.5-inch drive, or separately. I had to clarify the obvious (then, but not now) feature of connecting two drives with one cable: they must be on different sides of this part of the cable, where some of the conductors are turned over.

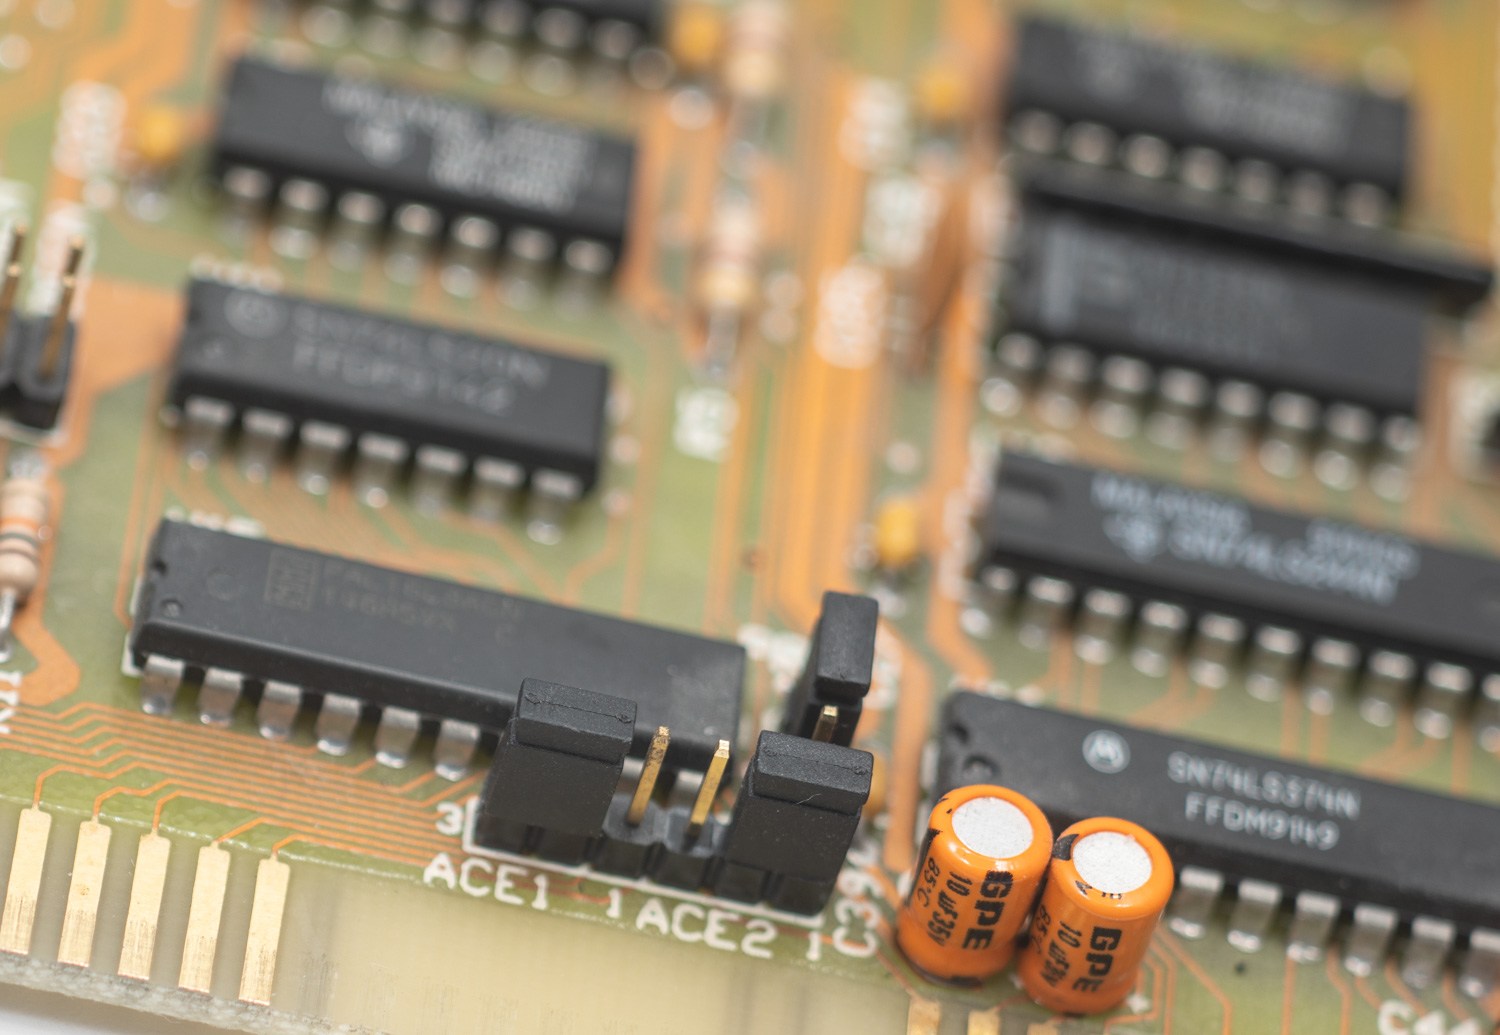
The parameters of the interaction of the drive with the controller are set by jumpers, the description of the operation of which had to be searched for a long time. For some NEC drives, they are described here , but the most detailed description was found on the spektrumistov website . Alas, the jumper settings recommended there are suitable for the ZX Spectrum, but not for the IBM PC. The selection of parameters followed by trial and error, the result was this:

From the depths of time, a variety of ways of interaction between devices have emerged, the interface of which seems to be the same. Problems were added by inexpensively purchased bu floppy disks.

They read and formatted with constant failures. Since I was not sure about the operability of the drive itself, it was not clear what the problem was. For calibration, I had to buy a pack of sealed floppy disks.
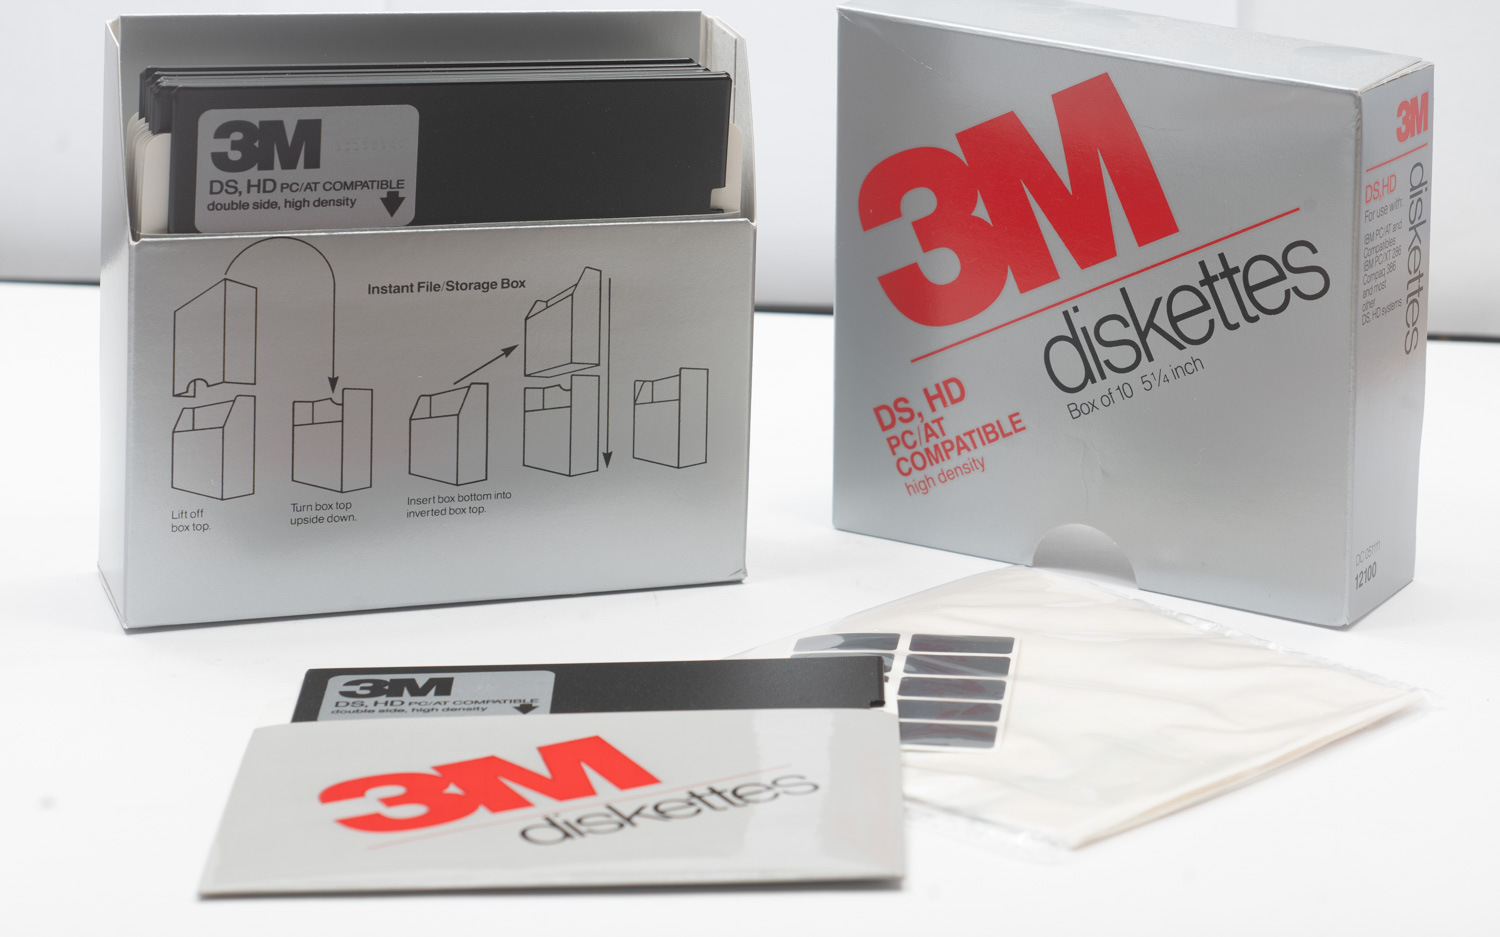
And so they started working without any problems. Most likely I will not need more than 10 pieces. Five-inch drives were widespread in my reality in the early nineties, and for many computers (ZX Spectrum, Robotron) were then the only option. Bulgarian IZOT floppy disks were in our farm in quantities, but at some point they were decommissioned with the final transition to IBM PC and normal three and a half inches. In my retro PC, a five-inch floppy drive is such a mandatory symbol of those times. I will need it on business just a couple of times. The rest of the time, it will make the correct sounds when you turn on the computer.
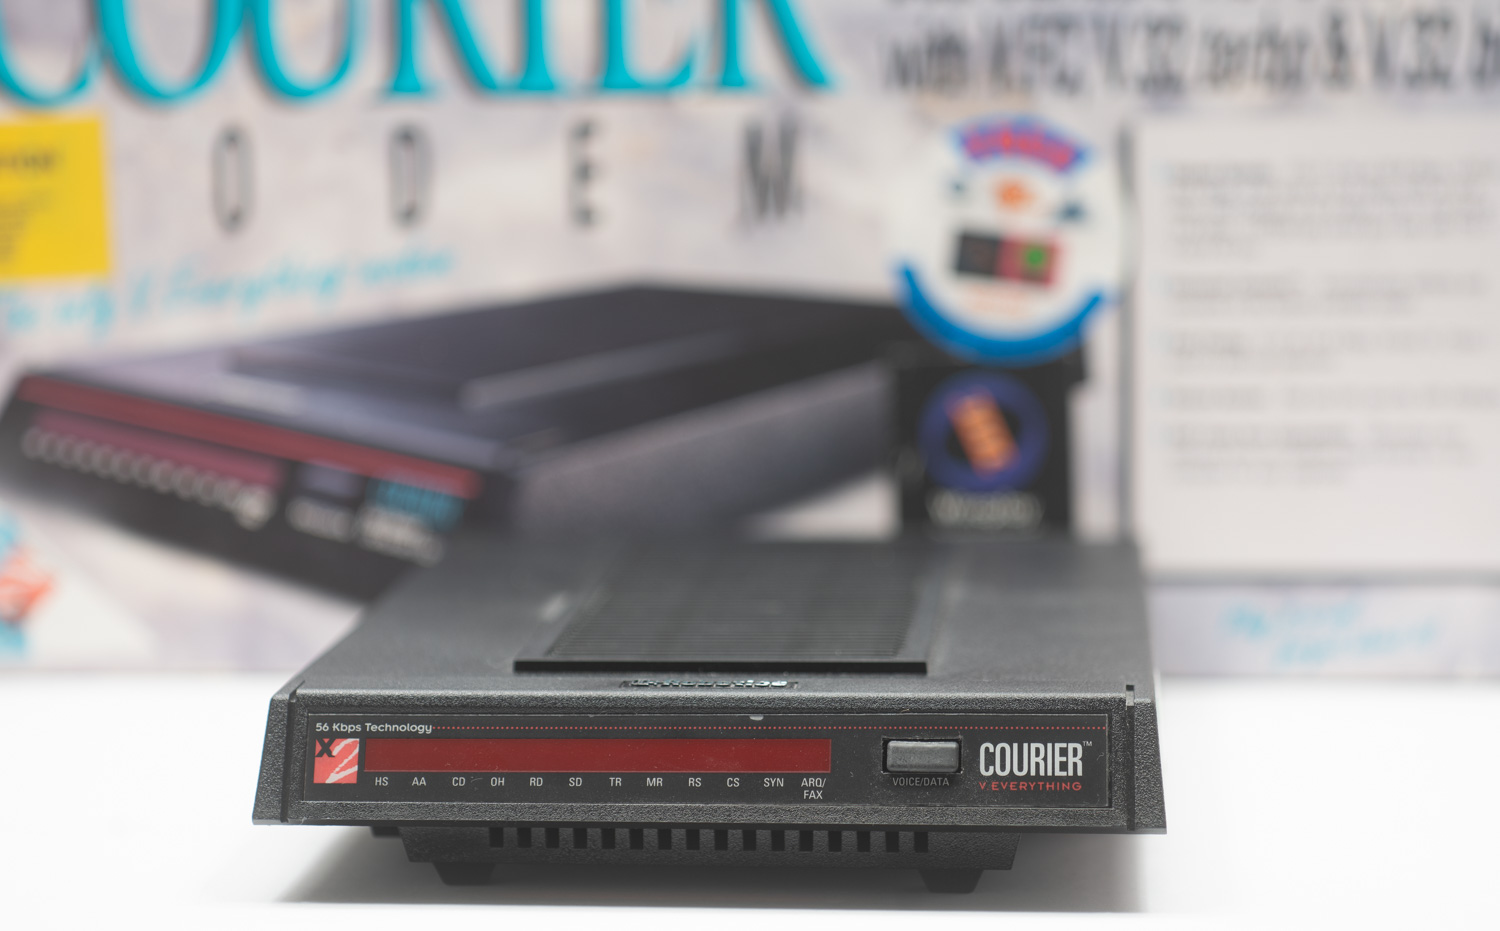
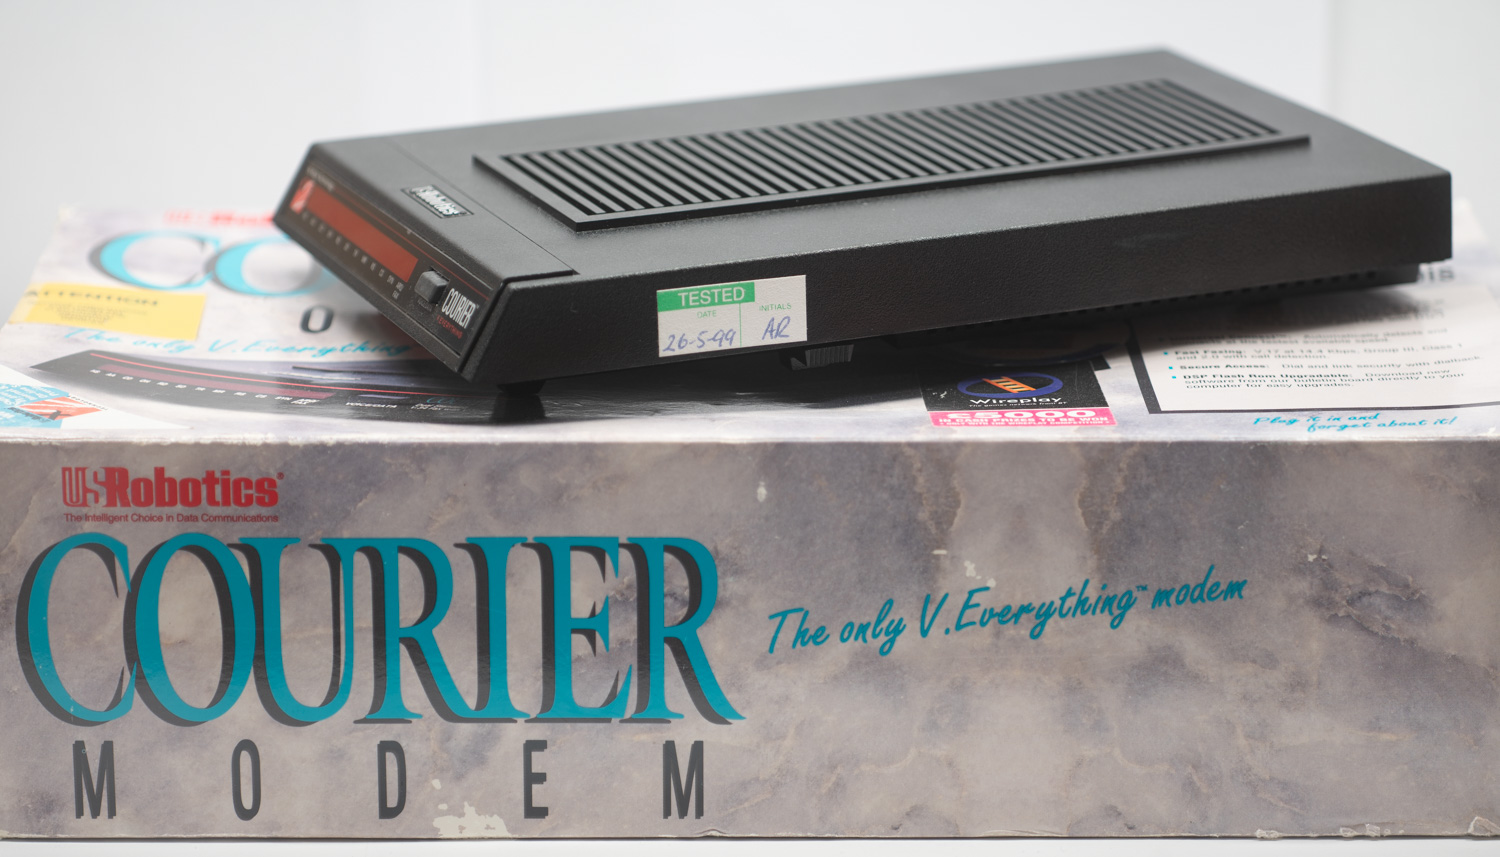
Modem
I need a modem for two reasons. First: my BBS will be restored on the retrocomputerconnected via VoIP. Second: the modem is beautiful. To make it as beautiful as possible, I purchased one of the legendary modems of those times - the USR Courier. Devices with this name have been produced for two decades, and there are many nuances when choosing the "right" model. In most cases, almost any modification released after 1996, when it became possible to programmatically update the firmware to add new functions, will work. In my case, this is a 1999 device, with official support for the X2 protocol at 56 kilobits per second, but without the more common V.90 / 92 standard. This is not a big problem: practice shows that via VoIP it is worth counting on stable 19200 bits per second, in the most ideal conditions - at 28800, but not more.
The big problem was that the modem was connecting stably at a speed of 2400, which is somehow not fast at all. I had to study the set of AT commands and deal with the operation parameters in more detail.

What I needed to correct in the settings was obvious from the output of information about the modem ( ATI7 command ), but I did not achieve enlightenment right away. The problem was the inconsistency of data transfer modes between the modem and the serial port of the computer. MS-DOS (and other systems) uses the so-called FOSSIL driver, which is required by most programs - for example, the BBS software Maximus or the T-Mail client for Fido. The interaction of FOSSIL and the modem fixed the speed at 2400. Trying to set a different speed in the driver settings resulted in garbage instead of payload after connection.
A couple of days of suffering , and it all boiled down to one "healing" command for the modem: AT & B1... This is the default value, which determines that the data exchange rate between the modem and the computer is fixed, it is set in the settings of the program that communicates with the modem (in my case - 57600 bits per second). For some reason, the AT & B0 parameter was set in the modem, which implies a change in the data transfer rate depending on the speed of the external connection.

After changing the settings, you need to apply another AT&W command so that the parameters are saved in the EEPROM of the modem and used during subsequent initialization. Here I had to examine the hardware switches on the modem case, which were set so that the modem was always initialized with the factory settings, and not with the custom ones.
In the process of suffering, an ancient FAQ helped mevia Courier modems from Fidonet (1998). In an attempt to solve the problem with radical methods, I also tried to install an alternative firmware for the modem, known as Igor Diaghilev's ID_SDL. In my case, it was not necessary: as far as I know, the alternative firmware first of all adapted foreign modems to the difficult domestic telephone networks. I helped to solve the problem like "BUSY is not caught" (if you understand what I mean), and to get a working caller ID. Nevertheless, in ID_SDL, two parameters are more flexible that will be useful to me: the power of the outgoing signal and the sensitivity of the receiver of the incoming signal. So far, the connection with external subscribers is not perfect for me, and it seems that modifying these two parameters helps make the modem and VoIP protocols poorly designed for data transmission.
COM ports and rituals
In all the examples above, it is well shown that each element of the computer is a complex circuit, and when choosing or configuring, you need to know its features. In retrosystems, on the one hand, technologies are a little simpler than modern ones. On the other hand, they often require user intervention if you are building a computer from scratch. More often than modern desktops. When connecting the drive, I rather guessed than made a conscious choice of parameters, but still focused on objective facts collected by previous sufferers. The modem had to be examined in detail, although the process had just begun here. The last story about retro suffering is about outright shamanism and intuition.

A multicard is an important element of a computer that provides work with a hard disk, disk drives, external devices through parallel and serial ports. My card has two COM ports, one of which works and the other does not. All this was revealed when I tried to connect both a modem and a "serial" mouse. The device connected to COM1 worked fine. The mouse connected to COM2 is detected but does not work. The modem throws garbage into the console. The problem with multicards is that they are usually unbranded. Identifying them is difficult, and in the old device database at stason.org I had to flip through hundreds of devices comparing the pin locations shown there with my card. Unsuccessfully.
It can be assumed that the multicard is faulty, or the jumpers on it are not set correctly. But it is impossible to check the correctness of the installation without instructions, unless it is printed directly on the board (not my case). It was such a moment when you look at the old periphery and do not understand at all what to do. Desperate, I took the first jumper I came across and moved it to the next pair of contacts.
And it helped! Basic diagnostics of COM ports can be performed using the utility included in the modern mouse driver CuteMouse... It displays the main parameters of the ports, and from this data it became clear what the problem was, and what I did by rearranging the jumper. Both COM ports hung on the same interrupt (IRQ4). Now everyone works on their own (IRQ 3, IRQ 4). And it all worked! A small step for a person, a big step ... but no, this is a small event in every sense. But how nice!
Epilogue. Line A20
A long time ago, in the days of the first IBM PCs and Intel 8086 and 8088 processors, the memory bus was 20-bit and thus supported a maximum of 1 megabyte of RAM. The processors were 16-bit and the address + offset combination was used for correct addressing. Computers based on the 286 processor could run up to 16 megabytes of RAM, and a dirty hack in the form of a logic switch on the 21st address line, known as the A20 Gate, was used to maintain compatibility with older software . Without this crutch, ancient software using the old addressing option, in some cases, could write or read data in the wrong place.
It would seem that I don't need this knowledge at all: I have a "modern" 386th processor with a 32-bit memory bus, in which new technologies for working with it have been added. But no: after changing the motherboard, the driver for working with the "upper" RAM segment himem.sys gave an error. The problem is precisely in compatibility with the crutch: the methods of interacting with the logical switch on the A20 line are different, depending on the manufacturer of the motherboard and the time era. On the previous motherboard, everything worked with the default settings, but here I had to look for the old instruction for the driver.
device=c:\dos\himem.sys /m:3
There I learned that the / M switch can be specified to the driver :, which indicates that you need to work with the A20 Gate in a certain way, depending on the machine type. What type of type I have, I was completely unaware, the iteration of parameters, stopping at / M: 3 , helped . I wonder how many such amazing discoveries I have yet to discover? The basic design of the retrocomputer is ready, but I want to increase the functionality at the expense of completely exotic peripherals. And there I will probably have an "interrupt conflict", search for old drivers, often without a description, and perhaps even work with a soldering iron. Construction is still ongoing!