
Hello everyone, today we will develop an application that determines the average color of an image in a separate stream and show a preview of the image (useful when creating image upload forms).
This is a new series of articles that is mostly aimed at beginners. I'm not sure if such material might be interesting, but I decided to give it a try. If ok, I'll shoot vidos, for those who are better off absorbing information visually.
What for?
There is no urgent need for this, but defining the colors of an image is often used to:
- Search by color
- Determination of the background of the image (if it does not occupy the entire screen, in order to somehow be combined with the rest of the screen)
- Colored thumbnails to optimize page load (show color palette instead of compressed image)
We will use:
- Typescript
- React along with Create React App - why not? We will quickly create a working environment and be able to build our project
- HTML Drag and Drop API - to drag an image from the desktop to the browser
- Web workers and Greenlet - for moving complex calculations into a separate thread
- classnames
- File API
- Data URLs
Training
Before we start coding, let's figure out the dependencies. I suspect you have Node, js, and NPM / NPX, so let's get straight to creating a blank React app and installing the dependencies:
npx create-react-app average-color-app --template typescriptWe will get a project with the following structure:

To start the project, you can use:
npm startAll changes will automatically refresh the page in the browser.
Next, install Greenlet:
npm install greenletWe will talk about it a little later.
Drag and drop
Of course, you can find a convenient library for working with Drag and Drop, but in our case it will be superfluous. Drag and Drop API is very easy to use and for our task of "catching" the image is enough for our heads.
First, let's remove all unnecessary and make a template for our "drop zone":
App.tsx
import React from "react";
import "./App.css";

function App() {
  function onDrop() {}

  function onDragOver() {}

  function onDragEnter() {}

  function onDragLeave() {}

  return (
    <div className="App">
      <div
        className="drop-zone"
        onDrop={onDrop}
        onDragEnter={onDragEnter}
        onDragLeave={onDragLeave}
      ></div>
    </div>
  );
}

export default App;
If you wish, you can separate the drop zone into a separate component, for simplicity we will leave it that way.
Of the interesting things, it is worth paying attention to onDrop, onDragEnter, onDragLeave.
- onDrop - listener for the drop event, when the user releases the mouse over this area, the object being dragged will "drop".
- onDragEnter - when the user drags an object into the drag and drop area
- onDragLeave - the user dragged the mouse away
The worker for us is onDrop, with the help of it we will receive an image from the computer. But we need onDragEnter and onDragLeave to improve the UX, so that the user understands what is happening.
Some CSS for the drop zone:
App.css
.drop-zone {
  height: 100vh;
  box-sizing: border-box; //  ,          .
}

.drop-zone-over {
  border: black 10px dashed;
}
Our UI / UX is very simple, the main thing is to show the border when the user drags the image over the drop zone. Let's modify our JS a bit:
/// ...

function onDragEnter(e: React.DragEvent<HTMLDivElement>) {
    e.preventDefault();
    e.stopPropagation();

    setIsOver(true);
  }

  function onDragLeave(e: React.DragEvent<HTMLDivElement>) {
    e.preventDefault();
    e.stopPropagation();

    setIsOver(false);
  }

  return (
    <div className="App">
      <div
        className={classnames("drop-zone", { "drop-zone-over": isOver })}
        onDrop={onDrop}
        onDragEnter={onDragEnter}
        onDragLeave={onDragLeave}
      ></div>
    </div>
  );

/// ...
In the course of writing, I realized that it would not be superfluous to show the use of the classnames package. Often makes it easier to work with classes in JSX.
To install it:
npm install classnames @types/classnamesIn the above code snippet, we created a local state variable and wrote the over and leave events handling. Unfortunately, it turns out a little garbage due to e.preventDefault (), but without it the browser will simply open the file. And e.stopPropagation () allows us to make sure that the event does not go beyond the drop zone.
If isOver is true, then a class is added to the drop zone element that displays the border:
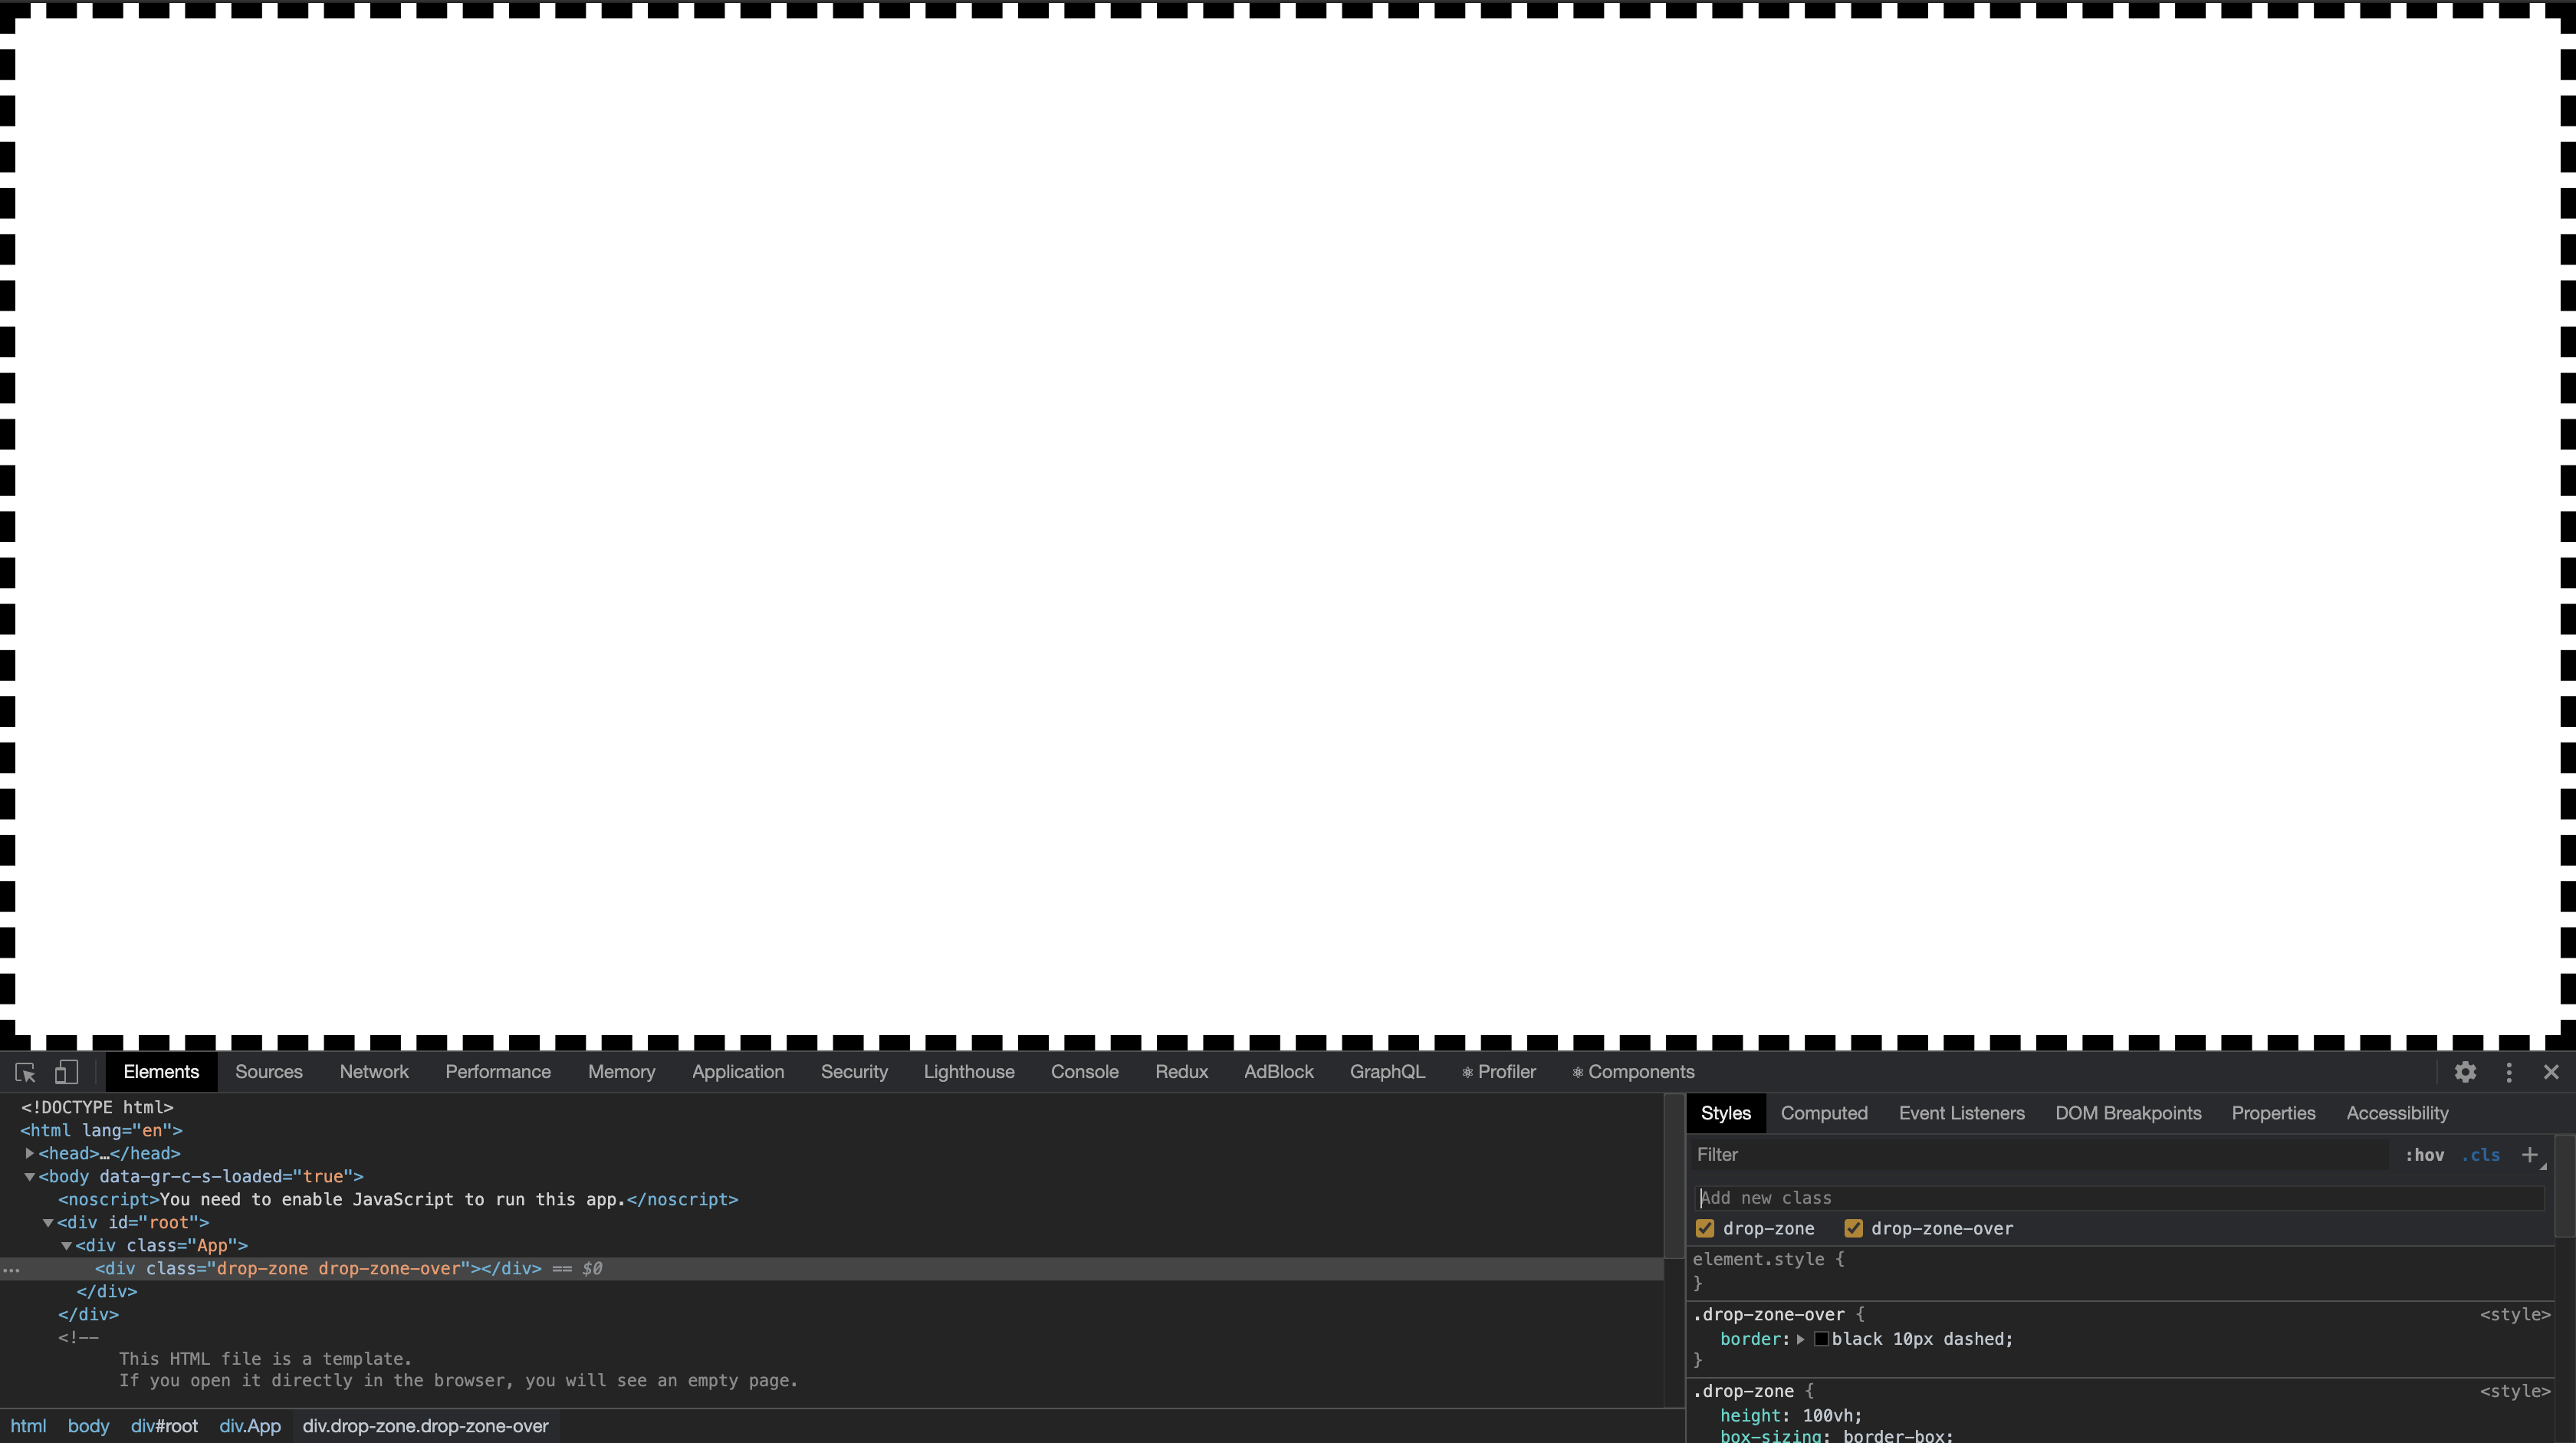
Image preview
In order to display the preview, we need to handle the onDrop event by receiving a link ( Data URL ) to the image.
FileReader will help us with this:
// ...
  const [fileData, setFileData] = useState<string | ArrayBuffer | null>();
  const [isLoading, setIsLoading] = useState(false);

  function onDrop(e: React.DragEvent<HTMLDivElement>) {
    e.preventDefault();
    e.stopPropagation();

    setIsLoading(true);

    let reader = new FileReader();
    reader.onloadend = () => {
      setFileData(reader.result);
    };

    reader.readAsDataURL(e.dataTransfer.files[0]);

    setIsOver(false);
  }

  function onDragOver(e: React.DragEvent<HTMLDivElement>) {
    e.preventDefault();
    e.stopPropagation();
  }
// ...
Just like in other methods, we need to write preventDefault and stopPropagation. Also, for Drag and Drop to work, an onDragOver handler is required. We won't use it in any way, but it just has to be.
FileReader are part of the File API with which we can read files. Drag and Drop handlers get dragged files and using reader.readAsDataURL we can get a link that we will substitute in the src of the image. We use the local state of the component to save the link.
This allows us to render images like this:
// ...
{fileData ? <img alt="Preview" src={fileData.toString()}></img> : null}
// ...
To make everything look nice, let's add some CSS for the preview:
img {
  display: block;
  width: 500px;
  margin: auto;
  margin-top: 10%;
  box-shadow: 1px 1px 20px 10px grey;

  pointer-events: none;
}
There is nothing complicated, just set the width of the image so that it would be of standard sizes and could be centered using margin. pointer-events: none using to make it transparent to the mouse. This will allow us to avoid cases when the user wants to re-upload the image and drop it onto the loaded image that is not a drop zone.

Reading an image
Now we need to get the pixels of the image so that we can highlight the average color of the image. For this we need Canvas. I'm sure that we can somehow try and parse the Blob, but Canvas makes it easier for us. The main essence of the approach is that we render images on Canvas and use getImageData to get the data of the image itself in a convenient format. getImageData takes coordinate arguments to take the image data from. We need all the images, so we specify the width and height of the image starting from 0, 0.
Function for getting the image size:
function getImageSize(image: HTMLImageElement) {
  const height = (canvas.height =
    image.naturalHeight || image.offsetHeight || image.height);
  const width = (canvas.width =
    image.naturalWidth || image.offsetWidth || image.width);

  return {
    height,
    width,
  };
}
You can feed the Canvas image using the Image element. Luckily, we have a preview that we can use. To do this, you will need to make a Ref to the image element.
//...

const imageRef = useRef<HTMLImageElement>(null);
const [bgColor, setBgColor] = useState("rgba(255, 255, 255, 255)");

// ...
  useEffect(() => {
    if (imageRef.current) {
      const image = imageRef.current;
      const { height, width } = getImageSize(image);

      ctx!.drawImage(image, 0, 0);

      getAverageColor(ctx!.getImageData(0, 0, width, height).data).then(
        (res) => {
          setBgColor(res);
          setIsLoading(false);
        }
      );
    }
  }, [imageRef, fileData]);
// ...

 <img ref={imageRef} alt="Preview" src={fileData.toString()}></img>

// ...
Such a feint with our ears, we are waiting for the ref to appear on the element and the image is loaded using fileData.
ctx!.drawImage(image, 0, 0);This line is responsible for rendering an image in a "virtual" Canvas, declared outside the component:
const canvas = document.createElement("canvas");
const ctx = canvas.getContext("2d");
Then, using getImageData, we get the image data array representing the Uint8ClampedArray.
ctx!.getImageData(0, 0, width, height).dataThe values in which "clamped" are in the range 0-255. As you probably know, this range contains the rgb values of the color.
rgba(255, 0, 0, 0.3) /* */Only transparency in this case will be expressed not in 0-1, but 0-255.
Get the color of the image
The matter remained with the small ones, namely, to get the average color of the image.
Since this is potentially an expensive operation, we will use a separate thread to calculate the color. Of course, this is a slightly fictitious task, but it will do for an example.
The getAverageColor function is the "separate stream" that we create with greenlet:
const getAverageColor = greenlet(async (imageData: Uint8ClampedArray) => {
  const len = imageData.length;
  const pixelsCount = len / 4;
  const arraySum: number[] = [0, 0, 0, 0];

  for (let i = 0; i < len; i += 4) {
    arraySum[0] += imageData[i];
    arraySum[1] += imageData[i + 1];
    arraySum[2] += imageData[i + 2];
    arraySum[3] += imageData[i + 3];
  }

  return `rgba(${[
    ~~(arraySum[0] / pixelsCount),
    ~~(arraySum[1] / pixelsCount),
    ~~(arraySum[2] / pixelsCount),
    ~~(arraySum[3] / pixelsCount),
  ].join(",")})`;
});
Using greenlet is as simple as possible. We just pass an asynchronous function there and get the result. There is one nuance under the hood that will help you decide whether to use such an optimization. The fact is that greenlet uses Web Workers and, in fact, such data transfer ( Worker.prototype.postMessage () ), in this case the image, is quite expensive and is practically equal to the calculation of the average color. Therefore, the use of Web Workers should be balanced by the fact that the weight of the computation time is greater than the transfer of data to a separate thread.
Perhaps in this case it is better to use GPU.JS - run calculations on gpu.
The logic for calculating the average color is very simple, we add all the pixels in rgba format and divide by the number of pixels.

Sources
PS: Leave ideas, what to try, what you would like to read about.