At the time of this writing, the estimated final cost of the product is ~ 70,000 rubles. If you have a 3D printer, then you can safely deduct 20,000 rubles from it. If there is no printer, then its appearance will be a pleasant bonus. I will describe all expenses on the assumption that we have nothing but money.
What the result looks like:
It should also be noted that to program the hand, we need a computer with installed Linux OS (I am using Ubuntu 18.04) and the ROS framework (I am using Melodic).
The question may arise "why 70K rubles is cheap?"
I answer.Initially, I did not want to bother with creating a robotic arm and thought to just buy something simple, but functional enough to assemble.
What were the criteria for functionality and the minimum acceptable simplicity for me (i.e. why manipulators from aliexpress are NOT suitable) can be discussed in the comments so as not to burden those who are obvious and / or not interested.
Competitive solutions on the market
I will describe, however, briefly examples of what I considered on the market:
1) top3dshop.ru/robots/manipulators/dobot-magician-basic.html
176,000 rubles. You can buy DOBOT not only in this store, but usually it costs even more. Surely there is a chance to find it somewhere cheaper, but it will still be much more expensive than 70,000 rubles.
2) robotbaza.ru/product/robot-manipulyator-widowx-robotic-arm-mark-ii
280,000 rubles. Even more expensive. In general, manipulators from TossenRobotics directly from the manufacturer cost super-sane money. But delivery to Russia (and I was here) from their store cannot be ordered.
Running a little ahead, I will say that we will be making a copy of the PhantomX Pincher Robot Arm Kit Mark II, which is produced by TossenRobotics.
In total, we see that 70,000 rubles is not that expensive at all.
What do we need to buy?
I quote all prices at the time of this writing (July 2020):
1) 6 DYNAMIXEL AX-12A motors
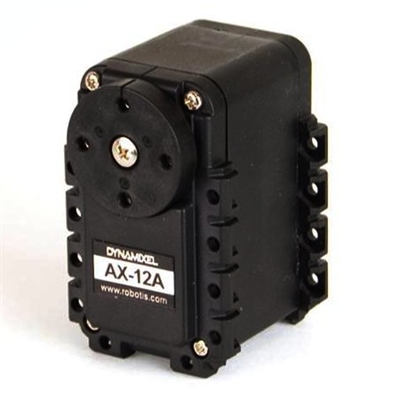
I bought at a price of 7200 rubles for 1 piece, but it seems that you can find it for 6000 if you really want to. Let's assume that you are unlucky and you will also buy for 7200.
Total cost: 43,200 rubles
2) 3D printer
Any simple one will do, you can keep within 20,000 rubles.
3) Arduino Uno + Power Shield
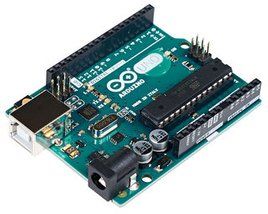
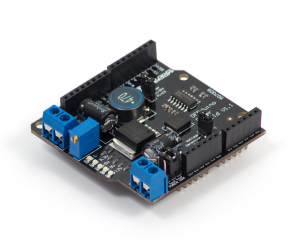
Cost: ~ 4,000 rubles
4) Optional (but I highly recommend): Laboratory power supply
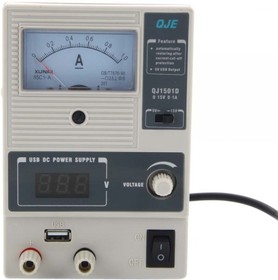
Cost: ~ 3,500 rubles
Assembly
Excellent! We bought everything we needed (probably the longest waiting for the delivery of the motors, they were transported to me for more than a month).
What's next?
1) Let's print parts for the manipulator on a 3D printer.
Download STL files from here
2) Putting it together with motors. There should be no problems with the assembly, but if they suddenly appear, you can use this instruction.
Making a 3D model
Class! We have a hand, but it needs to be controlled somehow. I would like to make the most of the achievements of humanity, so we will install ROS for ourselves .
In order to fully work with the manipulator in ROS, you need to make it a URDF model. We will need it in order to control the robotic arm using the MoveIT package !
At the time of this writing, the latest stable build is available for Melodic / Ubuntu 18.04, which explains my choice of the system and framework version at the beginning of the article.
Building a URDF model is a rather laborious (and, in my opinion, the most boring) part of this project. It is necessary to finish a little with a stl file of the component models and connect them together in an XML-shaped file, manually selecting the correct coefficients of displacement of the parts relative to each other.
Anyone who wants to can do the work on their own, I will save everyone else's nerves and just give a link to my finished file:
github.com/vladmiron85/armbot/blob/master/catkin_ws/src/armbot_description/urdf/base.urdf
This model is not yet exciting devices, however, to the moment to capture objects in the real world, we are still far away. For other tasks, this model is more than enough.
The model looks like this:
From the resulting URDF file, we will make the MoveIT! Config, which will allow us to simulate the movements of the manipulator and send control commands to a real robotic arm.
There is an excellent tutorial for creating a config ( link )
Here I can again save time and provide my config. It lies here:
github.com/vladmiron85/armbot/tree/master/catkin_ws/src/armbot_moveit_config
You can download the config from the github and run it with the following command:
roslaunch armbot_moveit_config demo.launchSomething like this will be possible to control our real robo-hand through rviz when we connect it to ROS:
What about the real hand?
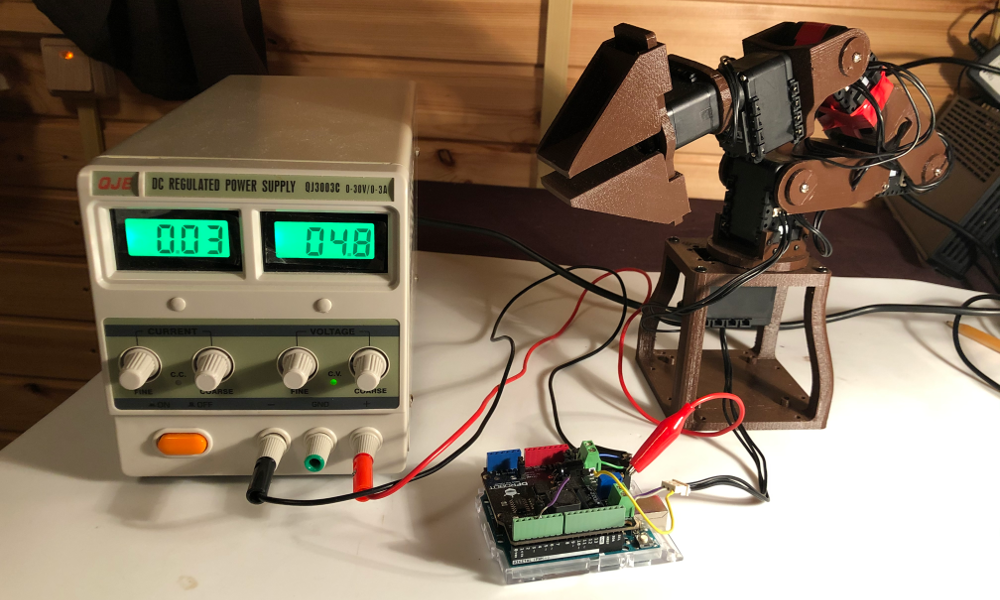
Let's move from the world of 3D models to the harsh reality. We have a previously assembled manipulator. I would like to move him somehow. Let's do this with the Arduino UNO and Power Shield. Let's
connect the first motor of the manipulator (which is below) to the Power Shield and the power supply as follows:
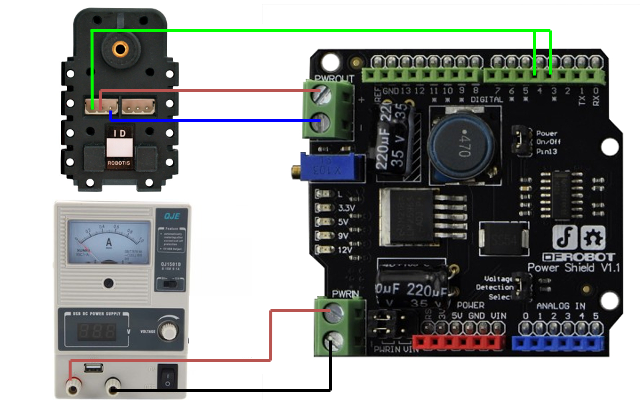
Yes, we will connect the data pin of the motor directly to the 3 and 4 pins of the Arduino. An inquisitive reader of the Dynamixel manual ( here he is ) will immediately notice that the communication with the outside world at the motor is organized according to Half Duplex Asynchronous Serial Communication, which means that the data pin is used immediately for receiving commands and for responding.
By default, at the hardware level, the Arduino can only work with Full Duplex UART. This problem can be worked around by using the Soft Serial library, which we will do. It is the use of Half Duplex mode that explains the connection of the data pin of the motor to the 3 and 4 pins of the shield at the same time.
In addition to half-duplex communication, working with Dynamixel via Arduino has a couple of interesting points that may not be entirely obvious from the very beginning. Let's bring them all together.
How to move our manipulator?
1) First, download the required library. It is called ardyno and can be obtained through the Arduino Library Manager, or here ( link )
2) By default, Dynamixel AX-12A want to work with baud rate = 1000000. However, the Software Serial Interface will not support this speed, so the baud rate should be reduced to 57600. Thus, the beginning of the file with your program will look something like this:
#include "DynamixelMotor.h"

// communication baudrate
const long unsigned int baudrate = 57600;

SoftwareDynamixelInterface interface(3, 4);
3) All our motors are connected in series with each other. So, in order to address each of them, you need to know its ID? This is indeed the case, the DynamixelMotor object receives two parameters during initialization: interface (the same for everyone, we set it in the previous paragraph) and id (everyone must have different, otherwise the behavior of the manipulator will be very strange)
DynamixelMotor motor(interface, id);Id for each motor will have to be set manually. It seems that, being connected in series, they could have calculated themselves using numbers from 1 to 6, but this is not provided. Therefore, you need to connect each motor separately to the Arduino (disconnecting from the rest) and execute the following program:
#include "DynamixelMotor.h"

// communication baudrate
const long unsigned int baudrate = 57600;

// id of the motor
const uint8_t id=1;

SoftwareDynamixelInterface interface(3, 4);

DynamixelMotor motor(interface, id);

void setup()
{
  interface.begin(baudrate);
  delay(100);

  // check if we can communicate with the motor
  // if not, we turn the led on and stop here
  uint8_t status=motor.init();
  if(status!=DYN_STATUS_OK)
  {
    pinMode(LED_BUILTIN, OUTPUT);
    digitalWrite(LED_BUILTIN, HIGH);
    while(1);
  }

  motor.changeId(NEW_ID);
}

void loop()
{}
Initially, all motors have id = 1, which is why we indicate at the top
const uint8_t id=1;NEW_ID for each motor must be replaced with a number from 1 to 6 (yes, ok, you don't have to touch the first motor). We number them in order from bottom to top.
Hooray! we have a full-fledged manipulator that we can move, and we also have a 3D model for it. You can take ROS and program any cool stuff. But this is already a story for a separate article (and not one). This story has come to an end, thanks for your attention!