
Vue.js for beginners lesson 7: computed properties
→ Vue.js for beginners lesson 8: components
The purpose of the lesson
The main goal of this lesson is to create our first component and explore the mechanisms for passing data to components.
Initial code
Here is the file code
index.htmlfound in the tag <body>we will start with:
<div id="app">
  <div class="product">
    <div class="product-image">
      <img :src="image" />
    </div>

    <div class="product-info">
      <h1>{{ title }}</h1>
      <p v-if="inStock">In stock</p>
      <p v-else>Out of Stock</p>
      <p>Shipping: {{ shipping }}</p>

      <ul>
        <li v-for="detail in details">{{ detail }}</li>
      </ul>
      <div
        class="color-box"
        v-for="(variant, index) in variants"
        :key="variant.variantId"
        :style="{ backgroundColor: variant.variantColor }"
        @mouseover="updateProduct(index)"
      ></div>

      <button
        v-on:click="addToCart"
        :disabled="!inStock"
        :class="{ disabledButton: !inStock }"
      >
        Add to cart
      </button>

      <div class="cart">
        <p>Cart({{ cart }})</p>
      </div>
    </div>
  </div>
</div>
Here is the code
main.js:
var app = new Vue({
  el: '#app',
  data: {
    product: 'Socks',
    brand: 'Vue Mastery',
    selectedVariant: 0,
    details: ['80% cotton', '20% polyester', 'Gender-neutral'],
    variants: [
      {
        variantId: 2234,
        variantColor: 'green',
        variantImage: './assets/vmSocks-green.jpg',
        variantQuantity: 10
      },
      {
        variantId: 2235,
        variantColor: 'blue',
        variantImage: './assets/vmSocks-blue.jpg',
        variantQuantity: 0
      }
    ],
    cart: 0,
  },
  methods: {
    addToCart() {
      this.cart += 1;
    },
    updateProduct(index) {
      this.selectedVariant = index;
      console.log(index);
    }
  },
  computed: {
    title() {
      return this.brand + ' ' + this.product;
    },
    image() {
      return this.variants[this.selectedVariant].variantImage;
    },
    inStock(){
      return this.variants[this.selectedVariant].variantQuantity;
    }
  }
})
Task
We do not need all data, methods, computed properties in the Vue application to be located in the root Vue instance. Over time, this will lead to code that will be very difficult to maintain. Instead, we would like to split the code into modular pieces that are easier to work with and that make development more flexible.
The solution of the problem
Let's start by taking existing code and moving it into a new component.
This is how the
main.jscomponent is registered in the file :
Vue.component('product', {})
The first argument is the component name of our choice. The second is an options object similar to the one we used to instantiate Vue in previous tutorials.
In the Vue instance, we used a property
elto organize its binding to the DOM element. In the case of a component, a property is used templatethat defines the HTML code of the component.
Let's describe the component template in an object with options:
Vue.component('product', {
  template: `
    <div class="product">
… //    HTML-,        product
    </div>
  `
})
There are several ways to create templates in Vue. We are now using a template literal, the contents of which are enclosed in back quotes.
If it turns out that the template code will not be placed in a single root element, such as an element
<div>with a class product, this will result in the following error message:
Component template should contain exactly one root element
In other words, a component template can only return one element.
For example, the following template is well-formed because it is represented by only one element:
Vue.component('product', {
  template: `<h1>I'm a single element!</h1>`
})
But if the template contains several siblings, it will not work. Here's an example of a bad pattern:
Vue.component('product', {
  template: `
    <h1>I'm a single element!</h1>
    <h2>Not anymore</h2>
    `
})
As a result, it turns out that if a template should include many elements, for example, a set of elements enclosed in our
<div>class product, these elements should be placed in an outer container element. As a result, the template will have only one root element.
Now that the template contains the HTML code that used to be in the file
index.html, we can add data, methods, computed properties to the component that were previously in the root Vue instance:
Vue.component('product', {
  template: `
  <div class="product">
…
  </div>
  `,
  data() {
    return {
      //
    }
  },
    methods: {
      //
    },
    computed: {
      //
    }
})
As you can see, the structure of this component is almost exactly the same as the structure of the Vue instance we worked with earlier. Have you noticed that
datathis is now not a property, but a method of an object with options? Why is this so?
The point is that components are often created with plans to reuse them. If we have many components
product, we need to ensure that each of them has its own entity instances data. Since it datais now a function that returns an object with data, each component is guaranteed to receive its own set of data. If the entity were datanot a function, then each componentproduct, wherever such components were used, would contain the same data. This goes against the idea of reusable components.
Now that we've moved the product related code into a native component
product, the code for describing the root Vue instance looks like this:
var app = new Vue({
  el: '#app'
})
Now we just need to place the component
productin the file code index.html. It will look like this:
<div id="app">
  <product></product>
</div>
If you reload the application page now, it will return to its previous form.
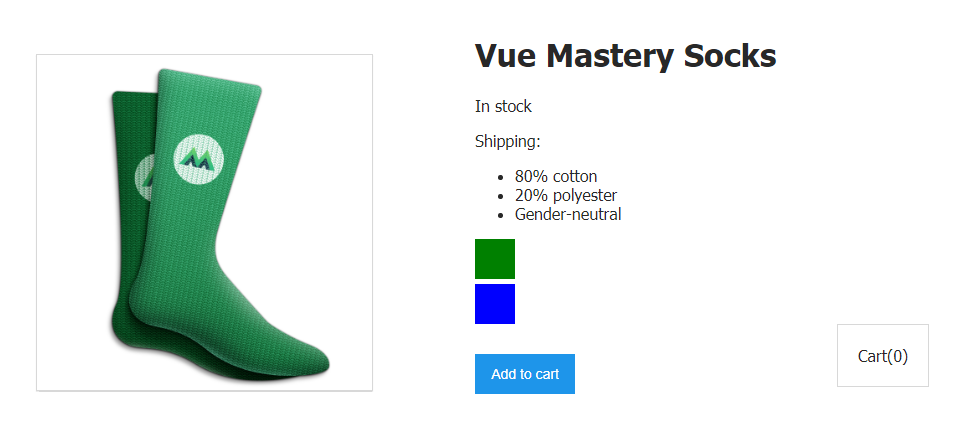
Application Page
If you now look into the Vue developer tools, you will notice that there is a Root entity and a Product component.
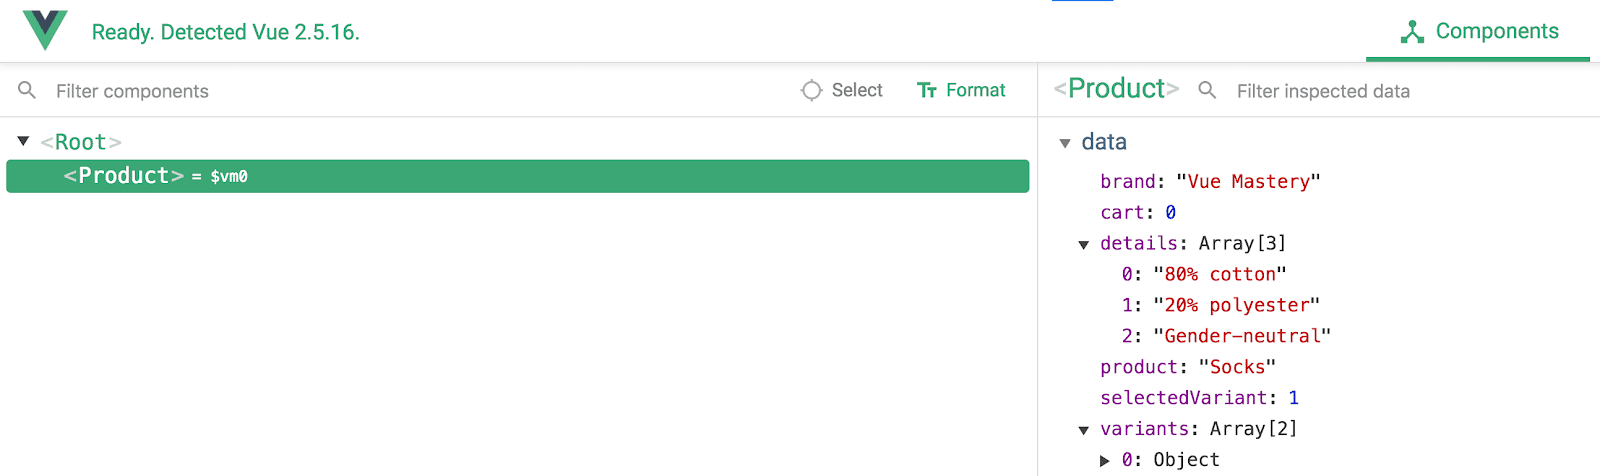
Analyzing the Application with Vue Developer Tools
Now, just to demonstrate the reusability of components, let's add
index.htmla couple more componentsto the codeproduct. In fact, this is how component reuse is organized. The codeindex.htmlwill look like this:
<div id="app">
  <product></product>
  <product></product>
  <product></product>
</div>
And the page will display three copies of the product card.
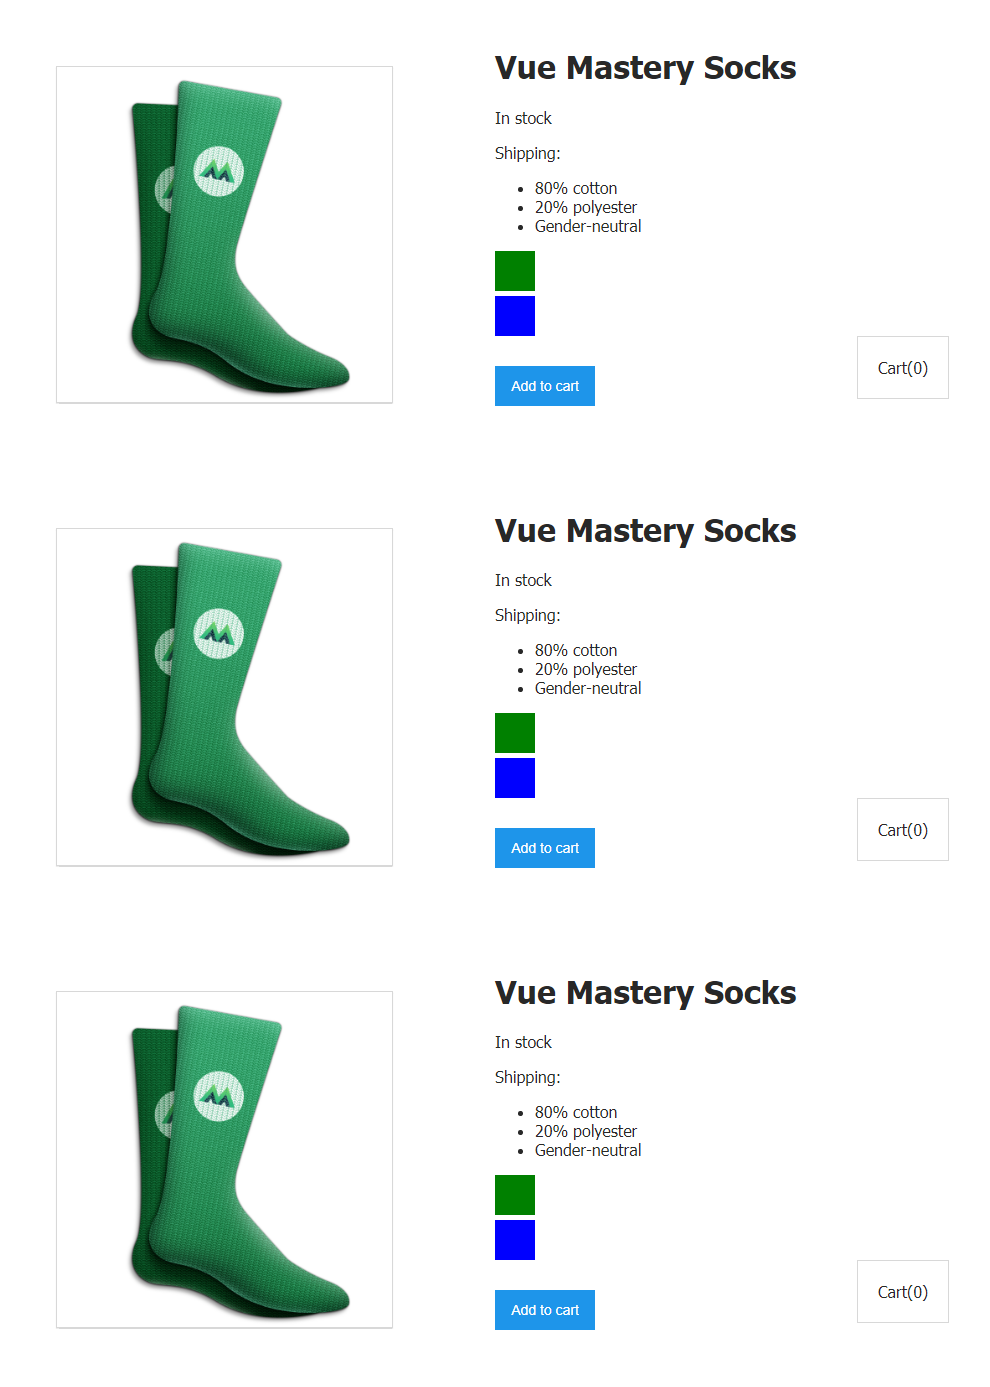
Several product cards displayed on one page
Please note that in the future we will work with one component
product, so the codeindex.htmlwill look like this:
<div id="app">
  <product></product>
</div>
Task
Applications often need components to accept data, input parameters, from parent entities. In this case, the parent of the component
productis the root Vue instance itself.
Let the root Vue instance have a description of some data. This data indicates whether the user is a premium account holder. The code for describing a Vue instance might look like this:
var app = new Vue({
  el: '#app',
  data: {
    premium: true
  }
})
Let's decide that premium users are entitled to free shipping.
This means that we want the component to
productoutput premiumdifferent shipping cost information , depending on what is written to the root Vue instance property .
How can I send the data stored in the
premiumroot Vue instance property to the child which is the component product?
The solution of the problem
In Vue, to transfer data from parent entities to children, an object property with options
propsdescribed by the components is used. This is an object describing the input parameters of the component, the values of which should be set based on the data received from the parent entity.
Let's start by describing what kind of input parameters the component expects to receive
product. To do this, add the corresponding property to the object with options used when creating it:
Vue.component('product', {
  props: {
    premium: {
      type: Boolean,
      required: true
    }
  },
  //    , ,
})
Note that this uses Vue's built-in ability to validate parameters passed to a component. Namely, we indicate what the type of the input parameter
premiumis Booleanand what this parameter is required by setting requiredto true.
Next, let's make a change to the template that displays the parameters passed to the object. By displaying the property value
premiumon the page, we will make sure that the mechanism we are investigating is working correctly.
<p>User is premium: {{ premium }}</p>
So far, everything is going fine. The component
productknows that it will receive the type parameter required for its operation Boolean. We have prepared a place to display the relevant data.
But we haven't passed the parameter to the
premiumcomponent yet . You can do this using a custom attribute that is similar to the "line" that leads to a component through which it is possible to transmit the input parameters, and in particular premium.
Let's modify the code in
index.html:
<div id="app">
  <product :premium="premium"></product>
</div>
Let's refresh the page.
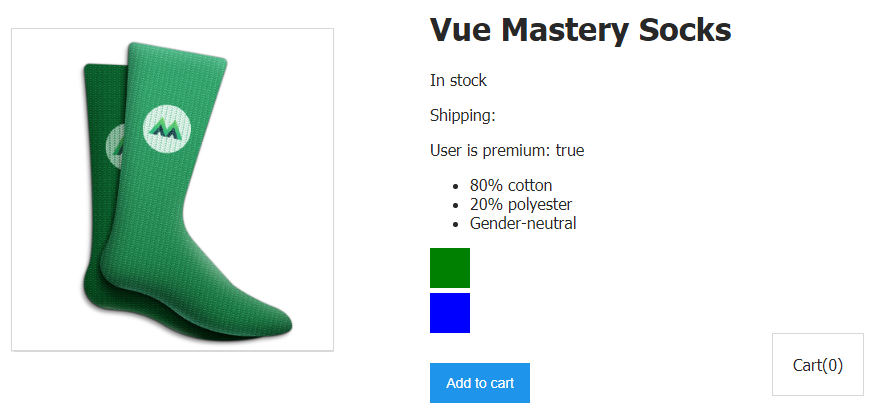
Outputting the data passed to the component
Input parameters are now passed to the component. Let's talk about exactly what we just did.
We pass the component an input parameter, or "custom attribute" called
premium. We bind this custom attribute using the colon construct to a propertypremiumthat is stored in our Vue instance data.
Now the root Vue instance can pass to the
premiumchild componentproduct. Since the attribute is bound to a propertypremiumfrom the Vue instance data, the current valuepremiumwill always be passed to the componentproduct.
The above picture, namely the inscription
User is premium: true, proves that everything was done correctly.
Now we have verified that the data transfer mechanism we are studying works as expected. If you look into the Vue developer tools, it turns out that the component
Productnow has an input parameter premiumthat stores a value true.
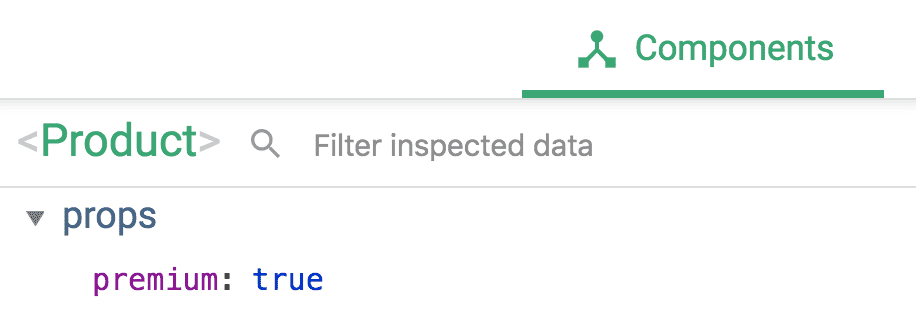
Input Parameter of the Component
Now that the data about whether the user has a premium account gets into the component, let's use this data to display the shipping cost information on the page. Let's not forget that if the parameter is
premiumset to a valuetrue, then the user is entitled to free shipping. Let's create a new computed propertyshippingand use the parameter in itpremium:
shipping() {
  if (this.premium) {
    return "Free";
  } else {
    return 2.99
  }
}
If
this.premiumstored in a parameter true, the computed property shippingwill return Free. Otherwise it will return 2.99.
Let's remove the parameter value output code from the component template
premium. Now the element <p>Shipping: {{ shipping }}</p>that was present in the code with which we started today will be able to display information about the shipping cost.
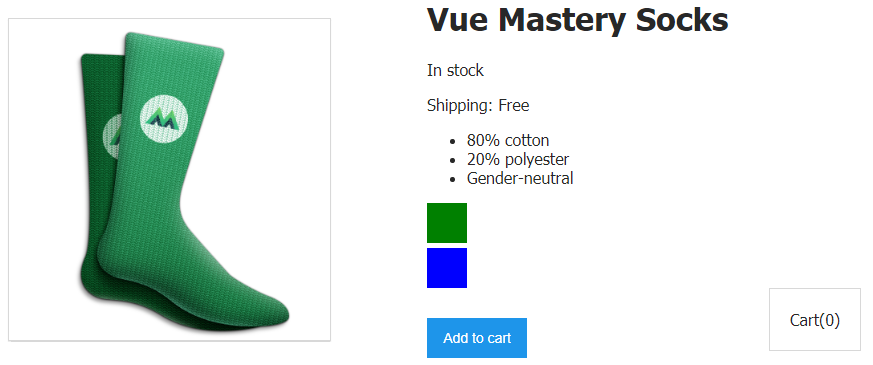
Premium users get free delivery
text
Shipping: Freeappears on the page due to the fact that the component is transmitted an input parameterpremiumset to a valuetrue.
Wonderful! Now we have learned how to transfer data from parent entities to children and were able to use this data in the component to manage the cost of shipping goods.
By the way, it's worth noting that you shouldn't change their input parameters in child components.
Workshop
Create a new component
product-detailsthat should use an input parameter detailsand be responsible for rendering the part of the product card that was previously formed using the following code:
<ul>
  <li v-for="detail in details">{{ detail }}</li>
</ul>
Here is a template you can use to solve this problem.
Here is the solution to the problem.
Outcome
Today was your first introduction to Vue components. Here's what you learned:
- Components are blocks of code that are presented as custom elements.
- Components make your application easier to manage by breaking it up into reusable pieces. They contain descriptions of the visual component and functionality of the corresponding part of the application.
- Component data is represented by a method of an
data()object with options. - Input parameters (
props) are used to pass data from parent entities to child entities . - We can describe the requirements for the input parameters that the component takes.
- .
- .
- Vue .
Are you using Vue developer tools?
→ Vue.js beginners lesson 1: instance Vue
→ Vue.js for beginners, lesson 2: binding attributes
→ Vue.js beginners lesson 3: conditional rendering
→ Vue.js beginners lesson 4: lists rendering
→ Vue .js for beginners lesson 5: event processing
→ Vue.js beginners lesson 6: binding classes and styles
→ Vue.js beginners lesson 7: calculated properties
→ Vue.js beginners lesson 8: components
