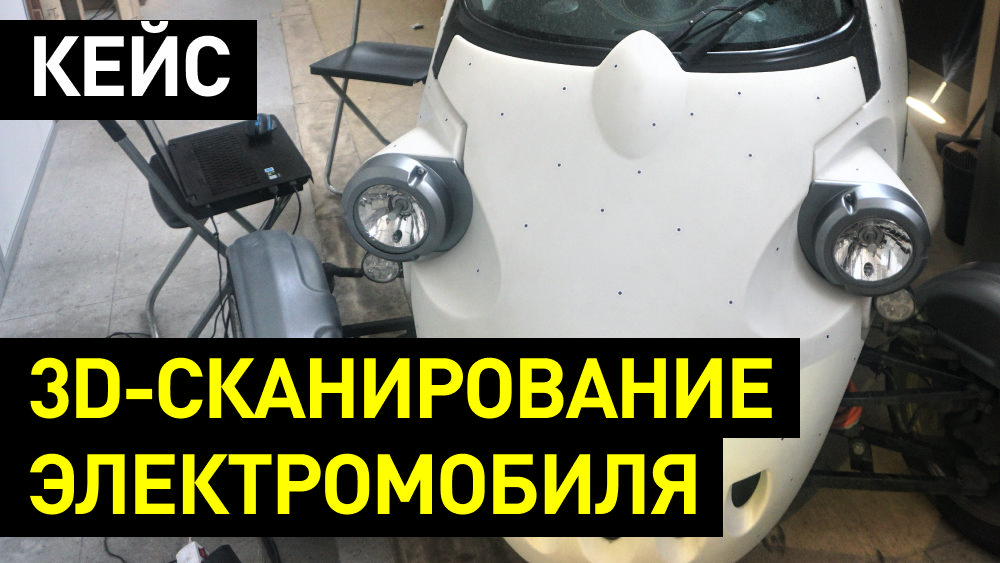
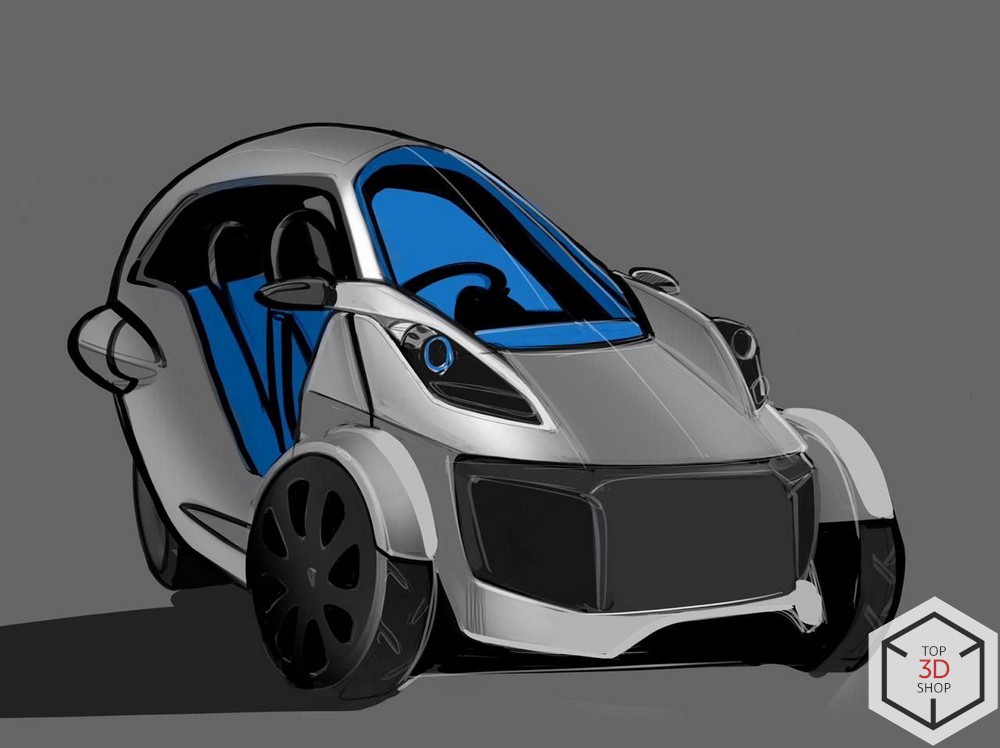
We are talking about a 3D scan of an electric vehicle that we made for EVTech , an electric vehicle developer. Scanning was carried out to correct the design of the car, make changes to the layout to improve it - modernization of body parts, hood and fenders, - the subsequent manufacture of new parts by rotational molding and automated vacuum forming. Scanned with a Rangevision Pro professional 3D scanner
Learn more from the article.
Task

We were contacted by employees of EV-Tech, a company developing electric vehicles. The challenge was to scan a miniature electric vehicle. It was an extensive project that needed to be completed on a tight schedule. Scanning was carried out to refine the body and internal structure of the car - to simplify the implementation of the most technologically advanced and convenient mutual arrangement of individual units and parts, and then change the design in accordance with it.
Process

- Preparing the car for scanning;
- Vehicle scan using Rangevision Pro photogrammetric scanner , known from the previous version of the model as Rangevision Pro 5M;
- Information processing, gluing a digital model.
Technical details

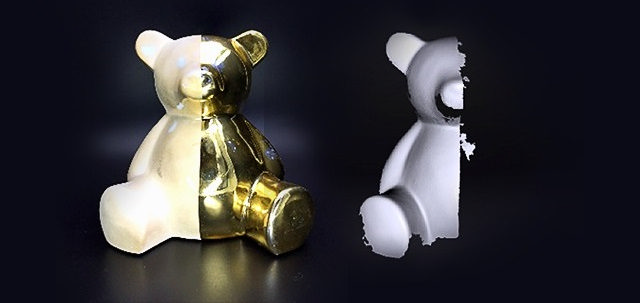
Prior to the scan, the vehicle was placed at the service department premises. The preparation took half an hour, the glare surfaces were glued, as glare can interfere with 3D scanning - reflecting light so that it does not enter the camera, which causes “holes” in the scan. An example in the photo below.
Markers are glued to create a coordinate grid that helps the scanner calculate the coordinates of points, and equipment is installed along with a calibration field to quickly clarify the calibration when moving the scanner.
Markers are placed in random order so that their relative position does not repeat, to avoid overlaps when gluing the scan from separate frames, so the scanner can more accurately determine the shape of the scanned surface.
The scanning itself took a long time, then we will consider the stages of scanning.
Key stages
1. Getting basic geometry

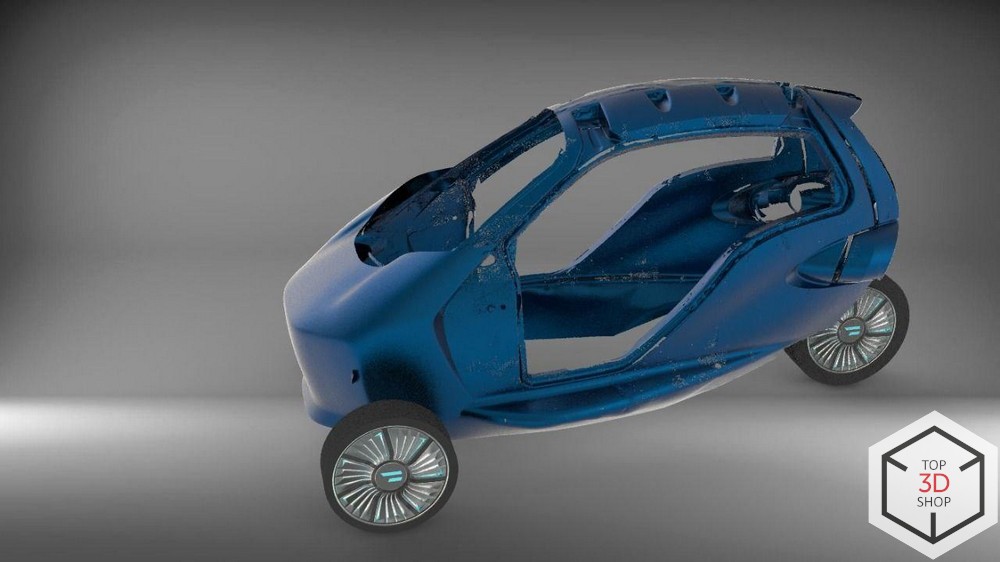
Figure 1.1 Side surface of the car.

Figure 1.2 Side surface of the car.
First, photographs were taken of the side surface of the car (Fig. 1).
This surface was selected for the first scan as the largest - an initial scan of this area helped to identify some problems that were corrected as they appeared. About problems and their solutions - further.
One such problem was the large size of the files contained in the project. Alexey Vorozhbit, Engineer of Top 3D Group Services Department, explains:
“The problem was that the laptop with an Intel Core i7 processor and Geforce GTX 960M graphics card did not allow connecting and saving projects with more than 150 million points. This was solved by using the automatic simplification function, which is included in the project creation menu in the Rangevision Scancenter software. The work on scanning and automatic stitching of surfaces was carried out in this program. "
This point was taken into account, in future projects, automatic simplification of images will be used as part of accelerating the process of processing a point cloud. Figure 2 shows the part of the geometry obtained by the first images. Figure 3 shows a point cloud with the rear of the car, headlights and a license plate.

Fig 2. Cloud of points of the lateral surface.

Fig 3. Surface obtained after gripping the back.
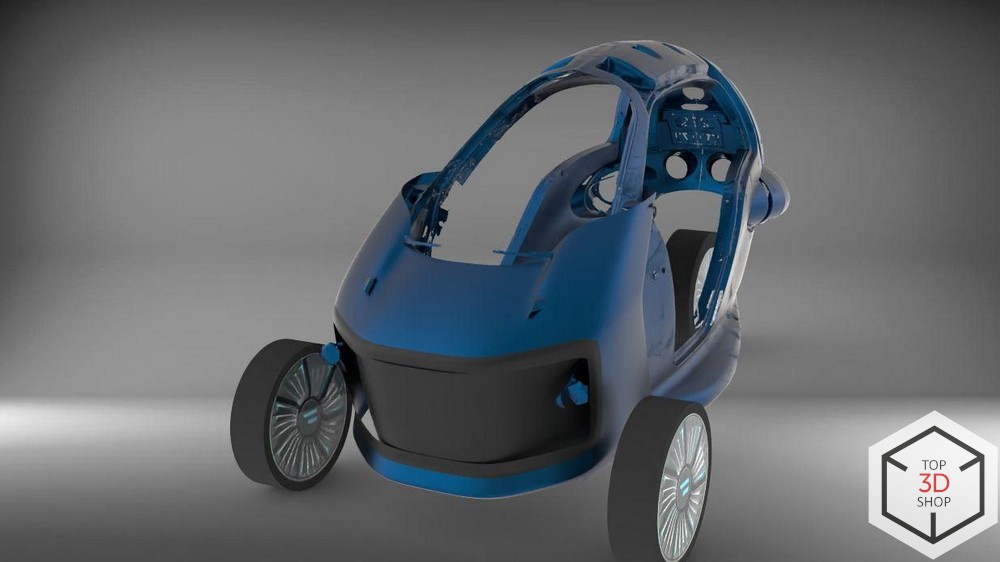
Further, by moving the scanner, the geometry of the nose part was captured (Fig. 4).

Figure 4.
Then it was necessary to scan the headlights, lower sills, door joints, etc. - everything that could be removed without using a jack or a repair pit. The results are shown in Figures 5,6 and 7. Figure 7 shows the model obtained as a result of “gluing” - combining all fragmentary scans into one model.

Figure 5.

Figure 6.

Figure 7.
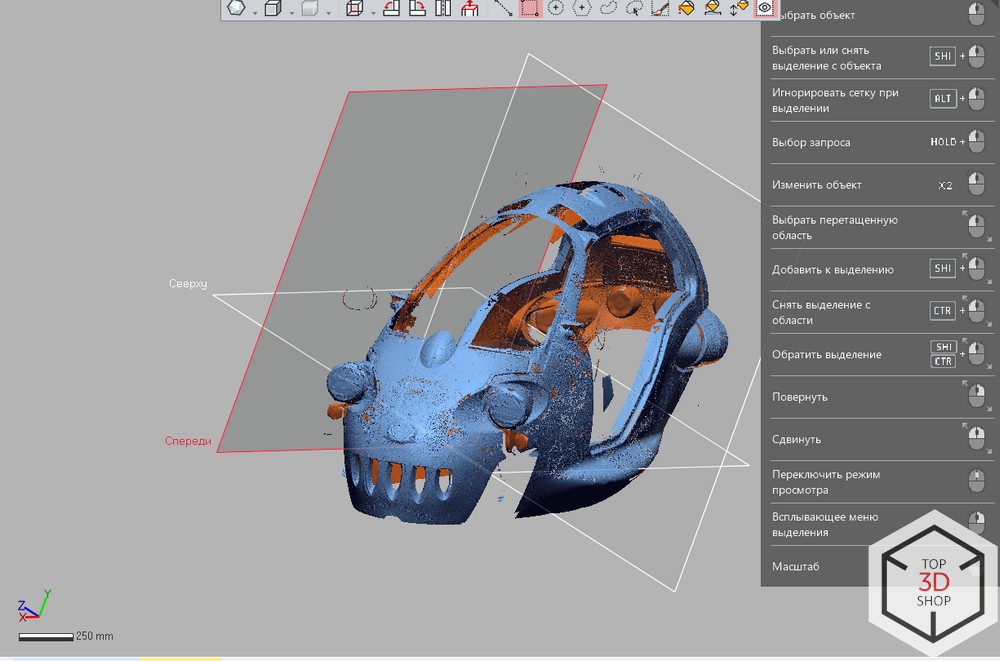
2. Processing the point cloud and obtaining the model

Figure 8. 13 stl files loaded from the scanner.
Since the scan turned out to be large and contained about 500 million points, it was necessary to save it in parts - the scanning program was unable to unload such a data packet in its entirety. To solve this problem, we split the scan into 13 parts, which were later combined into one mesh.
After building the mesh, the Flip operation was performed, it allowed us to get the missing part of the geometry, since the car is symmetrical.
The most difficult step was the elimination of scanning defects.
Problem
In the pictures above, you can see many small unscanned areas that look like holes in the model. This result was obtained due to freezes and software crashes, which was due to the USB hub through which the cameras were connected to the laptop.
Decision
To avoid this defect, you should use a direct connection to a computer with a large amount of RAM (from 24 gigabytes). A mini PC with proprietary software is supplied with the scanner, which can be used when scanning small objects. To work comfortably with large objects, you need a more powerful computer.
We, in this case, resolved the situation by rescanning and further gluing.
When scanning large-sized objects, more than a meter in any axis, the service department recommends using hand-held scanners, as they are more ergonomically adapted to scanning large forms and according to the principle of use. We chose RangeVision for its high accuracy, which proved to be redundant for body parts and would be necessary for scanning mechanical parts.
Completion
The three-dimensional model turned out to be quite accurate, with a tolerance for deviations from the original of no more than 0.2 mm.
Rangevision Pro , taking into account the recommendations for connection and operation, has shown itself as a high-quality professional scanner, which we can recommend for engineering applications in various fields, including the development of body parts for cars, motor vehicles, small boats and boats, in tuning and repair.

Buy Rangevision Pro from Top 3D Shop and get original professional equipment with an official guarantee.