This is the second of three articles on applying the MVI architectural pattern in Kotlin Multiplatform. In the first article, we remembered what MVI is and applied it to write common code for iOS and Android. We introduced simple abstractions such as Store and View and some helper classes and used them to create a common module.
The purpose of this module is to download links to images from the Web and associate business logic with a user interface represented as a Kotlin interface, which must be implemented natively on each platform. This is what we will do in this article.
We will implement platform-specific parts of the common module and integrate them into iOS and Android applications. As before, I assume that the reader already has basic knowledge of Kotlin Multiplatform, so I will not talk about project configurations and other things not related to MVI in Kotlin Multiplatform.
An updated sample project is available on our GitHub .
Plan
In the first article, we defined the KittenDataSource interface in our generic Kotlin module. This data source is responsible for downloading links to images from the web. Now it's time to implement it for iOS and Android. To do this, we will use such a Kotlin Multiplatform feature as expect / actual . We then integrate our generic Kittens module into the iOS and Android apps. For iOS, we use SwiftUI, and for Android, we use regular Android Views.
So the plan is as follows:
- KittenDataSource side implementation
- For iOS
- For Android
- Integrating Kittens Module into iOS App
- KittenView implementation using SwiftUI
- Integrating KittenComponent into SwiftUI View
- Integrating Kittens Module into Android App
- KittenView implementation using Android Views
- Integrating KittenComponent into Android Fragment
KittenDataSource implementation
Let's first remember what this interface looks like:
internal interface KittenDataSource {
    fun load(limit: Int, offset: Int): Maybe<String>
}
And here is the header of the factory function we're going to implement:
internal expect fun KittenDataSource(): KittenDataSourceBoth the interface and its factory function are declared internal and are implementation details of the Kittens module. By using expect / actual, we can access the API of each platform.
KittenDataSource for iOS
Let's implement a datasource for iOS first. To access the iOS API, we need to put our code in the “iosCommonMain” source set. It is configured to depend on commonMain. The target sets of source code (iosX64Main and iosArm64Main), in turn, depend on iosCommonMain. You can find the complete configuration here .
Here is the data source implementation:
internal class KittenDataSourceImpl : KittenDataSource {
    override fun load(limit: Int, offset: Int): Maybe<String> =
        maybe<String> { emitter ->
            val callback: (NSData?, NSURLResponse?, NSError?) -> Unit =
                { data: NSData?, _, error: NSError? ->
                    if (data != null) {
                        emitter.onSuccess(NSString.create(data, NSUTF8StringEncoding).toString())
                    } else {
                        emitter.onComplete()
                    }
                }

            val task =
                NSURLSession.sharedSession.dataTaskWithURL(
                    NSURL(string = makeKittenEndpointUrl(limit = limit, offset = offset)),
                    callback.freeze()
                )
            task.resume()
            emitter.setDisposable(Disposable(task::cancel))
        }
            .onErrorComplete()
}
Using NSURLSession is the primary way to download data from the web in iOS. It is asynchronous, so no thread switching is required. We just wrap the call in Maybe and add response, error, and cancellation handling.
And here is the implementation of the factory function:
internal actual fun KittenDataSource(): KittenDataSource = KittenDataSourceImpl()At this point, we can compile our common module for iosX64 and iosArm64.
KittenDataSource for Android
To access the Android API, we need to put our code in the androidMain source code set. This is how the data source implementation looks like:
internal class KittenDataSourceImpl : KittenDataSource {
    override fun load(limit: Int, offset: Int): Maybe<String> =
        maybeFromFunction {
            val url = URL(makeKittenEndpointUrl(limit = limit, offset = offset))
            val connection = url.openConnection() as HttpURLConnection

            connection
                .inputStream
                .bufferedReader()
                .use(BufferedReader::readText)
        }
            .subscribeOn(ioScheduler)
            .onErrorComplete()
}
For Android, we have implemented HttpURLConnection. Again, this is a popular way to load data in Android without using third-party libraries. This API is blocking, so we need to switch to the background thread using the subscribeOn operator.
The implementation of the factory function for Android is identical to that used for iOS:
internal actual fun KittenDataSource(): KittenDataSource = KittenDataSourceImpl()
Now we can compile our common module for Android.
Integrating Kittens Module into iOS App
This is the hardest (and most interesting) part of the job. Let's say we have compiled our module as described in the iOS app README . We also created a basic SwiftUI project in Xcode and added our Kittens framework to it. It's time to integrate KittenComponent into your iOS app.
KittenView implementation
Let's start by implementing KittenView. First, let's remember what its interface looks like in Kotlin:
interface KittenView : MviView<Model, Event> {
    data class Model(
        val isLoading: Boolean,
        val isError: Boolean,
        val imageUrls: List<String>
    )

    sealed class Event {
        object RefreshTriggered : Event()
    }
}
So our KittenView takes models and fires events. To render the model in SwiftUI, we have to make a simple proxy:
import Kittens

class KittenViewProxy : AbstractMviView<KittenViewModel, KittenViewEvent>, KittenView, ObservableObject {
    @Published var model: KittenViewModel?

    override func render(model: KittenViewModel) {
        self.model = model
    }
}
Proxy implements two interfaces (protocols): KittenView and ObservableObject. The KittenViewModel is exposed using the @ Published property of model, so our SwiftUI view can subscribe to it. We used the AbstractMviView class we created in the previous article. We don't have to interact with the Reaktive library - we can use the dispatch method to dispatch events.
Why are we avoiding Reaktive (or coroutines / Flow) libraries in Swift? Because Kotlin-Swift compatibility has several limitations. For example, generic parameters are not exported for interfaces (protocols), extension functions cannot be called in the usual way, etc. Most of the limitations are due to the fact that Kotlin-Swift compatibility is done through Objective-C (you can find all the limitations here). Also, due to the tricky Kotlin / Native memory model, I think it's best to have as little Kotlin-iOS interaction as possible.
Now it's time to make a SwiftUI view. Let's start by creating a skeleton:
struct KittenSwiftView: View {
    @ObservedObject var proxy: KittenViewProxy

    var body: some View {
    }
}
We have declared our SwiftUI view, which depends on KittenViewProxy. A proxy property marked @ObservedObject subscribes to an ObservableObject (KittenViewProxy). Our KittenSwiftView will automatically update whenever the KittenViewProxy changes.
Now let's start implementing the view:
struct KittenSwiftView: View {
    @ObservedObject var proxy: KittenViewProxy

    var body: some View {
    }

    private var content: some View {
        let model: KittenViewModel! = self.proxy.model

        return Group {
            if (model == nil) {
                EmptyView()
            } else if (model.isError) {
                Text("Error loading kittens :-(")
            } else {
                List {
                    ForEach(model.imageUrls) { item in
                        RemoteImage(url: item)
                            .listRowInsets(EdgeInsets())
                    }
                }
            }
        }
    }
}
The main part here is content. We take the current model from the proxy and display one of three options: nothing (EmptyView), an error message, or a list of images.
The body of the view might look like this:
struct KittenSwiftView: View {
    @ObservedObject var proxy: KittenViewProxy

    var body: some View {
        NavigationView {
            content
            .navigationBarTitle("Kittens KMP Sample")
            .navigationBarItems(
                leading: ActivityIndicator(isAnimating: self.proxy.model?.isLoading ?? false, style: .medium),
                trailing: Button("Refresh") {
                    self.proxy.dispatch(event: KittenViewEvent.RefreshTriggered())
                }
            )
        }
    }

    private var content: some View {
        // Omitted code
    }
}
We show the content inside the NavigationView by adding a title, a loader, and a button to refresh.
Each time the model changes, the view will automatically update. A loading indicator is displayed when the isLoading flag is set to true. The RefreshTriggered event is dispatched when the refresh button is clicked. An error message is displayed if the isError flag is true; otherwise, a list of images is displayed.
KittenComponent Integration
Now that we have a KittenSwiftView, it's time to use our KittenComponent. SwiftUI has nothing but View, so we'll have to wrap KittenSwiftView and KittenComponent in a separate SwiftUI view.
The SwiftUI view lifecycle consists of just two events: onAppear and onDisappear. The first is fired when the view is shown on the screen, and the second is fired when it is hidden. There is no explicit notice of destruction of the submission. Therefore, we use the “deinit” block, which is called when the memory occupied by the object is freed.
Unfortunately, Swift structures cannot contain deinit blocks, so we'll have to wrap our KittenComponent in a class:
private class ComponentHolder {
    let component = KittenComponent()

    deinit {
        component.onDestroy()
    }
}
Finally, let's implement our main Kittens view:
struct Kittens: View {
    @State private var holder: ComponentHolder?
    @State private var proxy = KittenViewProxy()

    var body: some View {
        KittenSwiftView(proxy: proxy)
            .onAppear(perform: onAppear)
            .onDisappear(perform: onDisappear)
    }

    private func onAppear() {
        if (self.holder == nil) {
            self.holder = ComponentHolder()
        }
        self.holder?.component.onViewCreated(view: self.proxy)
        self.holder?.component.onStart()
    }

    private func onDisappear() {
        self.holder?.component.onViewDestroyed()
        self.holder?.component.onStop()
    }
}
The important thing here is that both ComponentHolder and KittenViewProxy are marked as State... View structures are re-created every time the UI is refreshed, but properties marked asStateare saved.
The rest is pretty simple. We are using KittenSwiftView. When onAppear is called, we pass KittenViewProxy (which implements the KittenView protocol) to KittenComponent and start the component by calling onStart. When onDisappear fires, we call the opposite methods of the component's lifecycle. KittenComponent will continue to work until it is removed from memory, even if we switch to a different view.
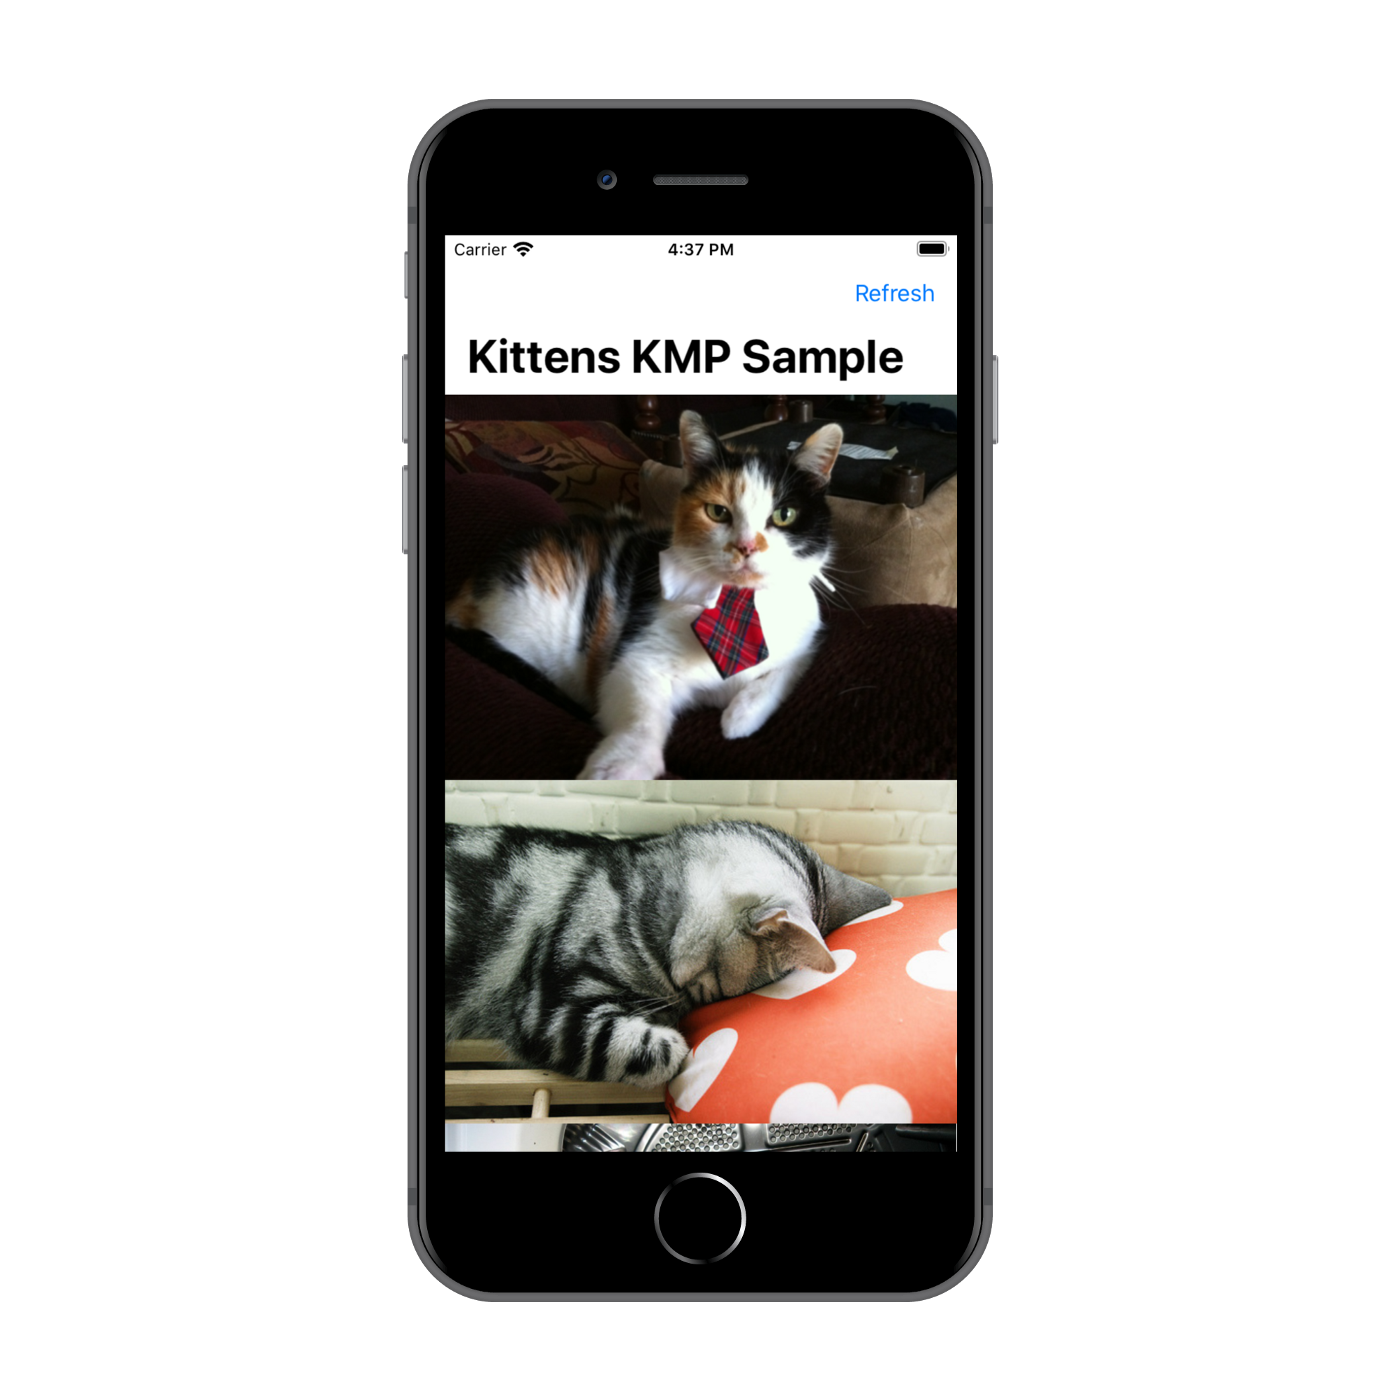
This is how an iOS app looks like:
Integrating Kittens Module into Android App
This task is much easier than with iOS. Suppose again that we have created a basic Android application module . Let's start by implementing KittenView.
There is nothing special about the layout - just SwipeRefreshLayout and RecyclerView:
<androidx.swiperefreshlayout.widget.SwipeRefreshLayout xmlns:android="http://schemas.android.com/apk/res/android"
    xmlns:app="http://schemas.android.com/apk/res-auto"
    android:id="@+id/swype_refresh"
    android:layout_width="match_parent"
    android:layout_height="match_parent">

    <androidx.recyclerview.widget.RecyclerView
        android:id="@+id/recycler"
        android:layout_width="match_parent"
        android:layout_height="match_parent"
        android:contentDescription="@null"
        android:orientation="vertical"
        app:layoutManager="androidx.recyclerview.widget.LinearLayoutManager" />
</androidx.swiperefreshlayout.widget.SwipeRefreshLayout>
KittenView implementation:
internal class KittenViewImpl(root: View) : AbstractMviView<Model, Event>(), KittenView {
    private val swipeRefreshLayout = root.findViewById<SwipeRefreshLayout>(R.id.swype_refresh)
    private val adapter = KittenAdapter()
    private val snackbar = Snackbar.make(root, R.string.error_loading_kittens, Snackbar.LENGTH_INDEFINITE)

    init {
        root.findViewById<RecyclerView>(R.id.recycler).adapter = adapter

        swipeRefreshLayout.setOnRefreshListener {
            dispatch(Event.RefreshTriggered)
        }
    }

    override fun render(model: Model) {
        swipeRefreshLayout.isRefreshing = model.isLoading
        adapter.setUrls(model.imageUrls)

        if (model.isError) {
            snackbar.show()
        } else {
            snackbar.dismiss()
        }
    }
}
As in iOS, we use the AbstractMviView class to simplify implementation. The RefreshTriggered event is dispatched when updating with a swipe. When an error occurs, the Snackbar is shown. KittenAdapter displays images and is updated whenever the model changes. DiffUtil is used inside the adapter to prevent unnecessary list updates. The complete KittenAdapter code can be found here .
It's time to use KittenComponent. For this article, I'm going to use AndroidX snippets that all Android developers are familiar with. But I recommend checking out our RIBs , a fork of RIBs from Uber. This is a more powerful and safer alternative to fragments.
class MainFragment : Fragment(R.layout.main_fragment) {
    private lateinit var component: KittenComponent

    override fun onCreate(savedInstanceState: Bundle?) {
        super.onCreate(savedInstanceState)
        component = KittenComponent()
    }

    override fun onViewCreated(view: View, savedInstanceState: Bundle?) {
        super.onViewCreated(view, savedInstanceState)
        component.onViewCreated(KittenViewImpl(view))
    }

    override fun onStart() {
        super.onStart()
        component.onStart()
    }

    override fun onStop() {
        component.onStop()
        super.onStop()
    }

    override fun onDestroyView() {
        component.onViewDestroyed()
        super.onDestroyView()
    }

    override fun onDestroy() {
        component.onDestroy()
        super.onDestroy()
    }
}
The implementation is very simple. We instantiate KittenComponent and call its lifecycle methods at the right time.
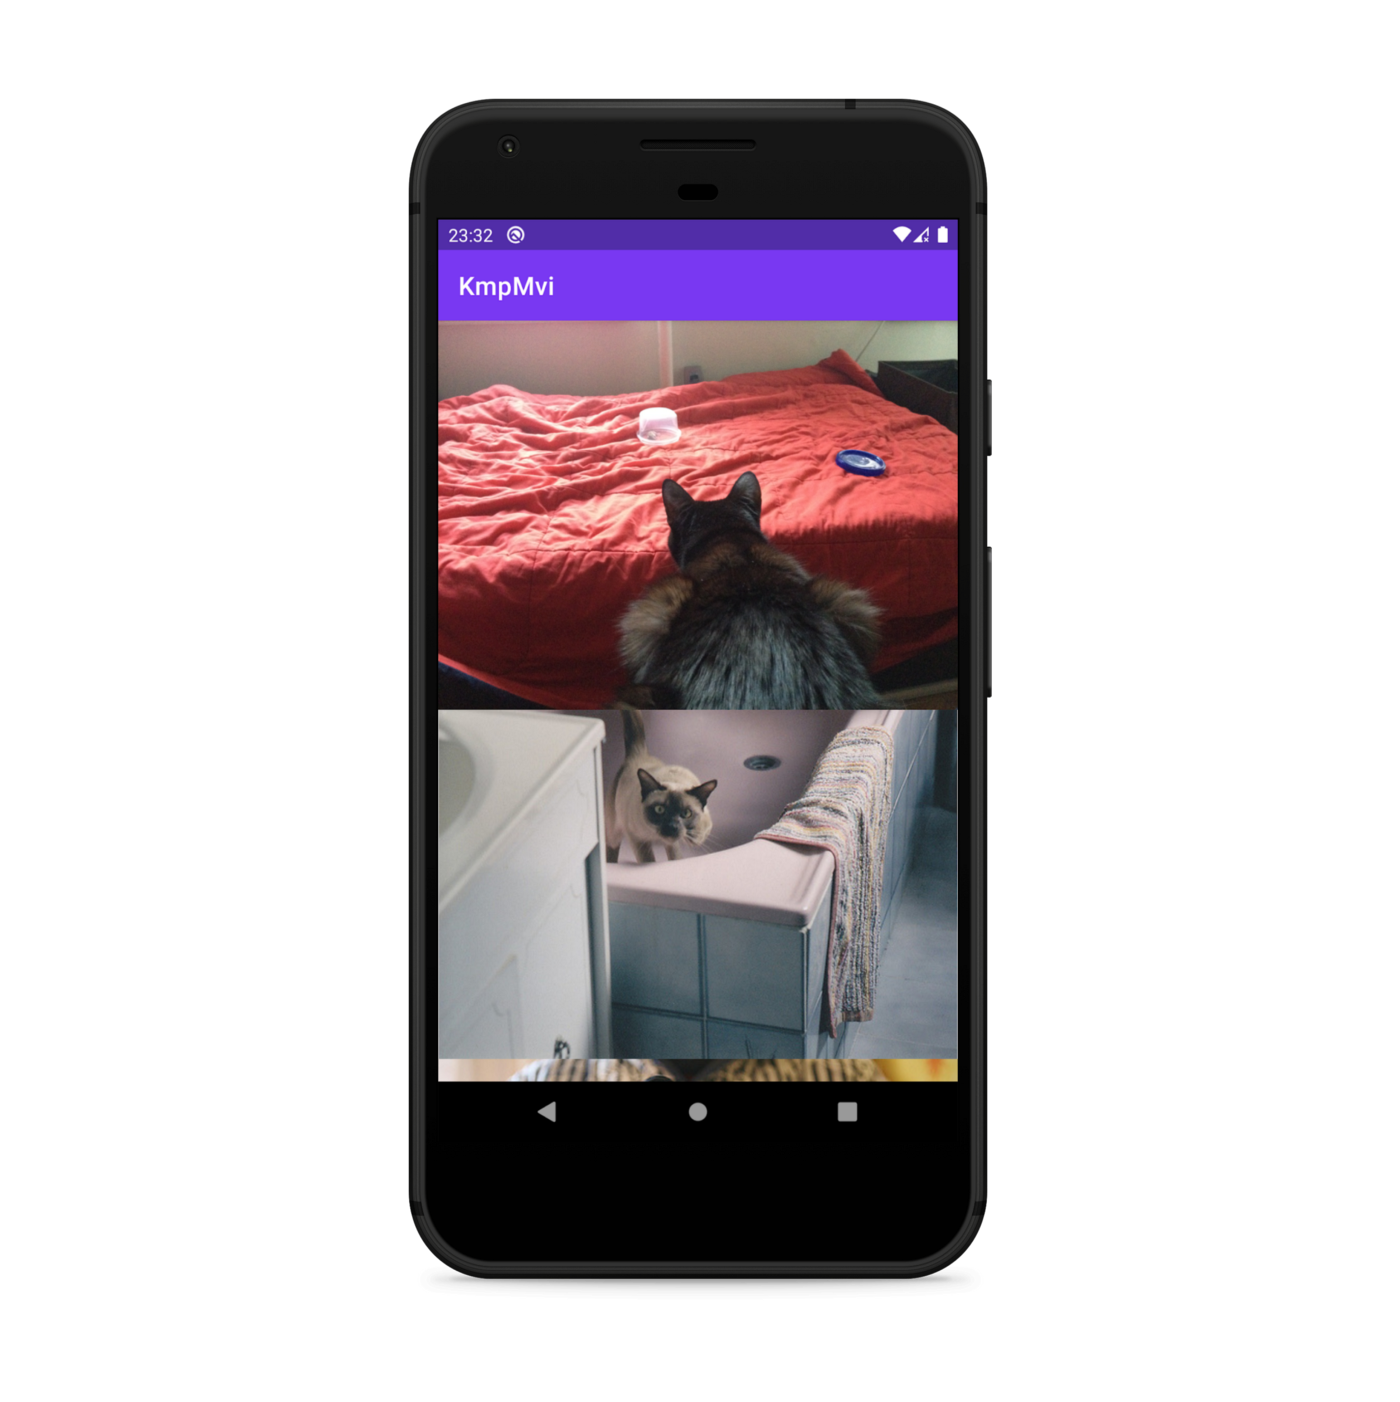
And here's what an Android app looks like:
Conclusion
In this article, we have integrated the Kittens generic module into iOS and Android apps. First, we implemented an internal KittensDataSource interface that is responsible for loading image URLs from the web. We used NSURLSession for iOS and HttpURLConnection for Android. We then integrated the KittenComponent into the iOS project using SwiftUI and into the Android project using regular Android Views.
On Android, KittenComponent integration was very simple. We created a simple layout with RecyclerView and SwipeRefreshLayout and implemented the KittenView interface by extending the AbstractMviView class. After that, we used the KittenComponent in a fragment: we just created an instance and called its lifecycle methods.
With iOS, things were a little more complicated. SwiftUI features forced us to write some additional classes:
- KittenViewProxy: This class is both KittenView and ObservableObject at the same time; it does not display the view model directly, but exposes it via the @ Published property model;
- ComponentHolder: This class holds an instance of KittenComponent and calls its onDestroy method when removed from memory.
In the third (and final) article in this series, I'll show you how testable this approach is by demonstrating how to write unit and integration tests.
Follow me on Twitter and stay connected!