Not so long ago, my team and I developed a small embedded computer for solving IIoT and industrial automation tasks. The first article about our device can be viewed here .
We decided to develop the device on the widespread and tested Raspberry CM3 + module, which allowed us to create a computer with great computing abilities, a huge community and ease of use. Under the cut I will tell you in stages, what they started from and what they came to in the end.
The agony of choosing a case
For devices, even in the industrial field, the appearance of the device and completeness are very important, so a long search for a case that fit our requirements in size began. I wanted to fit as much as possible into one box and the minimum board parameters were 10 * 10
cm.After we ordered several variants of the cases, we had to throw out more of them, since they were only suitable for home crafts and sell them to people in this form was not possible. The main contender at that time was an aluminum case with plastic covers 10 * 10 * 5 cm (Figure 1).

Figure 1 - The first case
Having received this body in hand, it was decided to stop at it. At the same moment, the development of the board was coming to an end and it was already possible to estimate, according to the drawings, how to process the ends for the output connectors. However, the plastic case covers after machining made it look unmarketable and we again came to a craft, and not to a finished commercial product.
The gloss was quickly scratched and the holes looked very asymmetrical in this shiny frame (Figure 2). Expectation and reality, as they say.

Figure 2 - Plastic housing covers
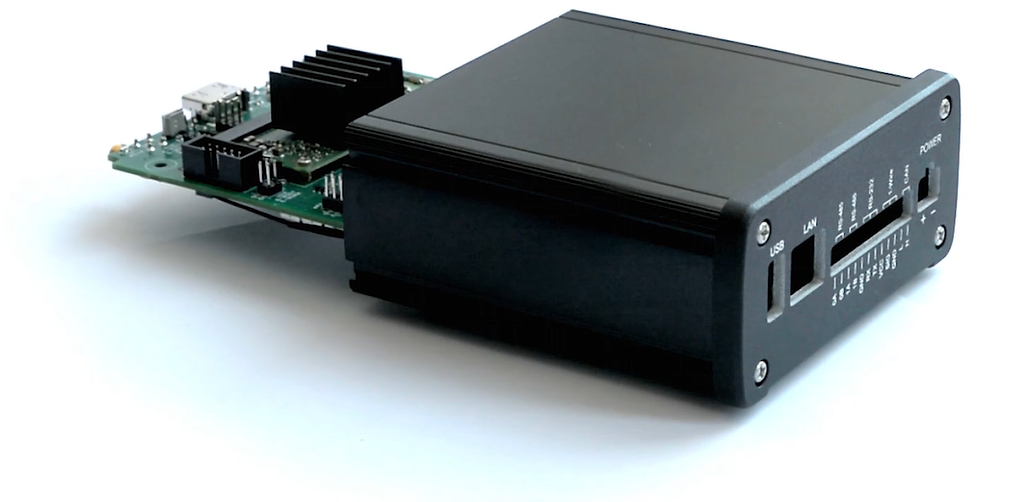
However, we didn't have to give up the case, because the manufacturer had the same one, but with aluminum ends, we quickly ordered it and were surprised how perfect it looked (Figure 3). The ends are very beautiful, matte and additional noise immunity was a bonus. Such a case cost a little more, but beauty requires sacrifice.
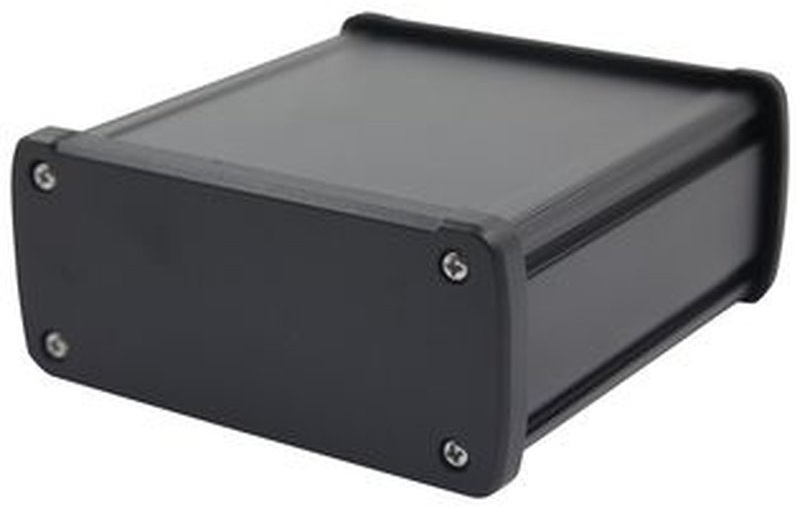
Figure 3 - Metal case
The second attempt to process the ends was much more successful. We chose the technology of the inscriptions by engraving (Figure 4), but there were drawbacks that had to be solved. The most important thing is that the engraver (drill) is very small and delicate, the engraving speed is quite low. Plus, the drill itself often breaks. Because of all this, the price rises greatly due to the consumed electricity and labor costs. Also, dirt gets inside the engraving and aluminum gradually oxidizes, making the inscriptions less noticeable.

Picture 4 - Engraving of a metal case
They tried to change this technology to laser engraving, but it turned out ugly. The laser burned out the paint incorrectly, and the inscriptions turned out to be dark.
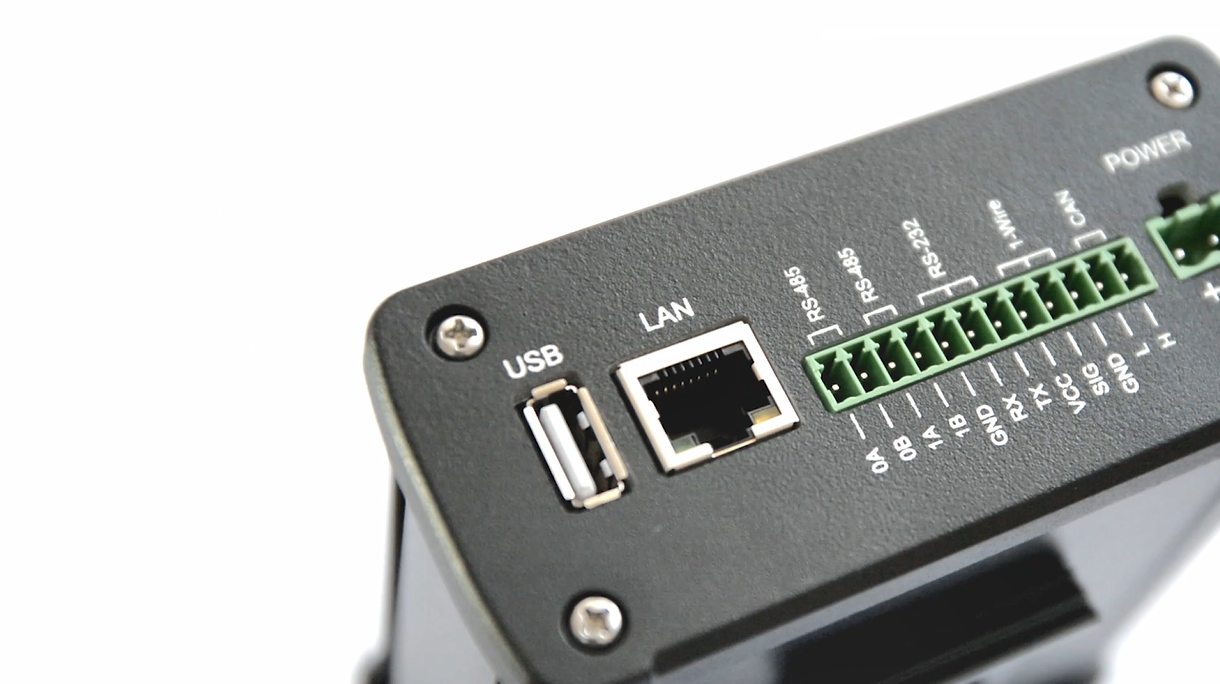
As a result, we came to silk-screen printing with baking in the oven (Figure 5). This technology has proven to be the fastest and most robust. It all came down to ordering a template once (photo output) and using it to make a batch of up to 50 pieces per day.

Figure 5 - Serigraphy of the case
Bug fixes
The case was finished, but the board remained flawed. The idea of our computer is that any user can easily install additional equipment into the device by unscrewing the four bolts on the case, like in a laptop. I think the days when the "Do not open, loss of warranty" stickers were glued to the cases are gone.
Inside the case there are peripherals for firmware of the computing module, a SIM card and much more. However, there was one problem with mounting the board in the case, namely the output LEDs on the legs, which were constantly bent from our customers who took prototypes for testing (Figure 6).

Figure 6 - Output LEDs on legs
In this regard, I had to change the diodes on the legs to SMD LEDs that shine sideways and the problem with installing the board into the case was solved, nothing else bent (Figure 7).
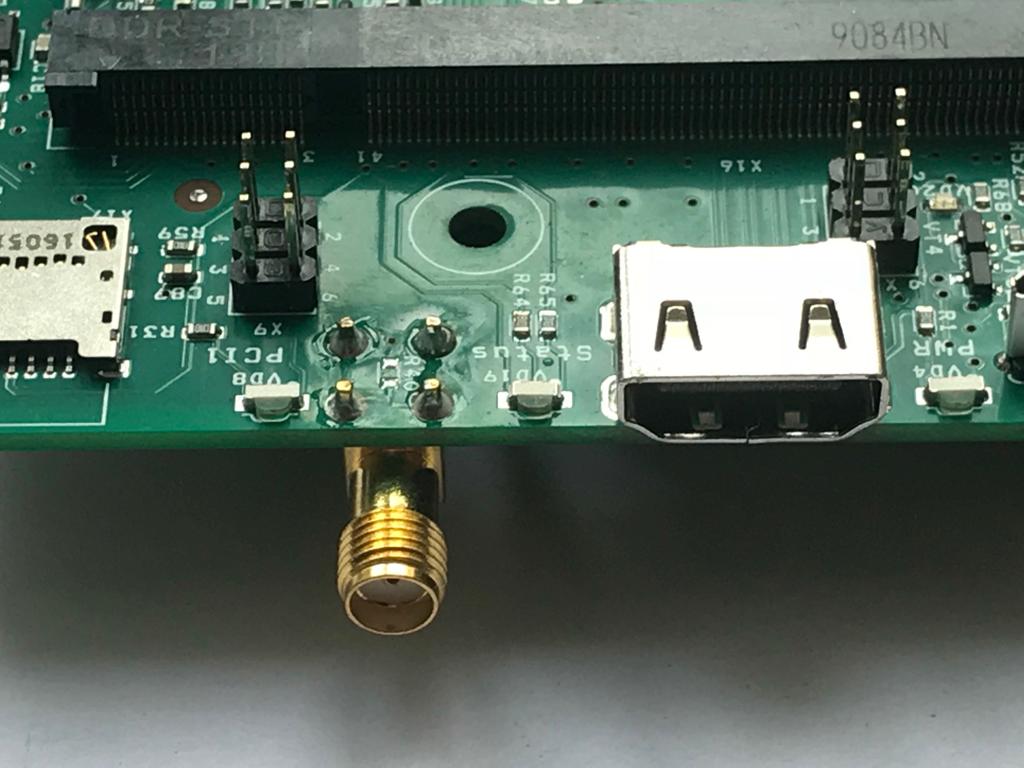
Figure 7 - SMD LEDs
The indication was deep inside the case and to see the light you had to look at the end at a right angle. The idea of optical fibers made of transparent polymer materials came to mind (Figure 8). It remained to find a budget, but aesthetically beautiful option. A dairy plexiglass with a transparency of 20% with a sheet thickness of 3 mm came to mind, in the very first laser cutting company the diameter of a miniature cylinder was selected, it was equal to the diameter of the hole in the body. The peculiarity is that when laser cutting the machine gives a small bevel of the lower diameter by 0.1 mm, and thus we got a bag of miniature truncated cones with a lower diameter of 2.9 mm and an upper 3 mm, and the height was 3 mm, like the thickness of the ends of our body. We insert the cone into the hole and press fitting firmly drives these fibers into the hole, and a small drop of glue on the back side fixes them tightly.
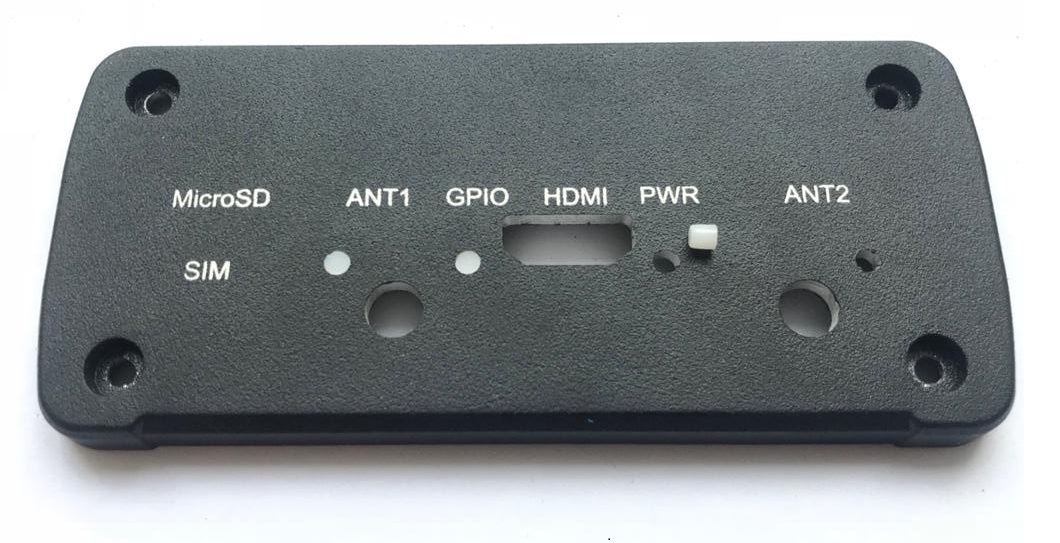
Figure 8 - Plexiglass
light guides So, the device has received an aesthetic appearance with a small investment in the case, but this path is good at the start of production and it is planned to reduce costs by making such a case when increasing production. Plastic molding is not considered due to the expensive start-up and low shielding performance compared to metal.
Summary
Thanks for your attention! We hope that we will inspire our readers to recycle your personal projects into a larger scale production with a commercial perspective. In our great country, on the shelves of the initiators, really necessary things are gathering dust that can replace foreign production.
In the next article we will tell you the history of testing and the subtleties of setting up the mPCIe 3G modem Huawei and mPCIe LoraWan module MikroTik.