Demonstrating a Python project with a user interface has never been so easy. With Streamlit Framework, you can build browser-based user interface using only Python code. In this article, we will create a user interface for the maze program described in detail in the previous article .
Streamlit
Streamlit is a web framework for data scientists to easily deploy models and visualizations using Python. It's fast and minimalistic, as well as beautiful and convenient. There are built-in widgets for user input, such as loading images, sliders, text input, and other familiar HTML elements such as check boxes and radio buttons. Whenever a user interacts with a streaming application, the python script is restarted from top to bottom, which is important to consider when considering the different states of your application.
You can install Streamlit using pip:
pip install streamlitAnd run streamlit in a Python script:
streamlit run app.pyUse cases
In a previous article, we created a program in Python that will go through a maze, given the image file and the start / end locations. We would like to turn this program into a single page web application where the user can upload a maze image (or use the default maze image), adjust the start and end locations of the maze, and see the maze they have passed.
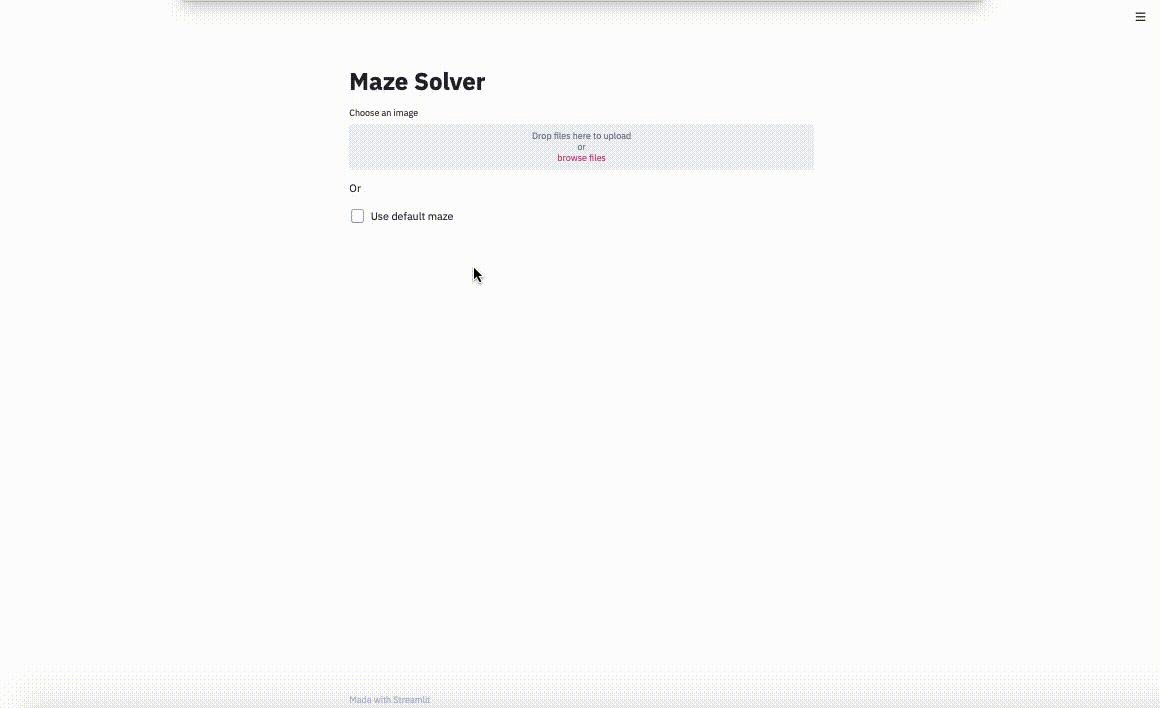
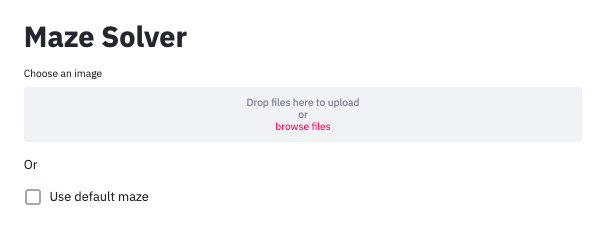
First, let's create a UI for the image loader and the ability to use the default image. We can add text output using functions like st.write () or st.title (). We store a dynamically loaded file using the st.file_uploader () function. Finally, st.checkbox () will return a boolean value depending on whether the user has checked the checkbox.
import streamlit as st
import cv2
import matplotlib.pyplot as plt
import numpy as np
import maze

st.title('Maze Solver')
uploaded_file = st.file_uploader("Choose an image", ["jpg","jpeg","png"]) #image uploader
st.write('Or')
use_default_image = st.checkbox('Use default maze')
Result:
We can then output our default image or uploaded image to the usable OpenCV image format.
if use_default_image:
    opencv_image = cv2.imread('maze5.jpg')

elif uploaded_file is not None:
    file_bytes = np.asarray(bytearray(uploaded_file.read()), dtype=np.uint8)
    opencv_image = cv2.imdecode(file_bytes, 1)
As soon as the image is loaded, we want to show the image marked with the start and end points. We will use the sliders to allow the user to move these points. The st.sidebar () function adds a sidebar to the page, and st.slider () accepts numerically within a certain minimum and maximum. We can determine the minimum and maximum values of the slider dynamically depending on the size of our maze image.
if opencv_image is not None:
    st.subheader('Use the sliders on the left to position the start and end points')
    start_x = st.sidebar.slider("Start X", value= 24 if use_default_image  else 50, min_value=0, max_value=opencv_image.shape[1], key='sx')
    start_y = st.sidebar.slider("Start Y", value= 332 if use_default_image  else 100, min_value=0, max_value=opencv_image.shape[0], key='sy')
    finish_x = st.sidebar.slider("Finish X", value= 309 if use_default_image  else 100, min_value=0, max_value=opencv_image.shape[1], key='fx')
    finish_y = st.sidebar.slider("Finish Y", value= 330 if use_default_image  else 100, min_value=0, max_value=opencv_image.shape[0], key='fy')
    marked_image = opencv_image.copy()
    circle_thickness=(marked_image.shape[0]+marked_image.shape[0])//2//100 #circle thickness based on img size
    cv2.circle(marked_image, (start_x, start_y), circle_thickness, (0,255,0),-1)
    cv2.circle(marked_image, (finish_x, finish_y), circle_thickness, (255,0,0),-1)
    st.image(marked_image, channels="RGB", width=800)
Whenever the user adjusts the sliders, the image quickly redraws and the dots change.
After the user has defined the start and end positions, we want a button to solve the maze and display the solution. The st.spinner () element is displayed only while its child process is running, and the st.image () call is used to display the image.
if marked_image is not None:
    if st.button('Solve Maze'):
        with st.spinner('Solving your maze'):
            path = maze.find_shortest_path(opencv_image,(start_x, start_y),(finish_x, finish_y))
        pathed_image = opencv_image.copy()
        path_thickness = (pathed_image.shape[0]+pathed_image.shape[0])//200
        maze.drawPath(pathed_image, path, path_thickness)
        st.image(pathed_image, channels="RGB", width=800)
Solution Output Button
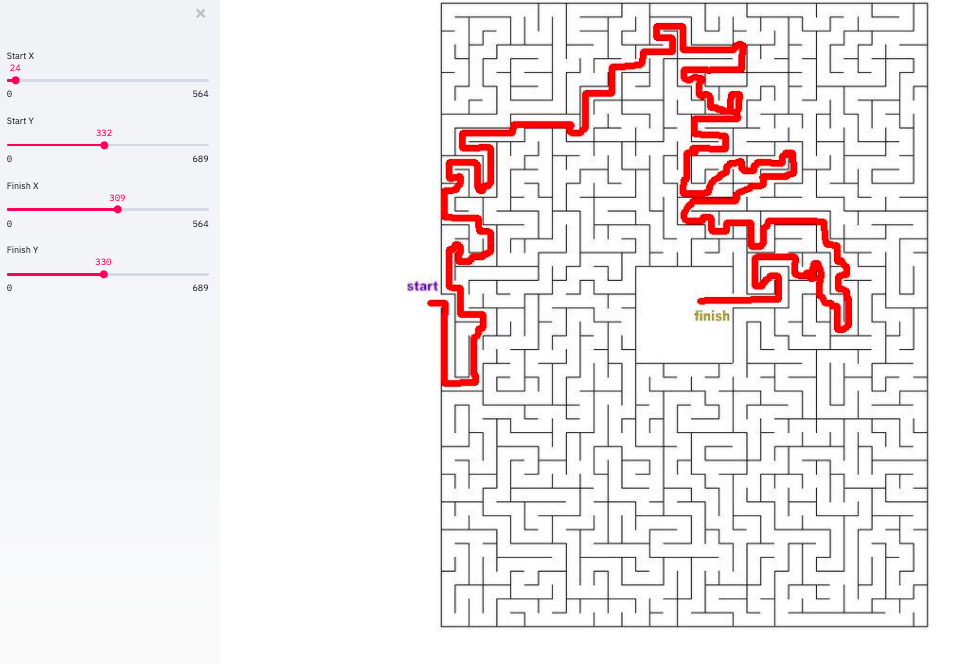
Output
In less than 40 lines of code, we created a simple user interface for a Python image processing application. We didn't need to write any traditional front-end code. In addition to Streamlit’s ability to digest simple Python code, Streamlit intelligently restarts the necessary parts of your script from top to bottom each time a user interacts with a page or when a script changes. This allows for direct data flow and fast development.
You can find the complete code on Github and the first part explaining the algorithm for solving the maze here . Streamlit documentation, including important concepts and additional widgets, is here .

Learn the details of how to get a sought-after profession from scratch or Level Up in skills and salary by completing SkillFactory paid online courses:
- Machine Learning Course (12 weeks)
- Learning Data Science from scratch (12 months)
- Analytics profession with any starting level (9 months)
- Python for Web Development Course (9 months)
Read more
- Trends in Data Scene 2020
- Data Science is dead. Long live Business Science
- Cool Data Scientists don't waste time on statistics
- How to Become a Data Scientist Without Online Courses
- Sorting Cheat Sheet for Data Science
- Data Science for the humanities: what is "data"
- Data Science on Steroids: Introducing Decision Intelligence